Mini ERP
Ultimate Sales, Inventory, Accounting Management System
Mini ERP is an all-in-one management system that enables you to manage expenses, purchases, sales, payments, accounting, loans, docs, payroll, and many more. We believe that Mini ERP is the all in one solution for both wholesale and retail buisness models and ideal software for any small business or a large company. Mini ERP is built with core Laravel, Vue JS, Boostrap, and Other modern technologies.
Dashboard
The dashboard/home page for all authenticated users. From this page, you will be able to see an overall overview of the system. We have a gorgeous looking dashboard for our customers from where they get Revenue, Sale Return, Purchase Return, and Profit information of today / last 7 days / current month / current year at a glance with one click. Initially, the statistics and charts will be empty. But after adding data in the system the statistics and charts will be visible to you. You can easily navigate to any module using the left-side nav.

Dashboard Statistics and Charts
You can find the details about every statistic and Chart below.
| Summary |
|---|
| By default, the summary widget will show you the daily summary of your purchase, purchase return, sales, sales return, client payment, supplier payment, expense, and balance transfer amount. From the right side, you can use the filter to see weekly, monthly, and yearly summaries. |
| Top Selling Products |
|---|
| Top Selling Products Pie chart will show you the most selling products for the running year. From this chart, you can get an idea about your best selling products and help you to maintain your stock. |
| Recent Activities |
|---|
| The recent activities widget will show you the maximum six very least invoices, purchases, expenses, and transactions. In order to see the full list, you can go you go to that specific page using the left sidebar. |
| Payment Sent vs Payment Received |
|---|
| The payment Sent vs Payment Received Line chart will show you the monthly comparison between the payment sent and received for the running year. The payment received includes client payments and loan payments(Received) on the other hand payment sent includes supplier payments and the loan payments(Sent). |
| Top 5 Clients |
|---|
| The top 5 Clients leaderboard shows the customer with their maximum buying amount. It will show a maximum of 5 customers with their total amount and total invoice number for the running year. |
| Stock Alert |
|---|
| Stock Alert table shows a maximum of six products with current stock. The products displayed are in ascending order based on the stock quantity. |
| Sales vs Purchases |
|---|
| Sales vs Purchases Bar chart will show you the monthly comparison between the sales and purchases. Here the amount has been calculated after deduction of the sale return and purchase return amount. |
Expenses
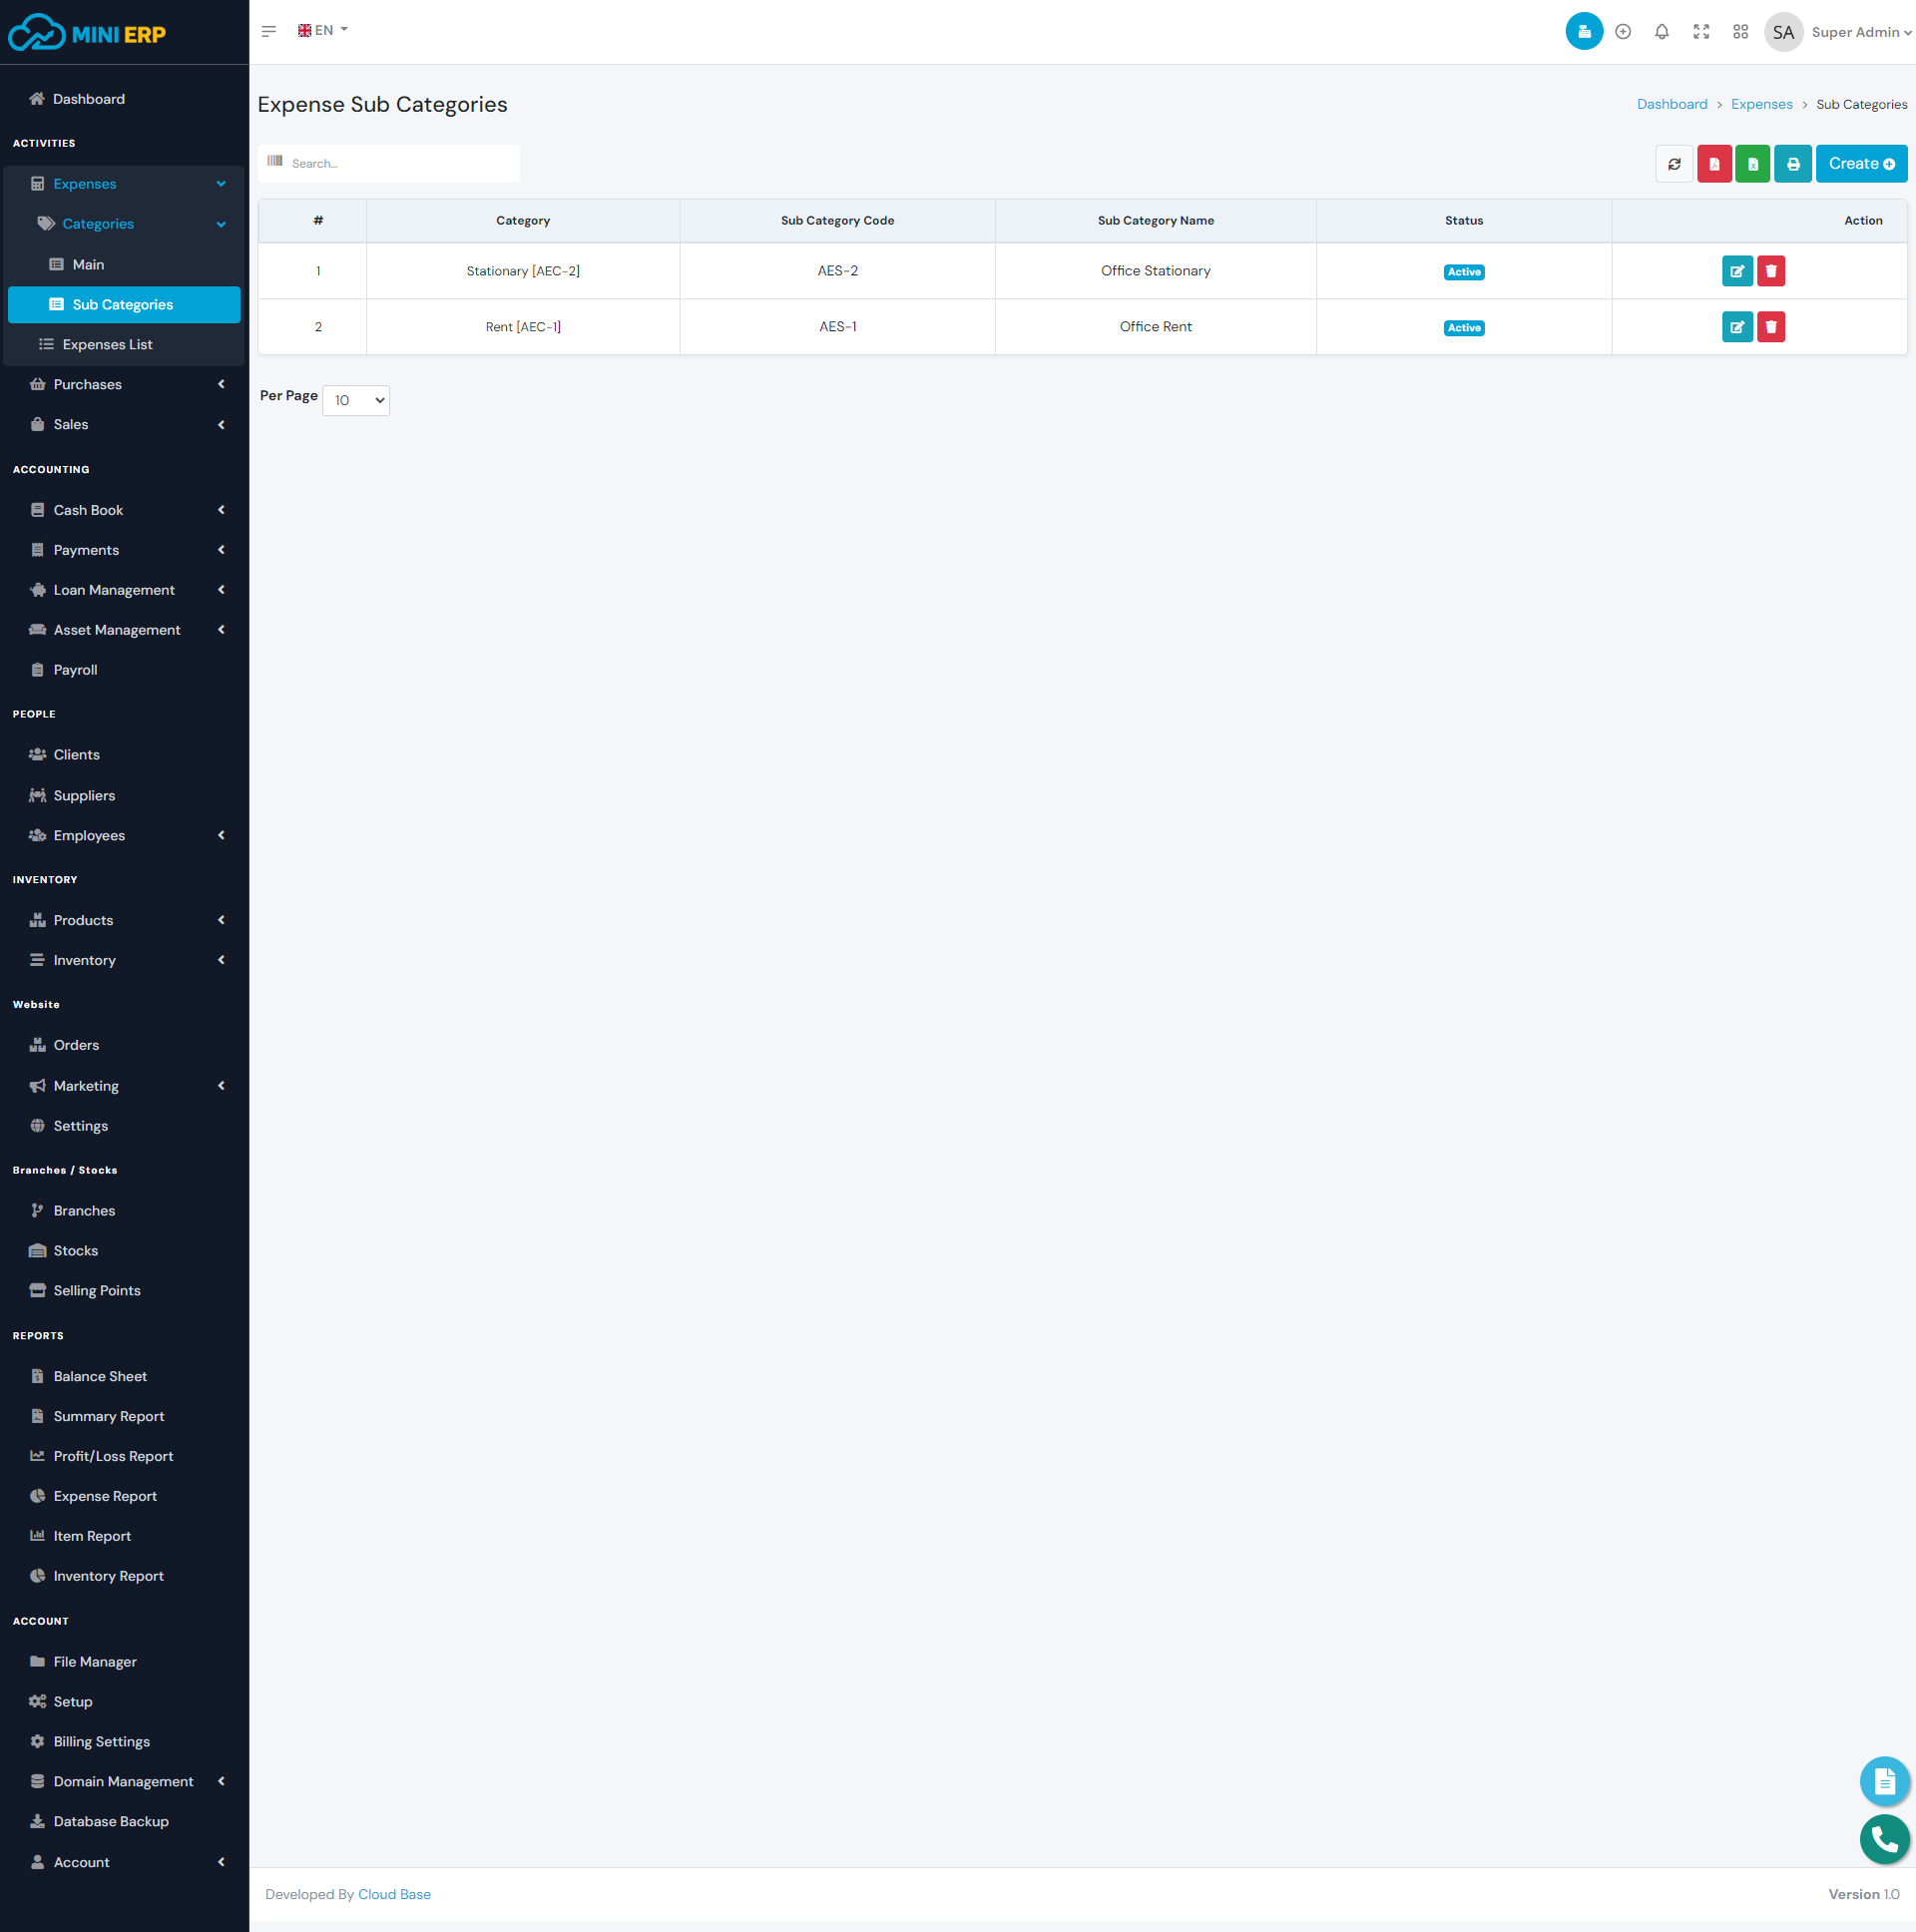
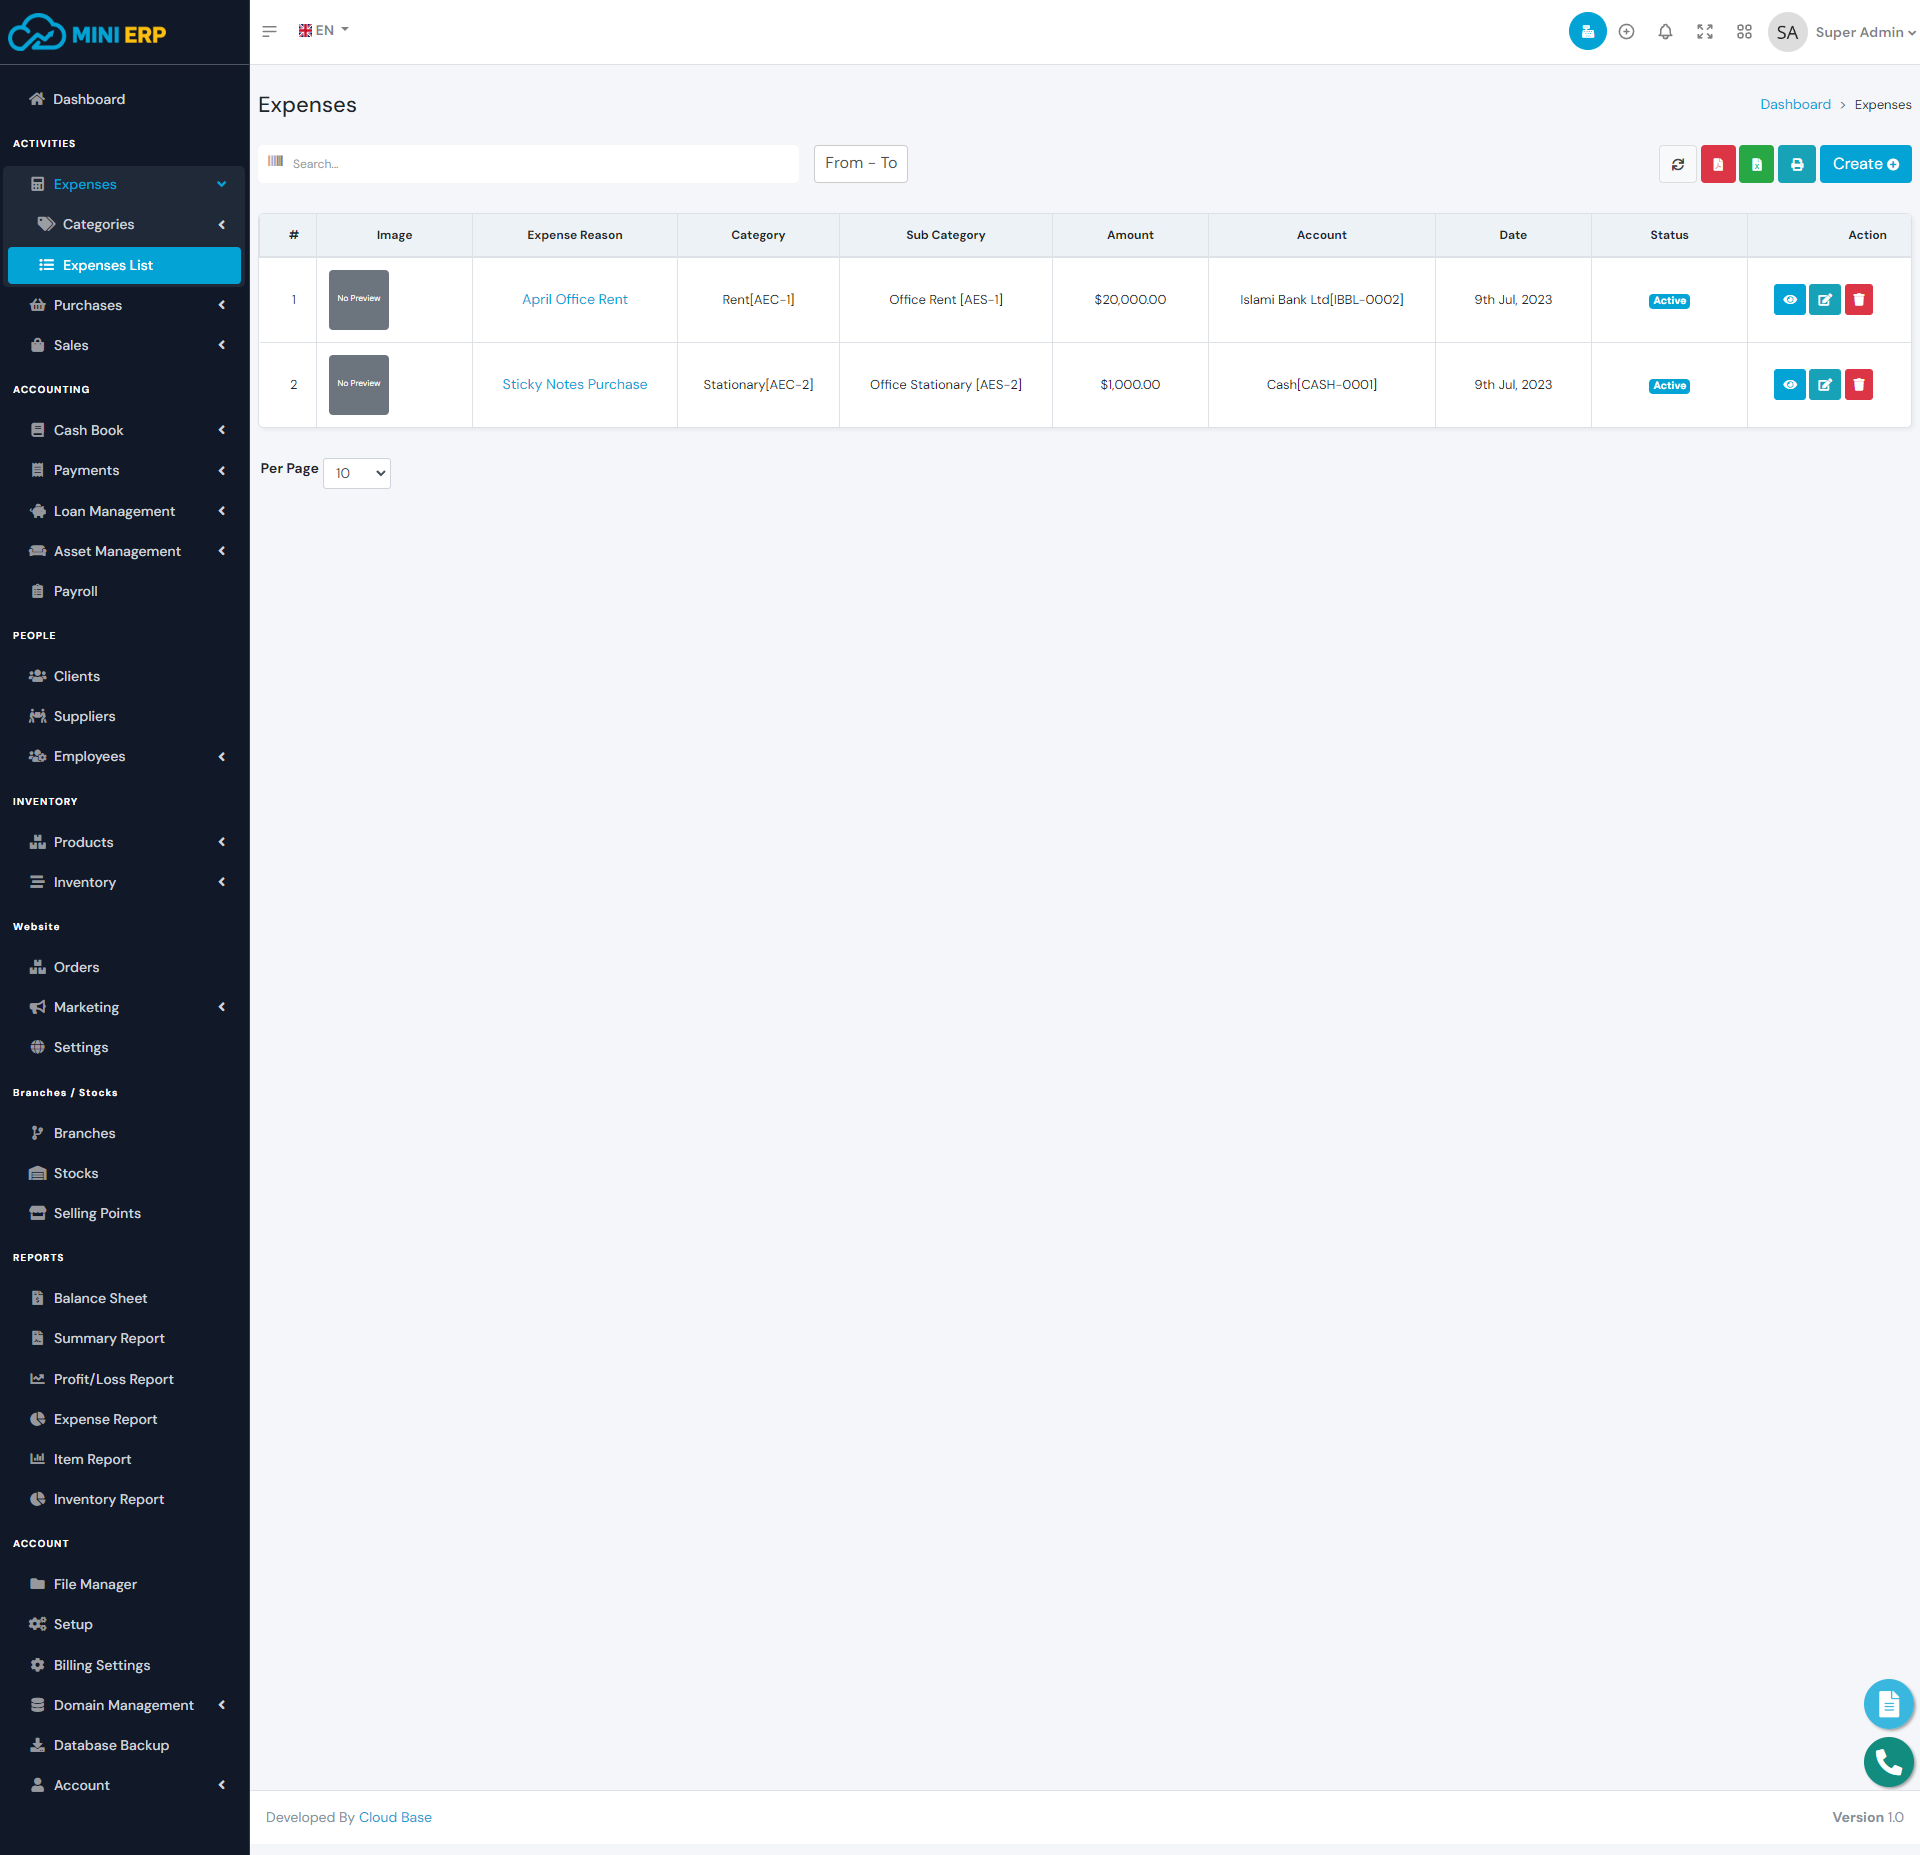
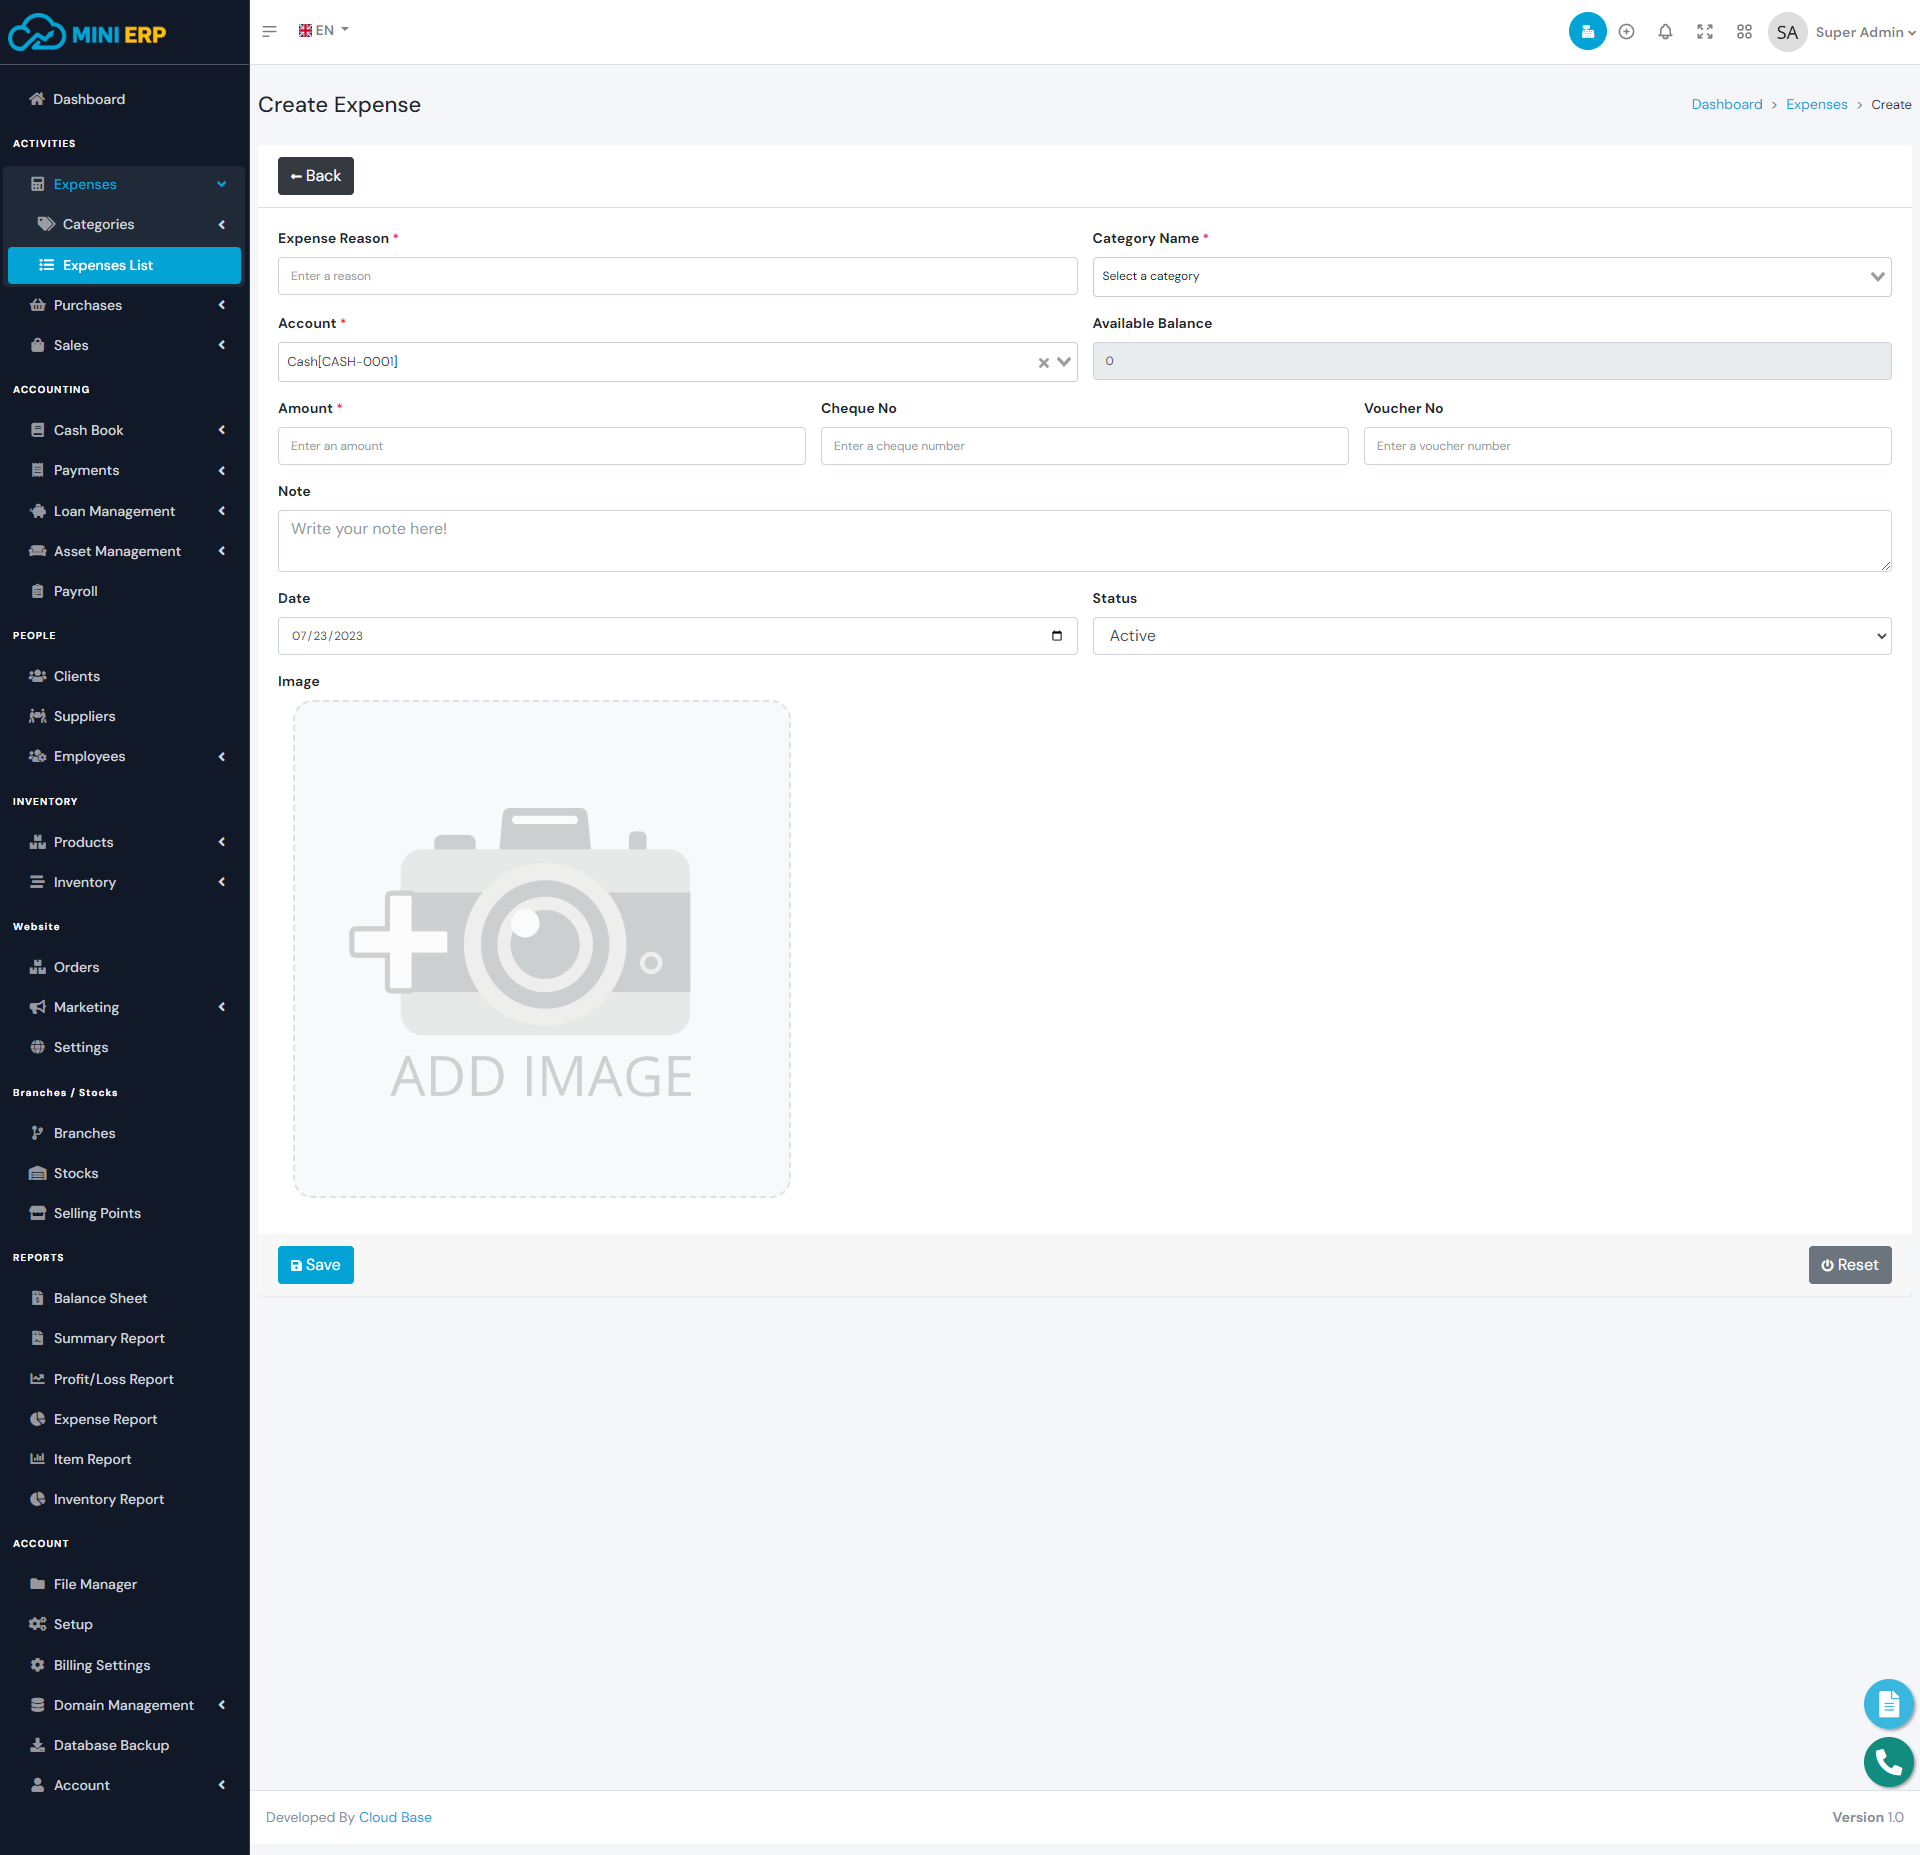
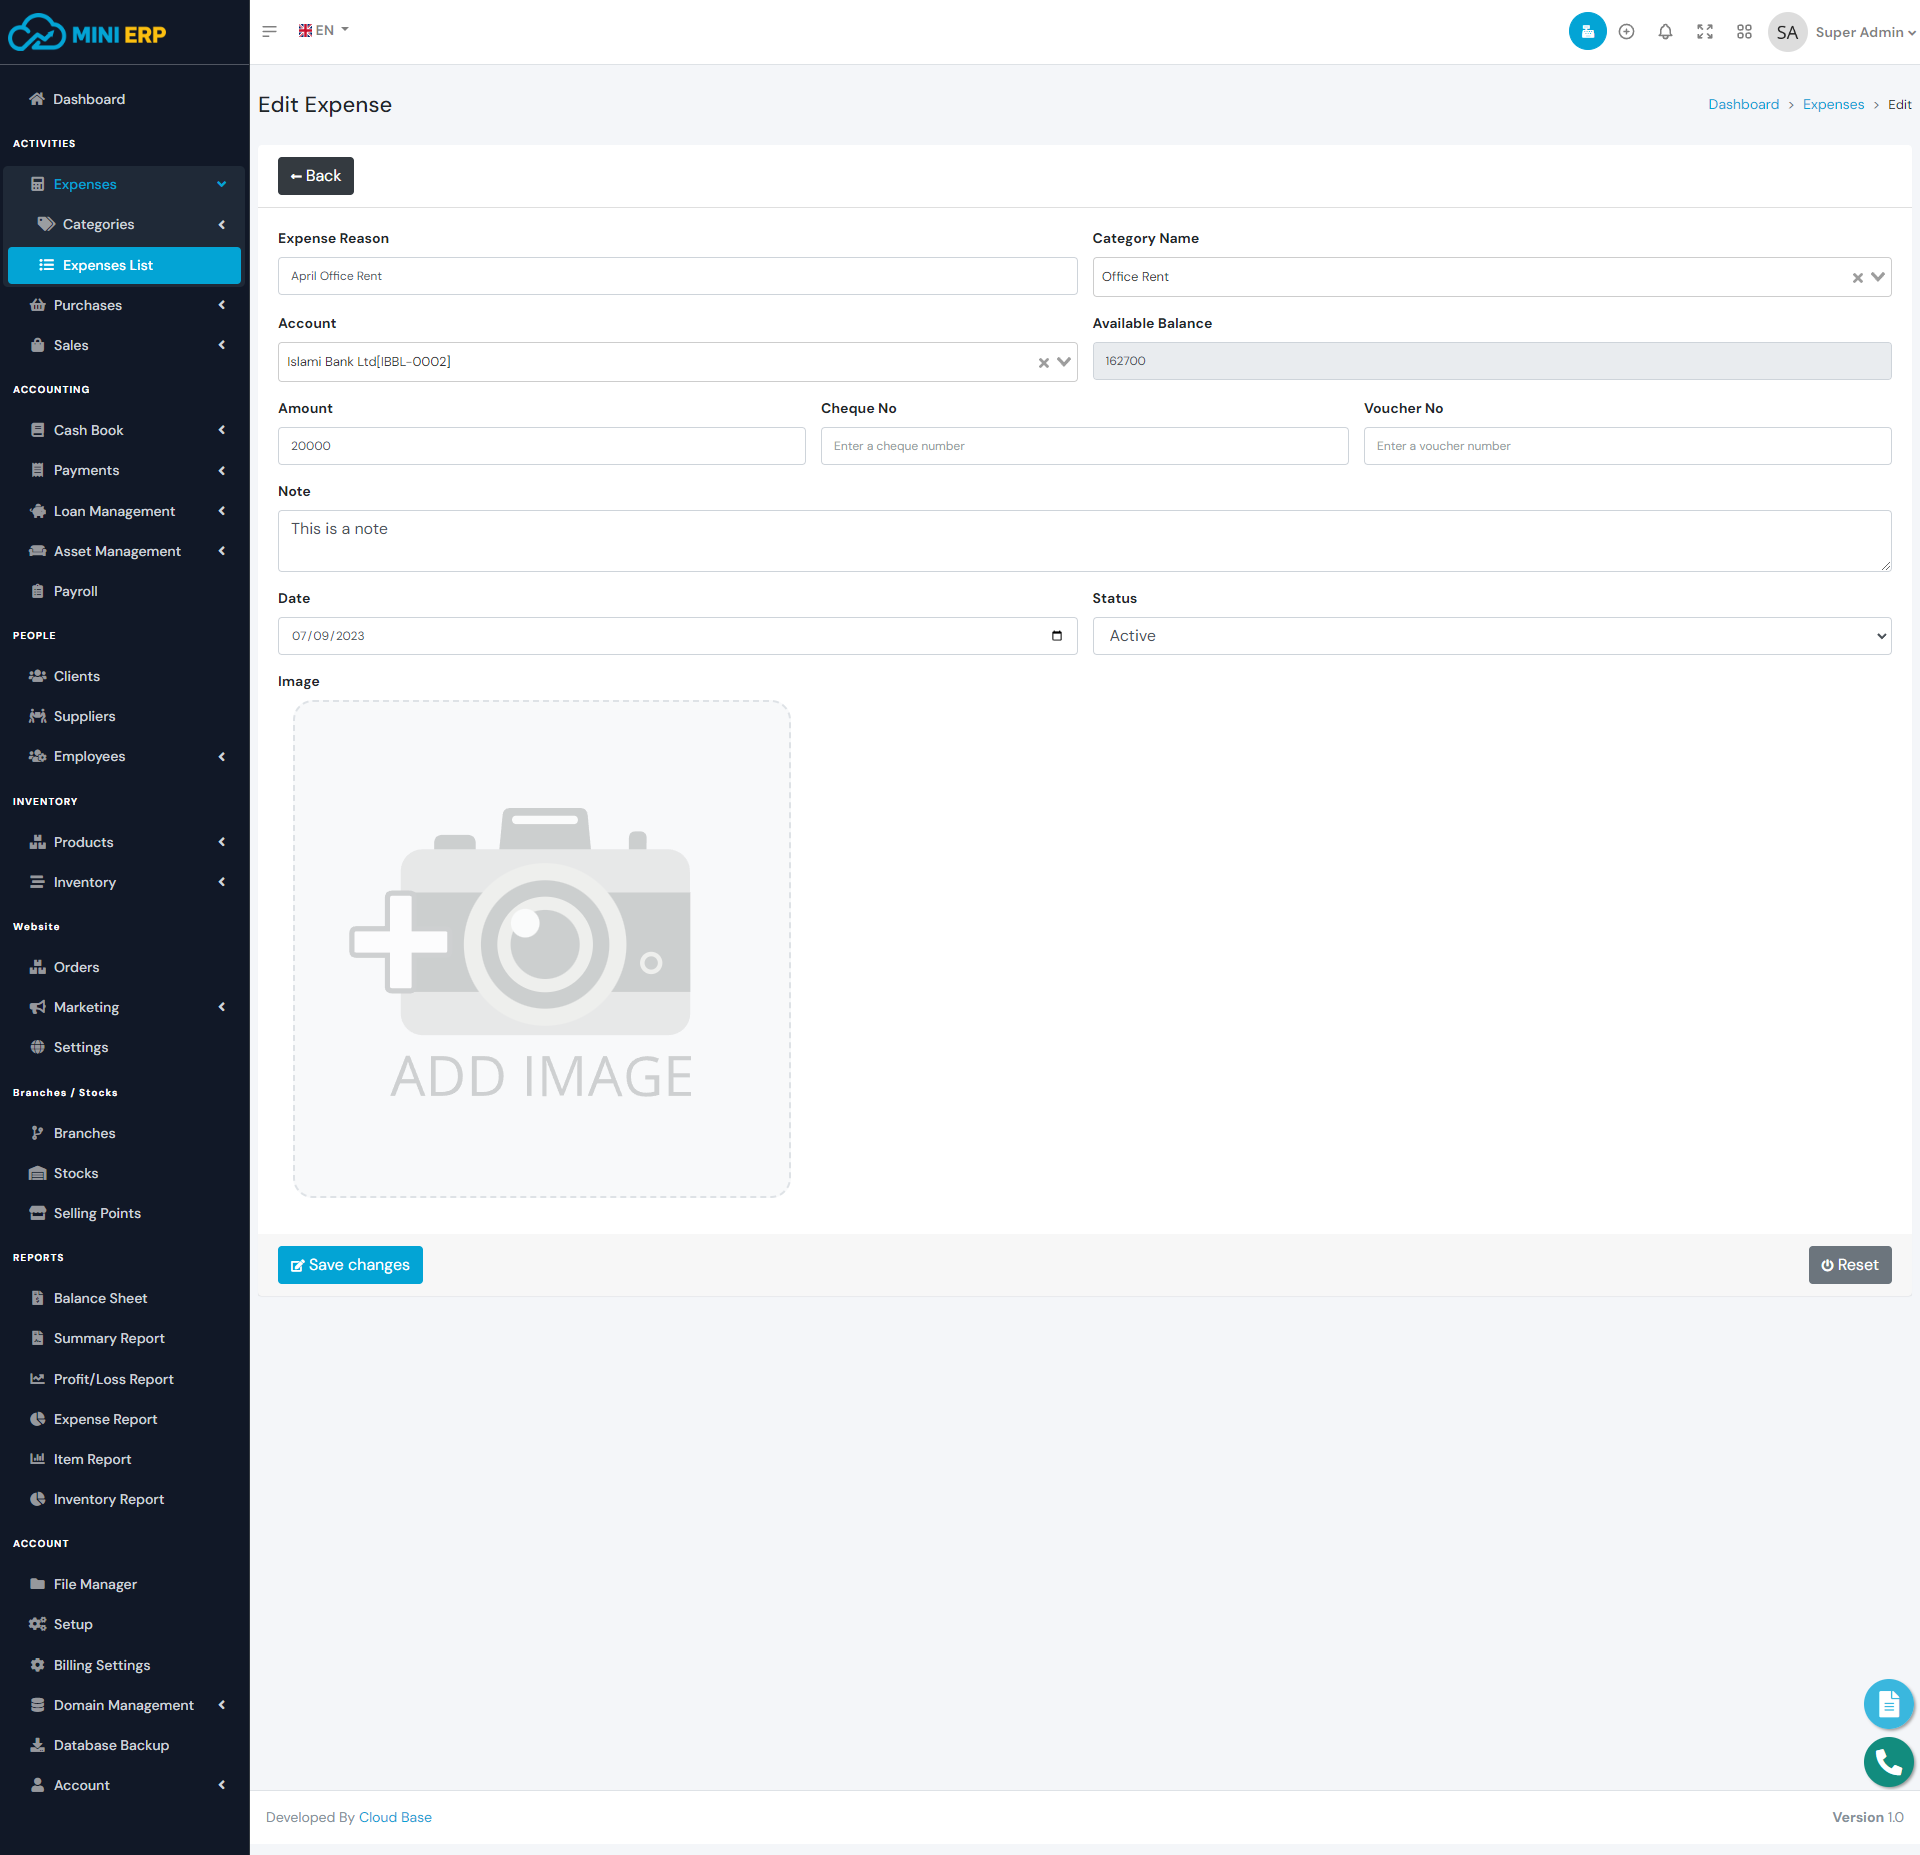
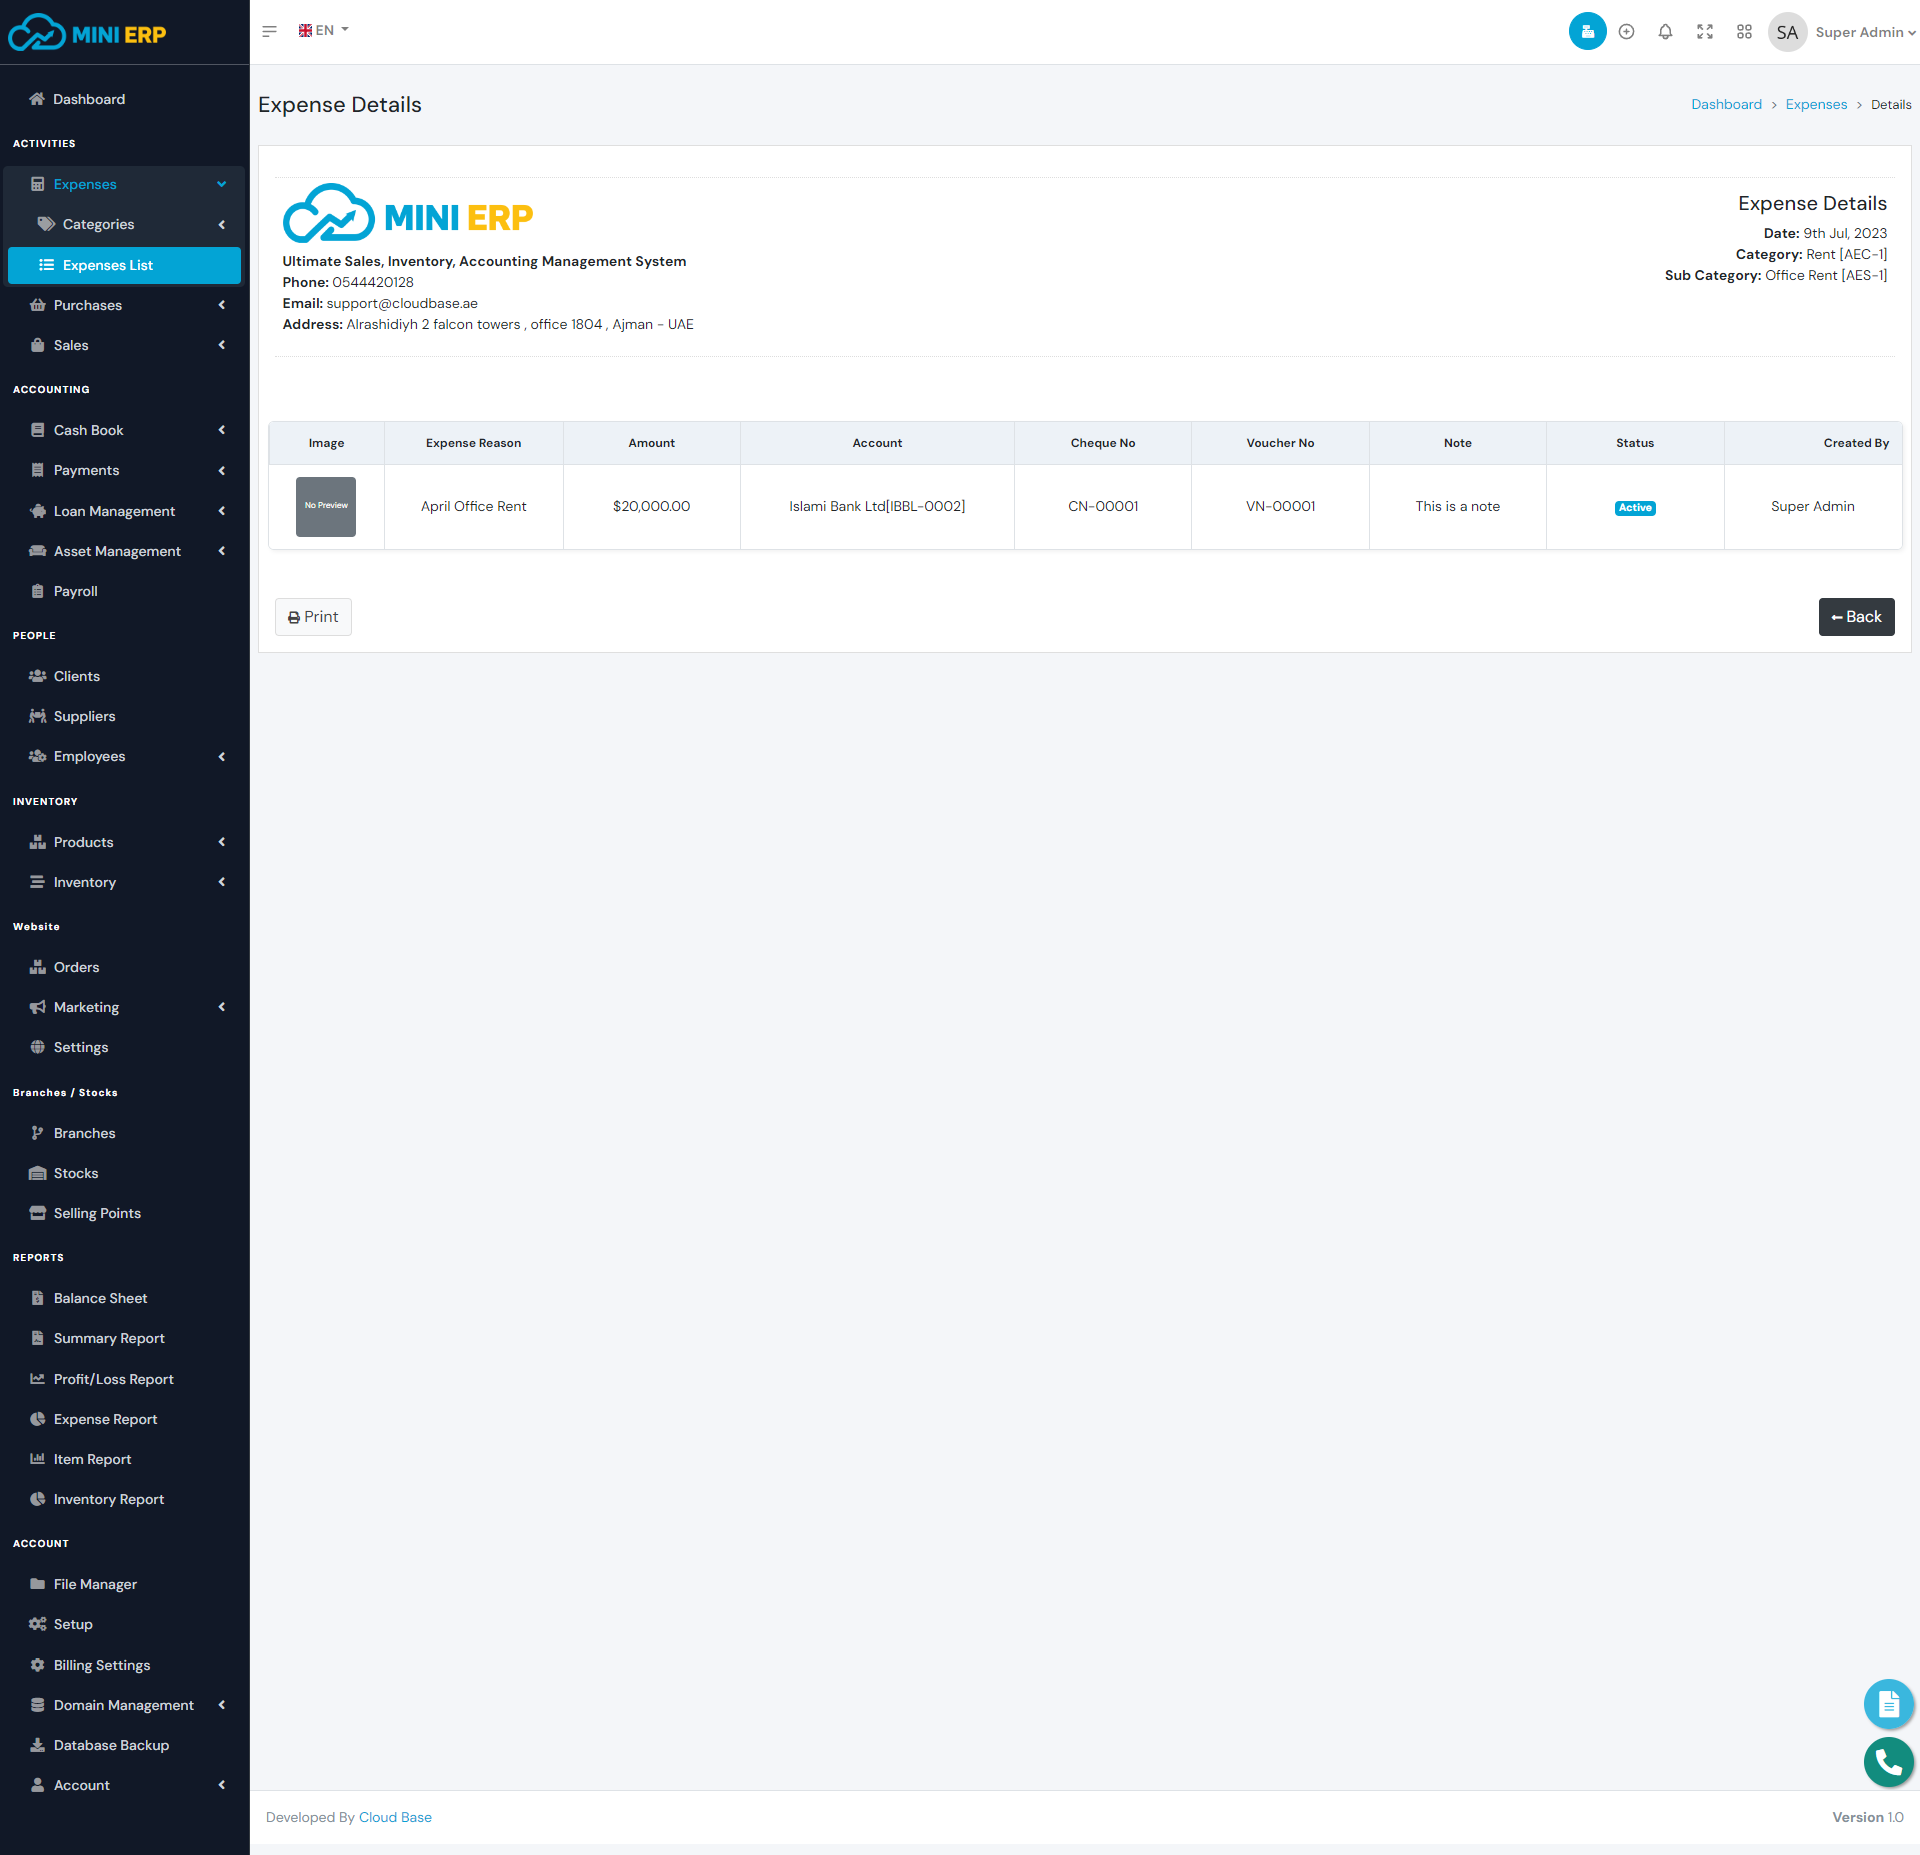
Expense management module allow you to manage your company expenses. All expenses are connected with accounts. In order to create any expense, you need to create Expense Categories, Expense Sub Categories and Account first.
| Required fields to create an expense |
|---|
| Expense Reason => Reason for your expense. Type any reason as plain text. |
| Category Name => Sub category for this expense. Select any sub category from the list. |
| Account => The account that you want to use for this expense. Select an account from the list. The available balance must be greater than the expense amount. |
Purchases
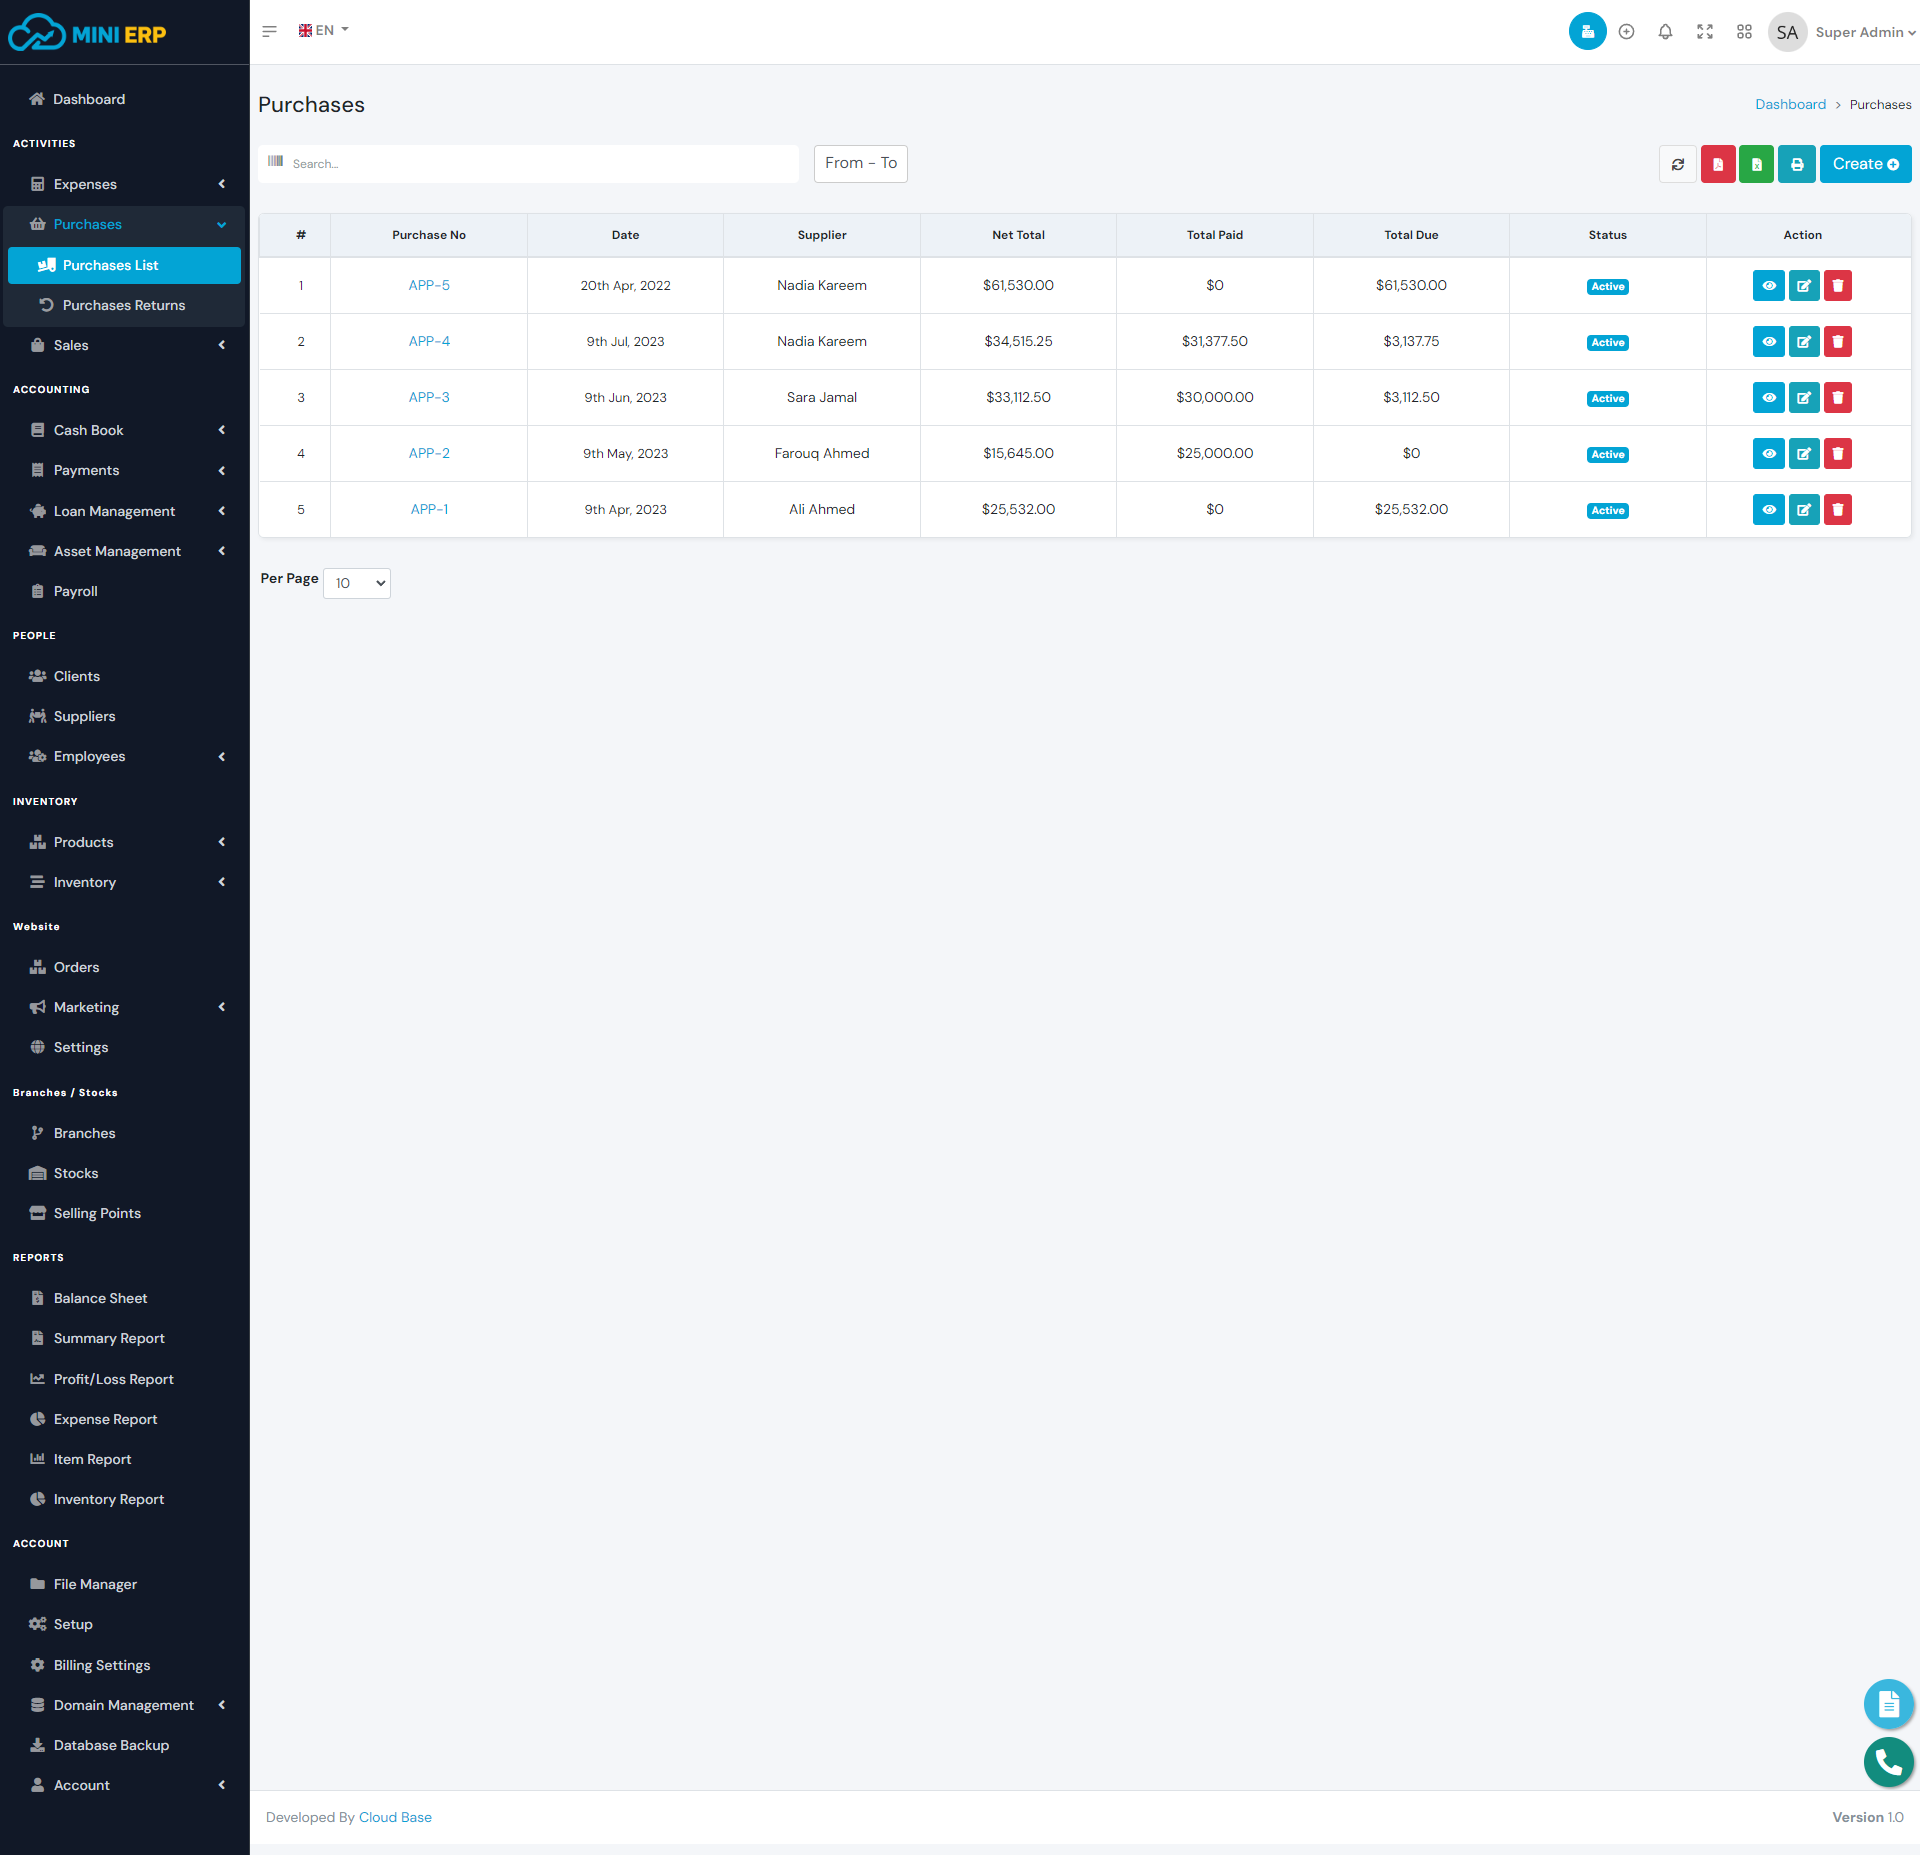
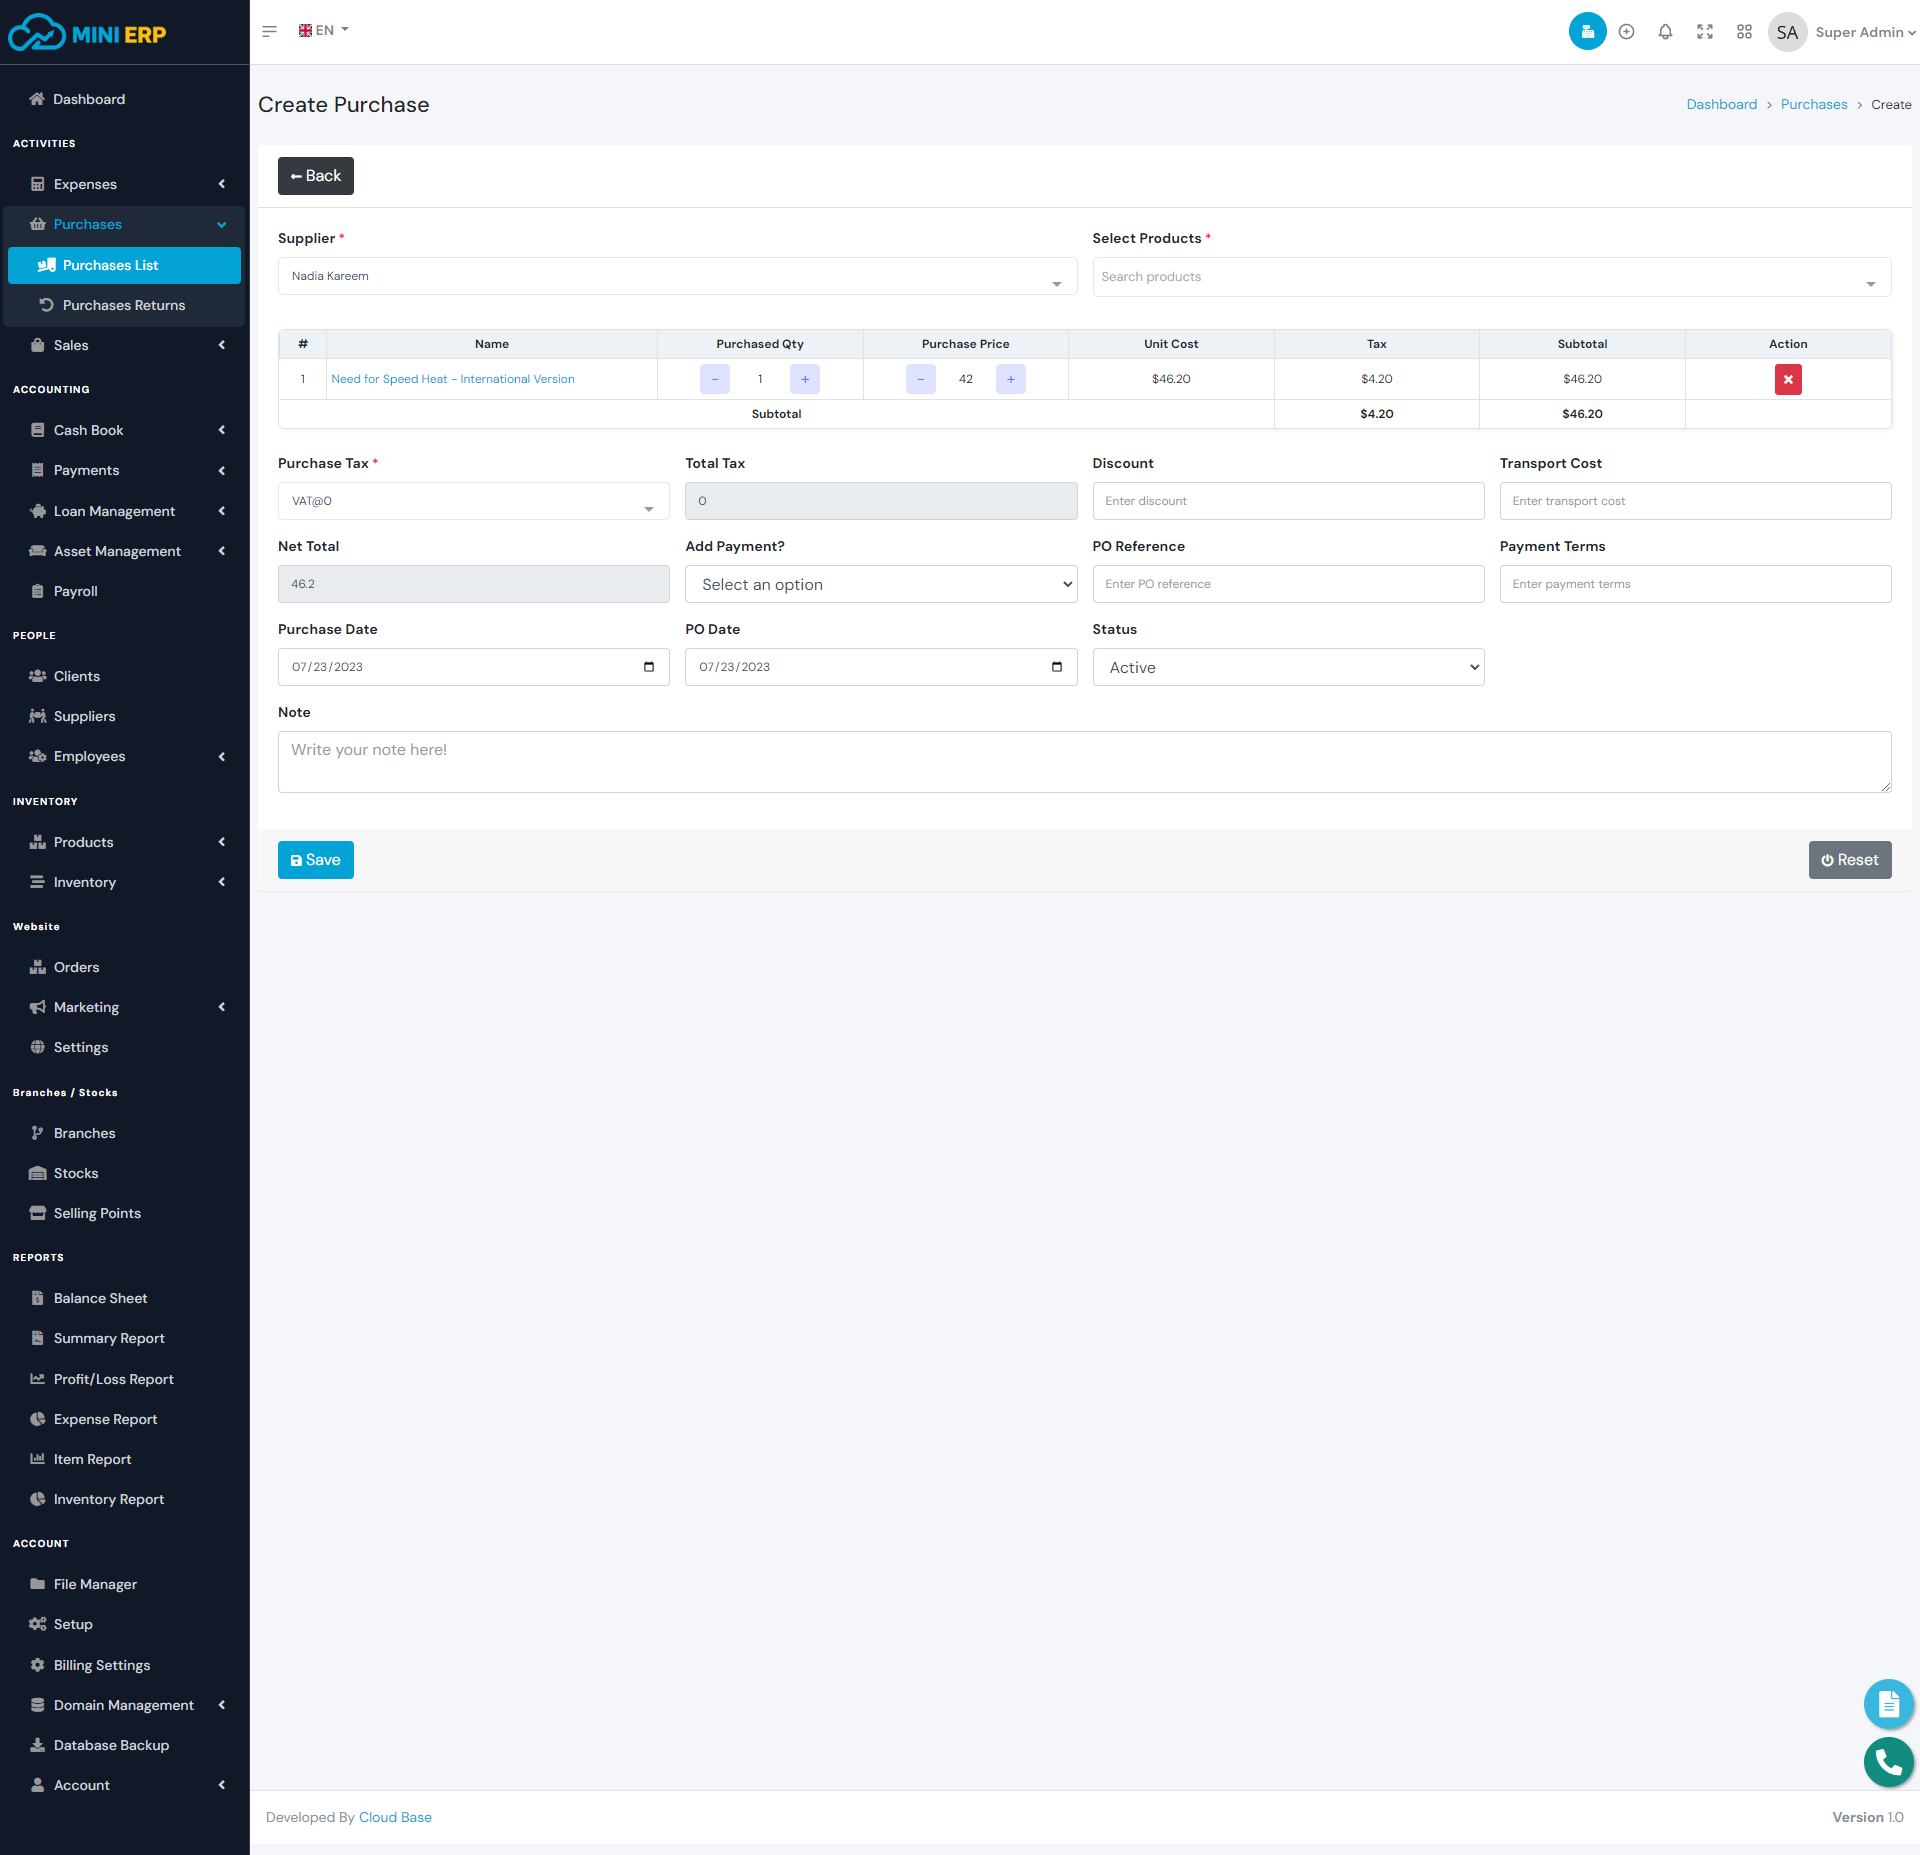
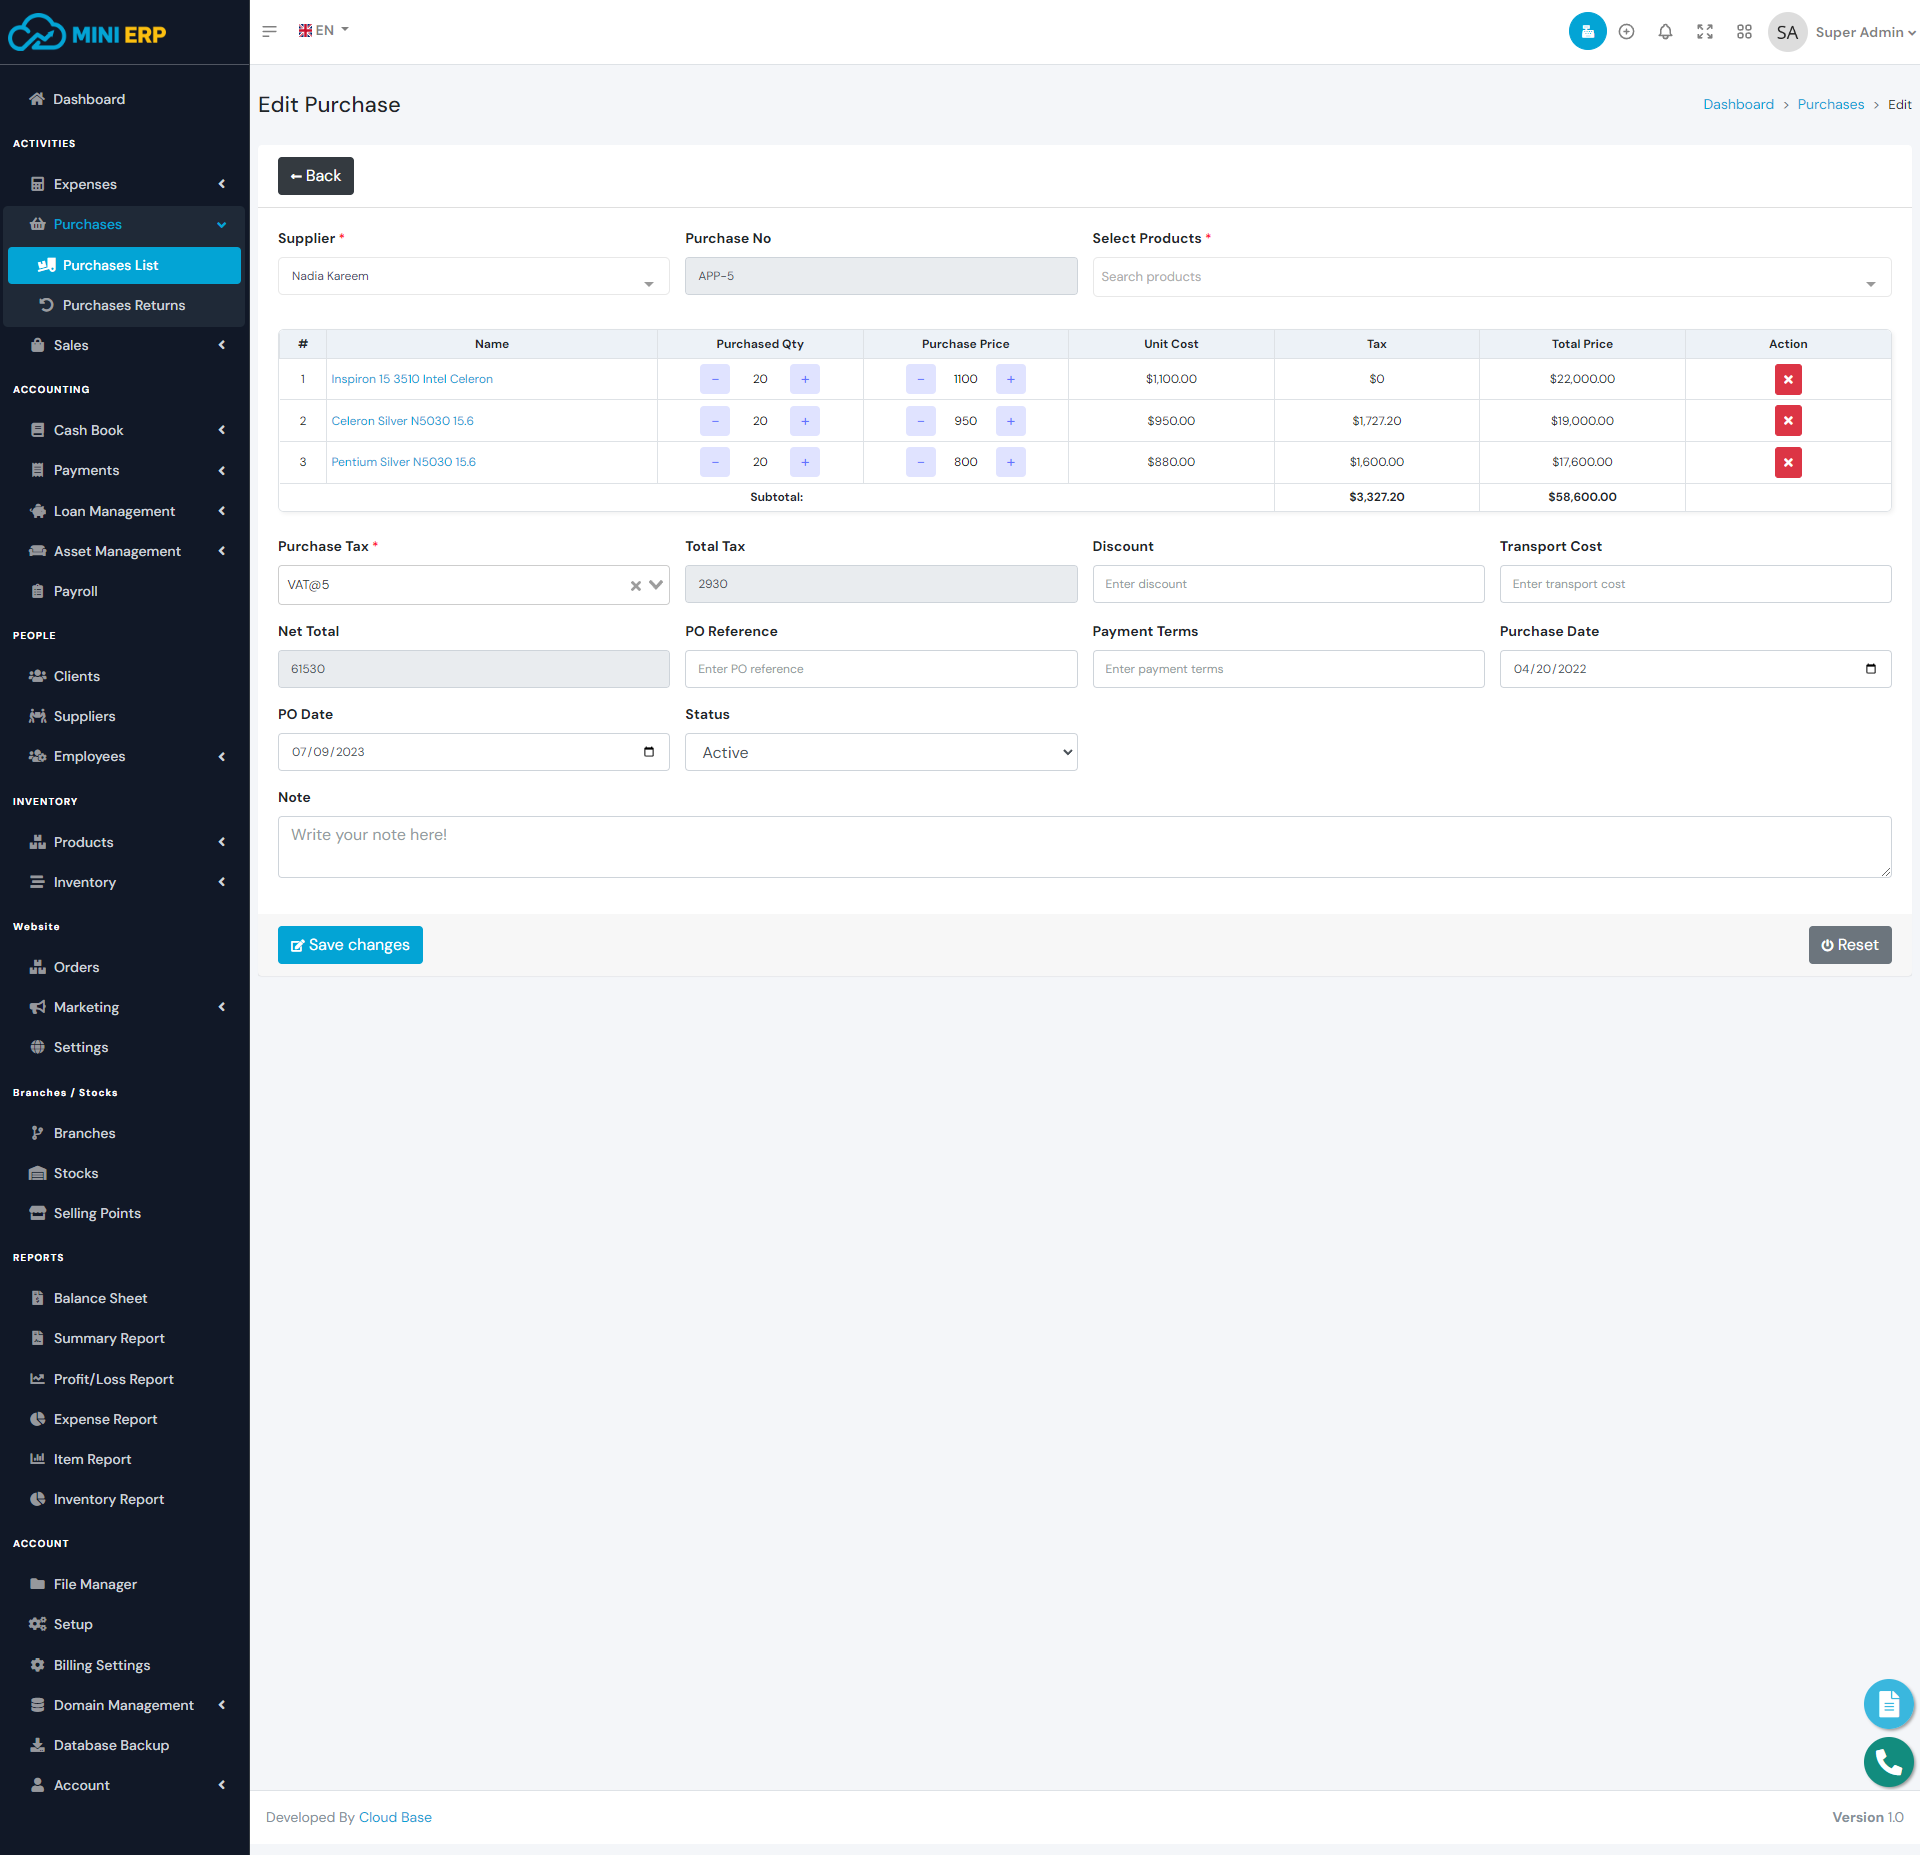
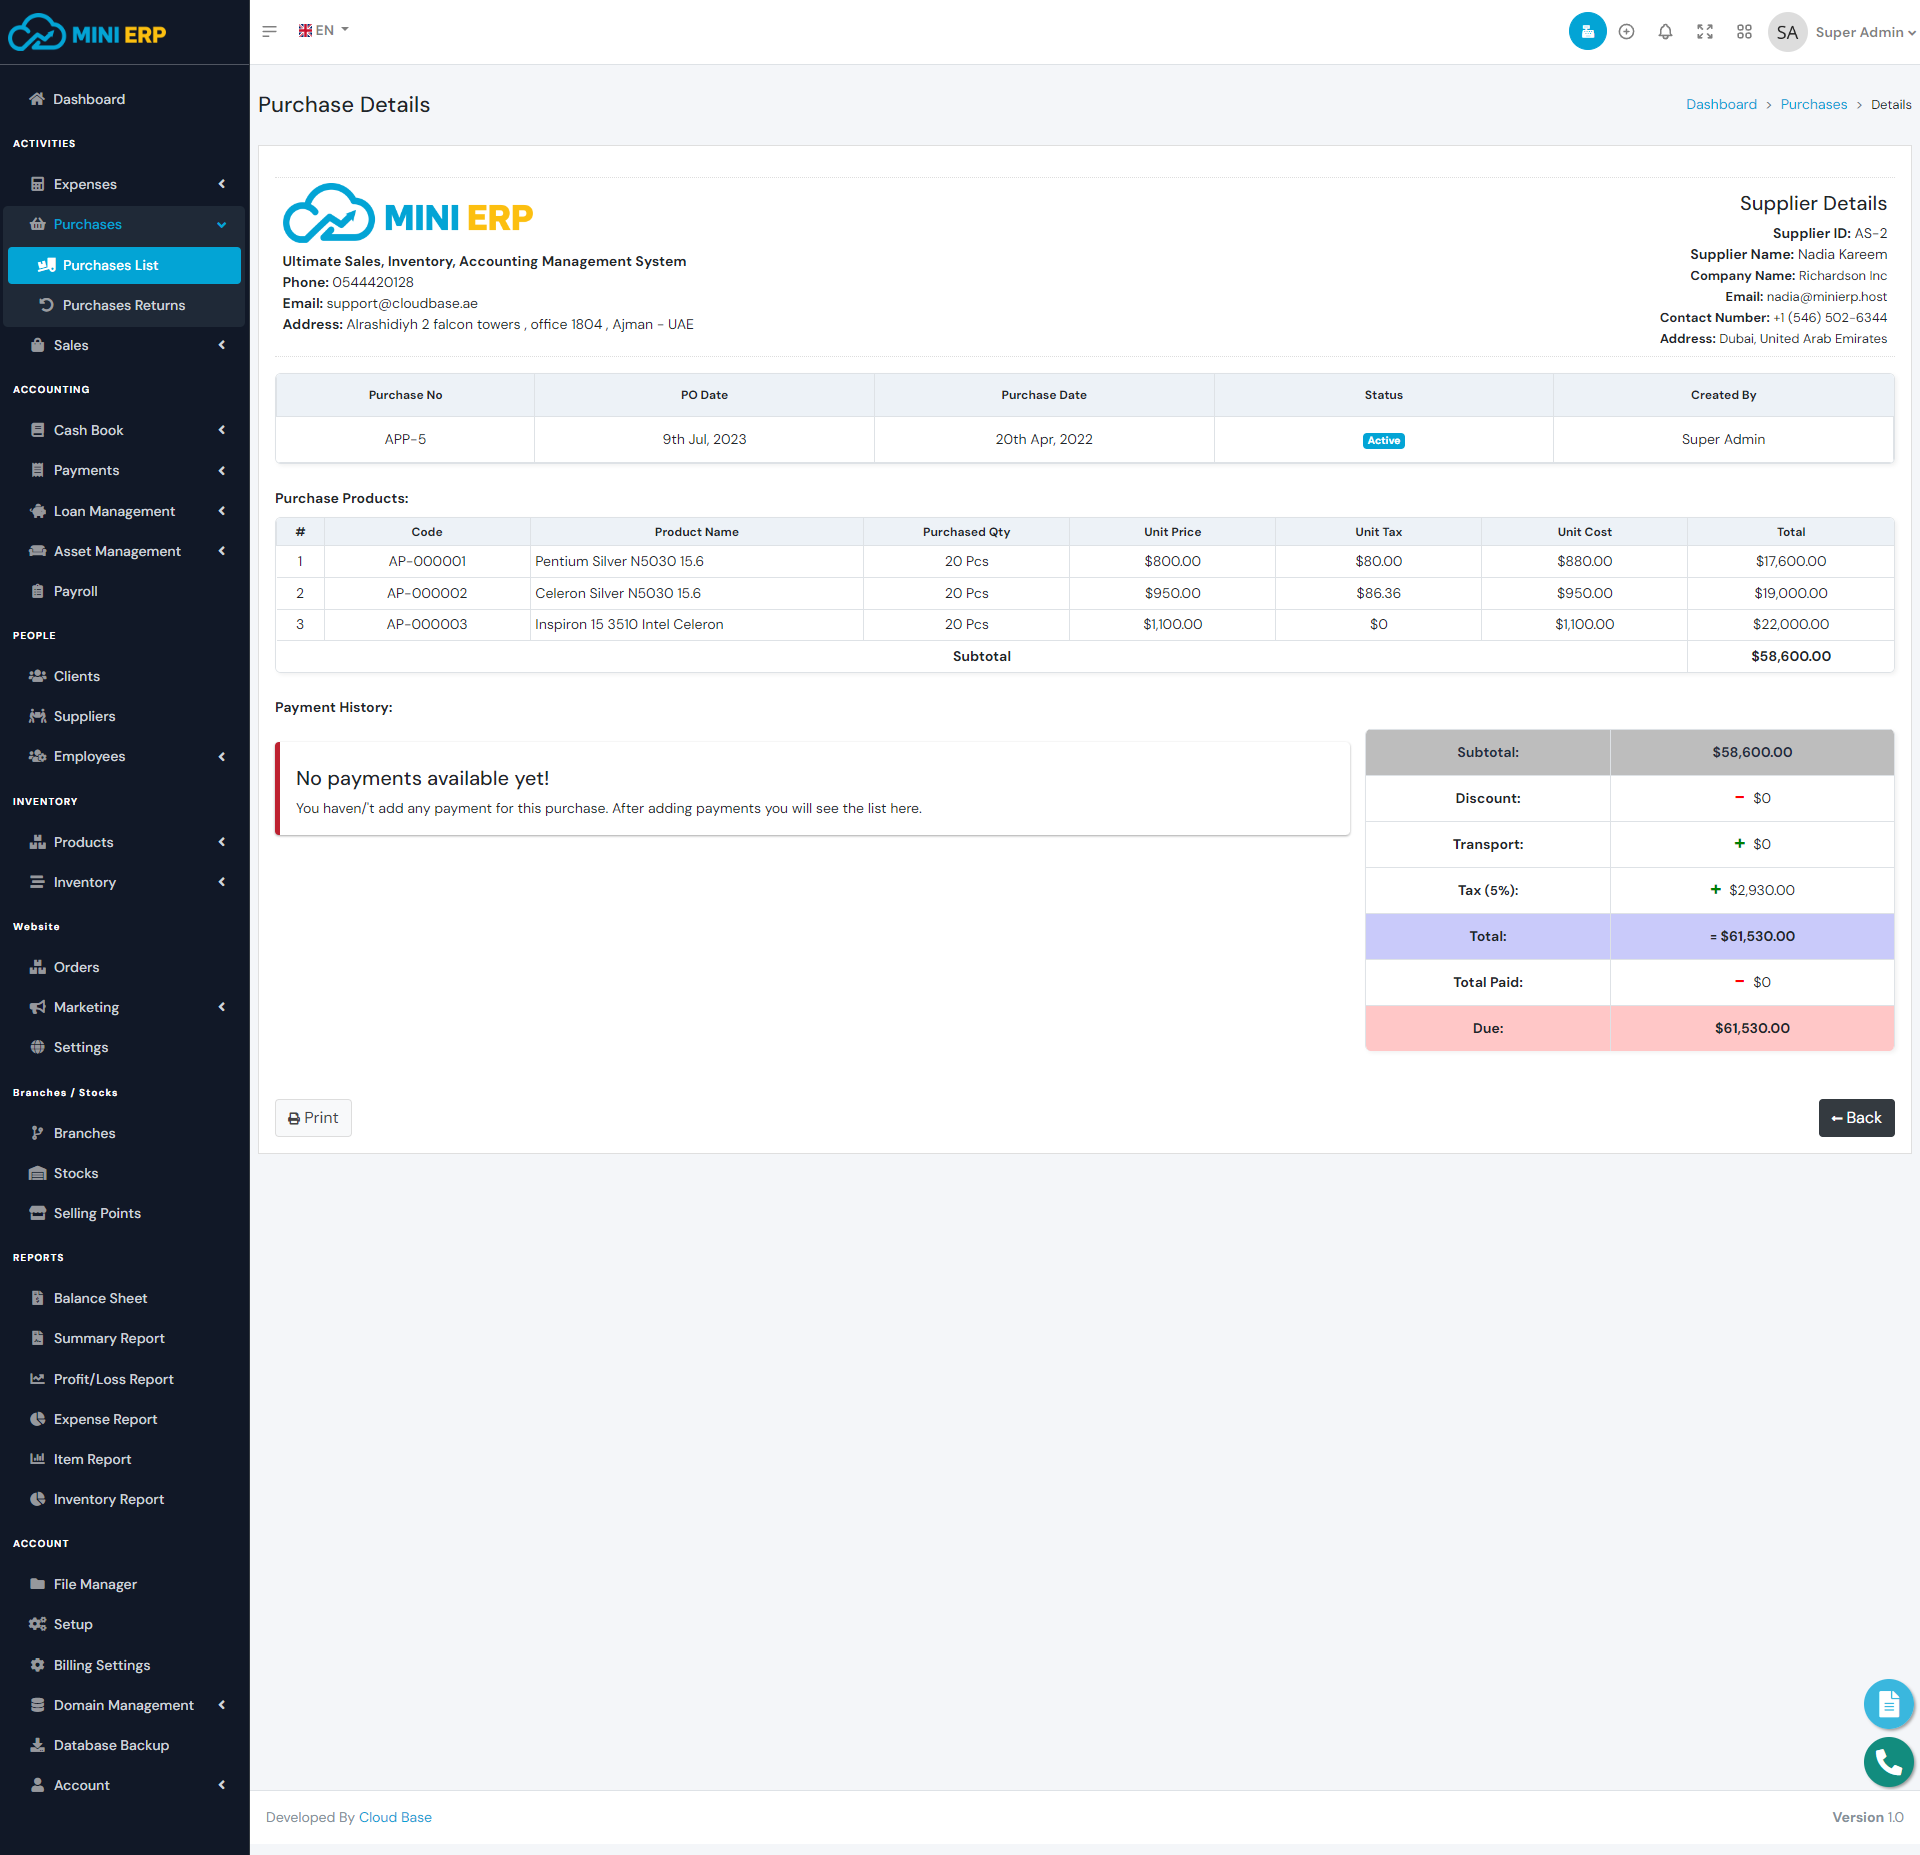
Purchase management module allow you to manage purchases for your products. By creating purchases the stock quantity of products will be increased and by deleting purchases the stock quantity of products will be decreased. When creating a purchase you can send a payment directly from the create page or you can do it later from the payments module. In order to create a purchase, you need to create Supplier, Products, VAT Rates, and Account first.
| Required fields to create a purchase |
|---|
| Supplier => Supplier from whom you are purchasing. Select a supplier from the list. |
| Select Products => Products that you want to purchase. You can select single or multiple products from the list. |
| Purchase Tax => Tax that you want to use for this purchase. Select a tax rate from the list. |
| Account(If you wish to add payment) => The account that you want to use for this purchase payment. Select an account from the list. The available balance must be greater than the paying amount. |
Note: This is a relational module. If you delete any purchase then the purchase return and purchase payments will be deleted automatically. Deleting any purchase will decrease the stock quantity which may have an impact on the sales modules. So we recommend you to use the delete option very carefully.
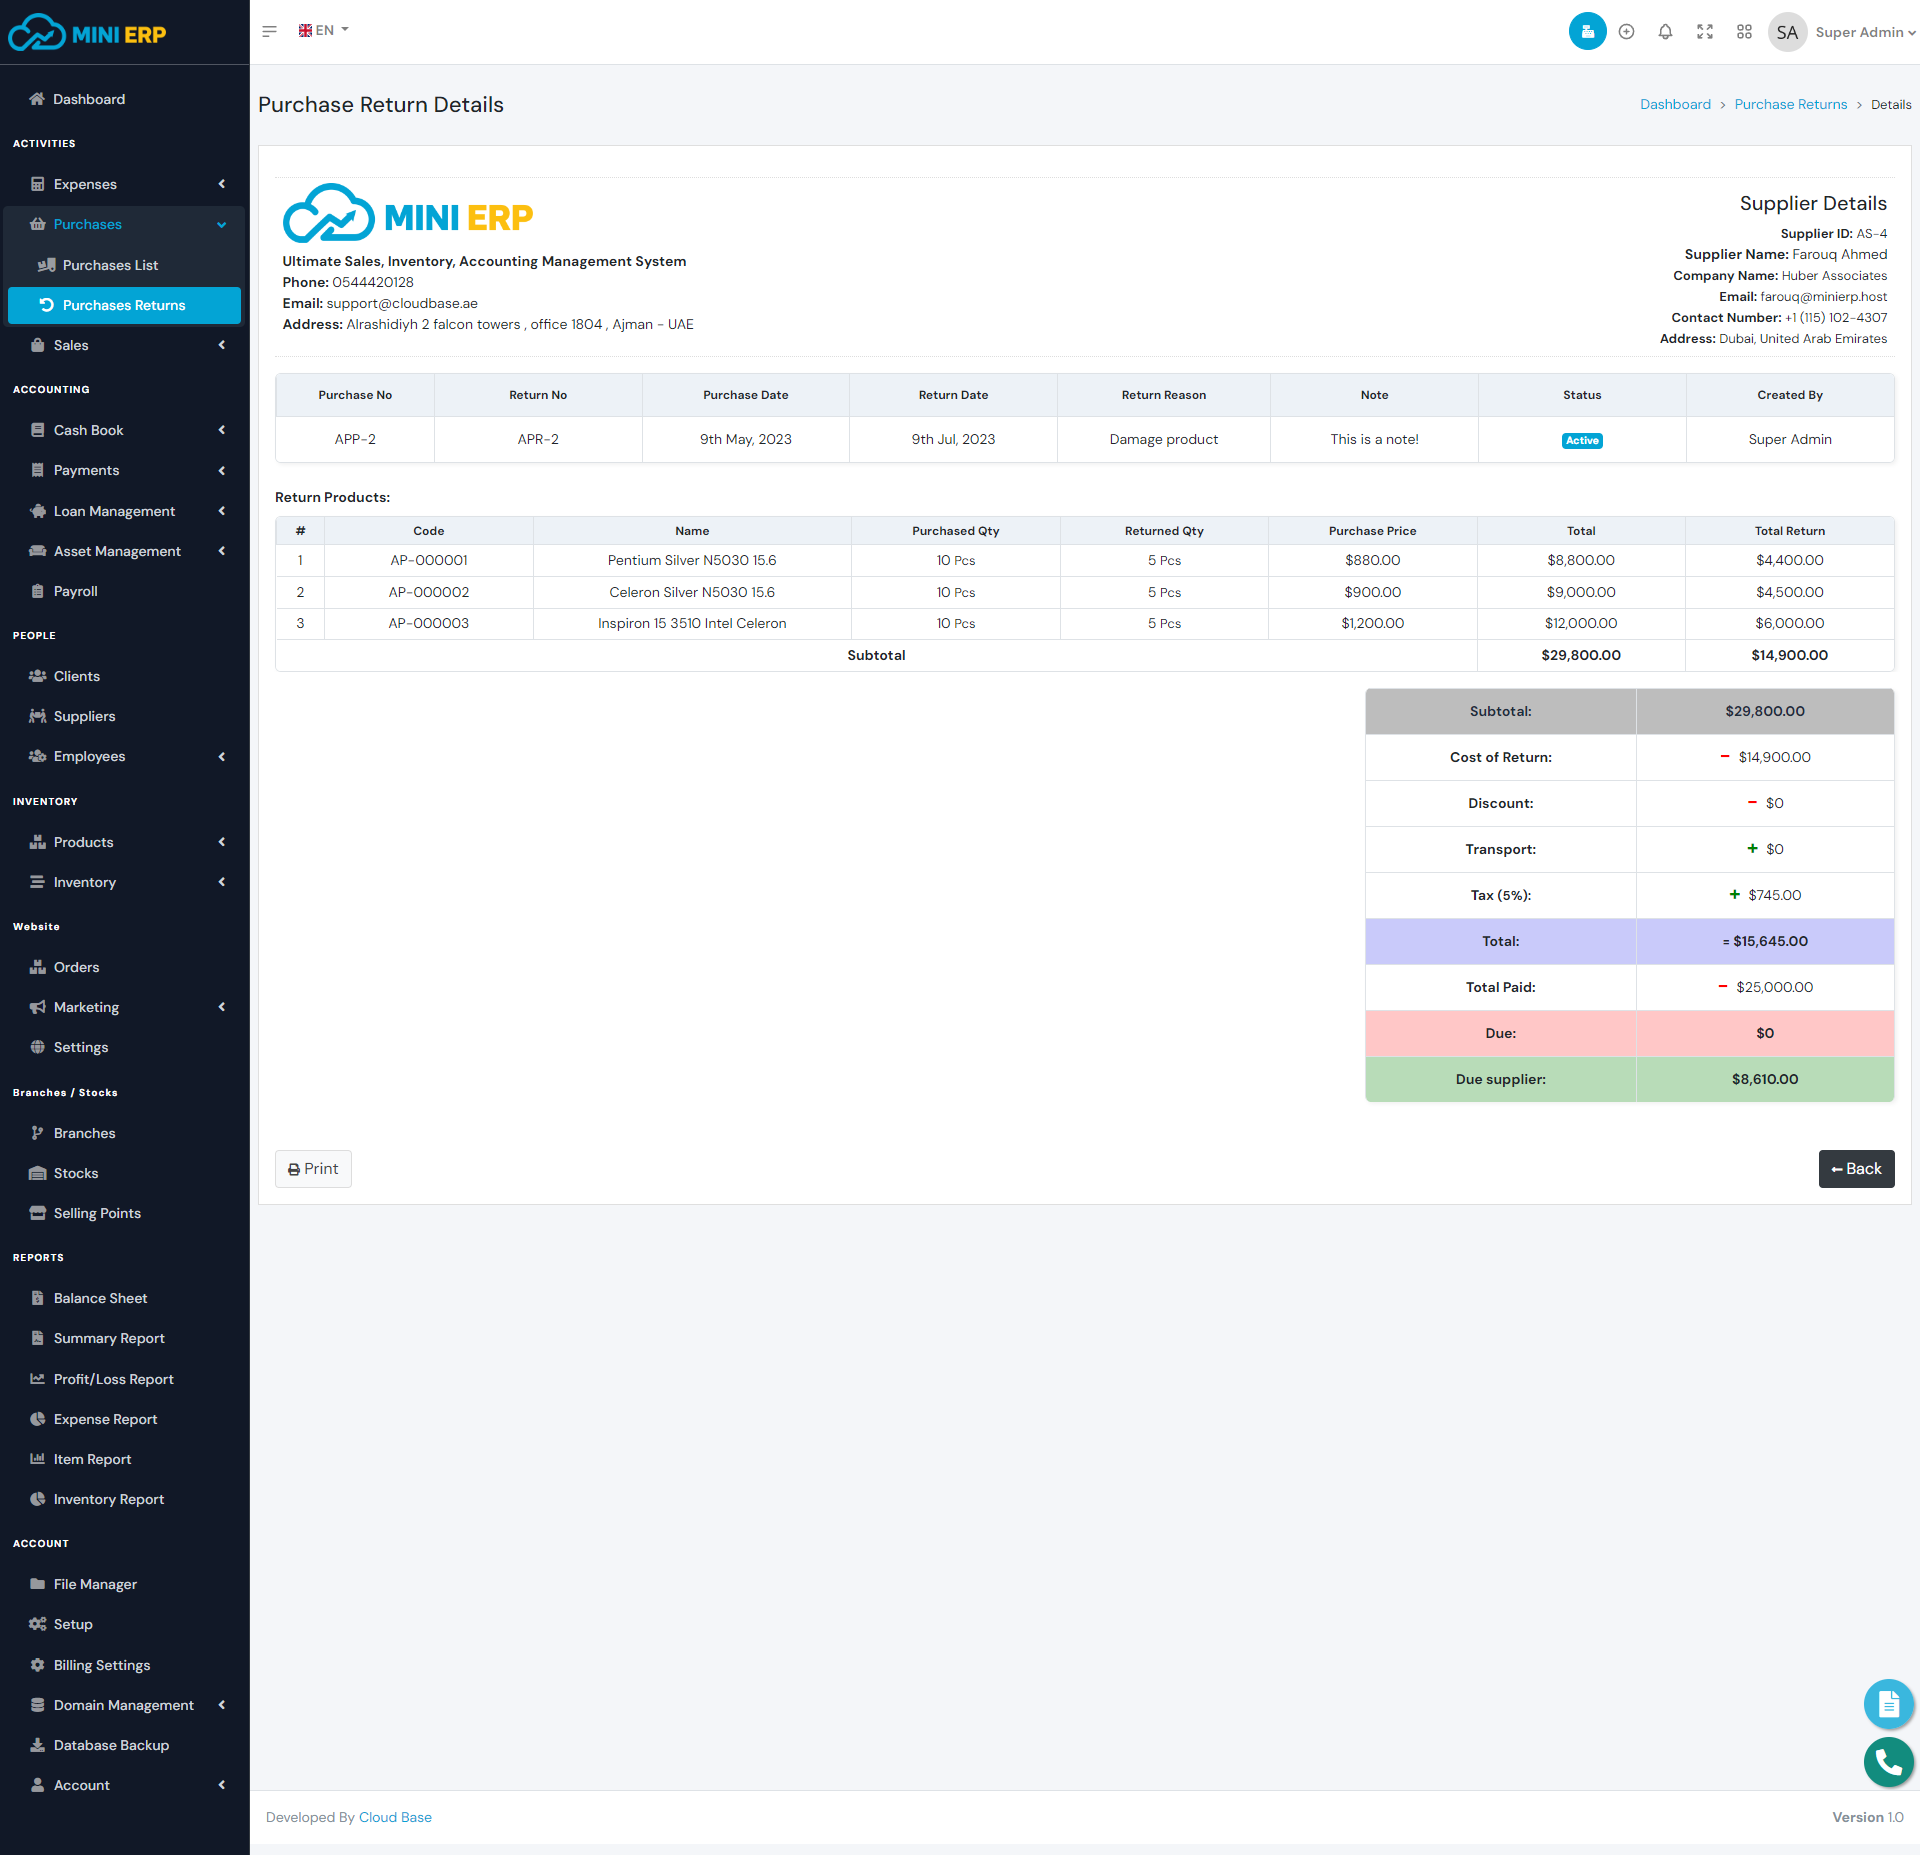
Purchase Returns
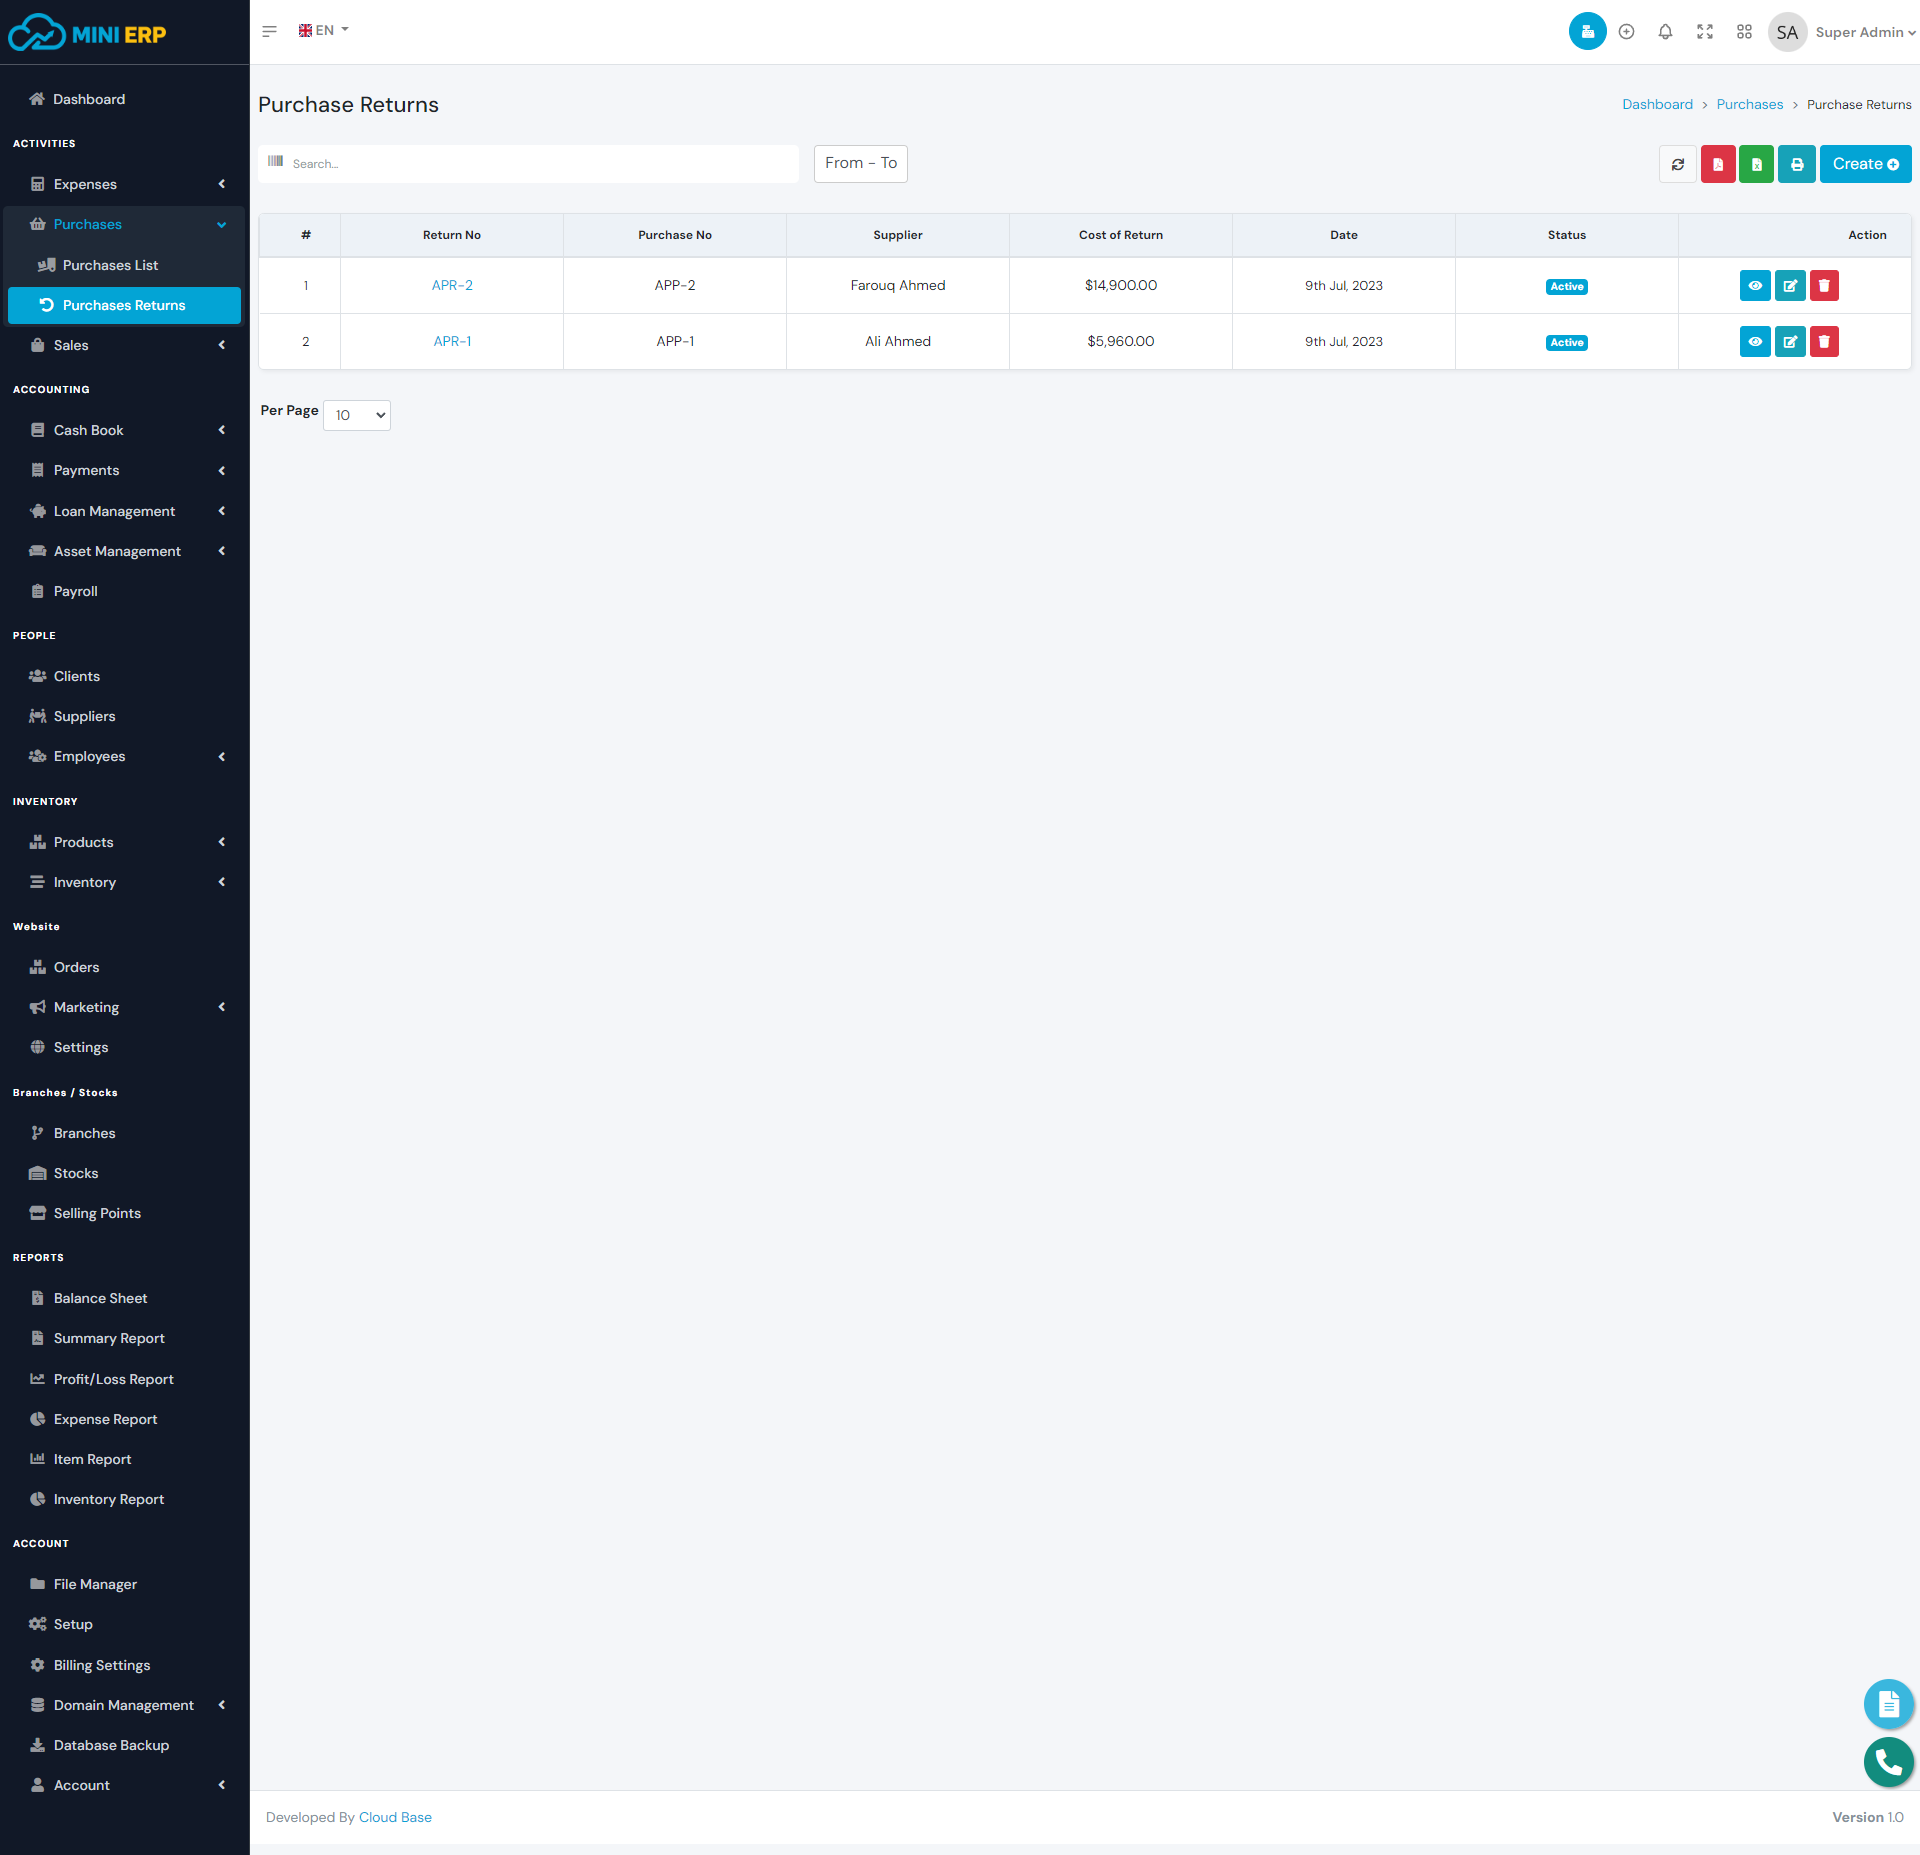
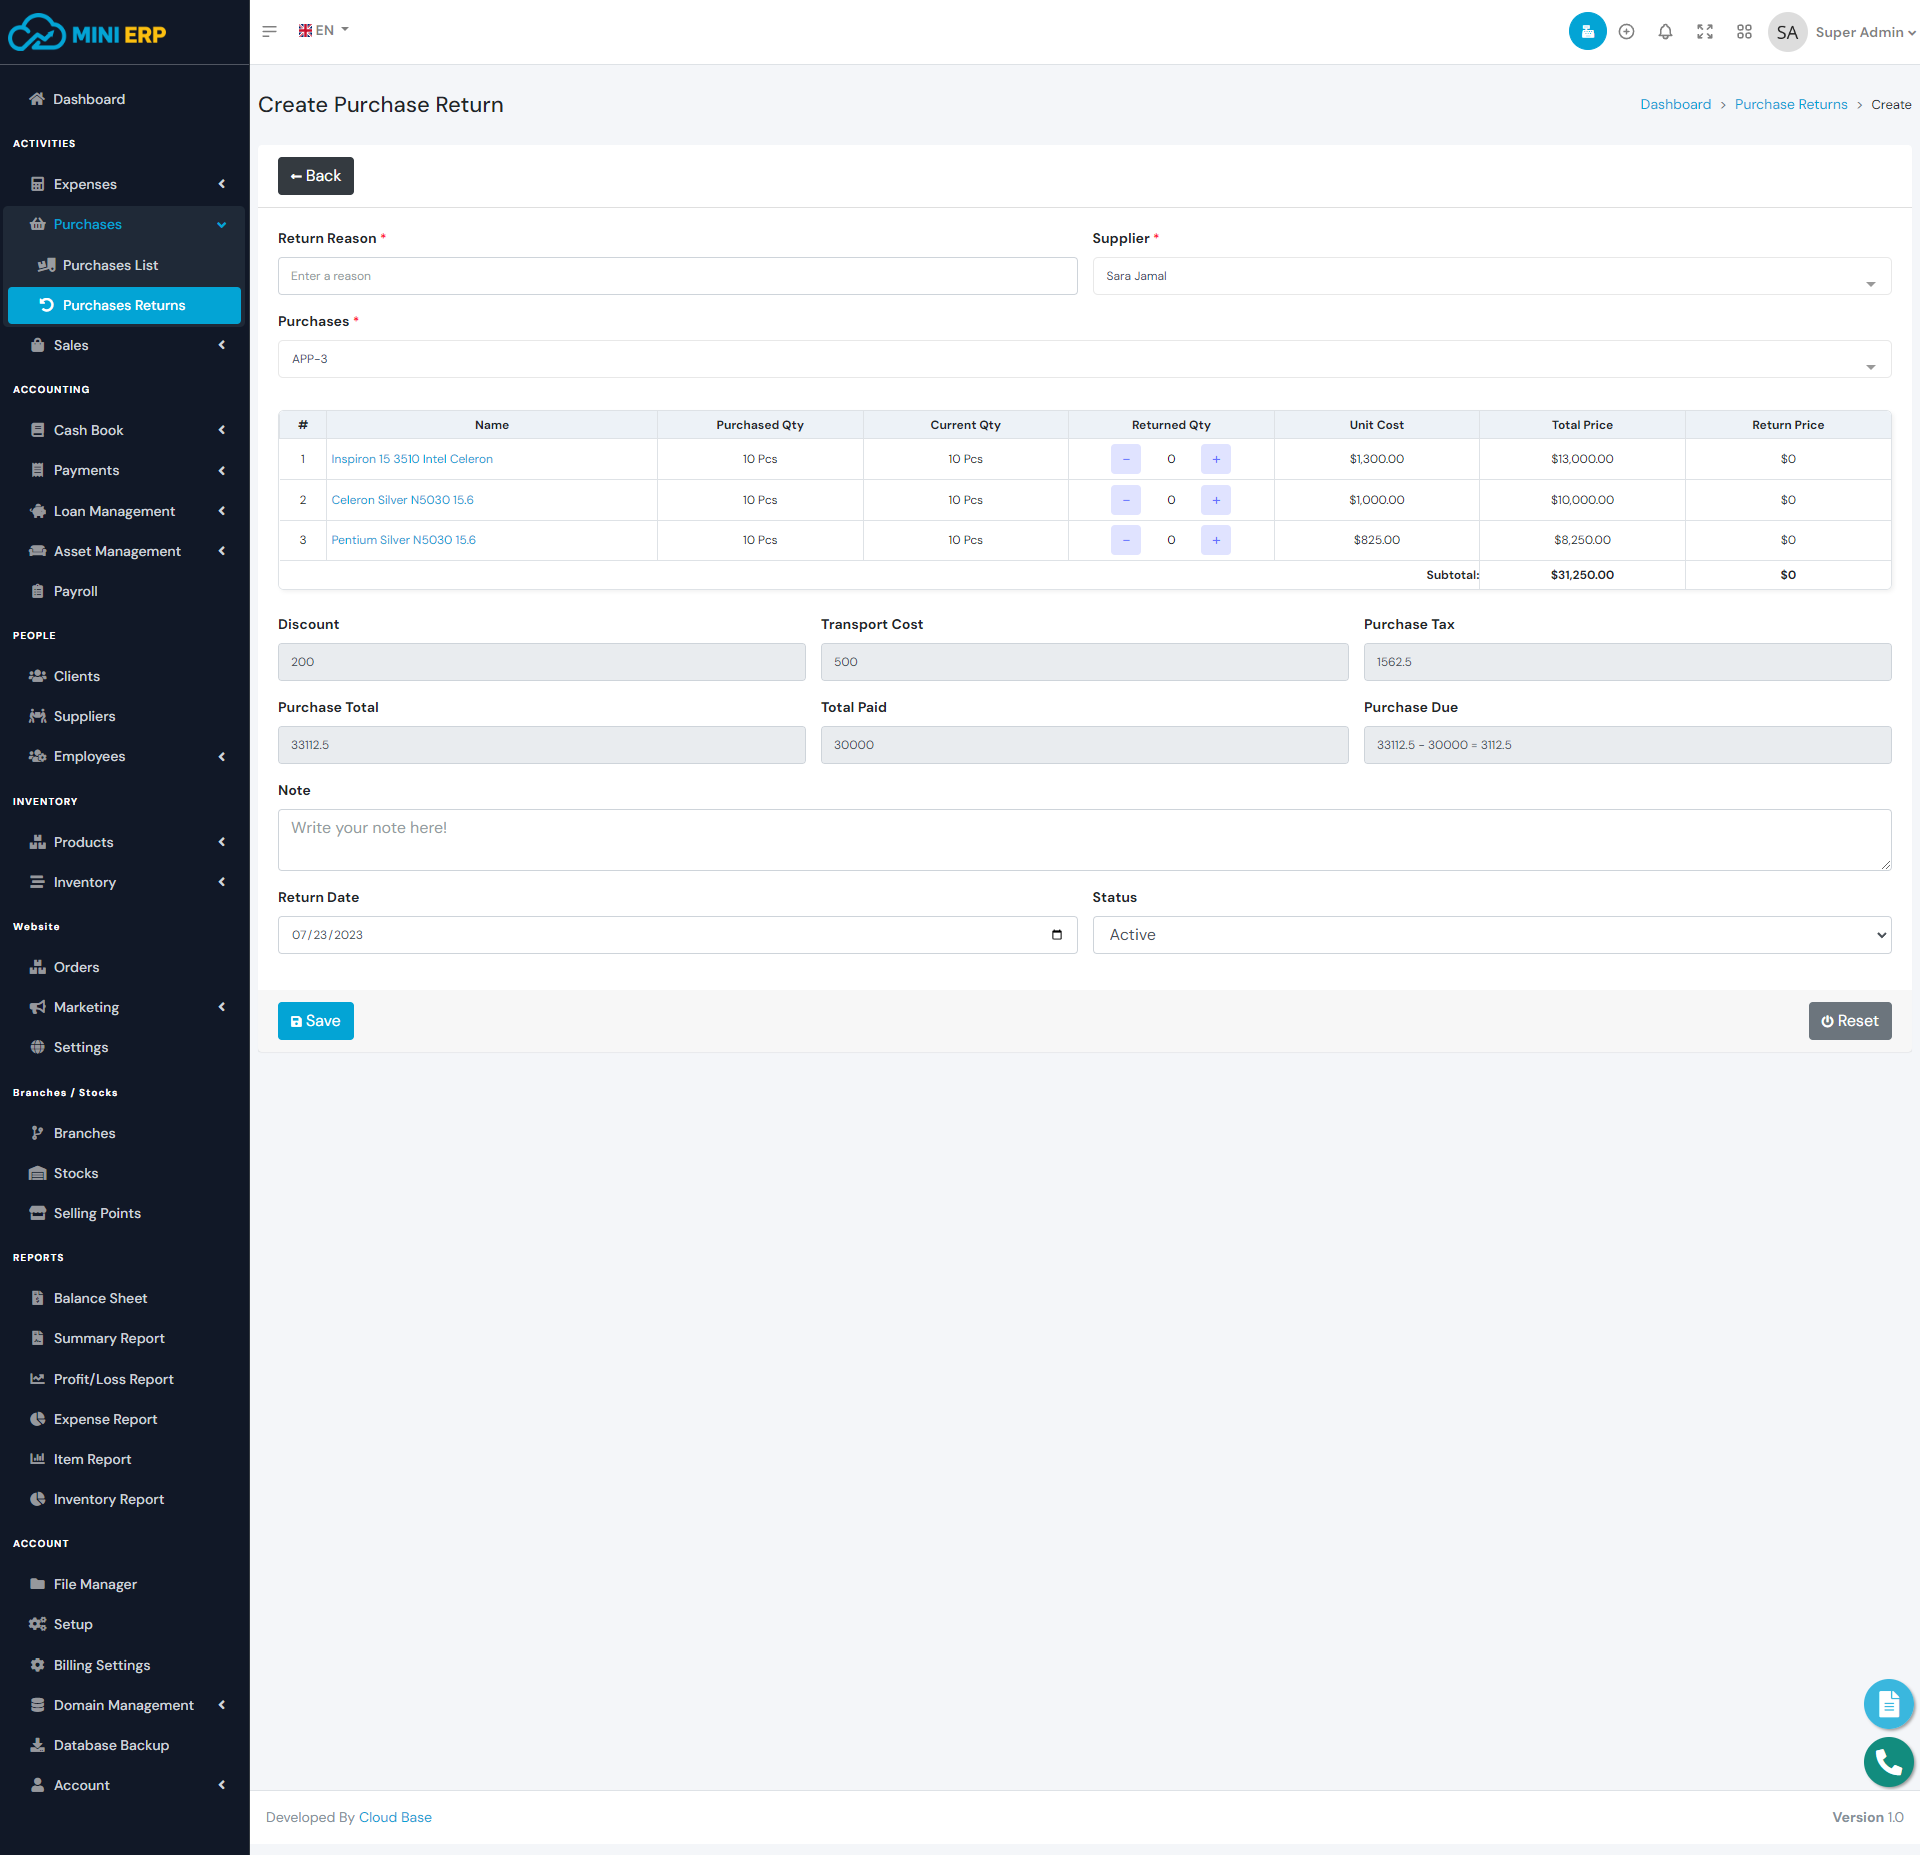
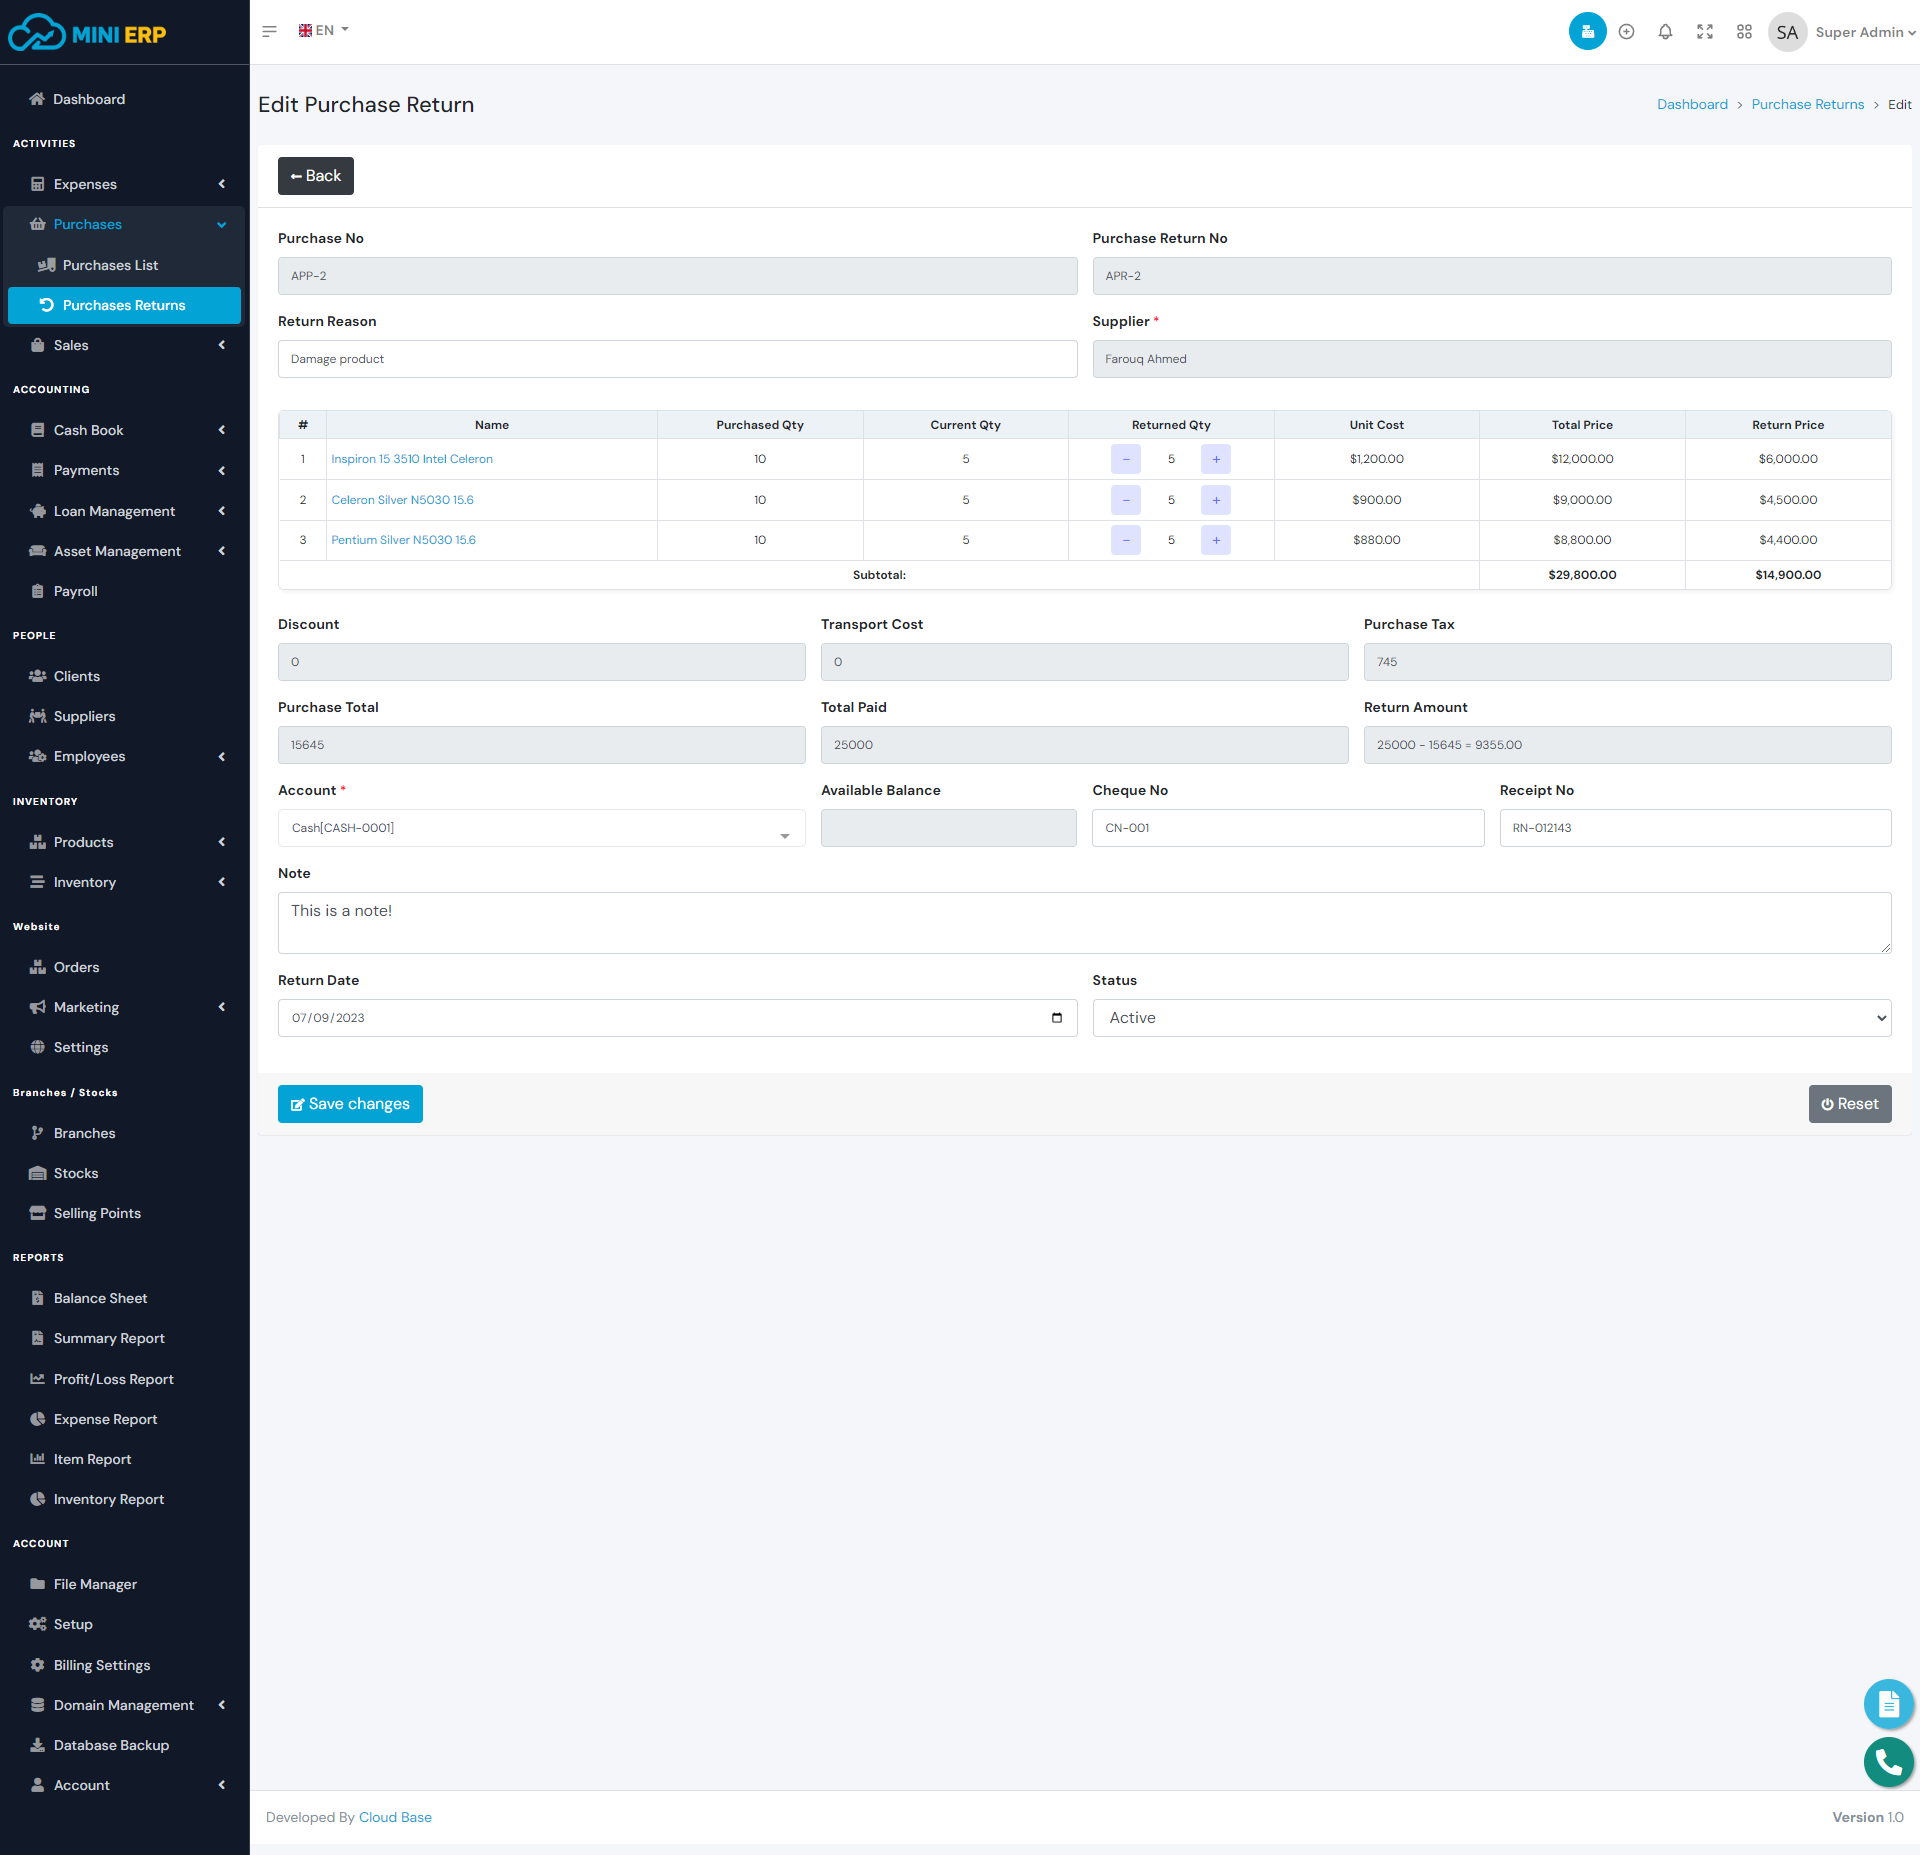
Purchase Return module allow you to manage products return for any purchase. By creating purchase returns the stock quantity of products will be decreased and by deleting purchases the stock quantity of products will be increased. You can create a maximum of one return from any specific purchase. The cost of return products will be adjusted with the purchase due automatically. If the cost of return products is greater than due then the due will be adjusted and the reaming amount will be added to the account as Account Receivable.
| Required fields to create a purchase return |
|---|
| Supplier => Supplier to whom you are returning. Select a supplier from the list. |
| Select Products (Optional) => Products that you want to return. It will filter your purchases and will show the specific purchases that contain the selected products. It helps when you forgot any purchase number. |
| Purchases => List of the purchases for the selected supplier. You can select any purchase from the list and it will show you all the products for the selected purchase. |
| Account(If cost of return product greater than due) => The account that you want to use to receive the Account Receivable. Select an account from the list. |
Note: A purchase can have only one purchase invoice return(One-to-one relationship between Purchases and Purchase Returns).
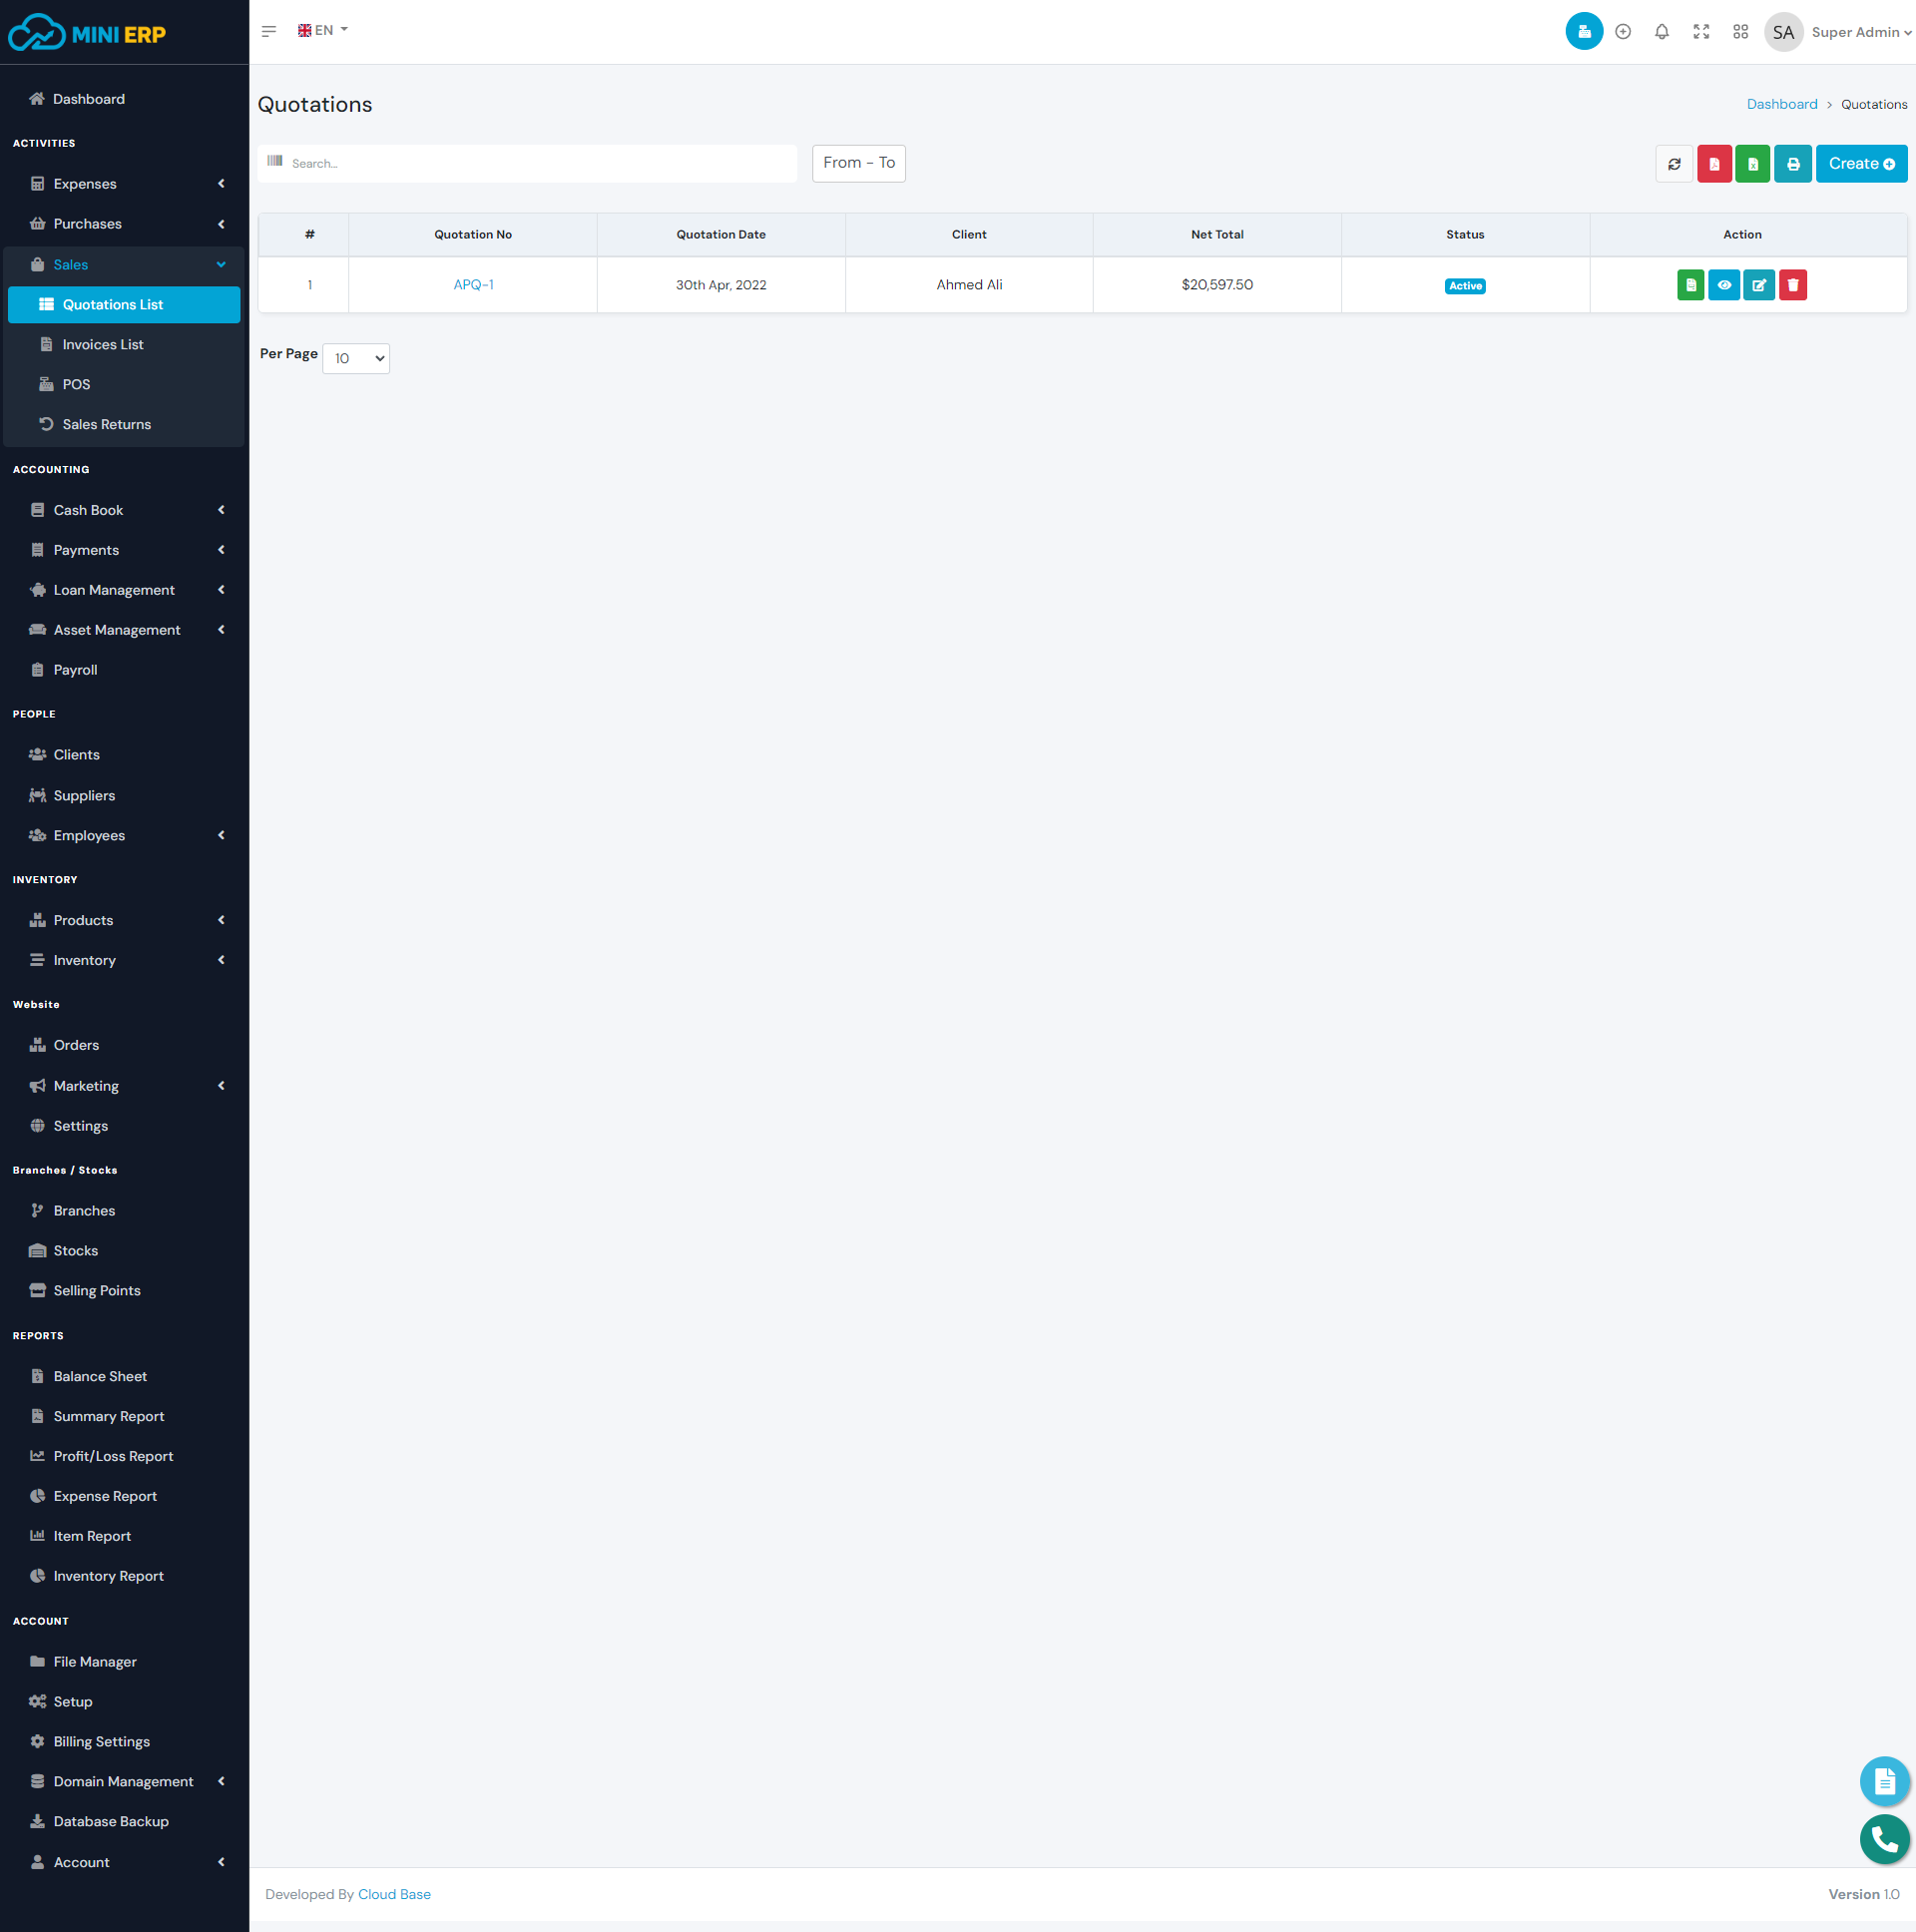
Quotations
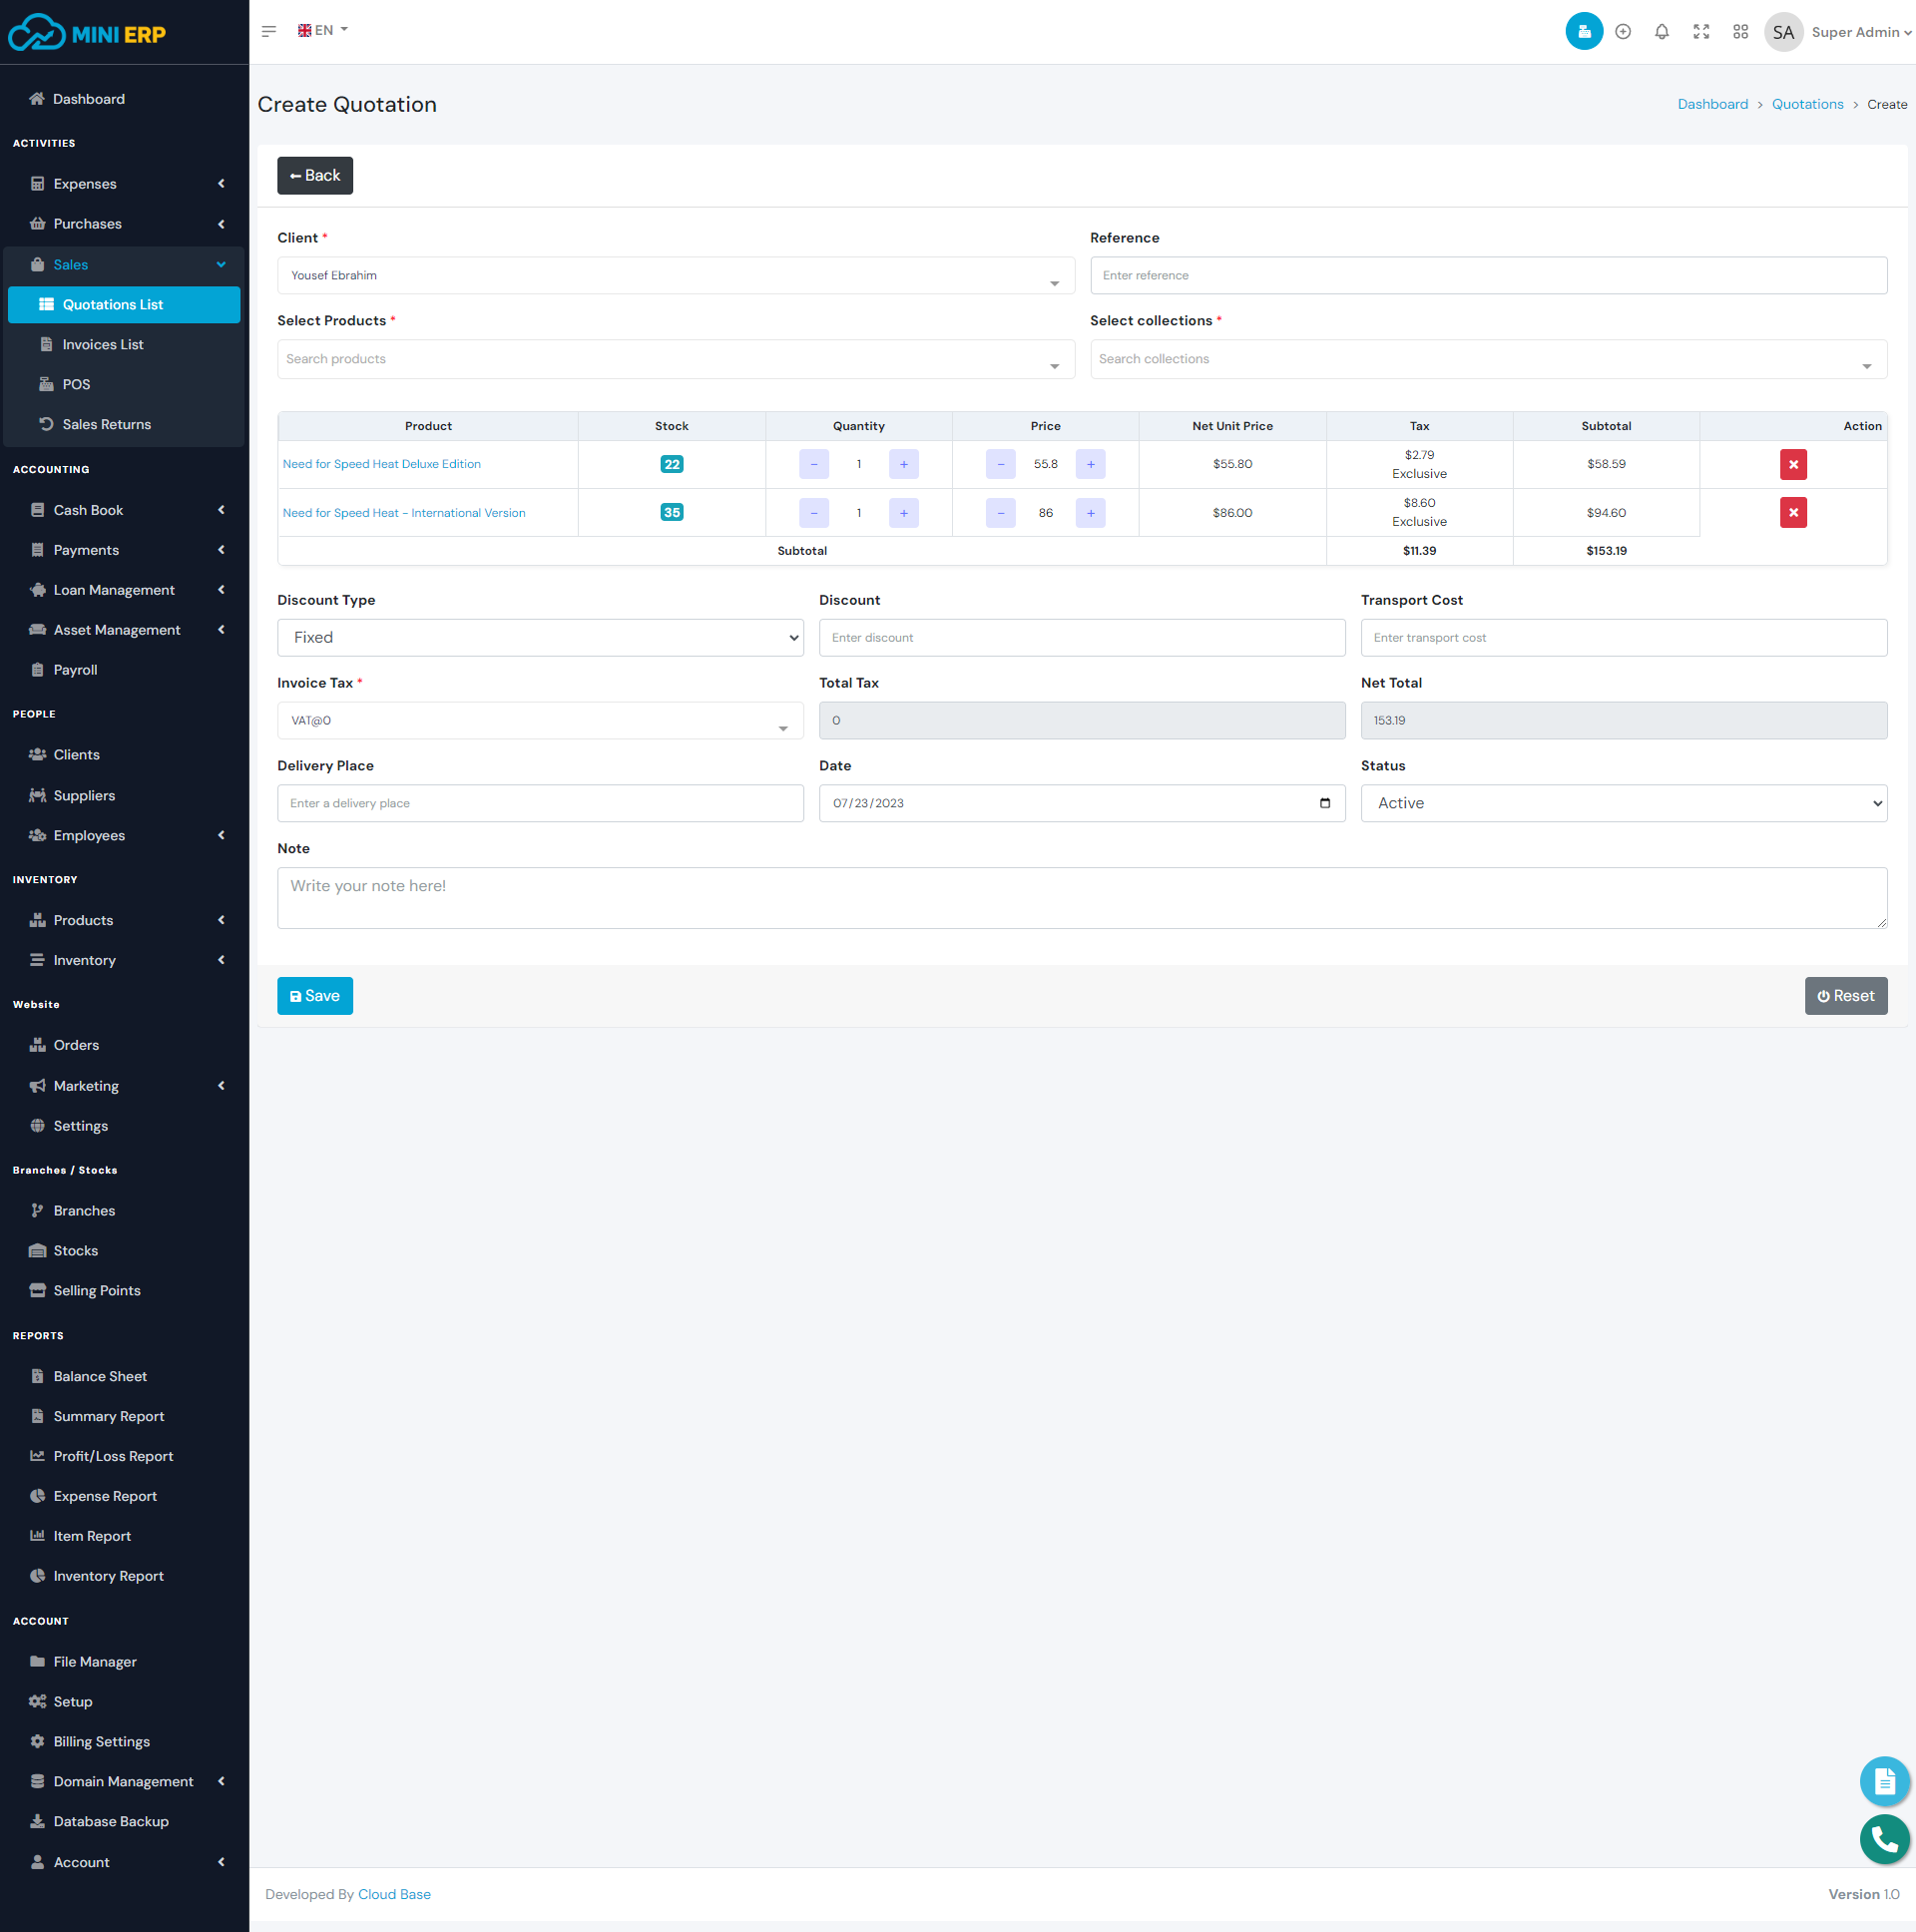
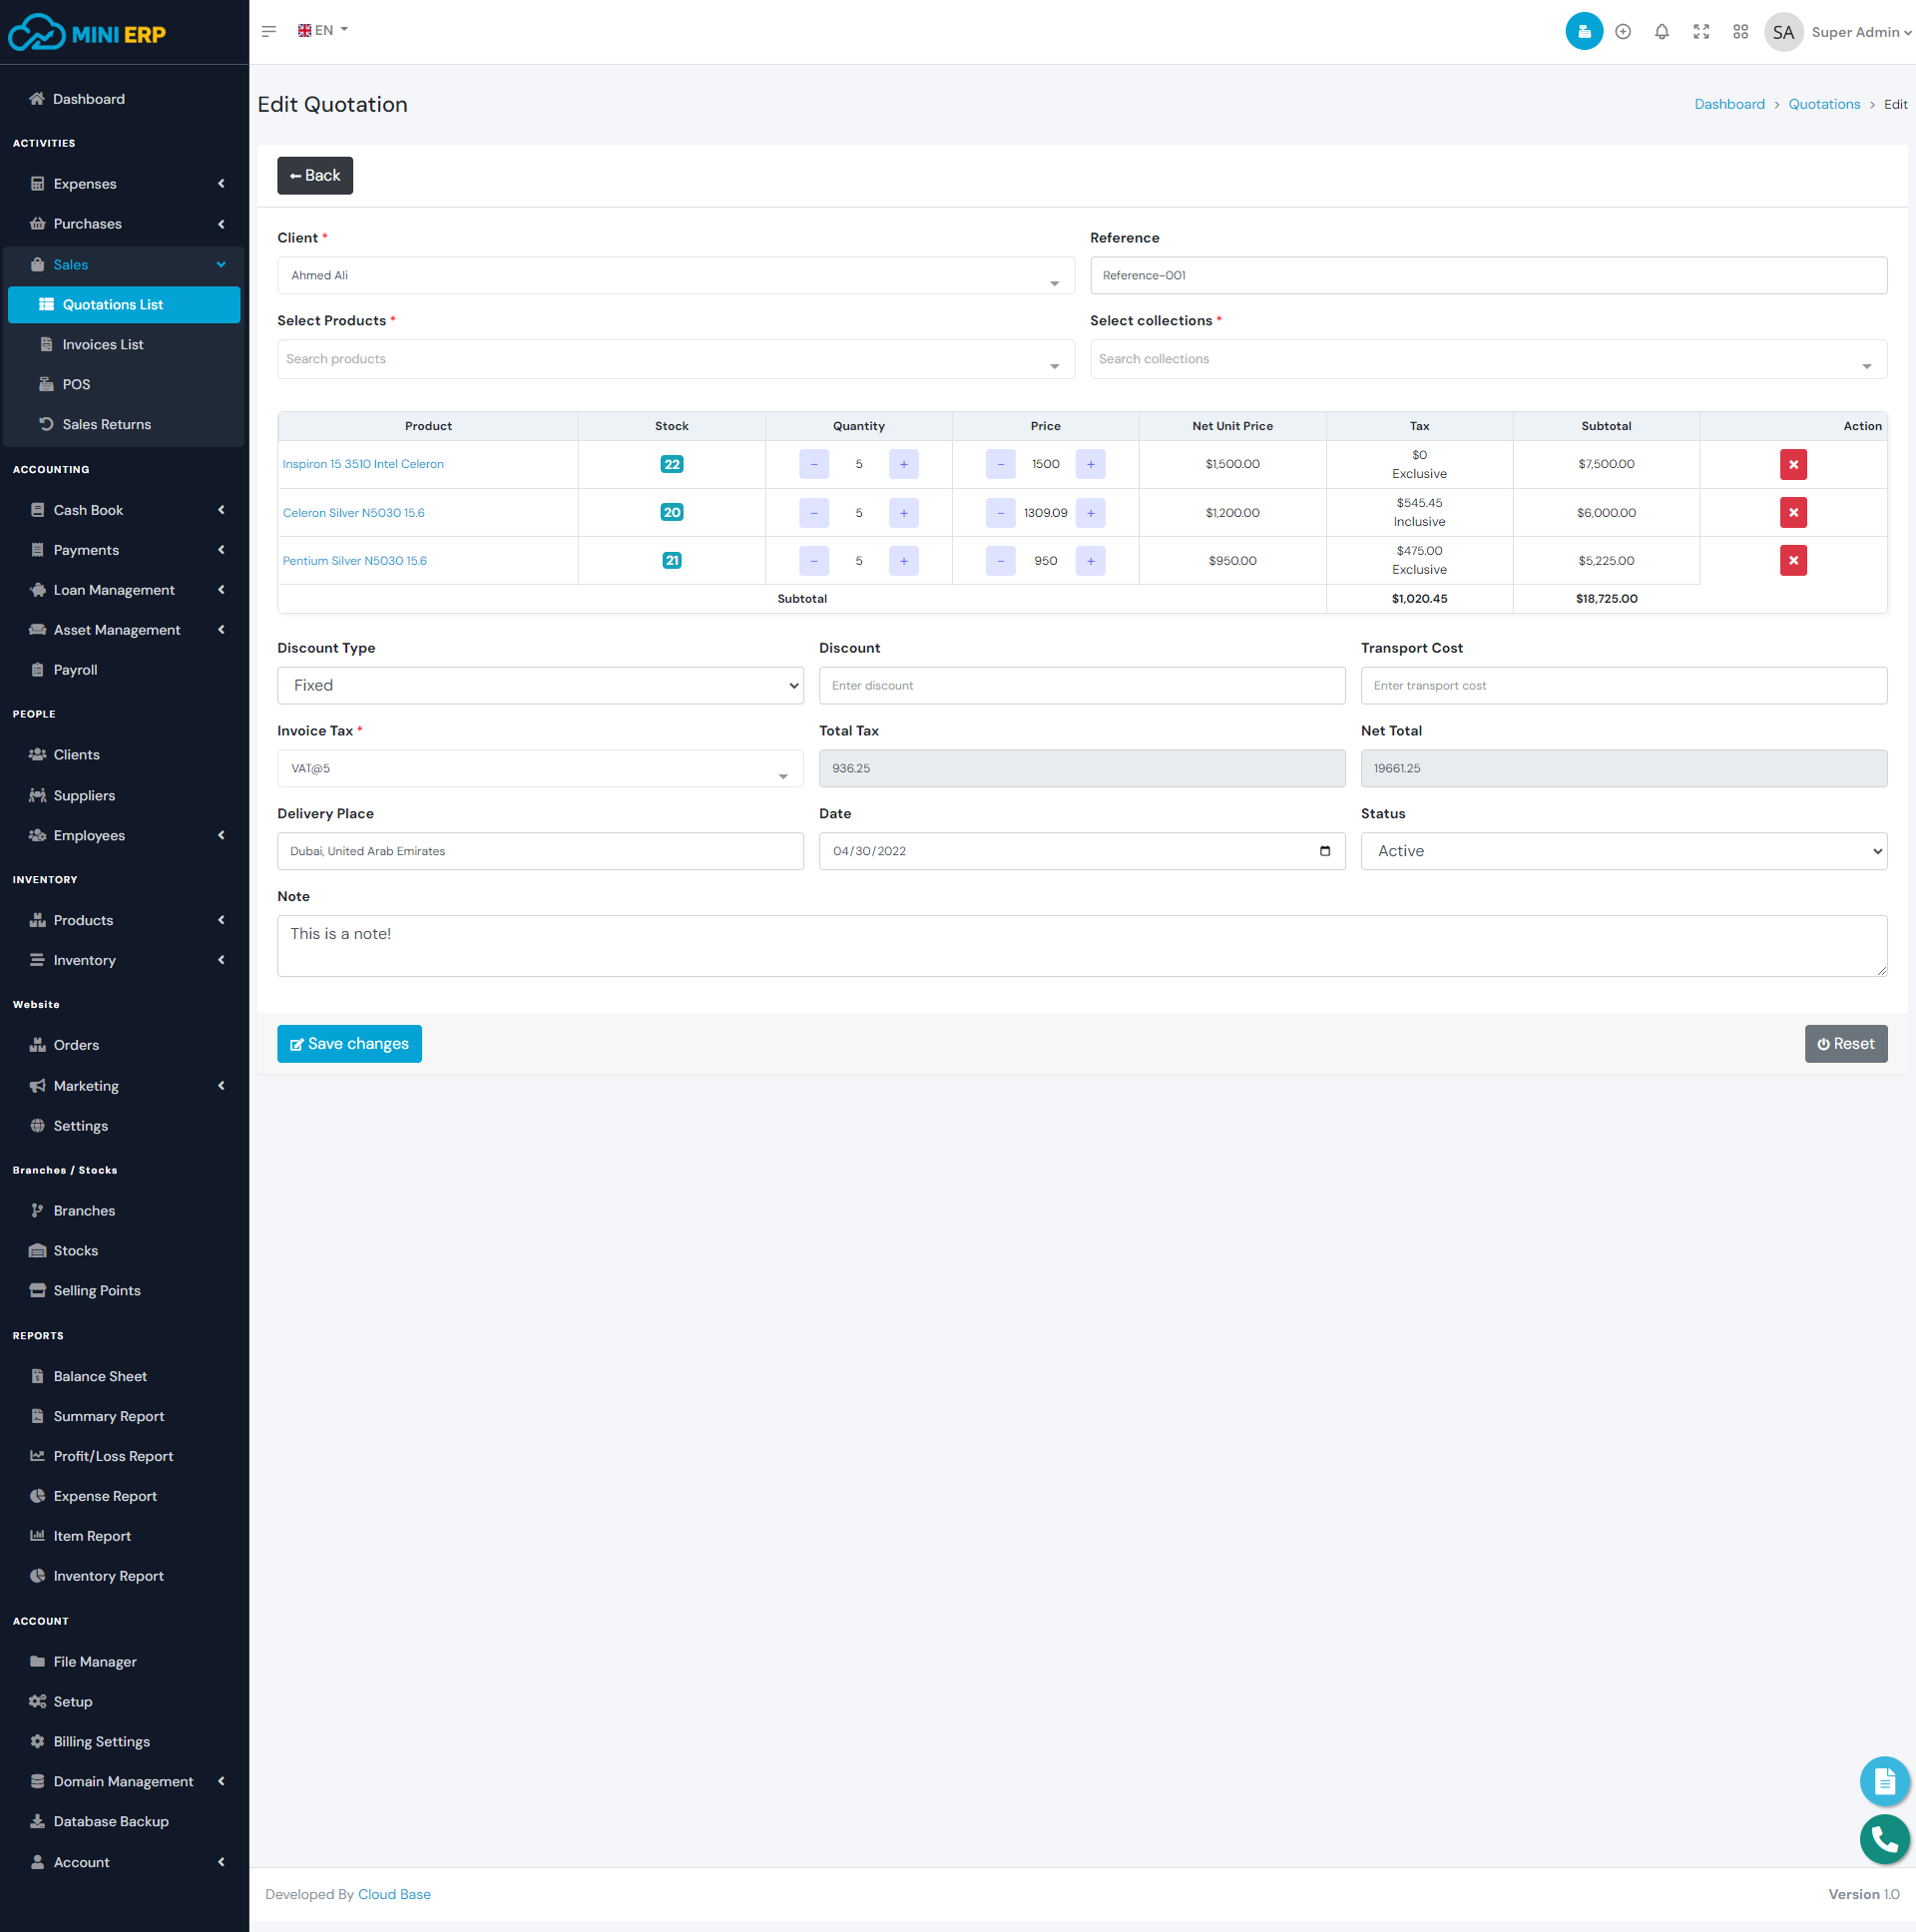
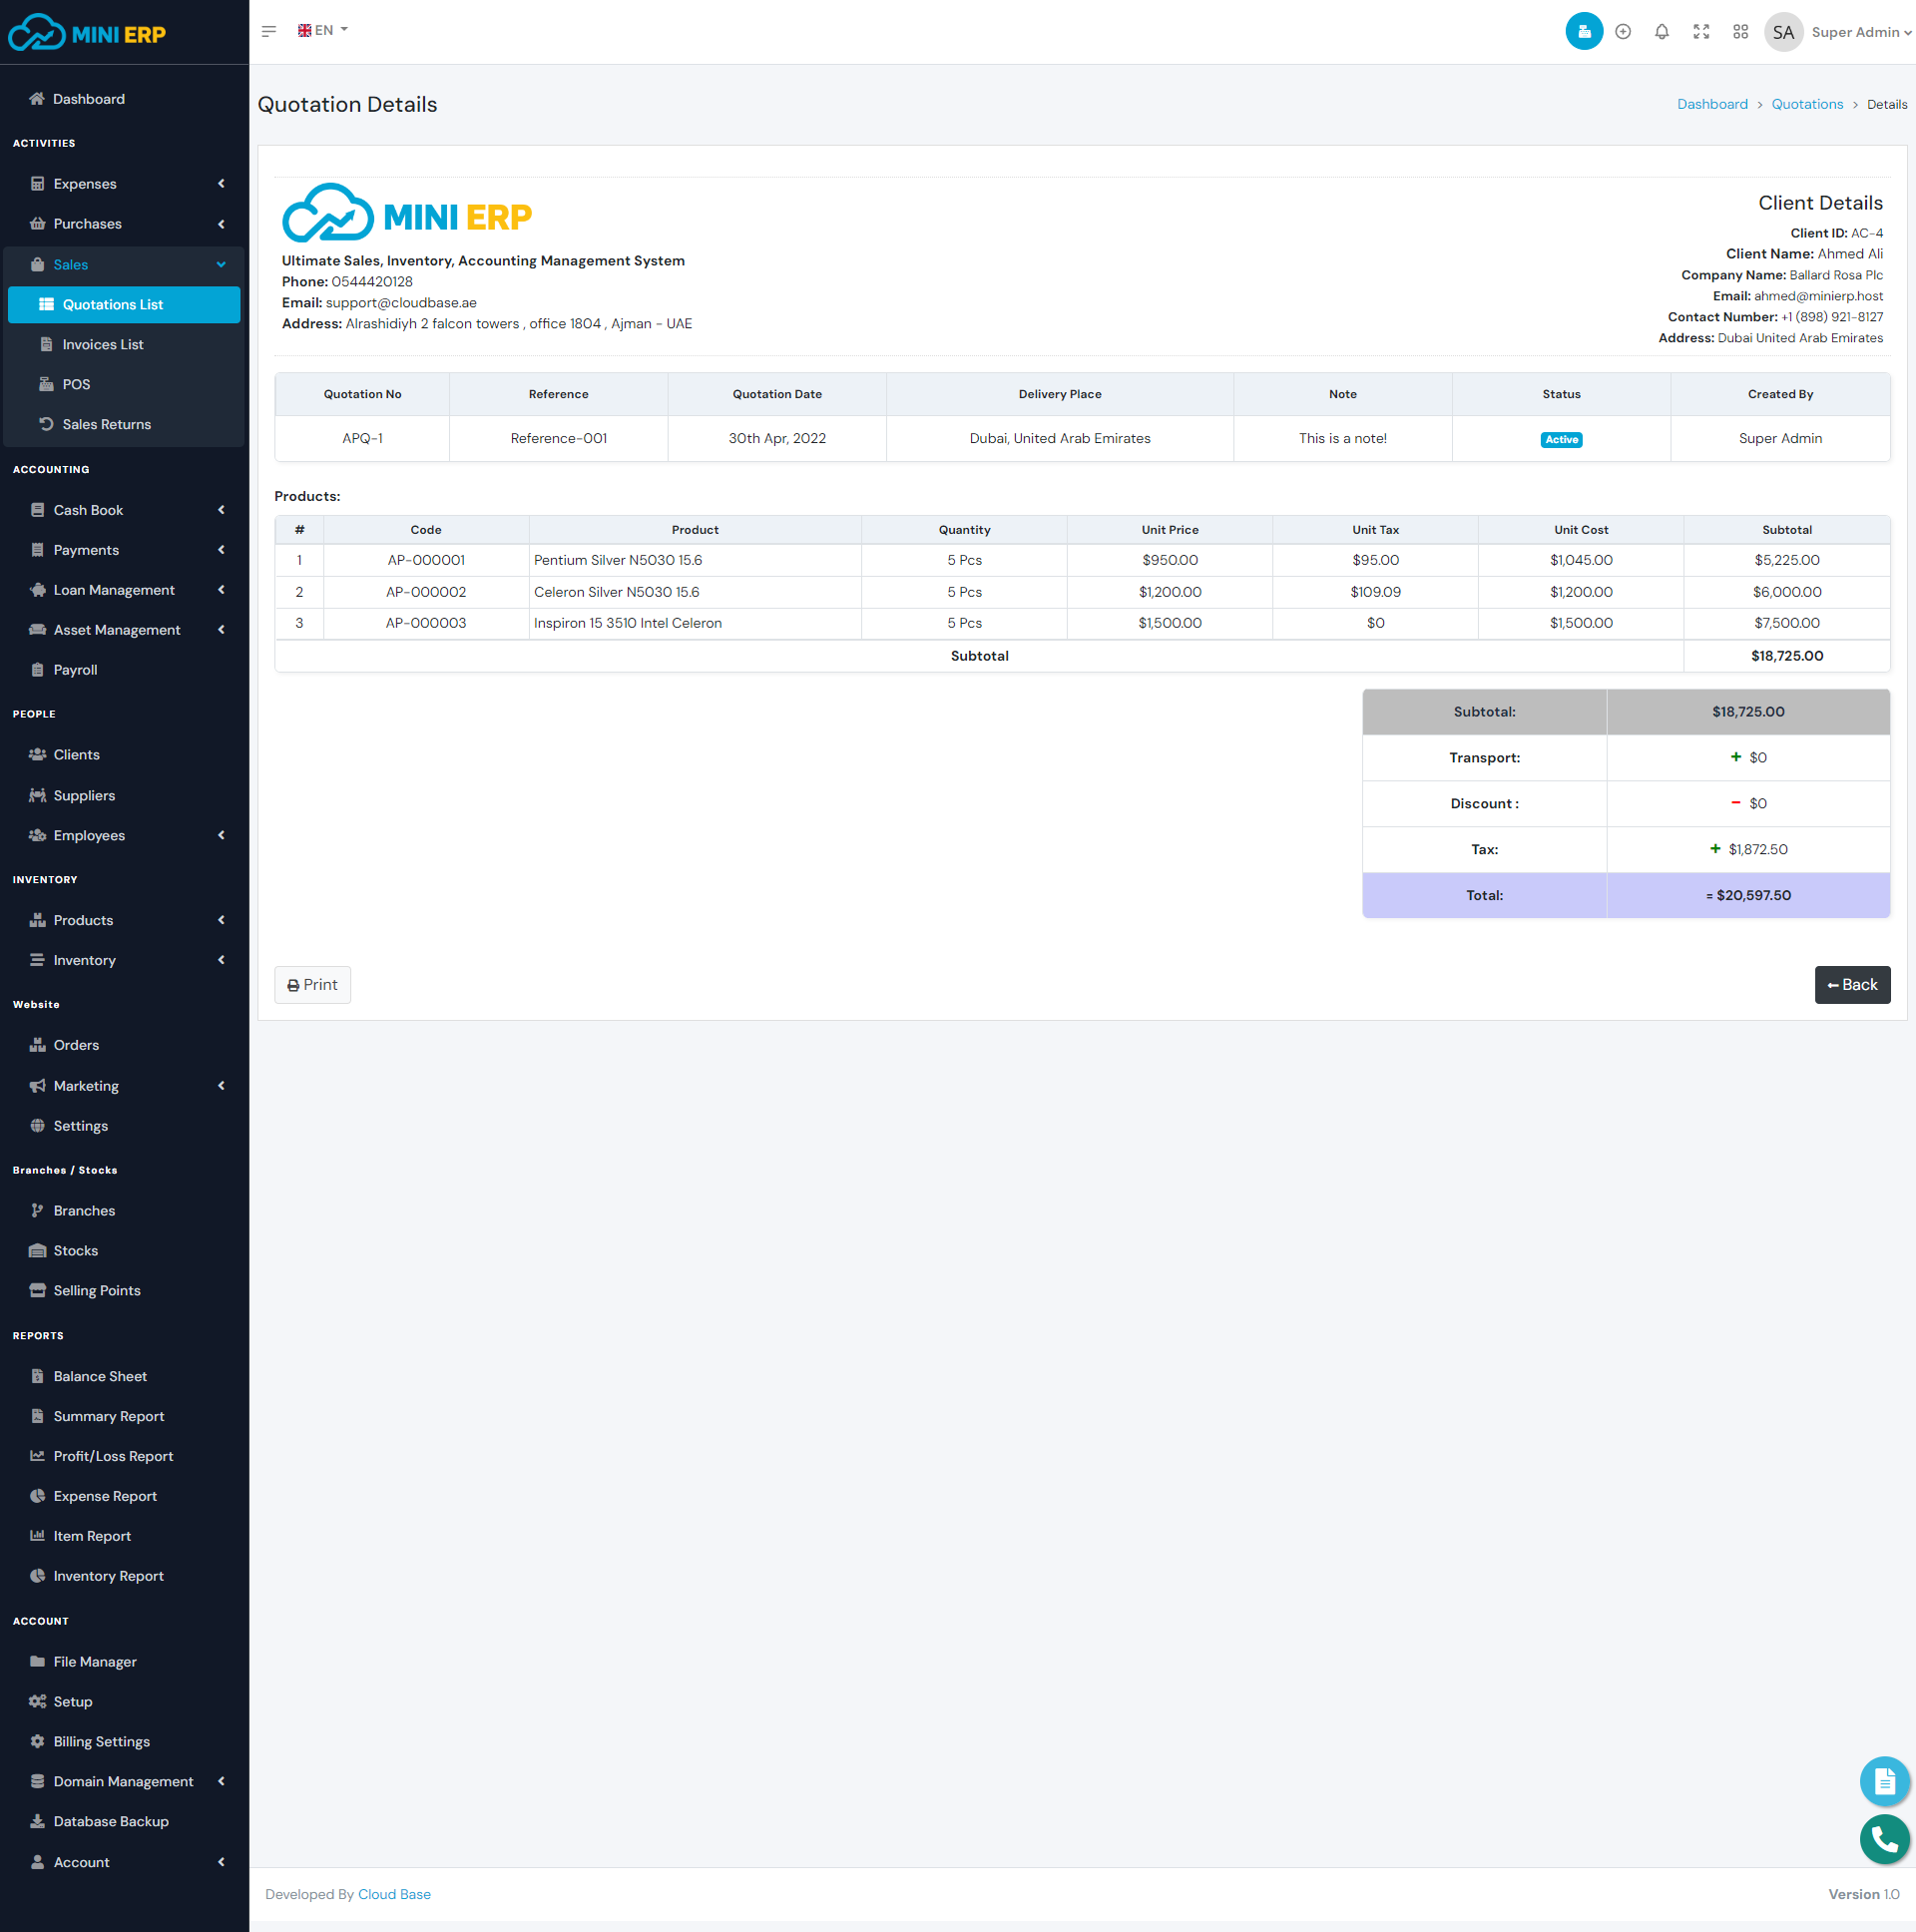
Quotation management helps to improve your sales. You can create a quotation and then send the quotation to your client. Later if you get approval for the quotation you will be able to create a sell from directly the quotation. A quotation will not have any impact on the inventory. In order to create a quotation, you need to create Client, Products, Purchases, and VAT Rates, first.
| Required fields to create a quotation |
|---|
| Client => Client to whom you are sending the quotation. Select a client from the list. |
| Select Products => Products that you want to include in the quotation. You can select single or multiple products from the list. After selecting a product add the quantity and the price. |
| Quotation Tax => Tax that you want to use for this quotation. Select a tax rate from the list. |
Note: A purchase can have only one damage purchase(One-to-one relationship between Purchases and Damage Purchases).
Point of Sale (POS)
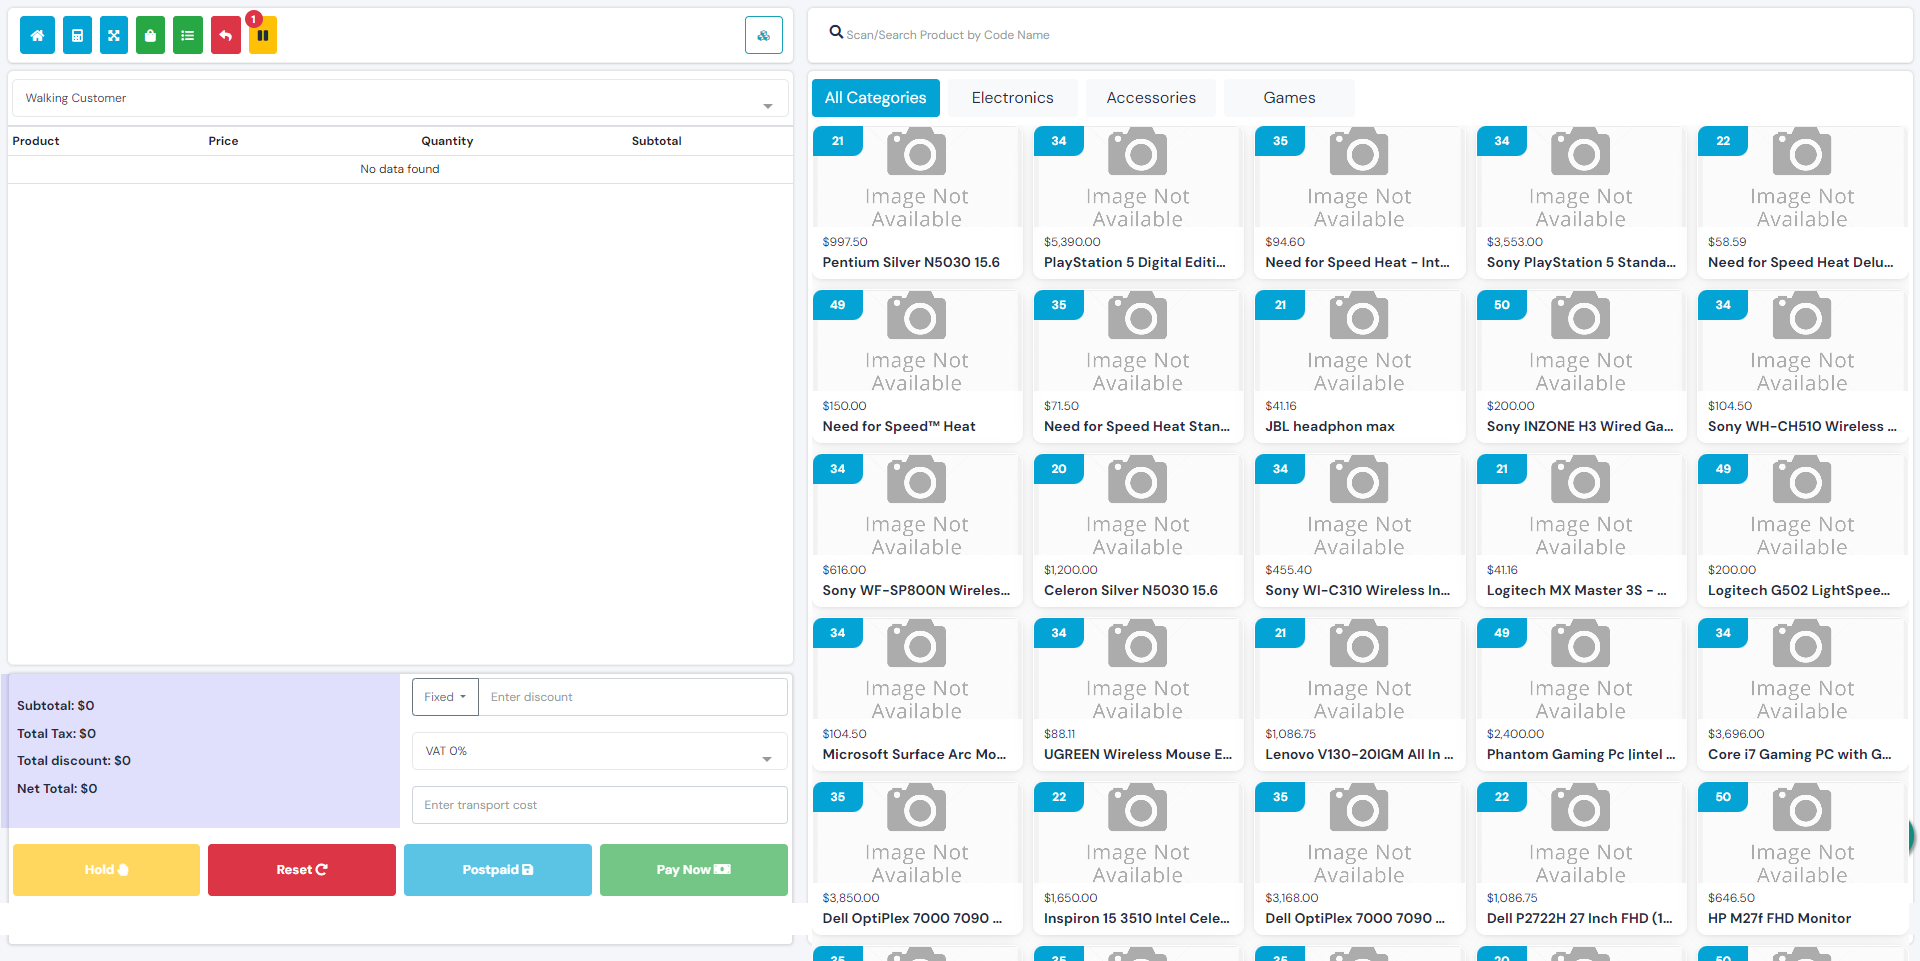
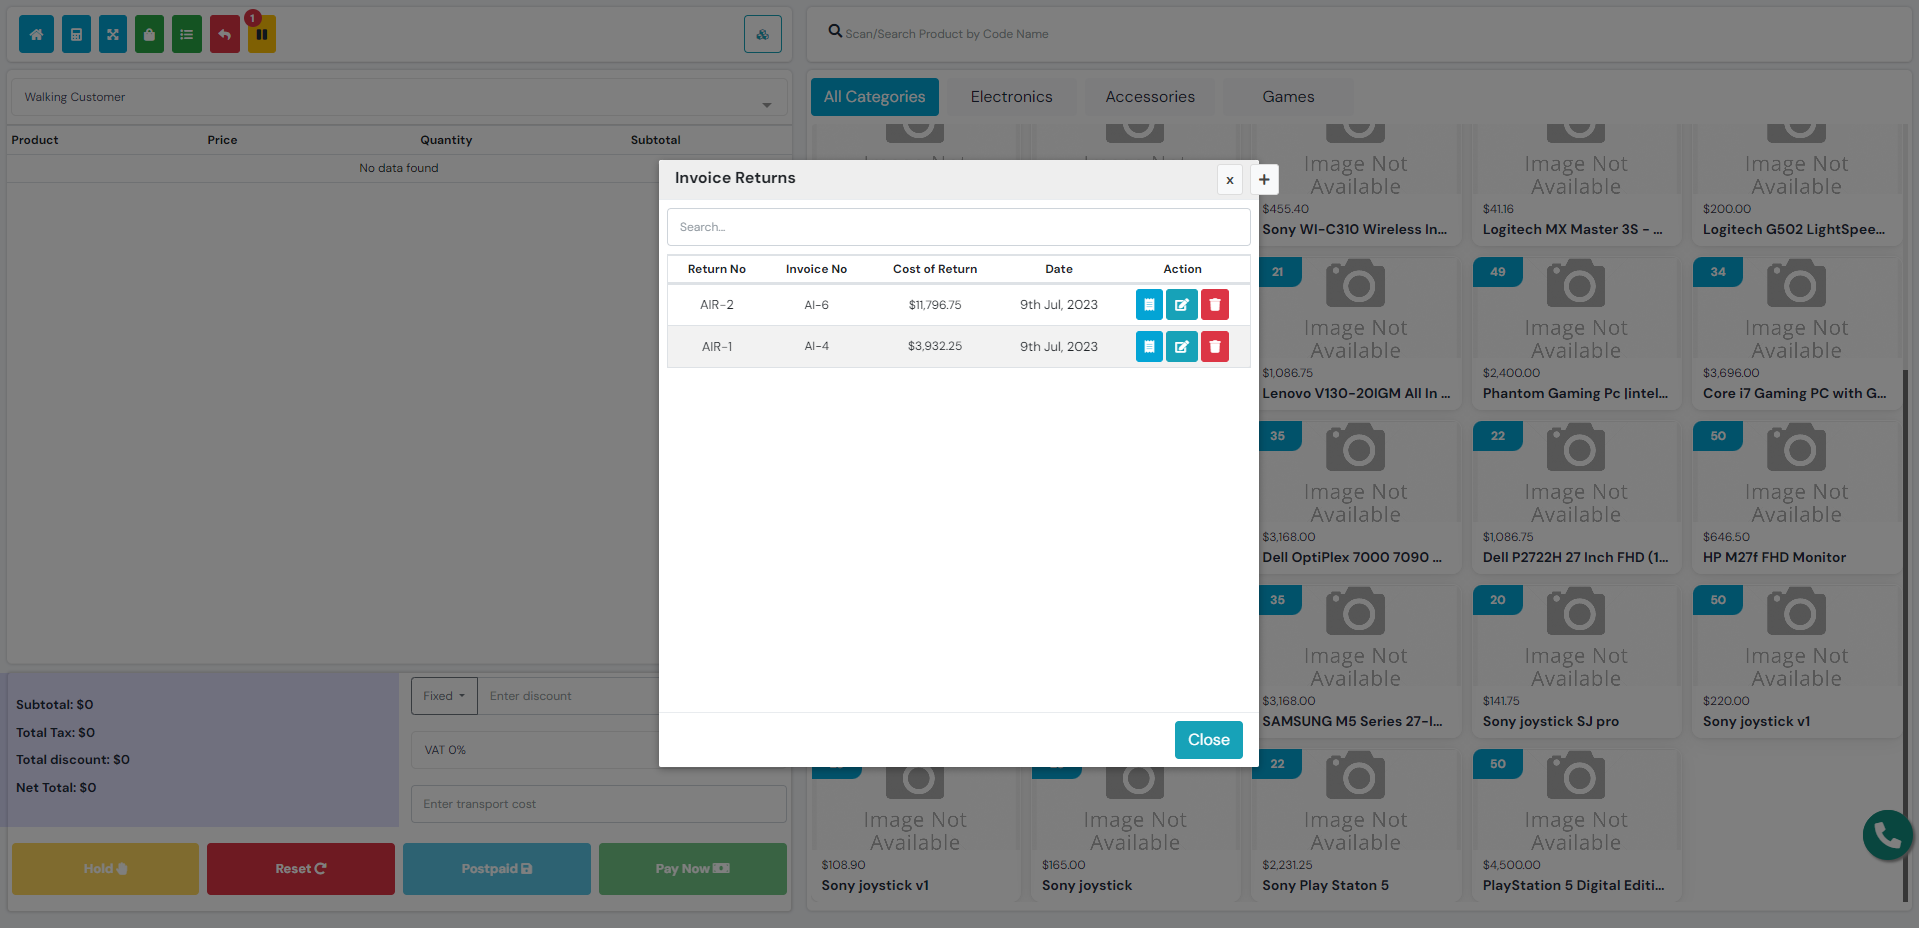
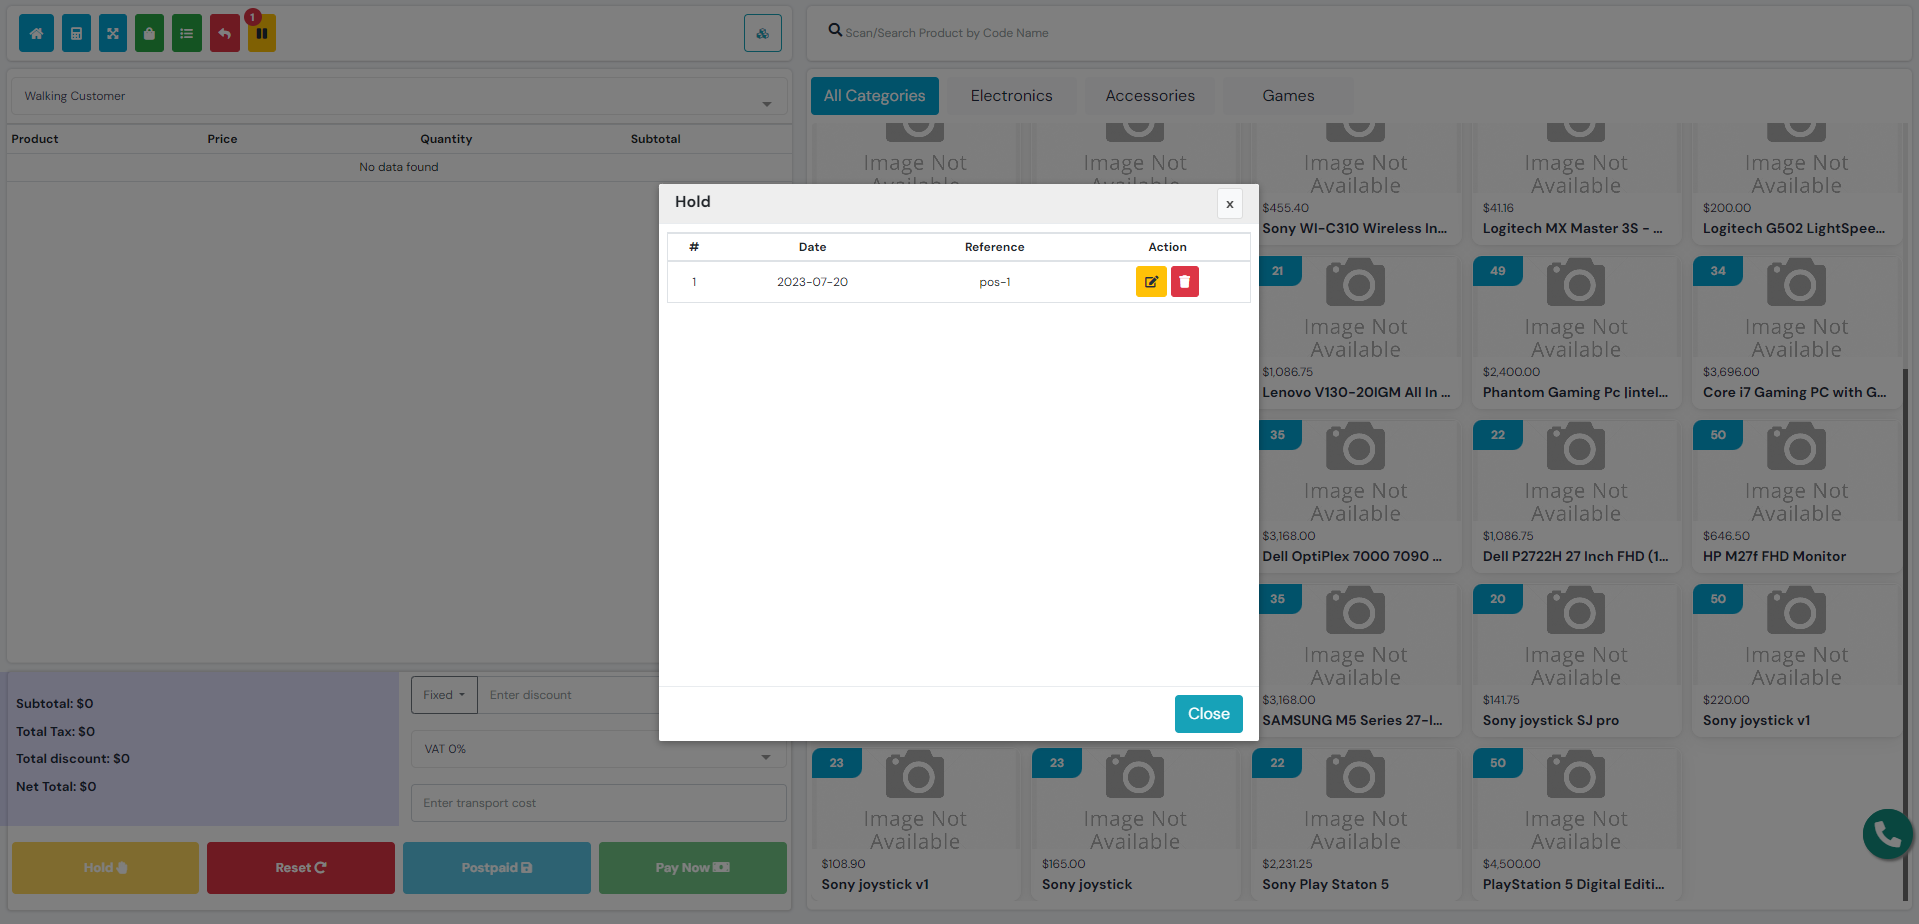
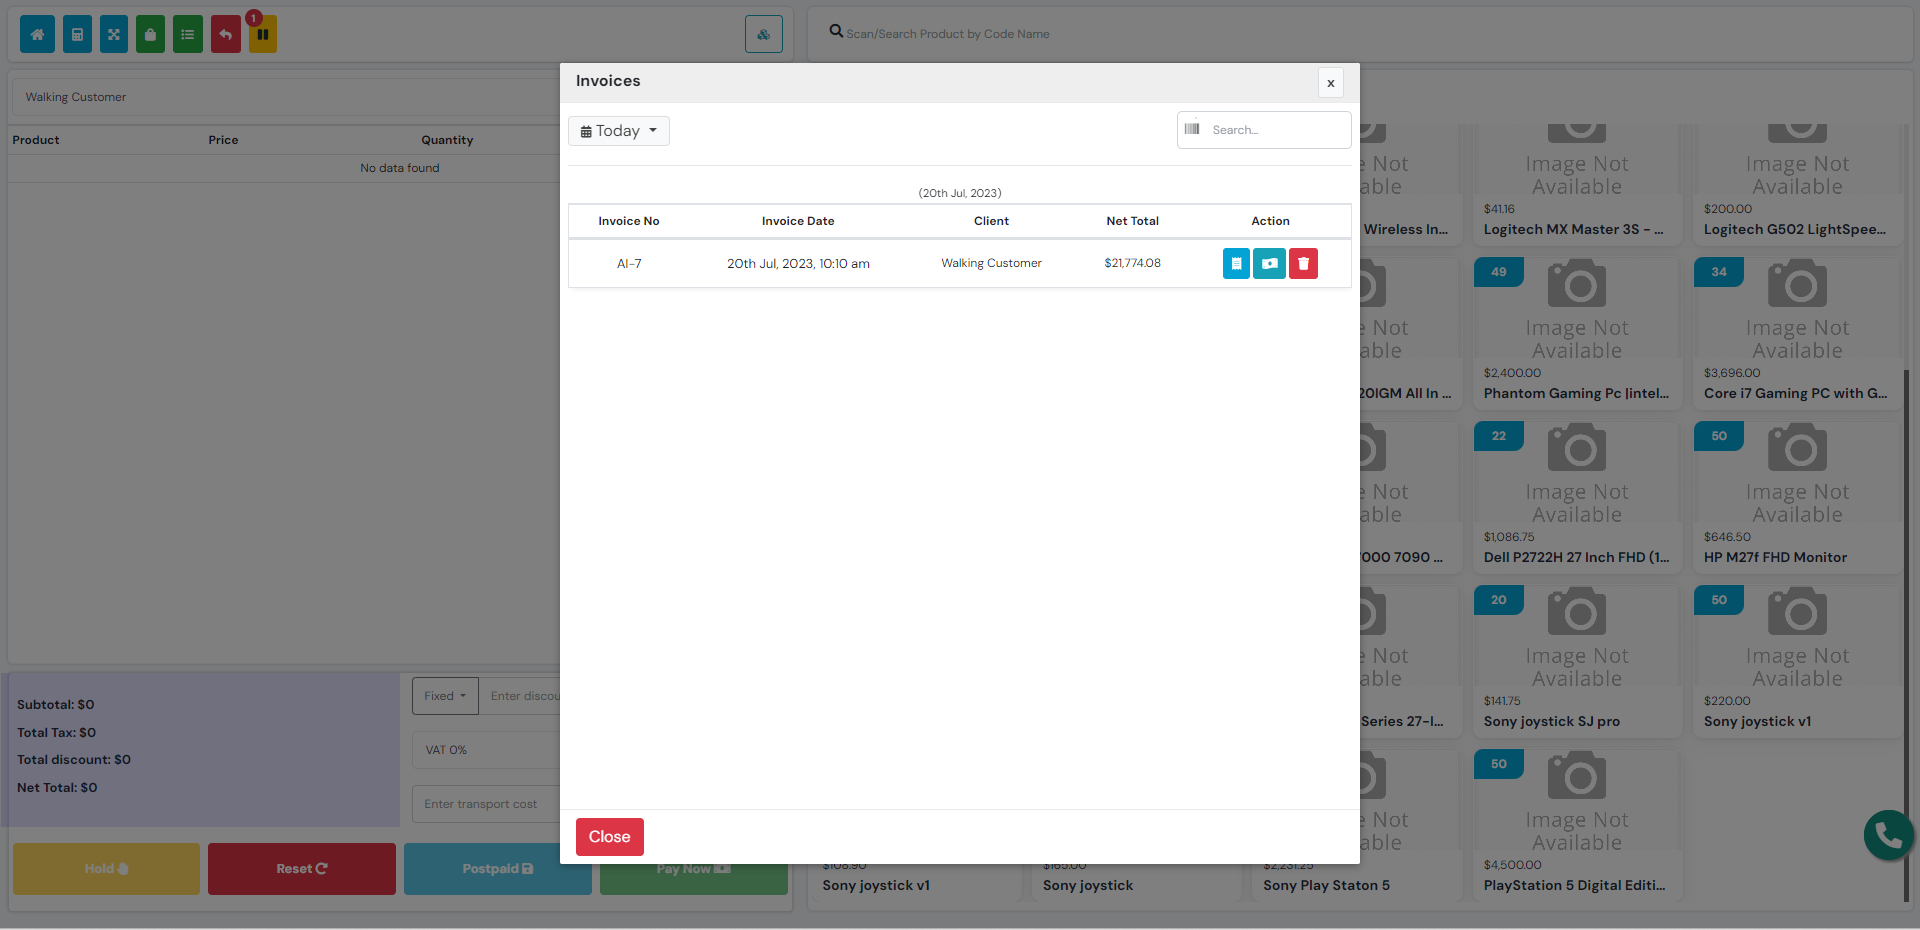
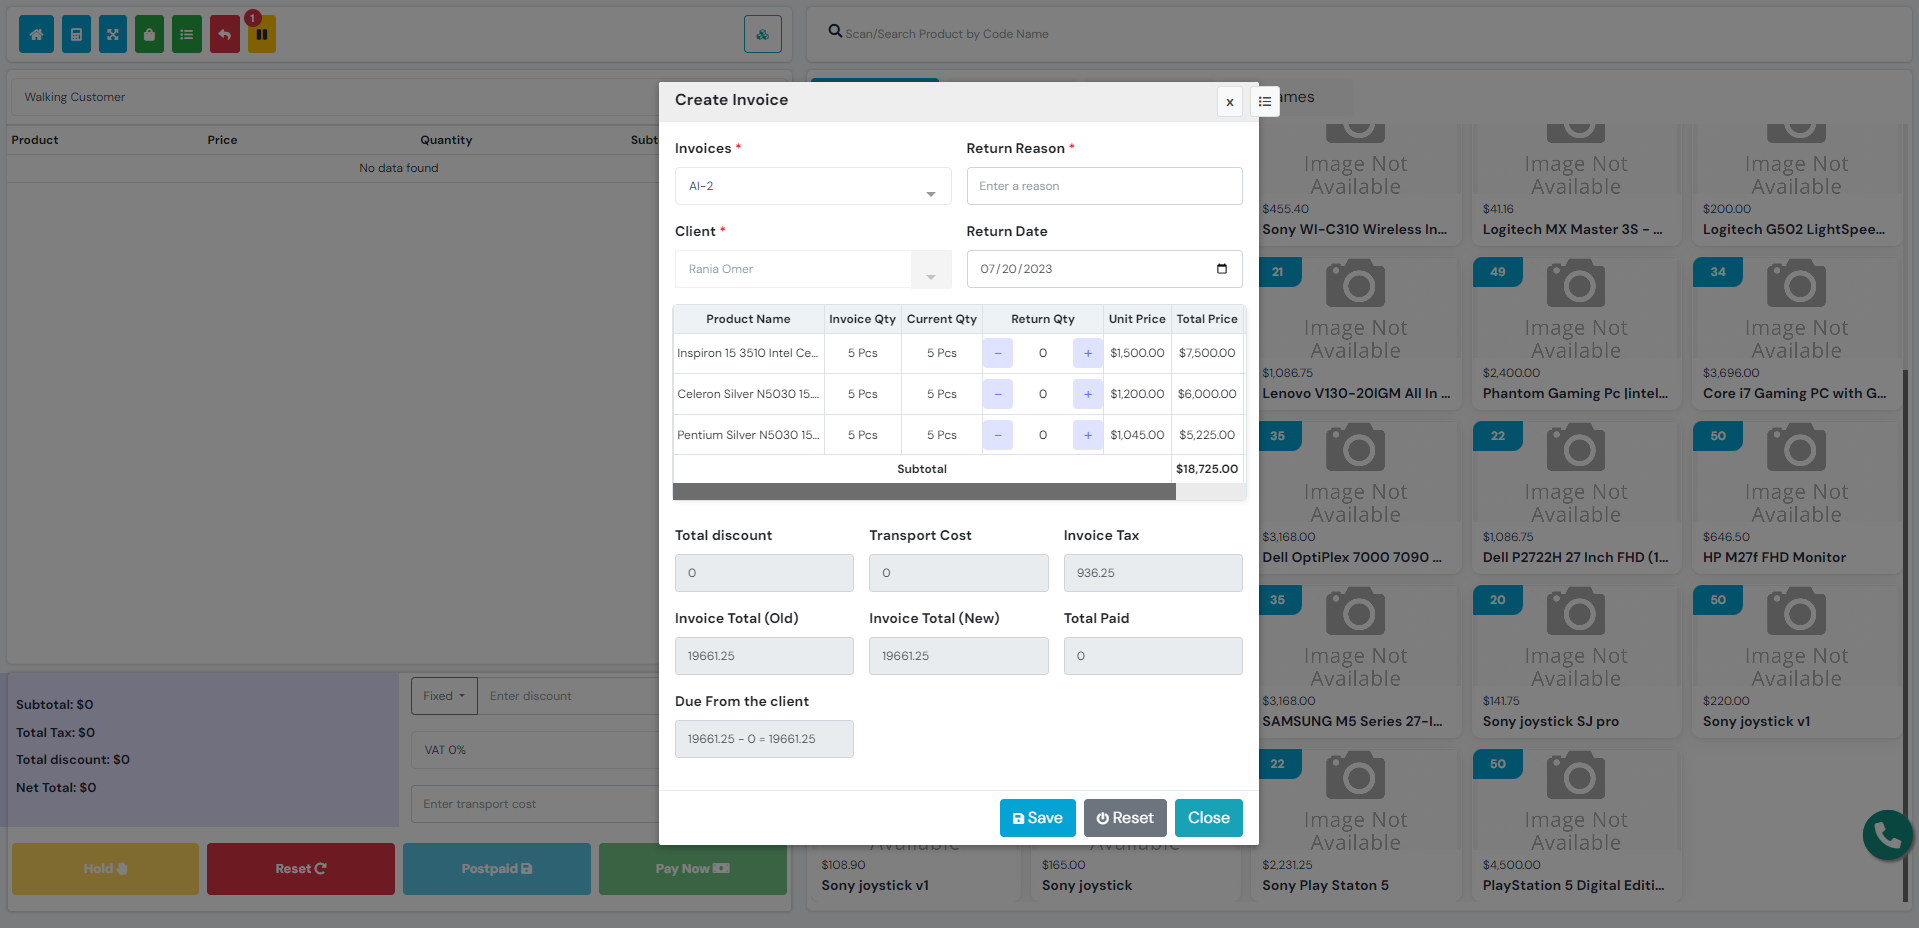
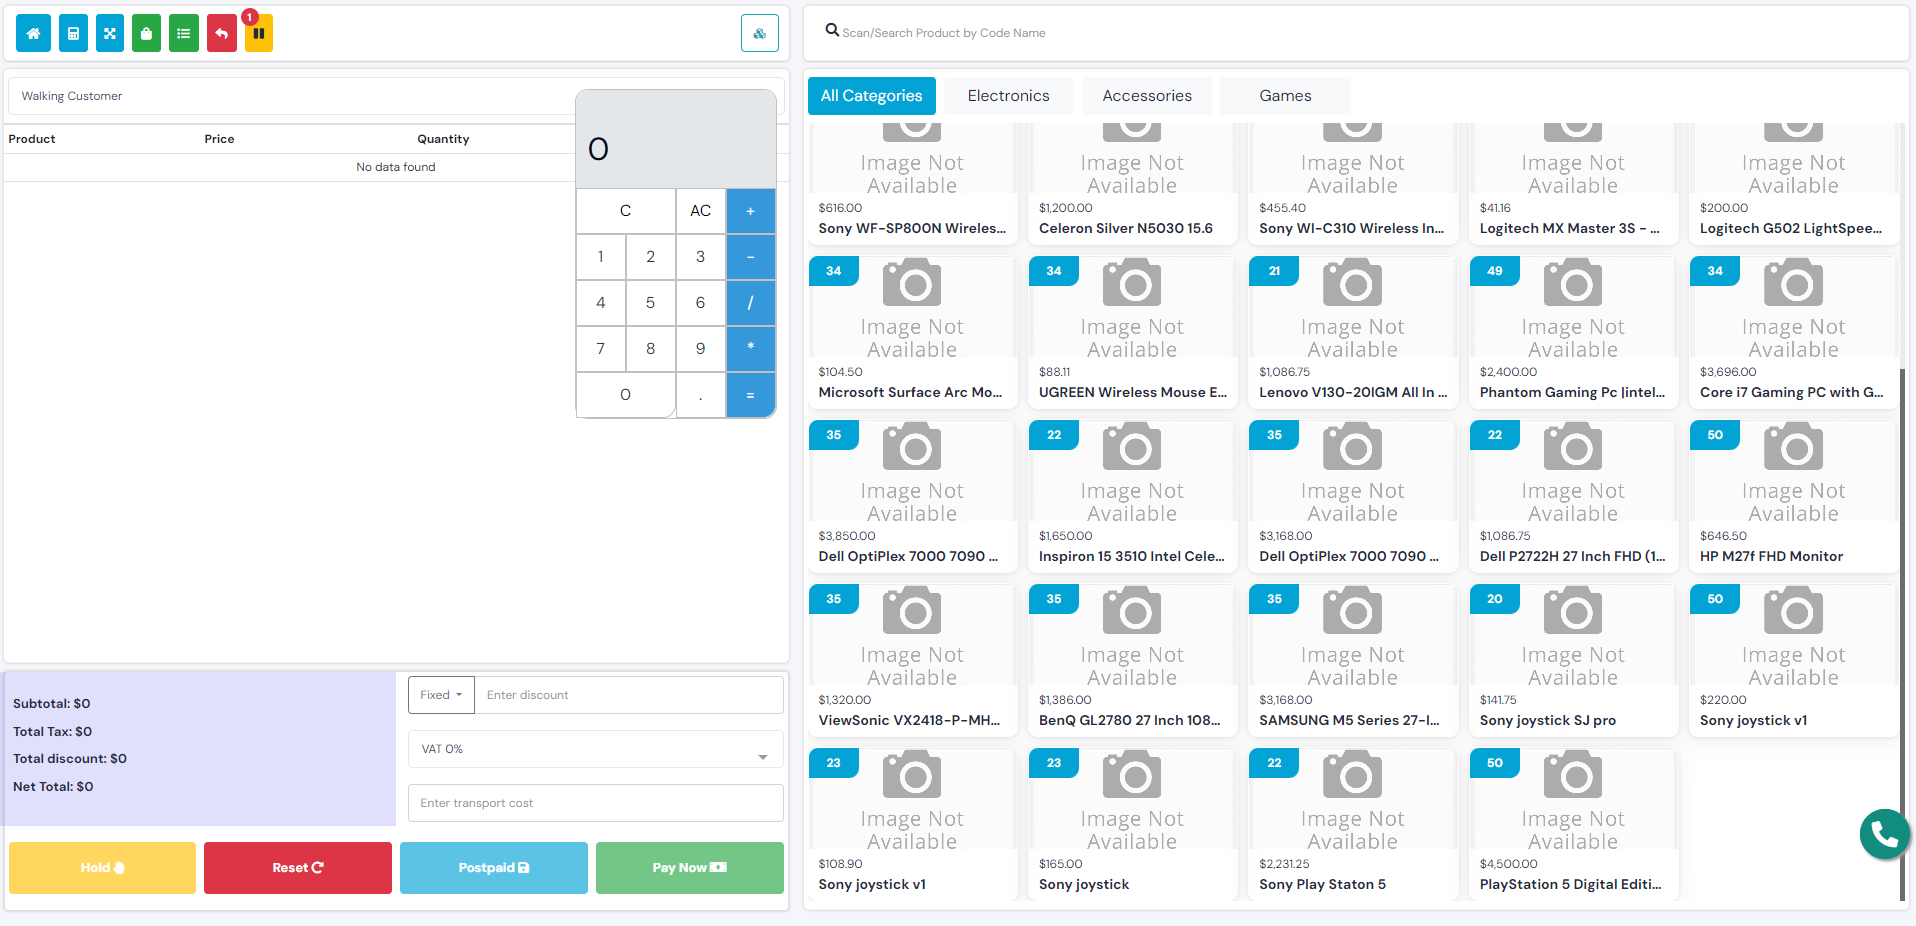
The Point of Sale (POS) module is an integrated tool that offers a wide range of features and benefits for business management and enhancing the customer experience. This module includes functionalities such as holding orders for processing later, invoice returns for recording refunds, and a list of invoices with filtering and printing options. Customers can take advantage of multiple payment methods, including cash and credit card payments. Additionally, a calculator feature is available to facilitate calculations during transactions. With its comprehensive set of features, the POS module provides a seamless customer experience and improves inventory and sales management. It also offers business owners a comprehensive view of their operations, including accurate information on payments, sales, and profits. Utilizing the POS module enables businesses to operate more efficiently and smoothly, with a focus on improving customer experiences and achieving successful business growth.
| Required fields to create invoice in Pos |
|---|
| Client => Client to whom you are selling. Select a client from the list. |
| Select Products => Products that you want to sell. You can select single or multiple products from the list. After selecting a product add the quantity . |
| Invoice Tax => Tax that you want to use for this invoice. Select a tax rate from the list. |
| Payment Method (If you wish to pay the invoice) => The payment method you want to use to pay this invoice. Choose the method from the list. |
Note: When creating invoice returns, please ensure accurate recording of all details and specify the reason and quantity being returned. Provide original purchase receipts and establish return policies in line with company guidelines. Train staff on return procedures and handle customers professionally. Ensure compliance with accounting requirements and local regulations.
Invoices
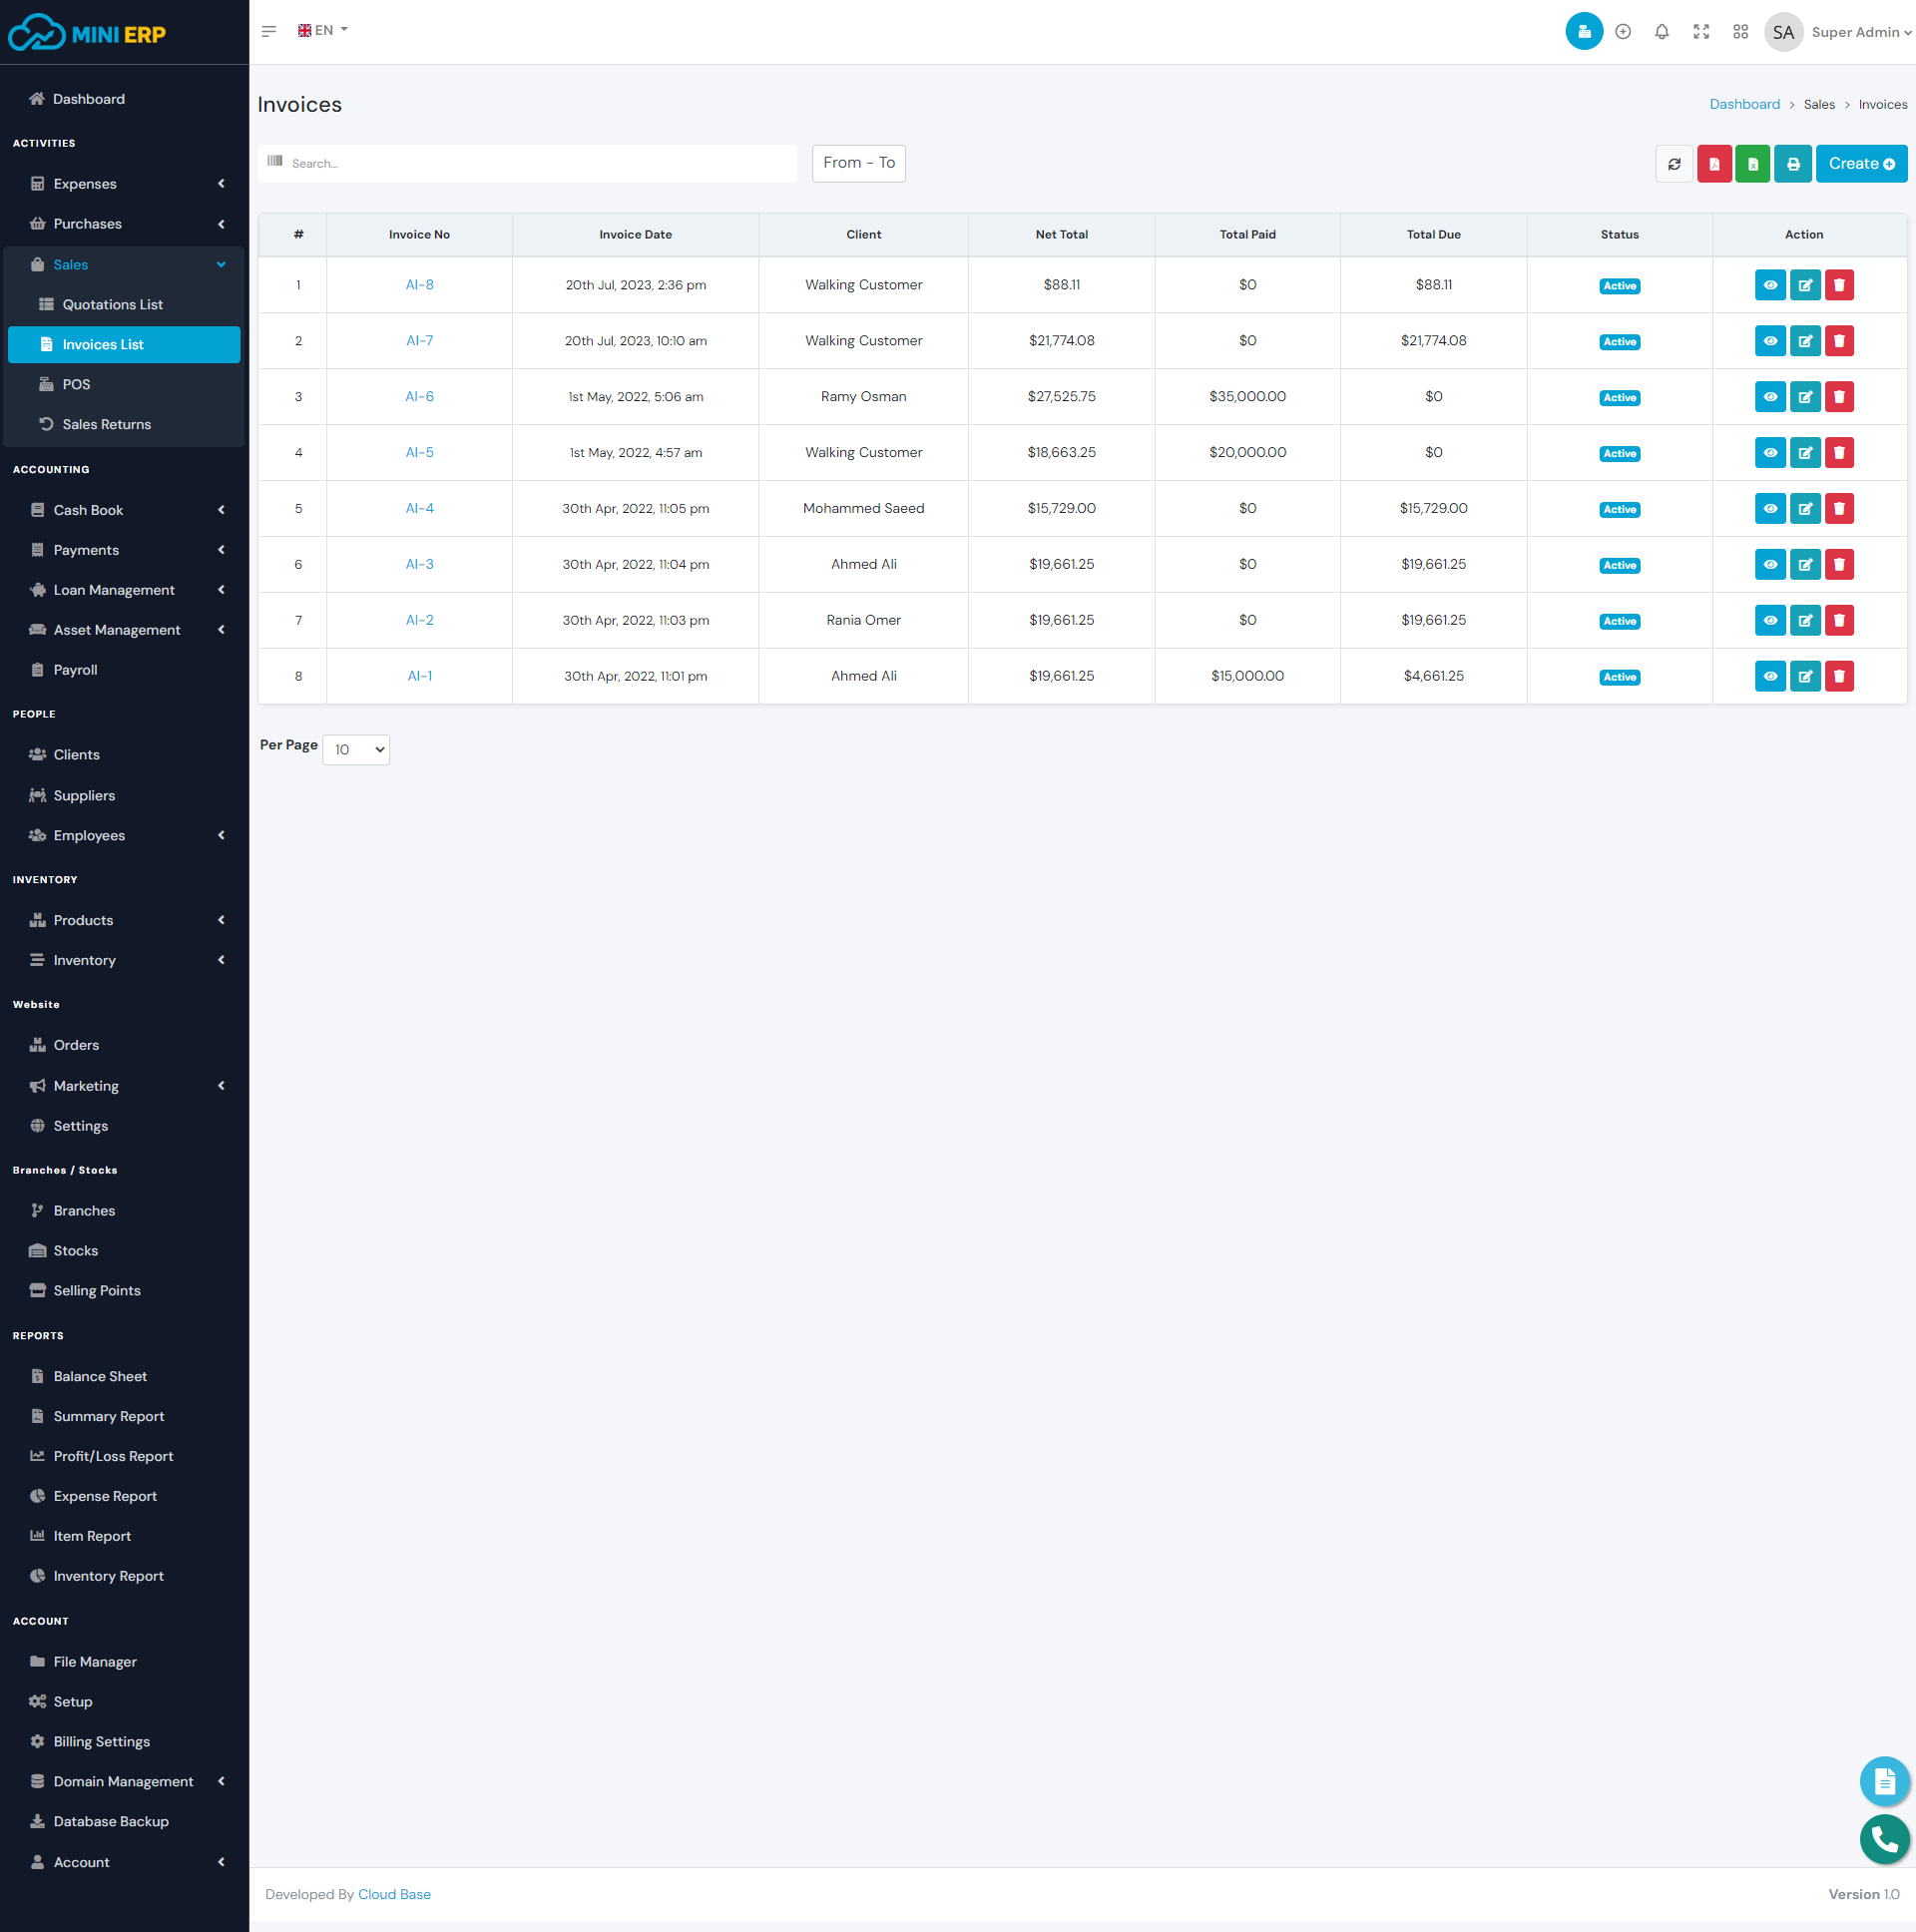
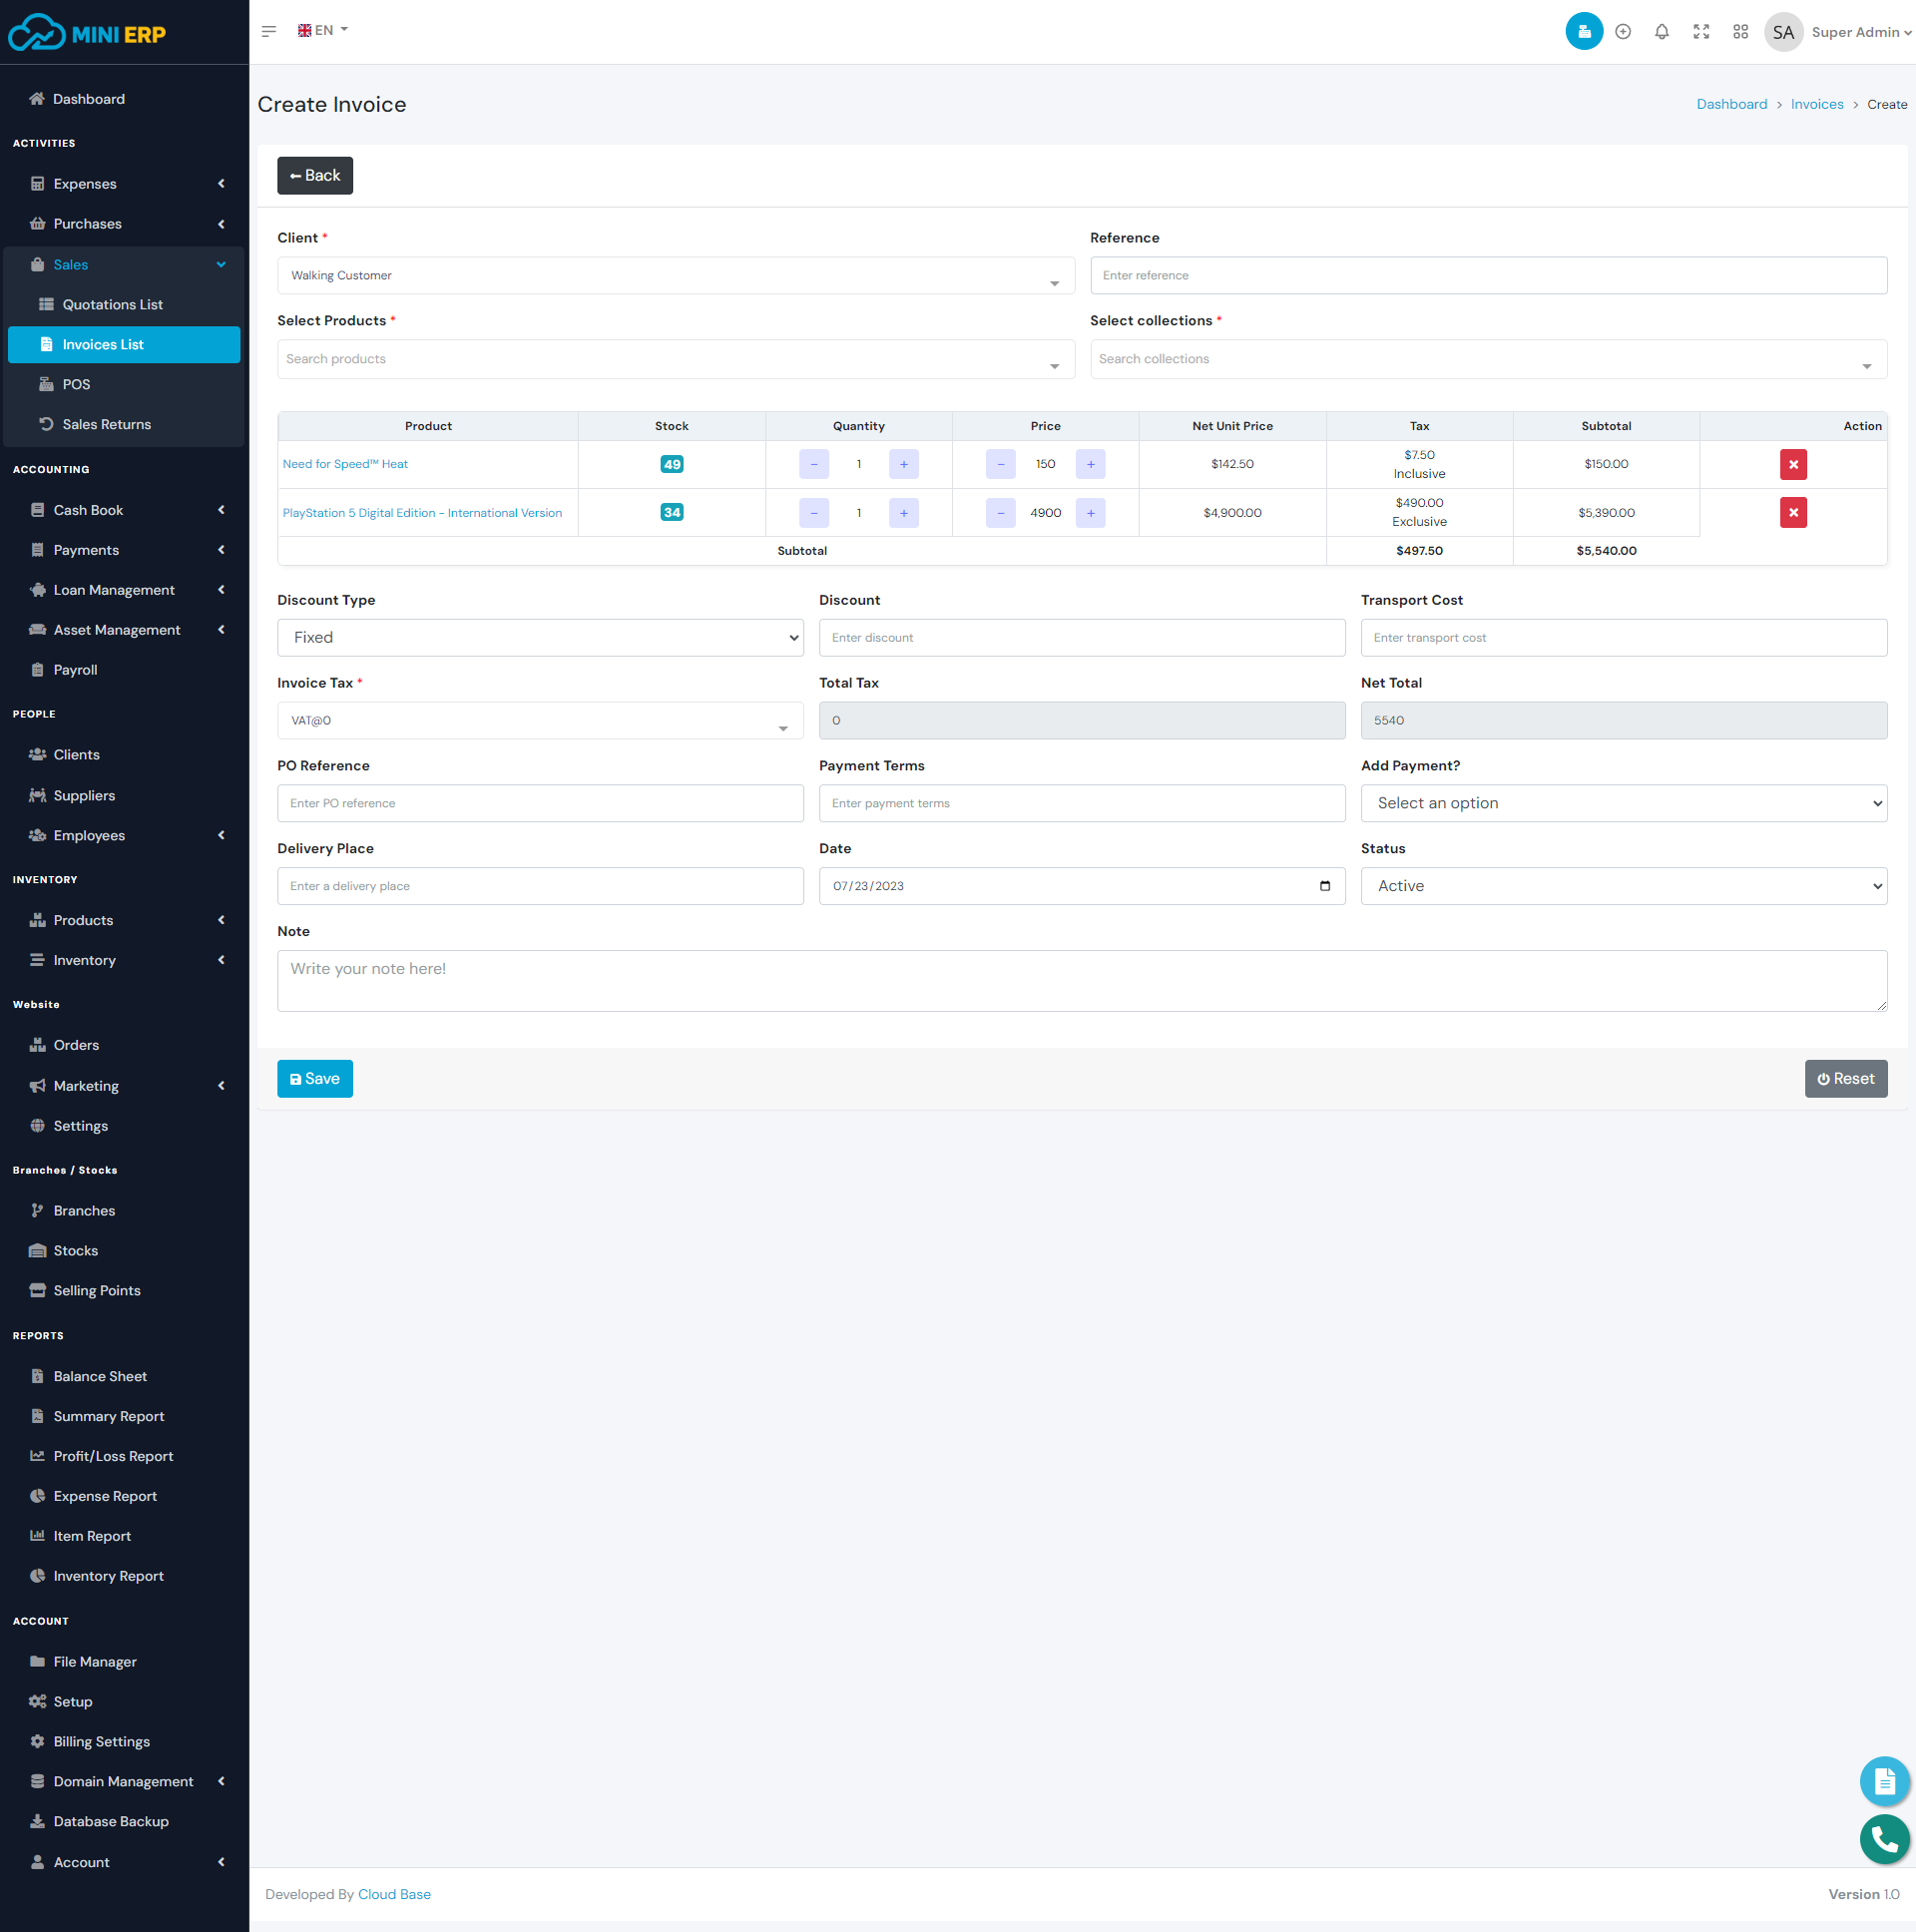
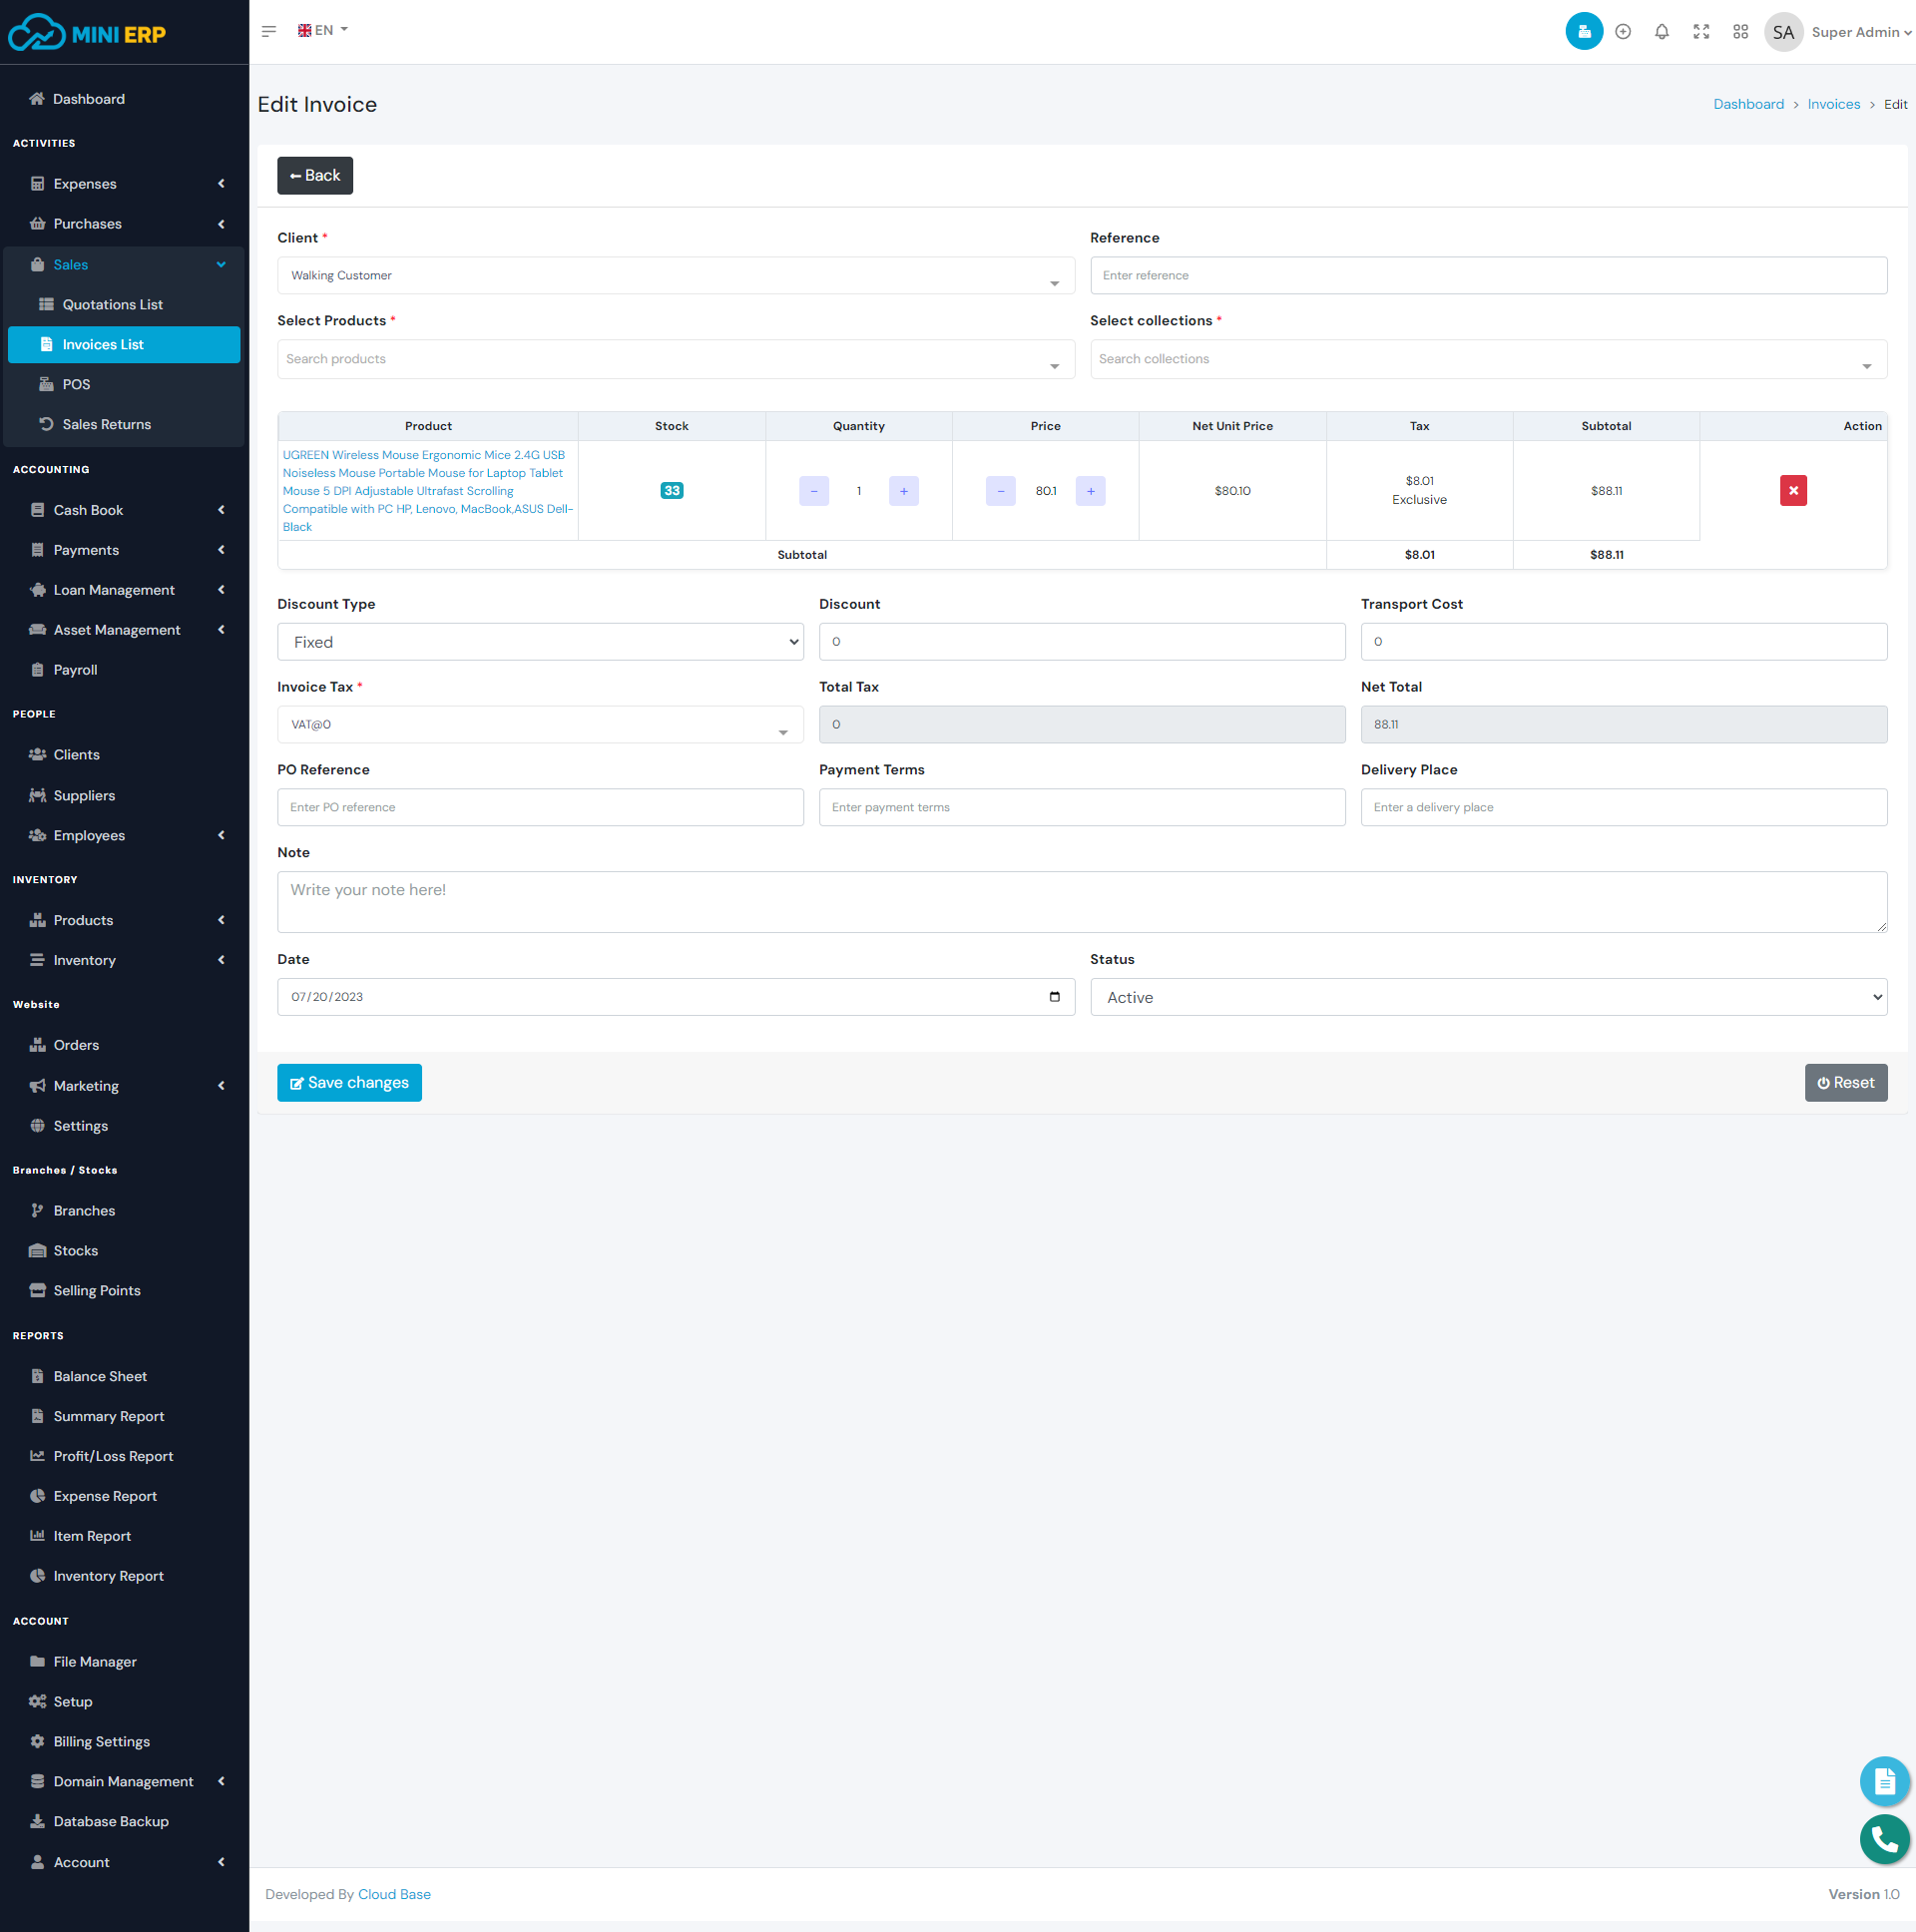
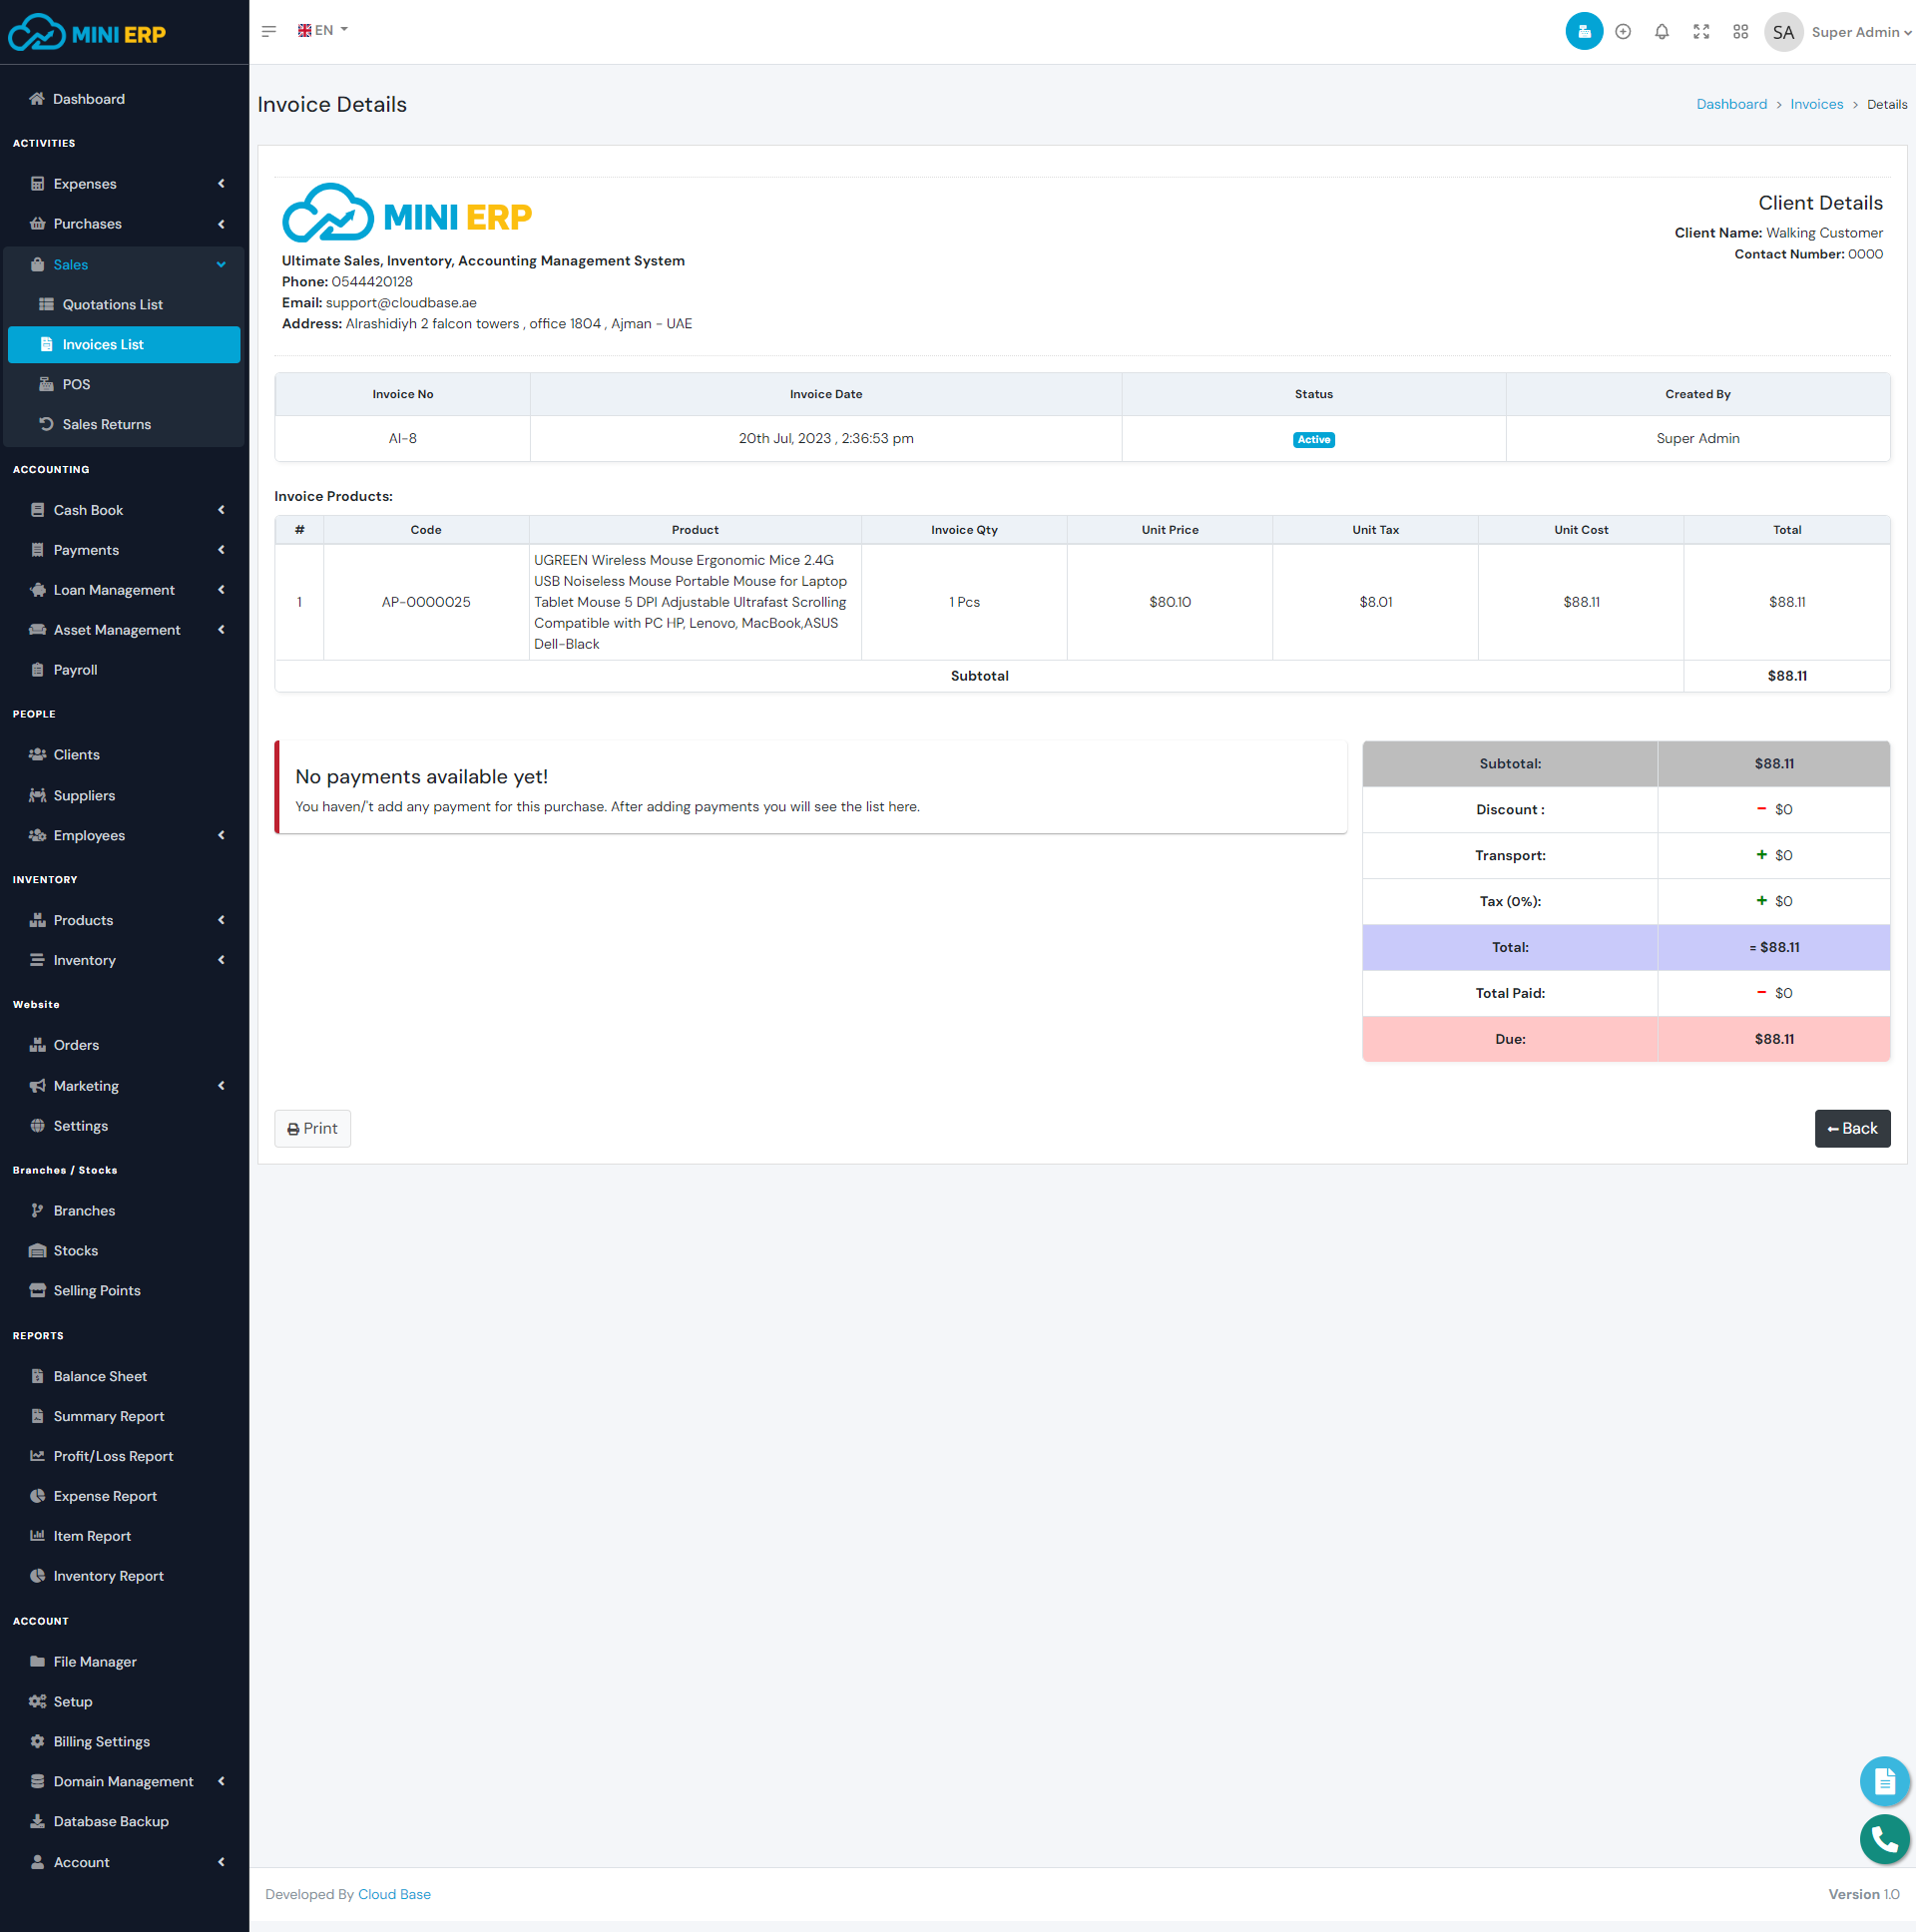
Invoices can be referred to as sales. The invoices module allows you to manage sales for your products. By creating invoices the stock quantity of products will be decreased and by deleting invoices the stock quantity of products will be increased. When creating an invoice you can add a payment directly from the create page or you can do it later from the payments module. In order to create an invoice, you need to create Clients, Products, VAT Rates, and Accounts first.
| Required fields to create an invoice |
|---|
| Client => Client to whom you are selling. Select a client from the list. |
| Select Products => Products that you want to sell. You can select single or multiple products from the list. After selecting a product add the quantity and the price. |
| Invoice Tax => Tax that you want to use for this invoice. Select a tax rate from the list. |
| Account(If you wish to add payment) => The account that you want to use for this invoice payment. Select an account from the list. |
Note: This is a relational module. If you delete any invoice then the invoice return and invoice payments will be deleted automatically. Deleting any invoice will increase the stock quantity and will delete the invoice payments which have an impact on the accounts that you used to receive the payments. So we recommend you to use the delete option very carefully.
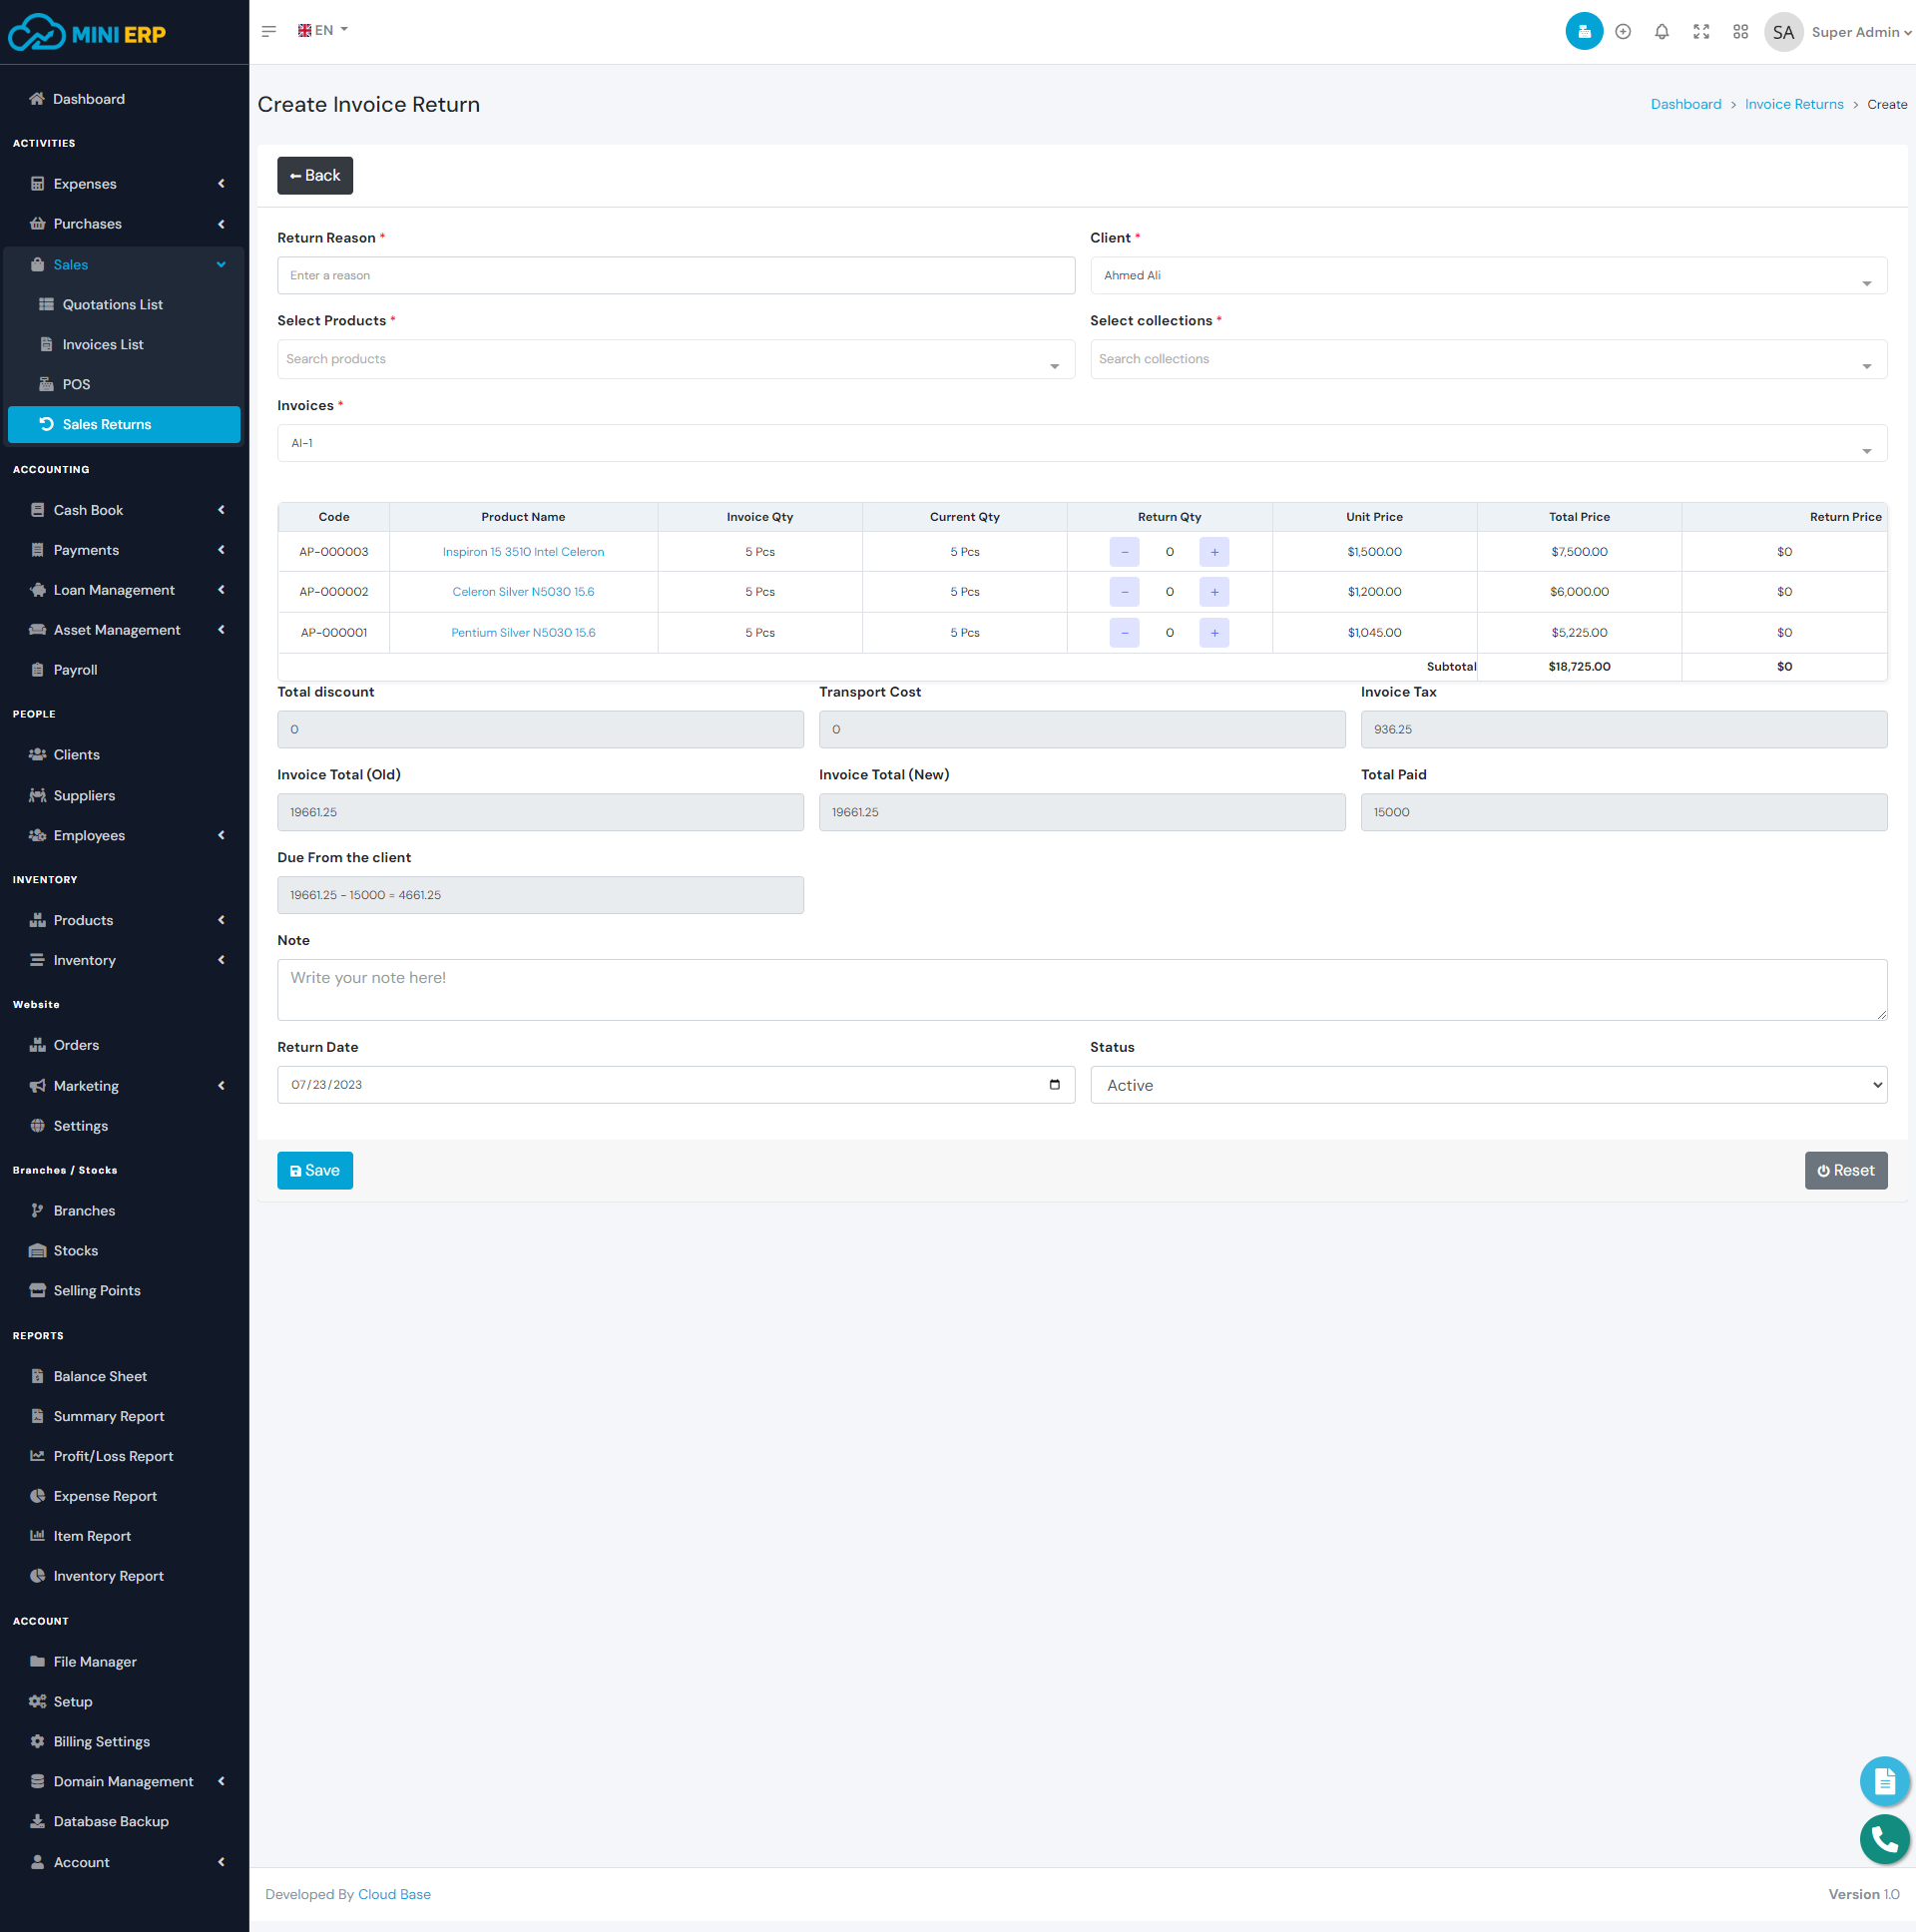
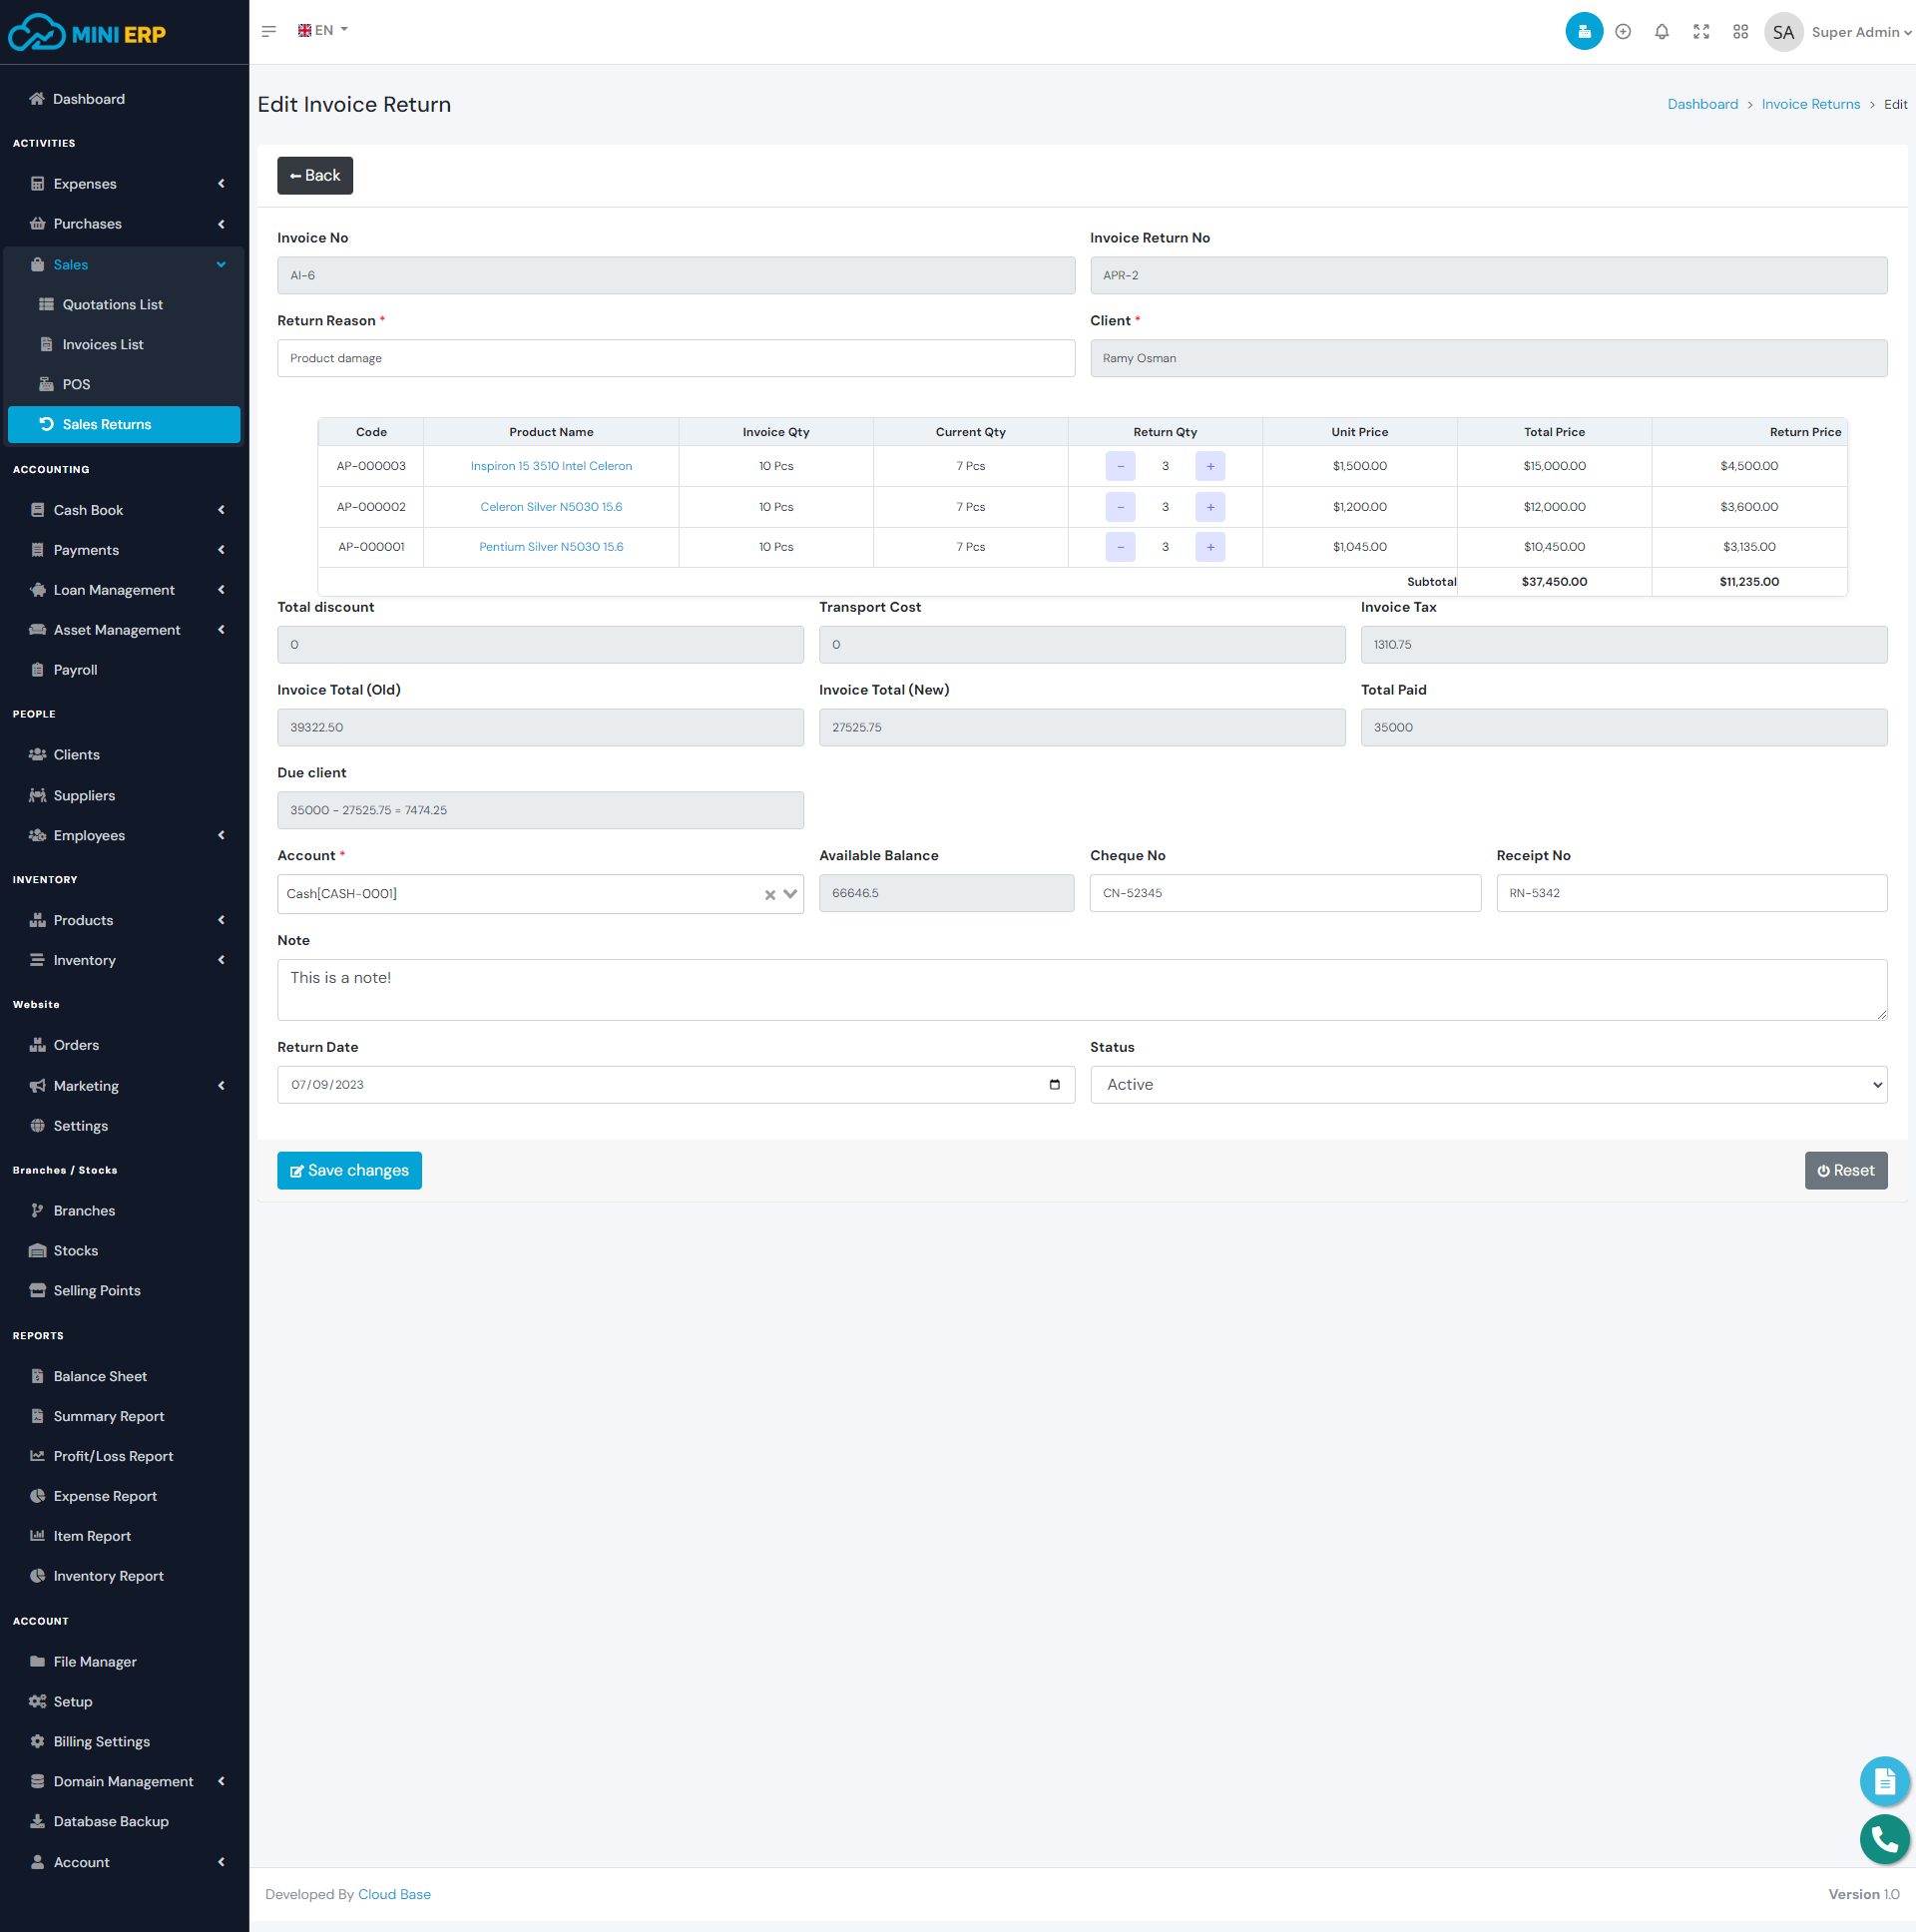
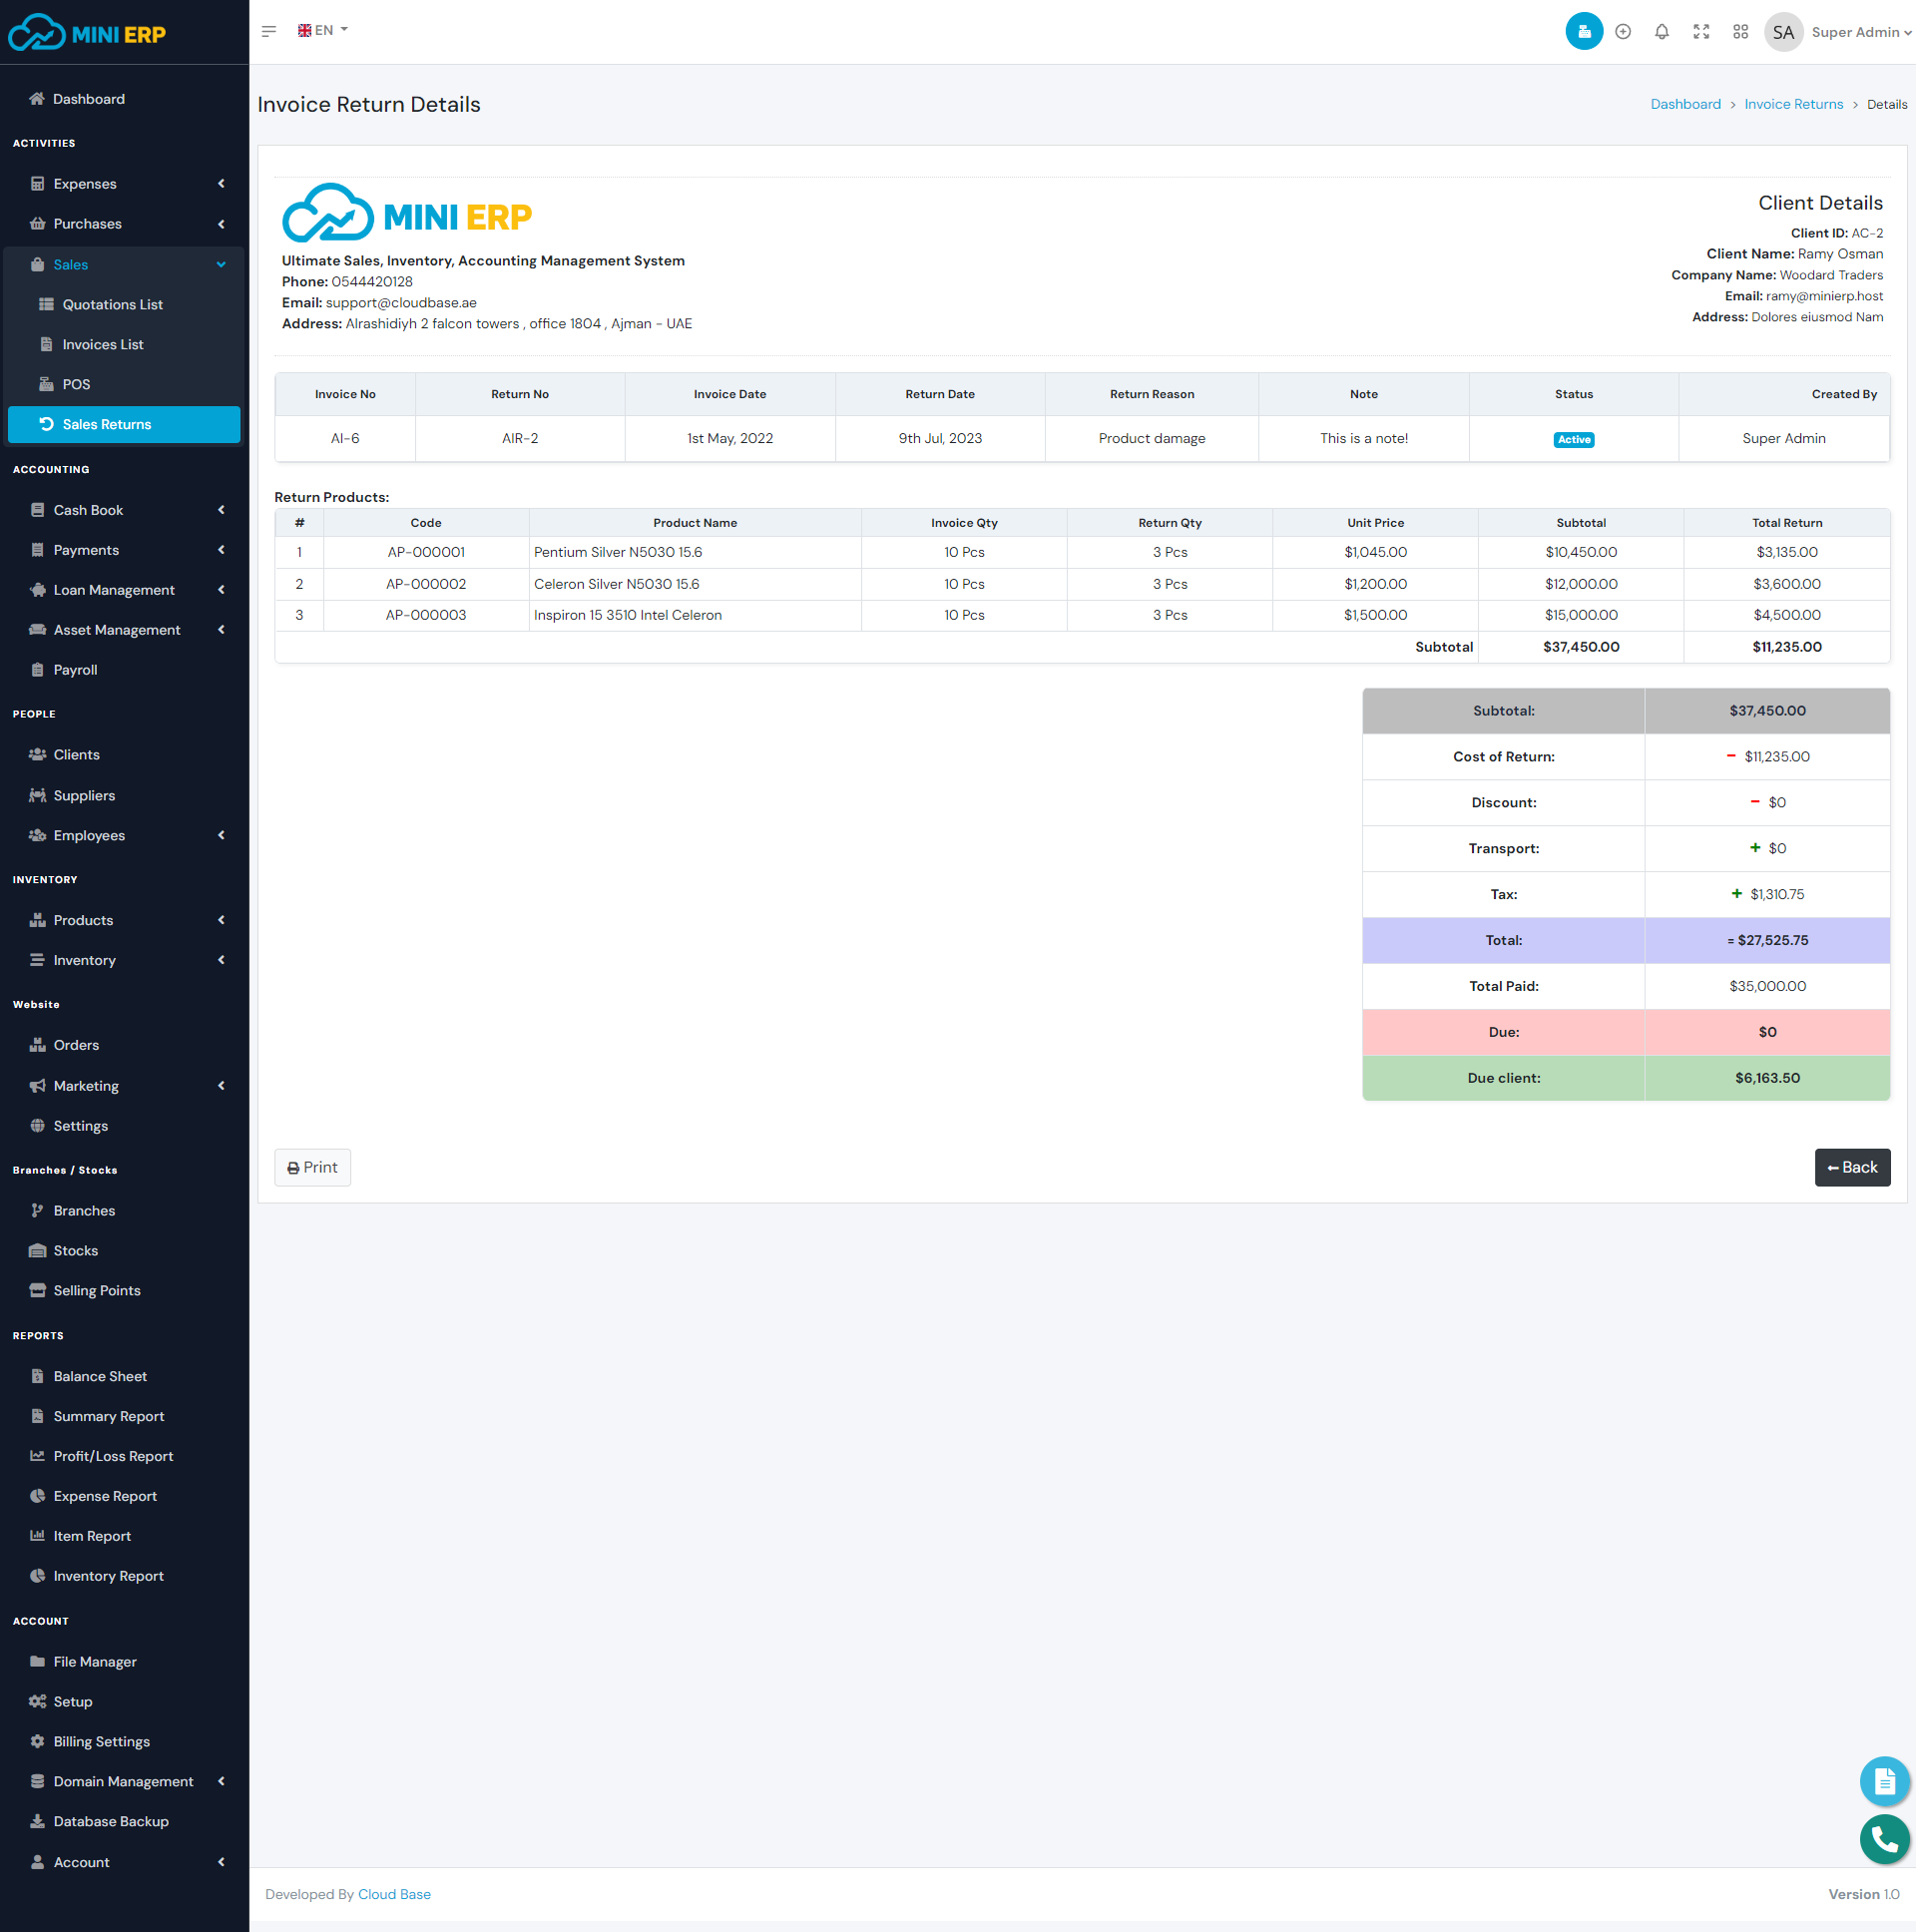
Invoice Return
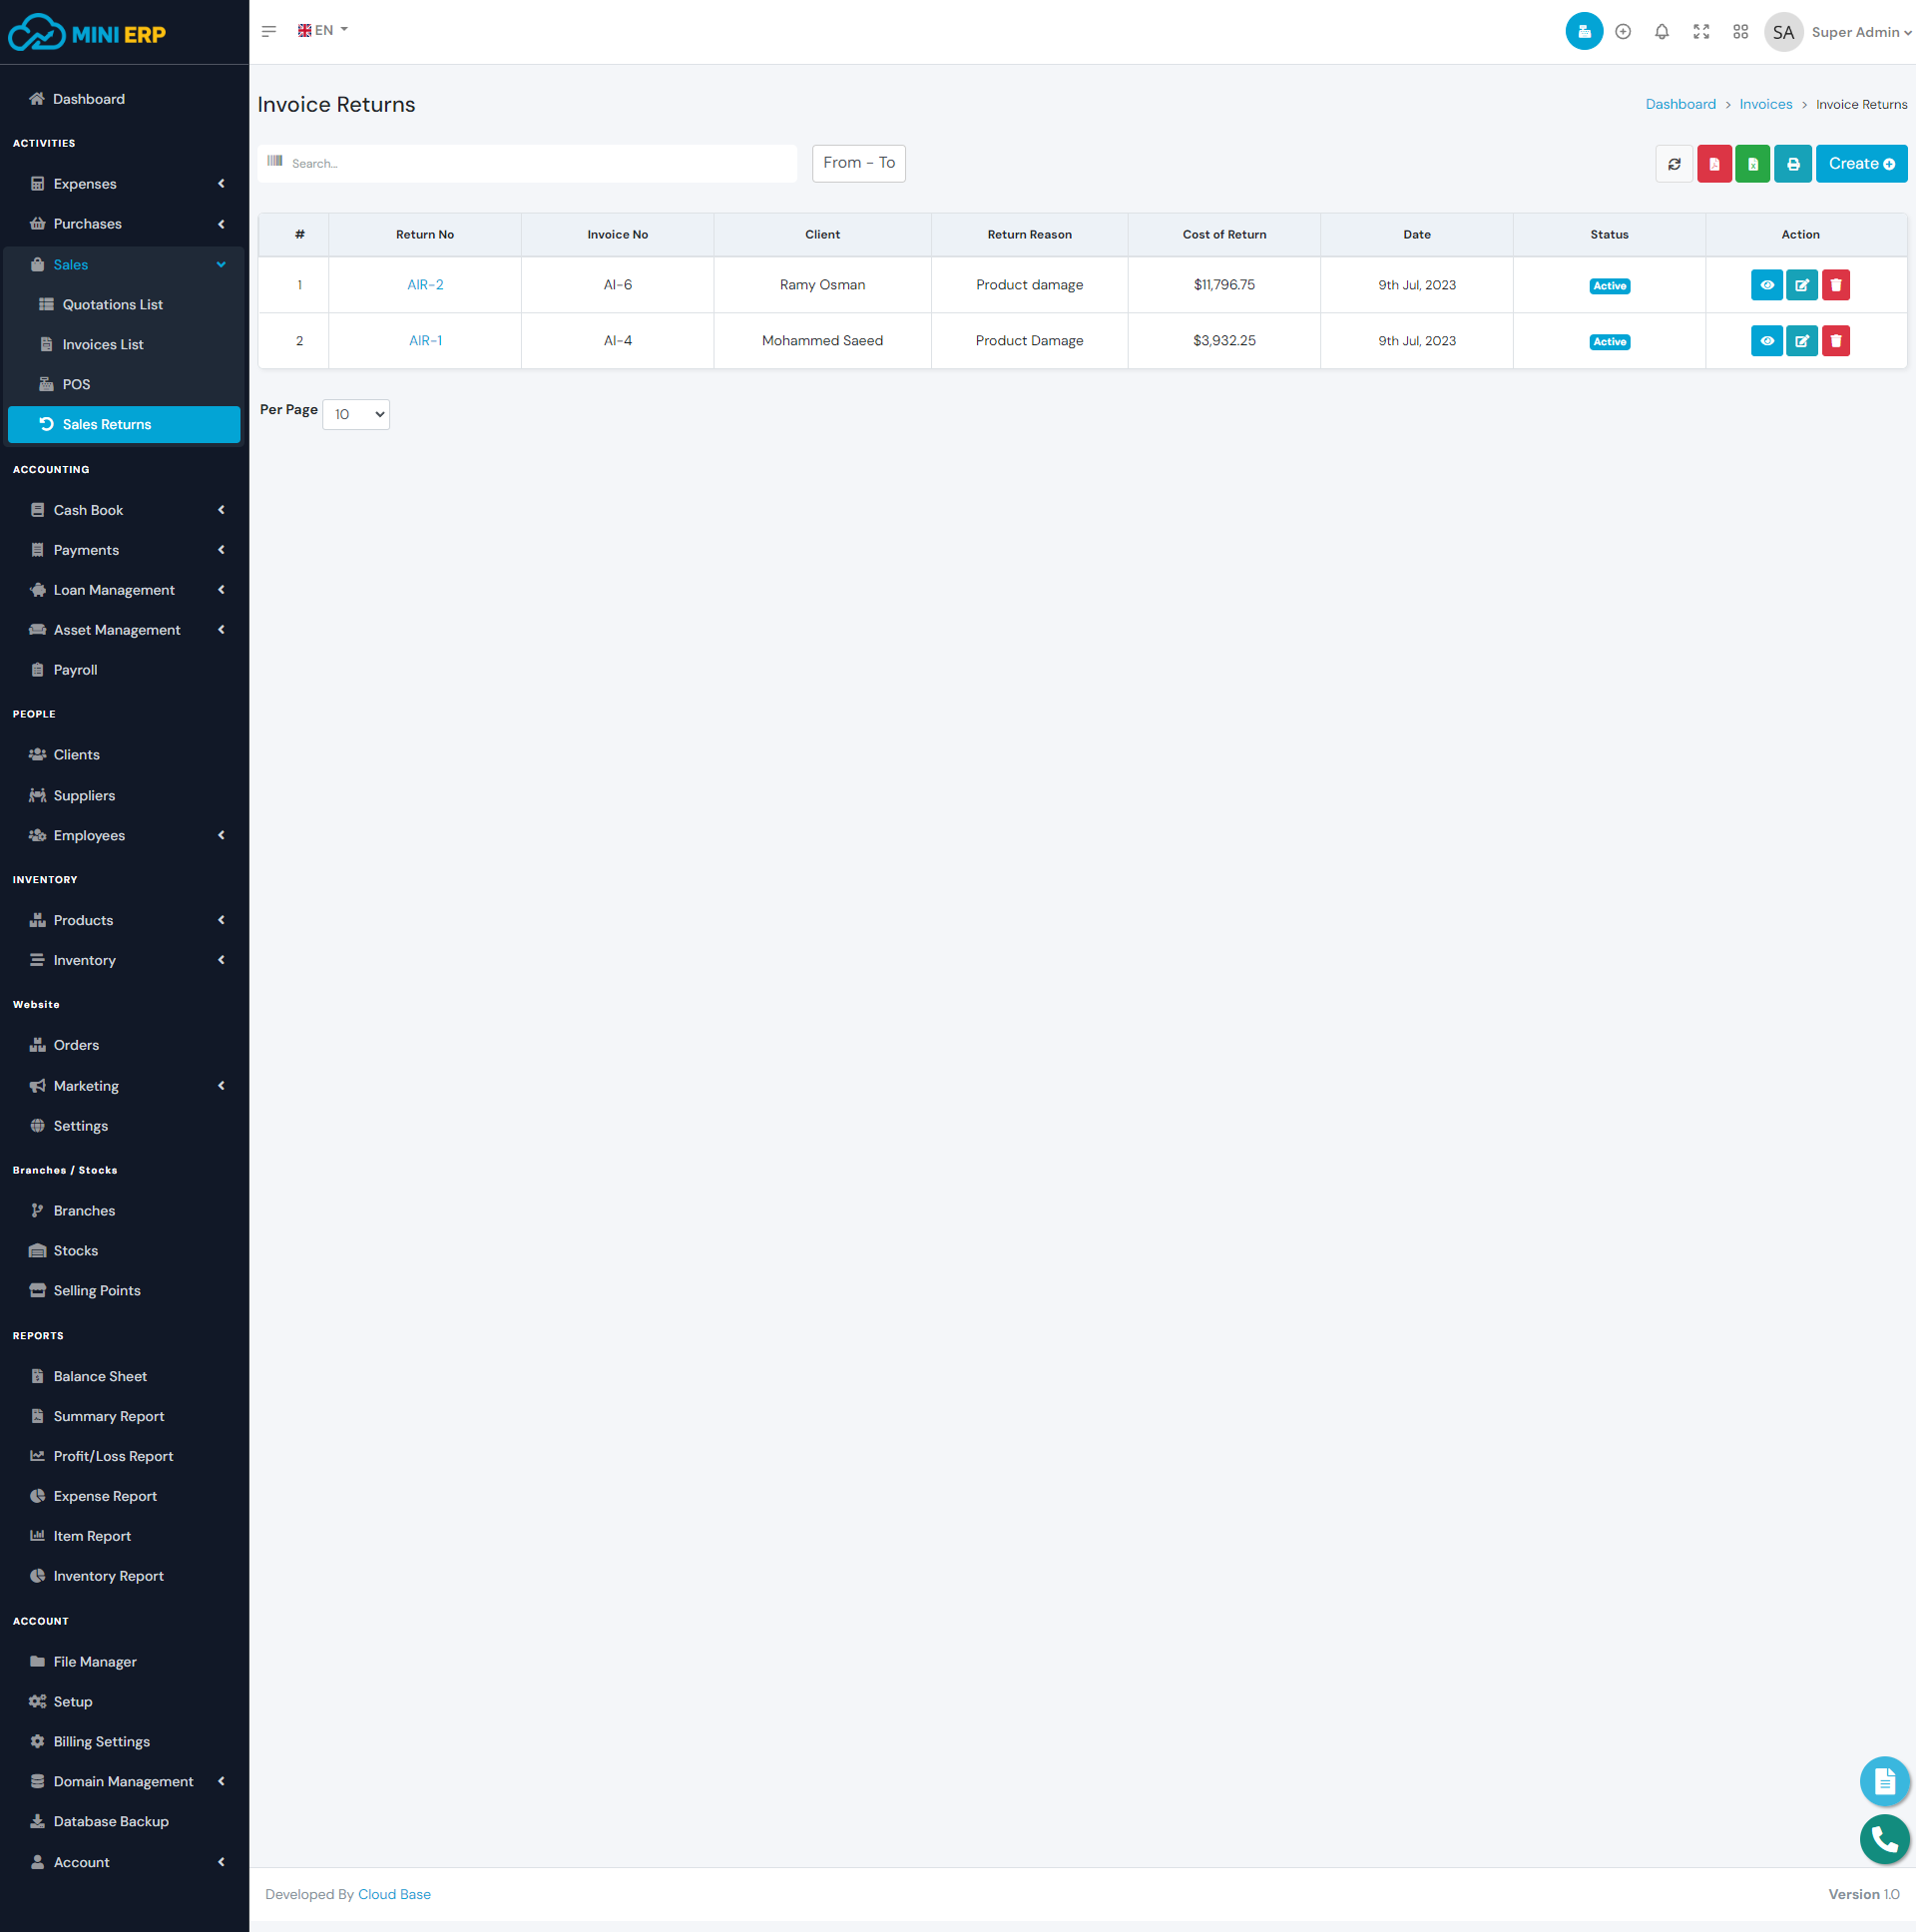
Invoice Return module allow you to manage products return for any invoice. By creating invoice returns the stock quantity of products will be increased and by deleting purchases the stock quantity of products will be decreased. You can create a maximum of one return from any specific invoice. The cost of return products will be adjusted with the invoice due automatically. If the cost of return products is greater than due then the due will be adjusted and the reaming amount will be deducted from the account as Account Payable.
| Required fields to create a invoice return |
|---|
| Supplier => Supplier to whom you are returning. Select a supplier from the list. |
| Select Products (Optional) => Products that you want to return. It will filter your purchases and will show the specific purchases that contain the selected products. It helps when you forgot any purchase number. |
| Purchases => List of the purchases for the selected supplier. You can select any purchase from the list and it will show you all the products for the selected purchase. |
| Account(If cost of return product greater than due) => The account that you want to use to sent the Account Payable. Select an account from the list. |
Note: A invoice can have only one invoice return(One-to-one relationship between Invoices and Invoice Returns).
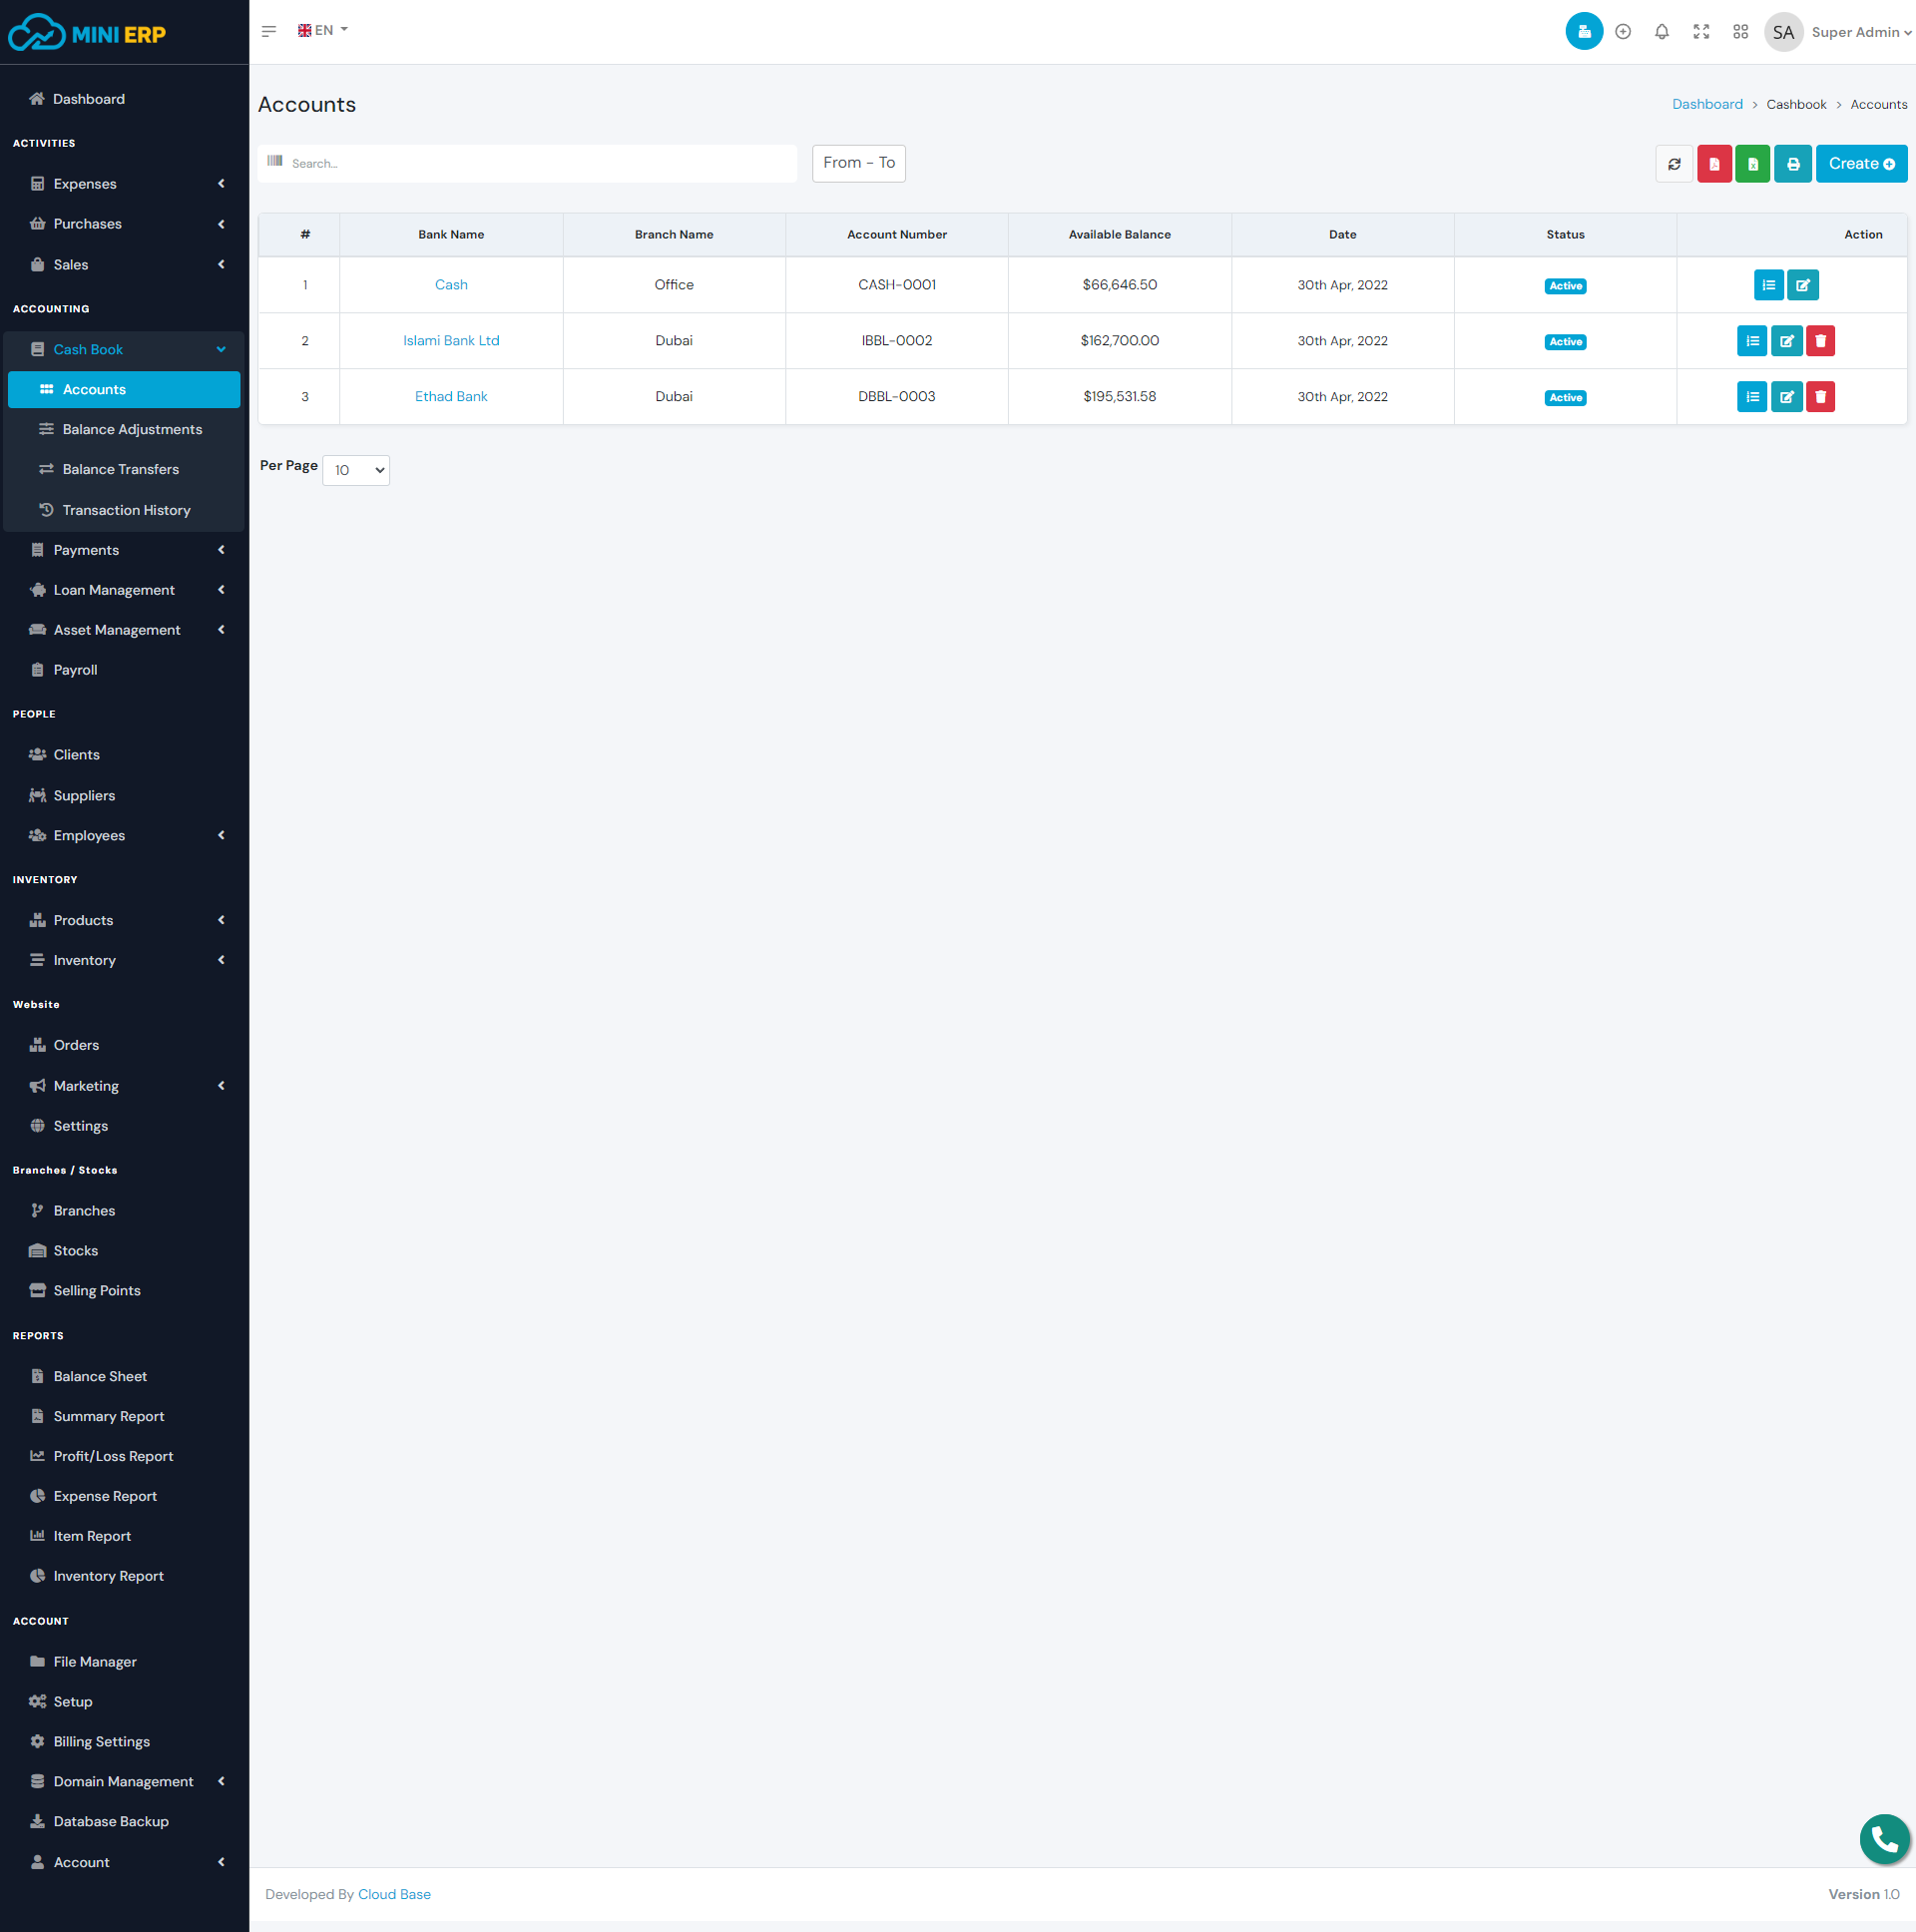
Accounts
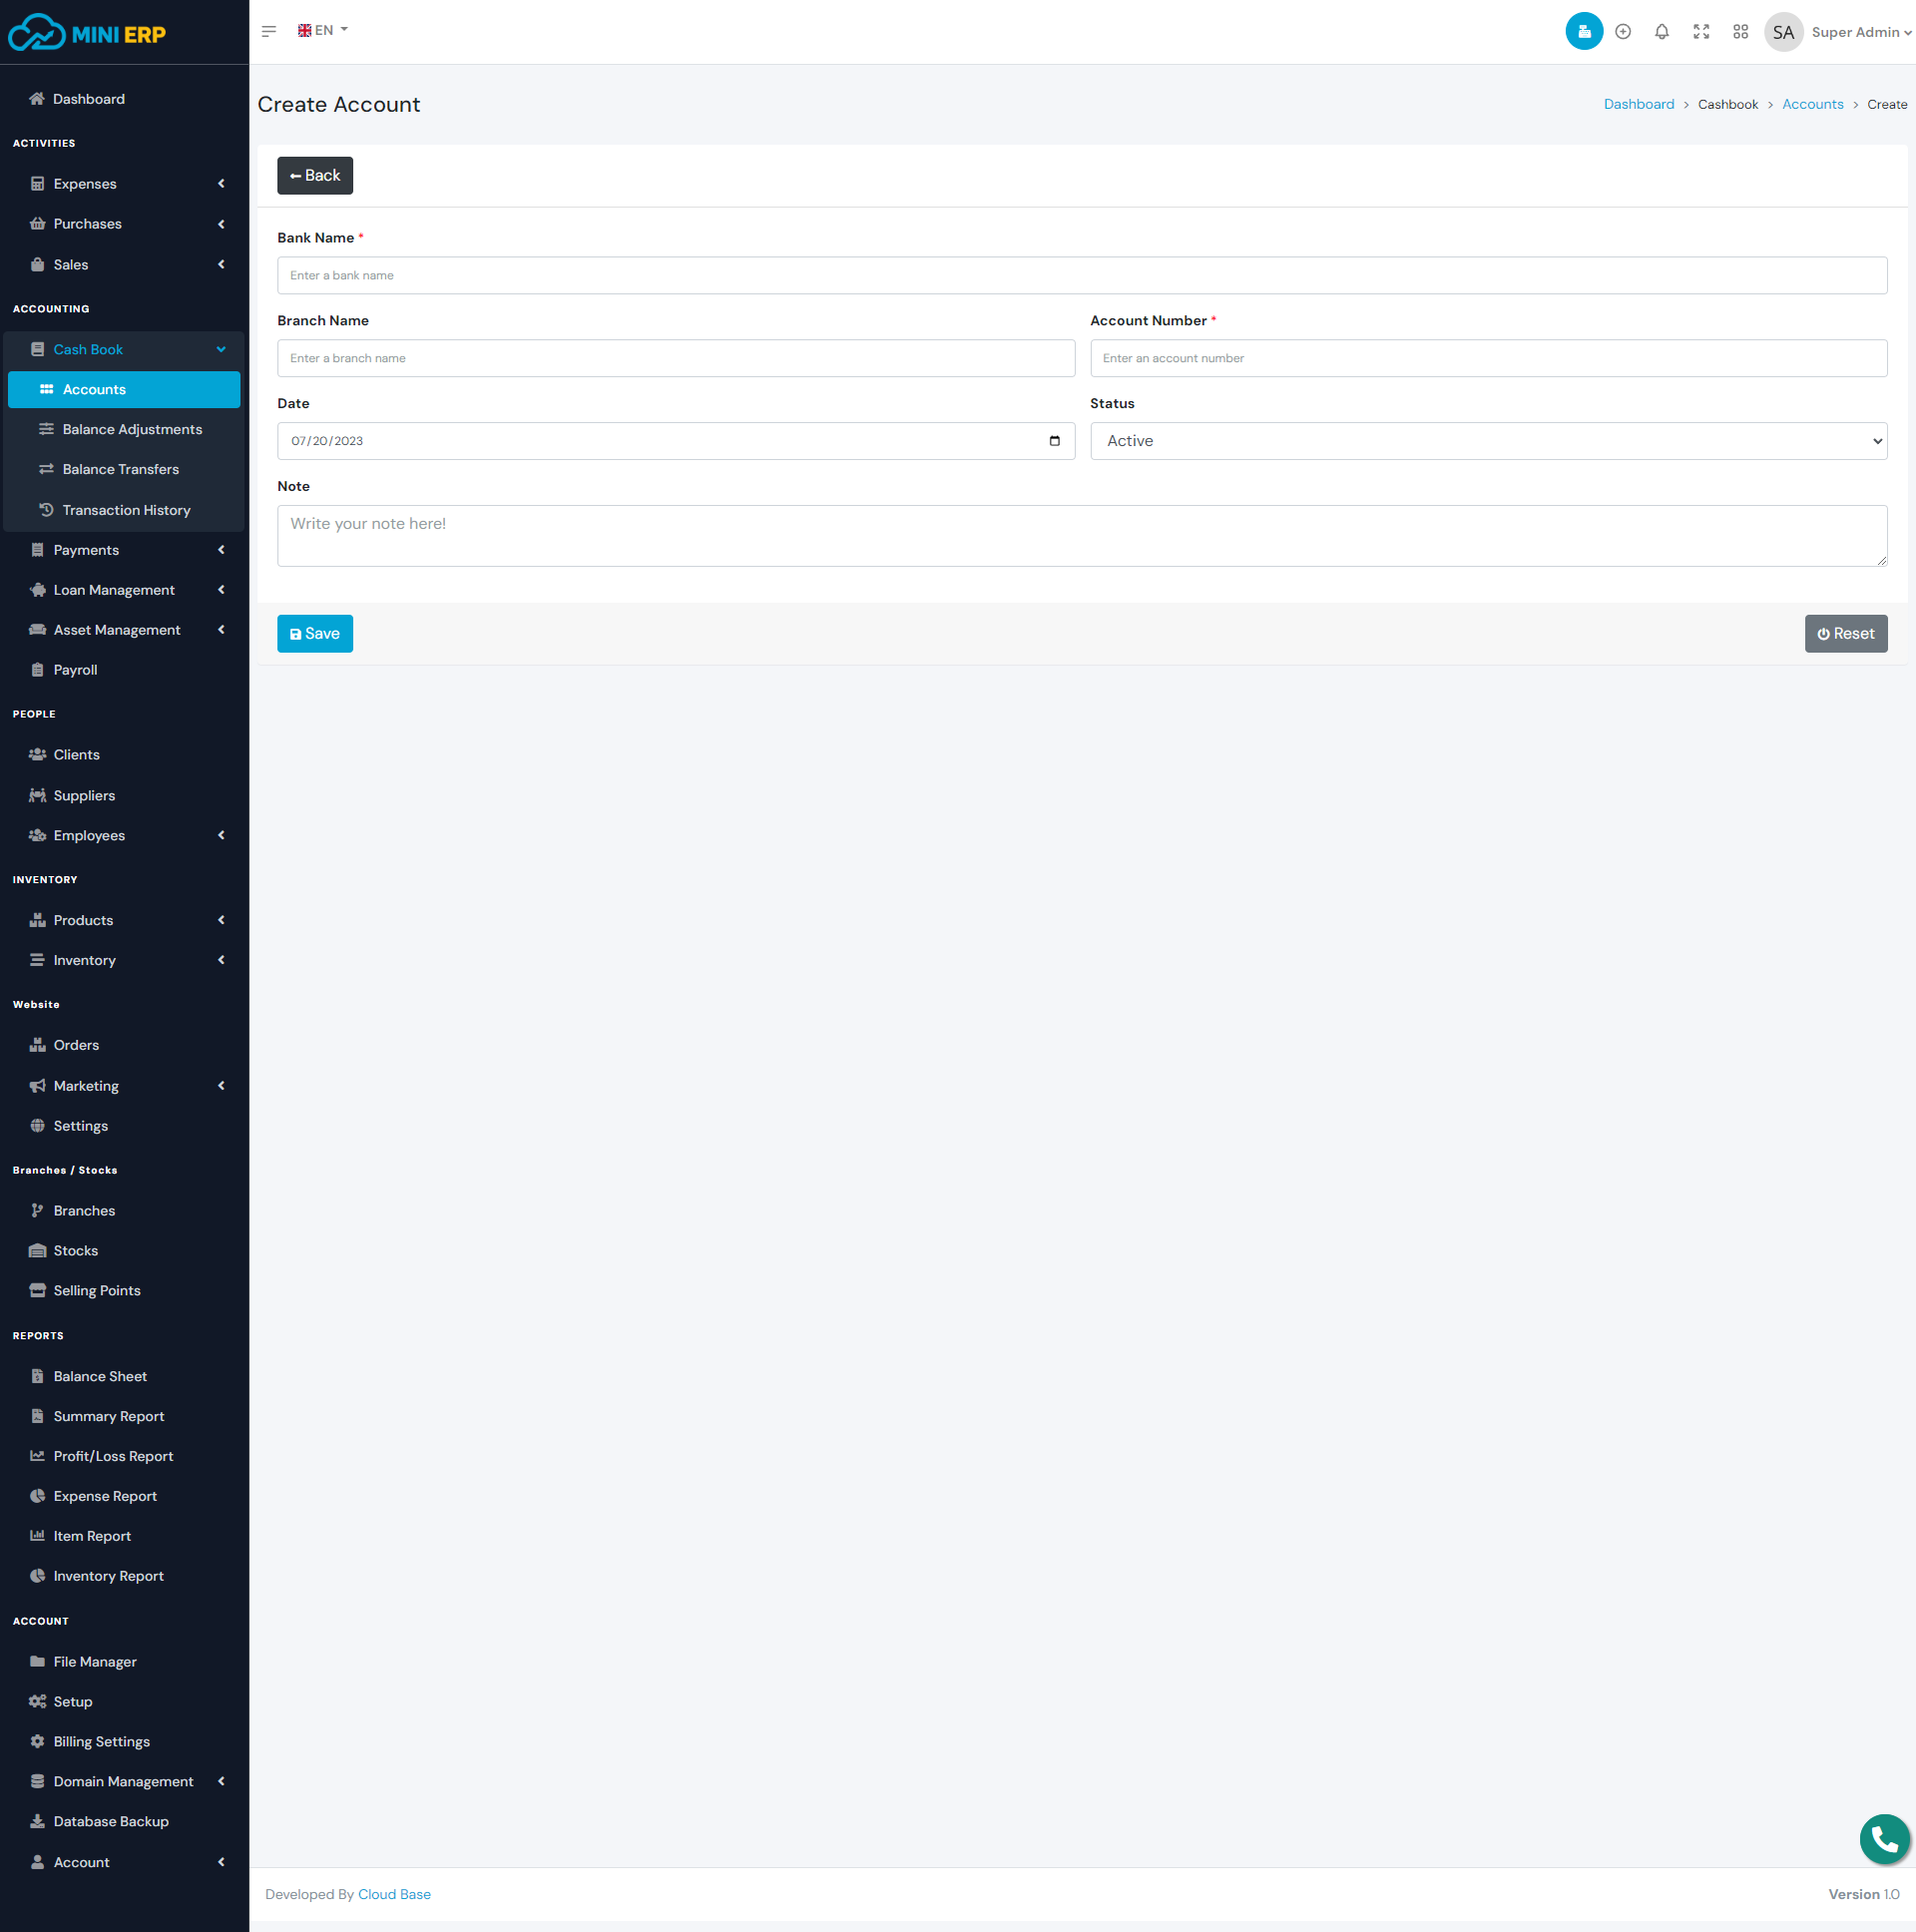
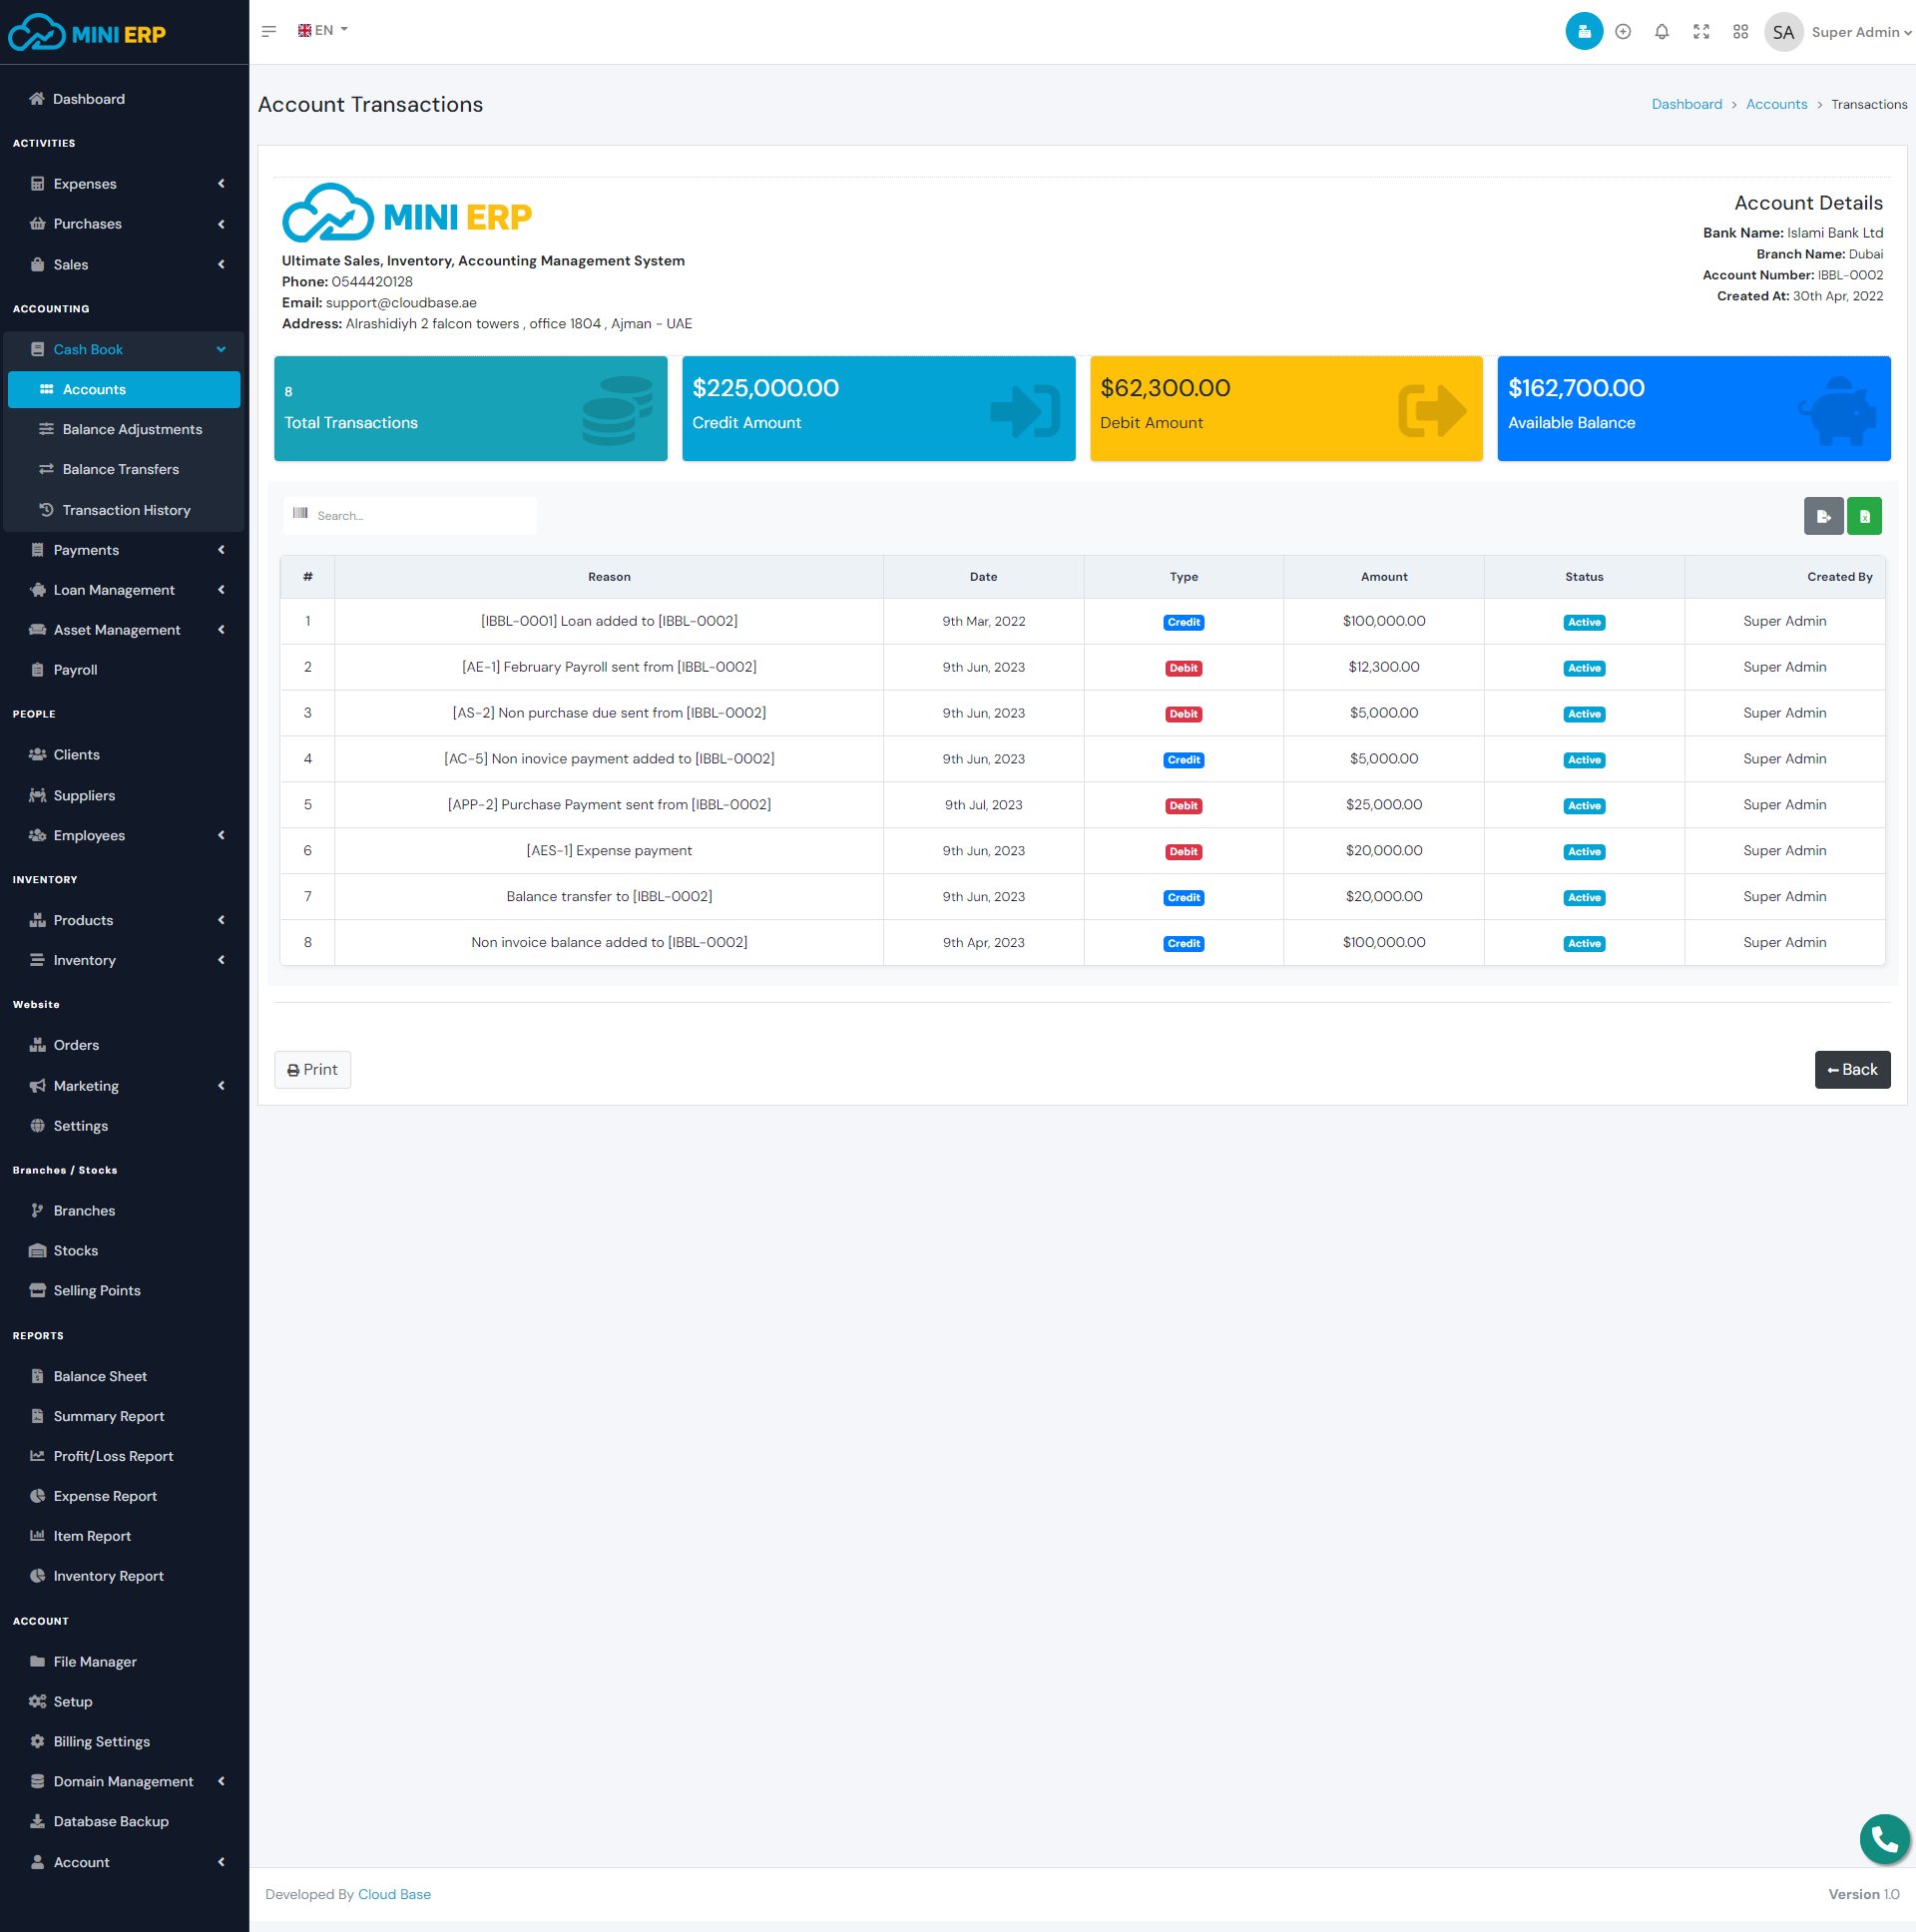
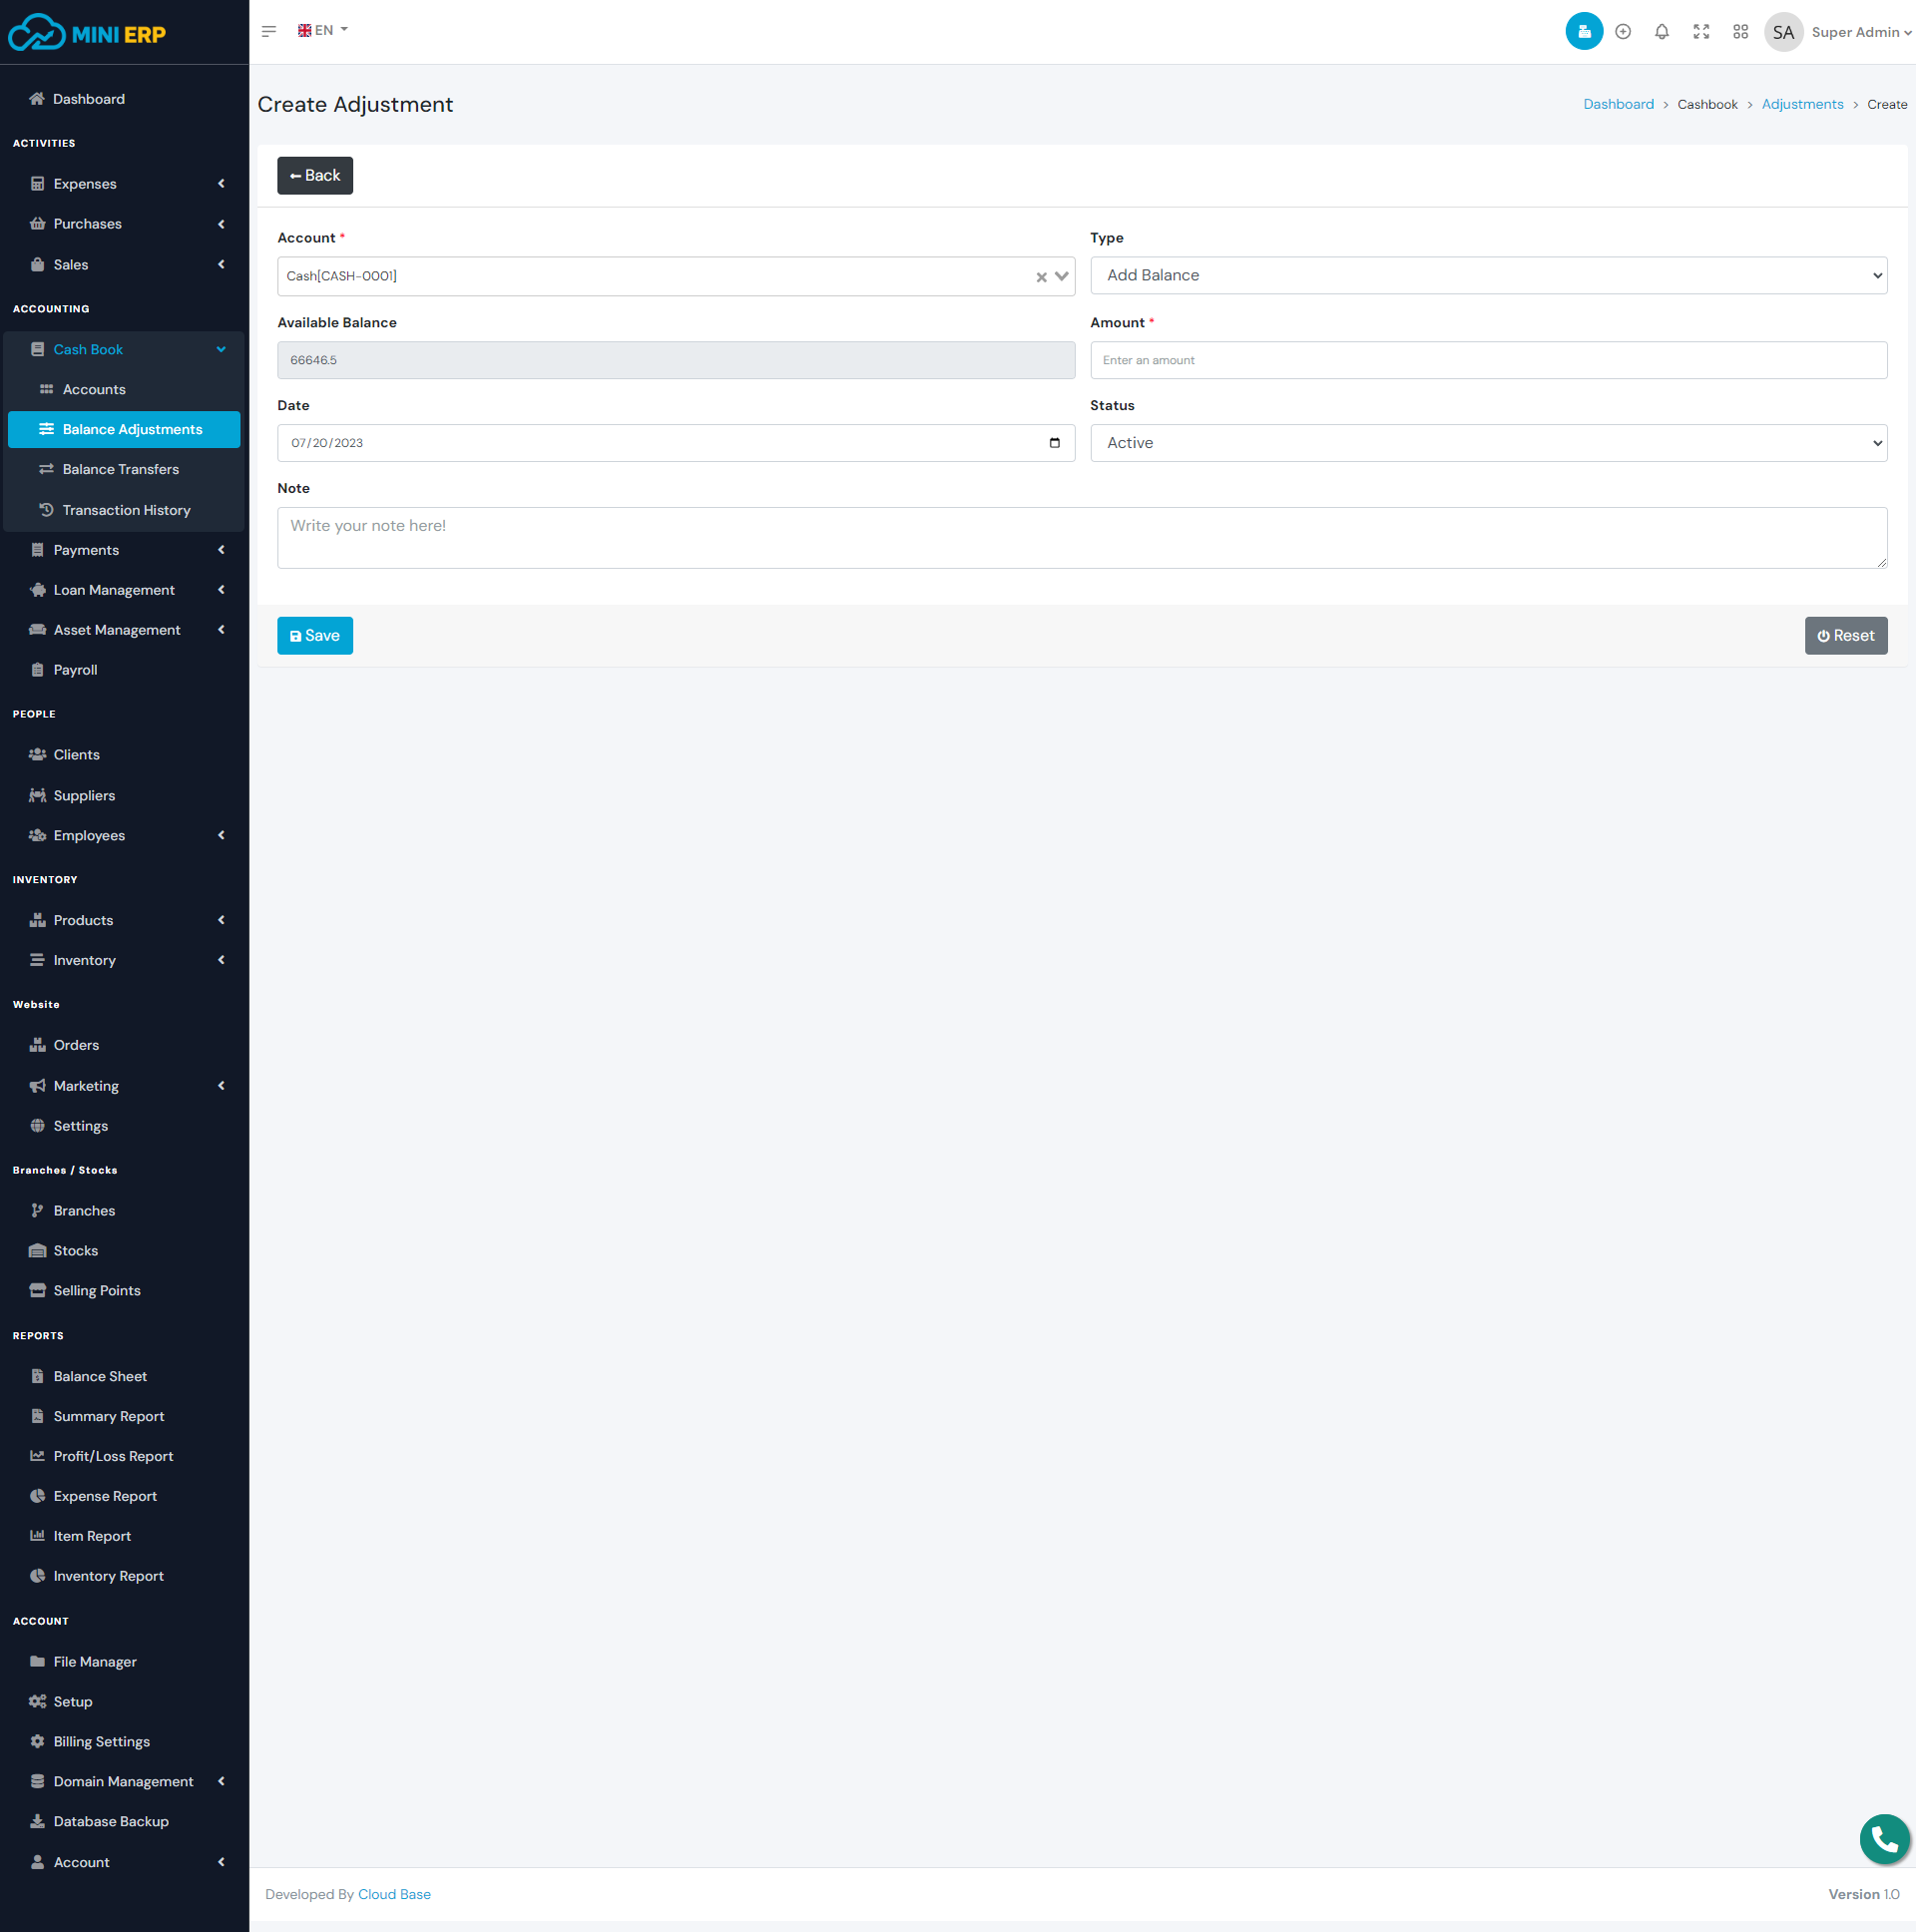
Accounts module helps to link all your transactions to the accounts. You must create at least one account to run the system because all the payments must be done under an account. After creating an account you can add non invoice balance from the "Add Balance" module. This will add balance into your accoaunt and later you will be able to use the account balanbce for expenases, payments etc.
| Required fields to create an account |
|---|
| Bank Name => Name of your bank. Type bank name as plain text. |
| Account Number => Your bank account number. Type account number as plain text. |
Note: All the transactions are link to the accounts. So if you delete any account then the transactions for this account will be delete autometically. So we recommend you to use the delete option very carefully.
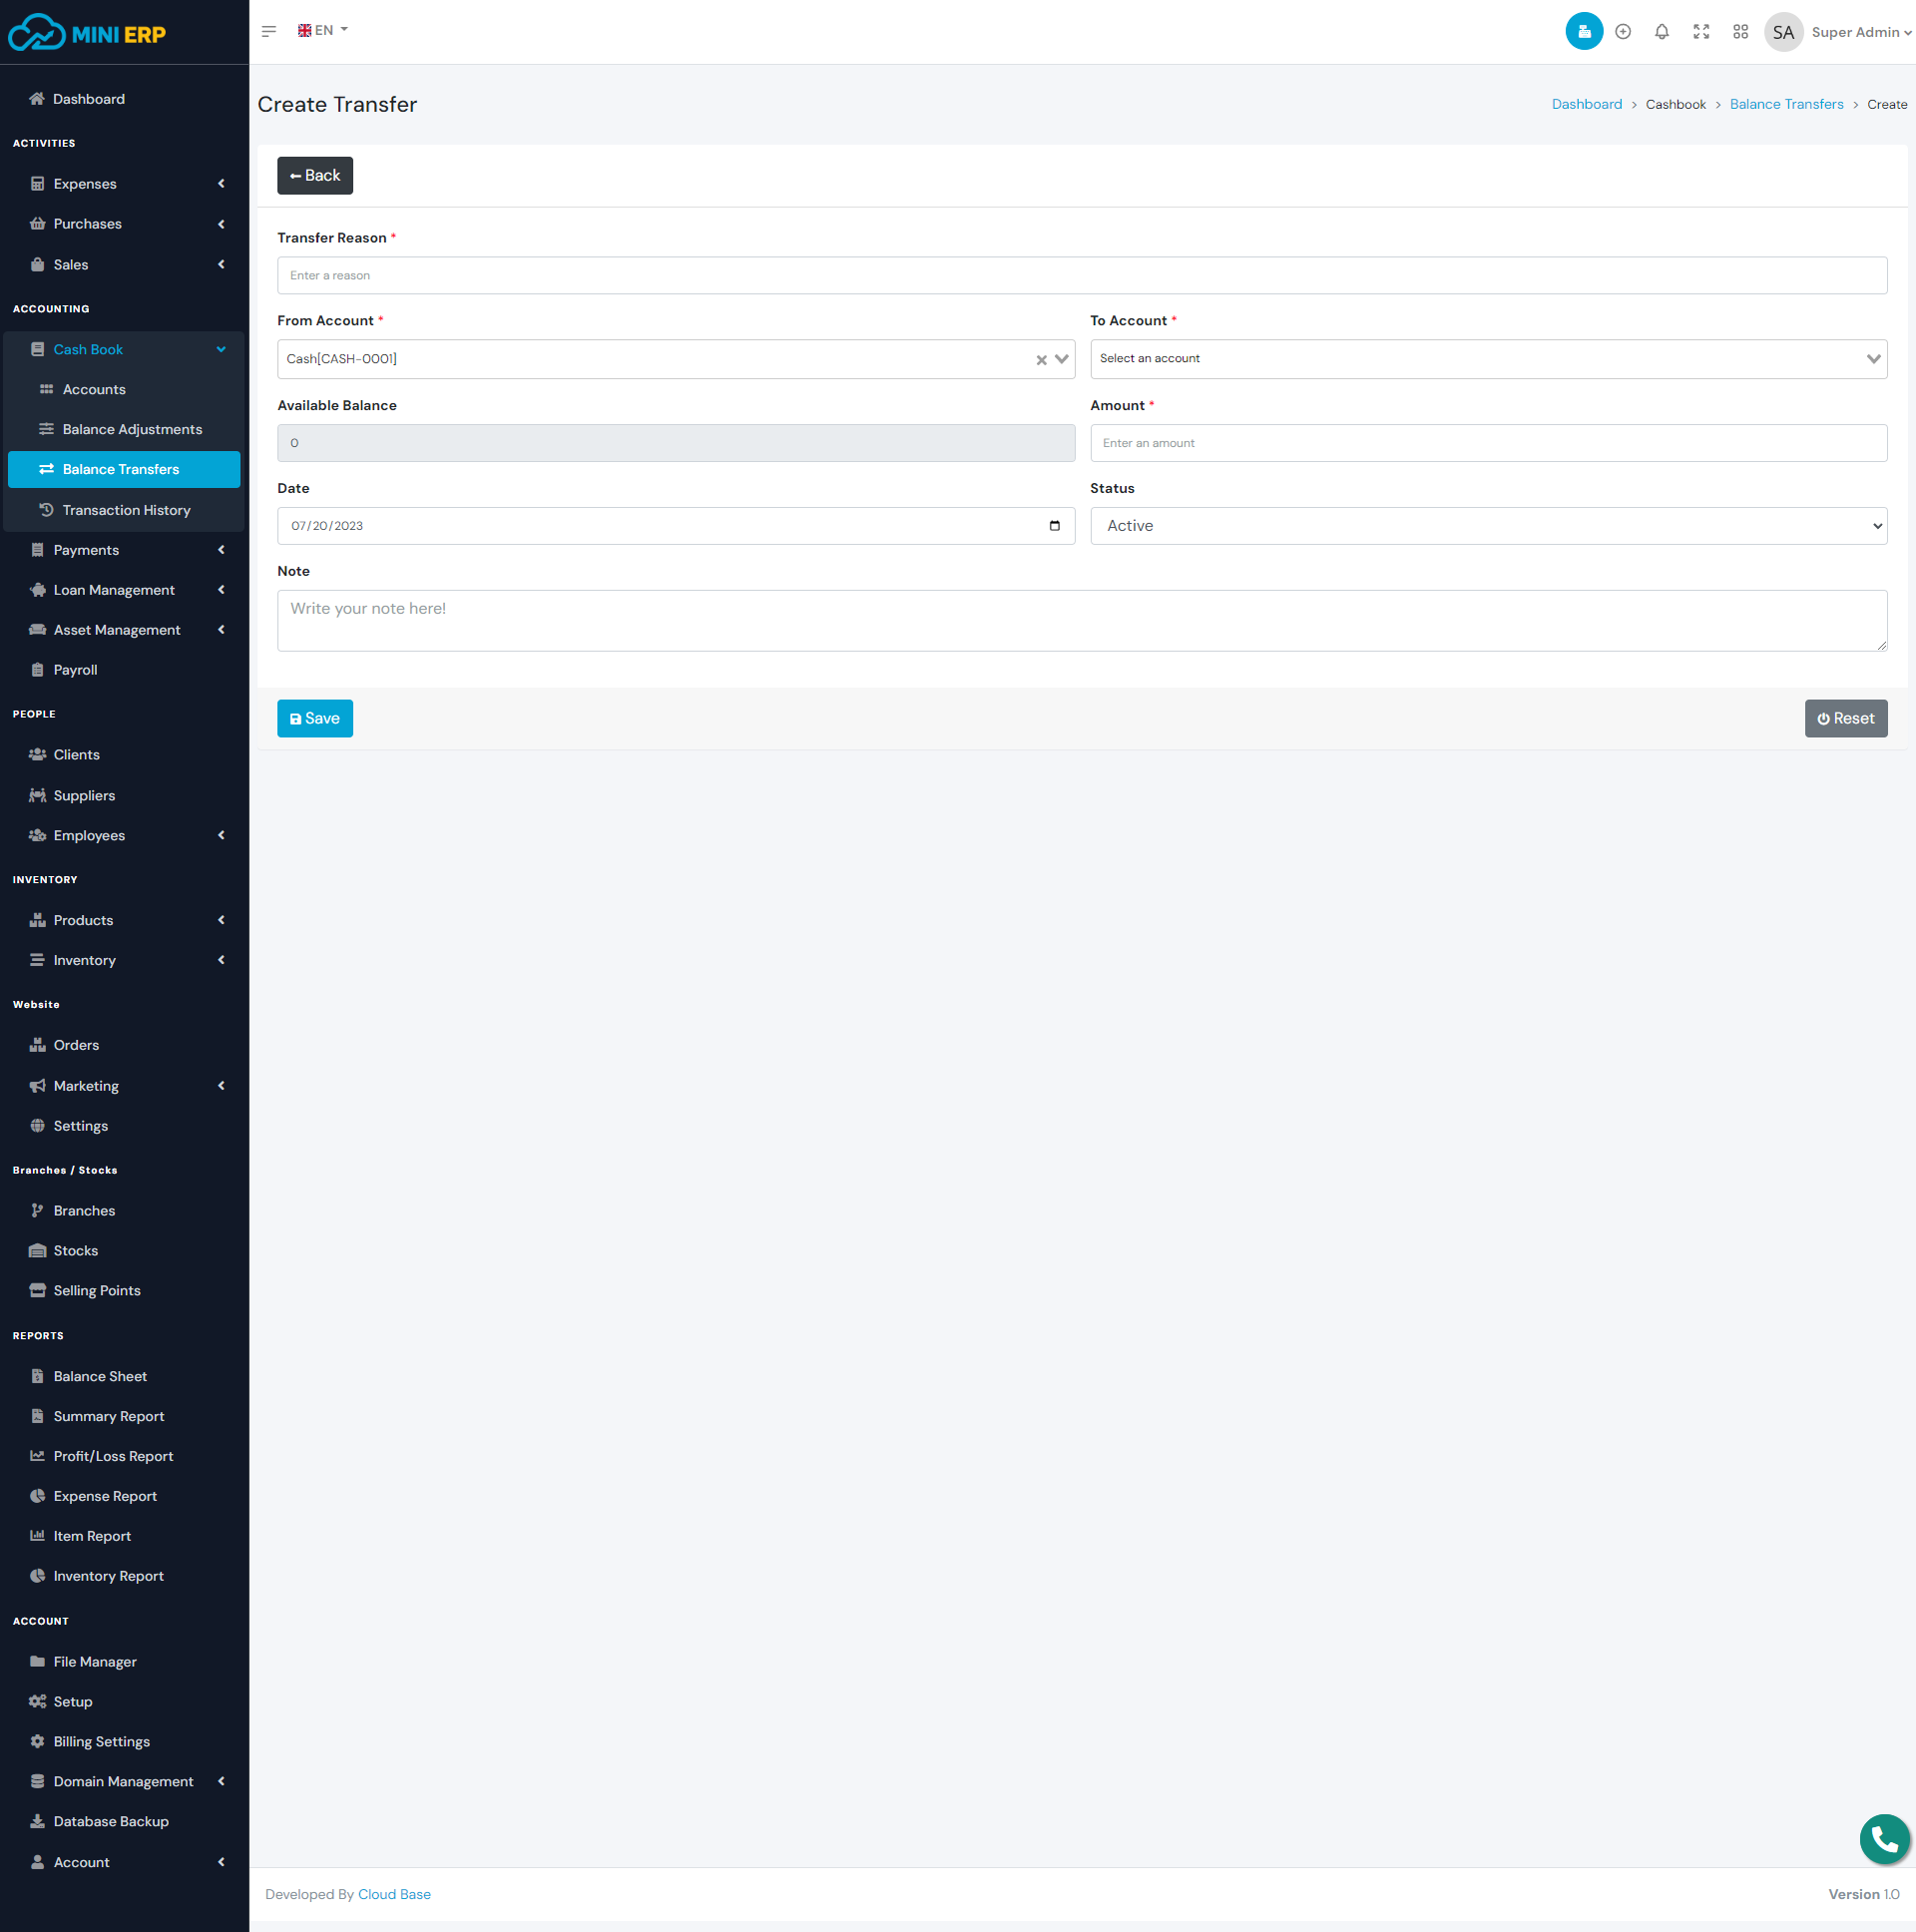
Balance Transfers
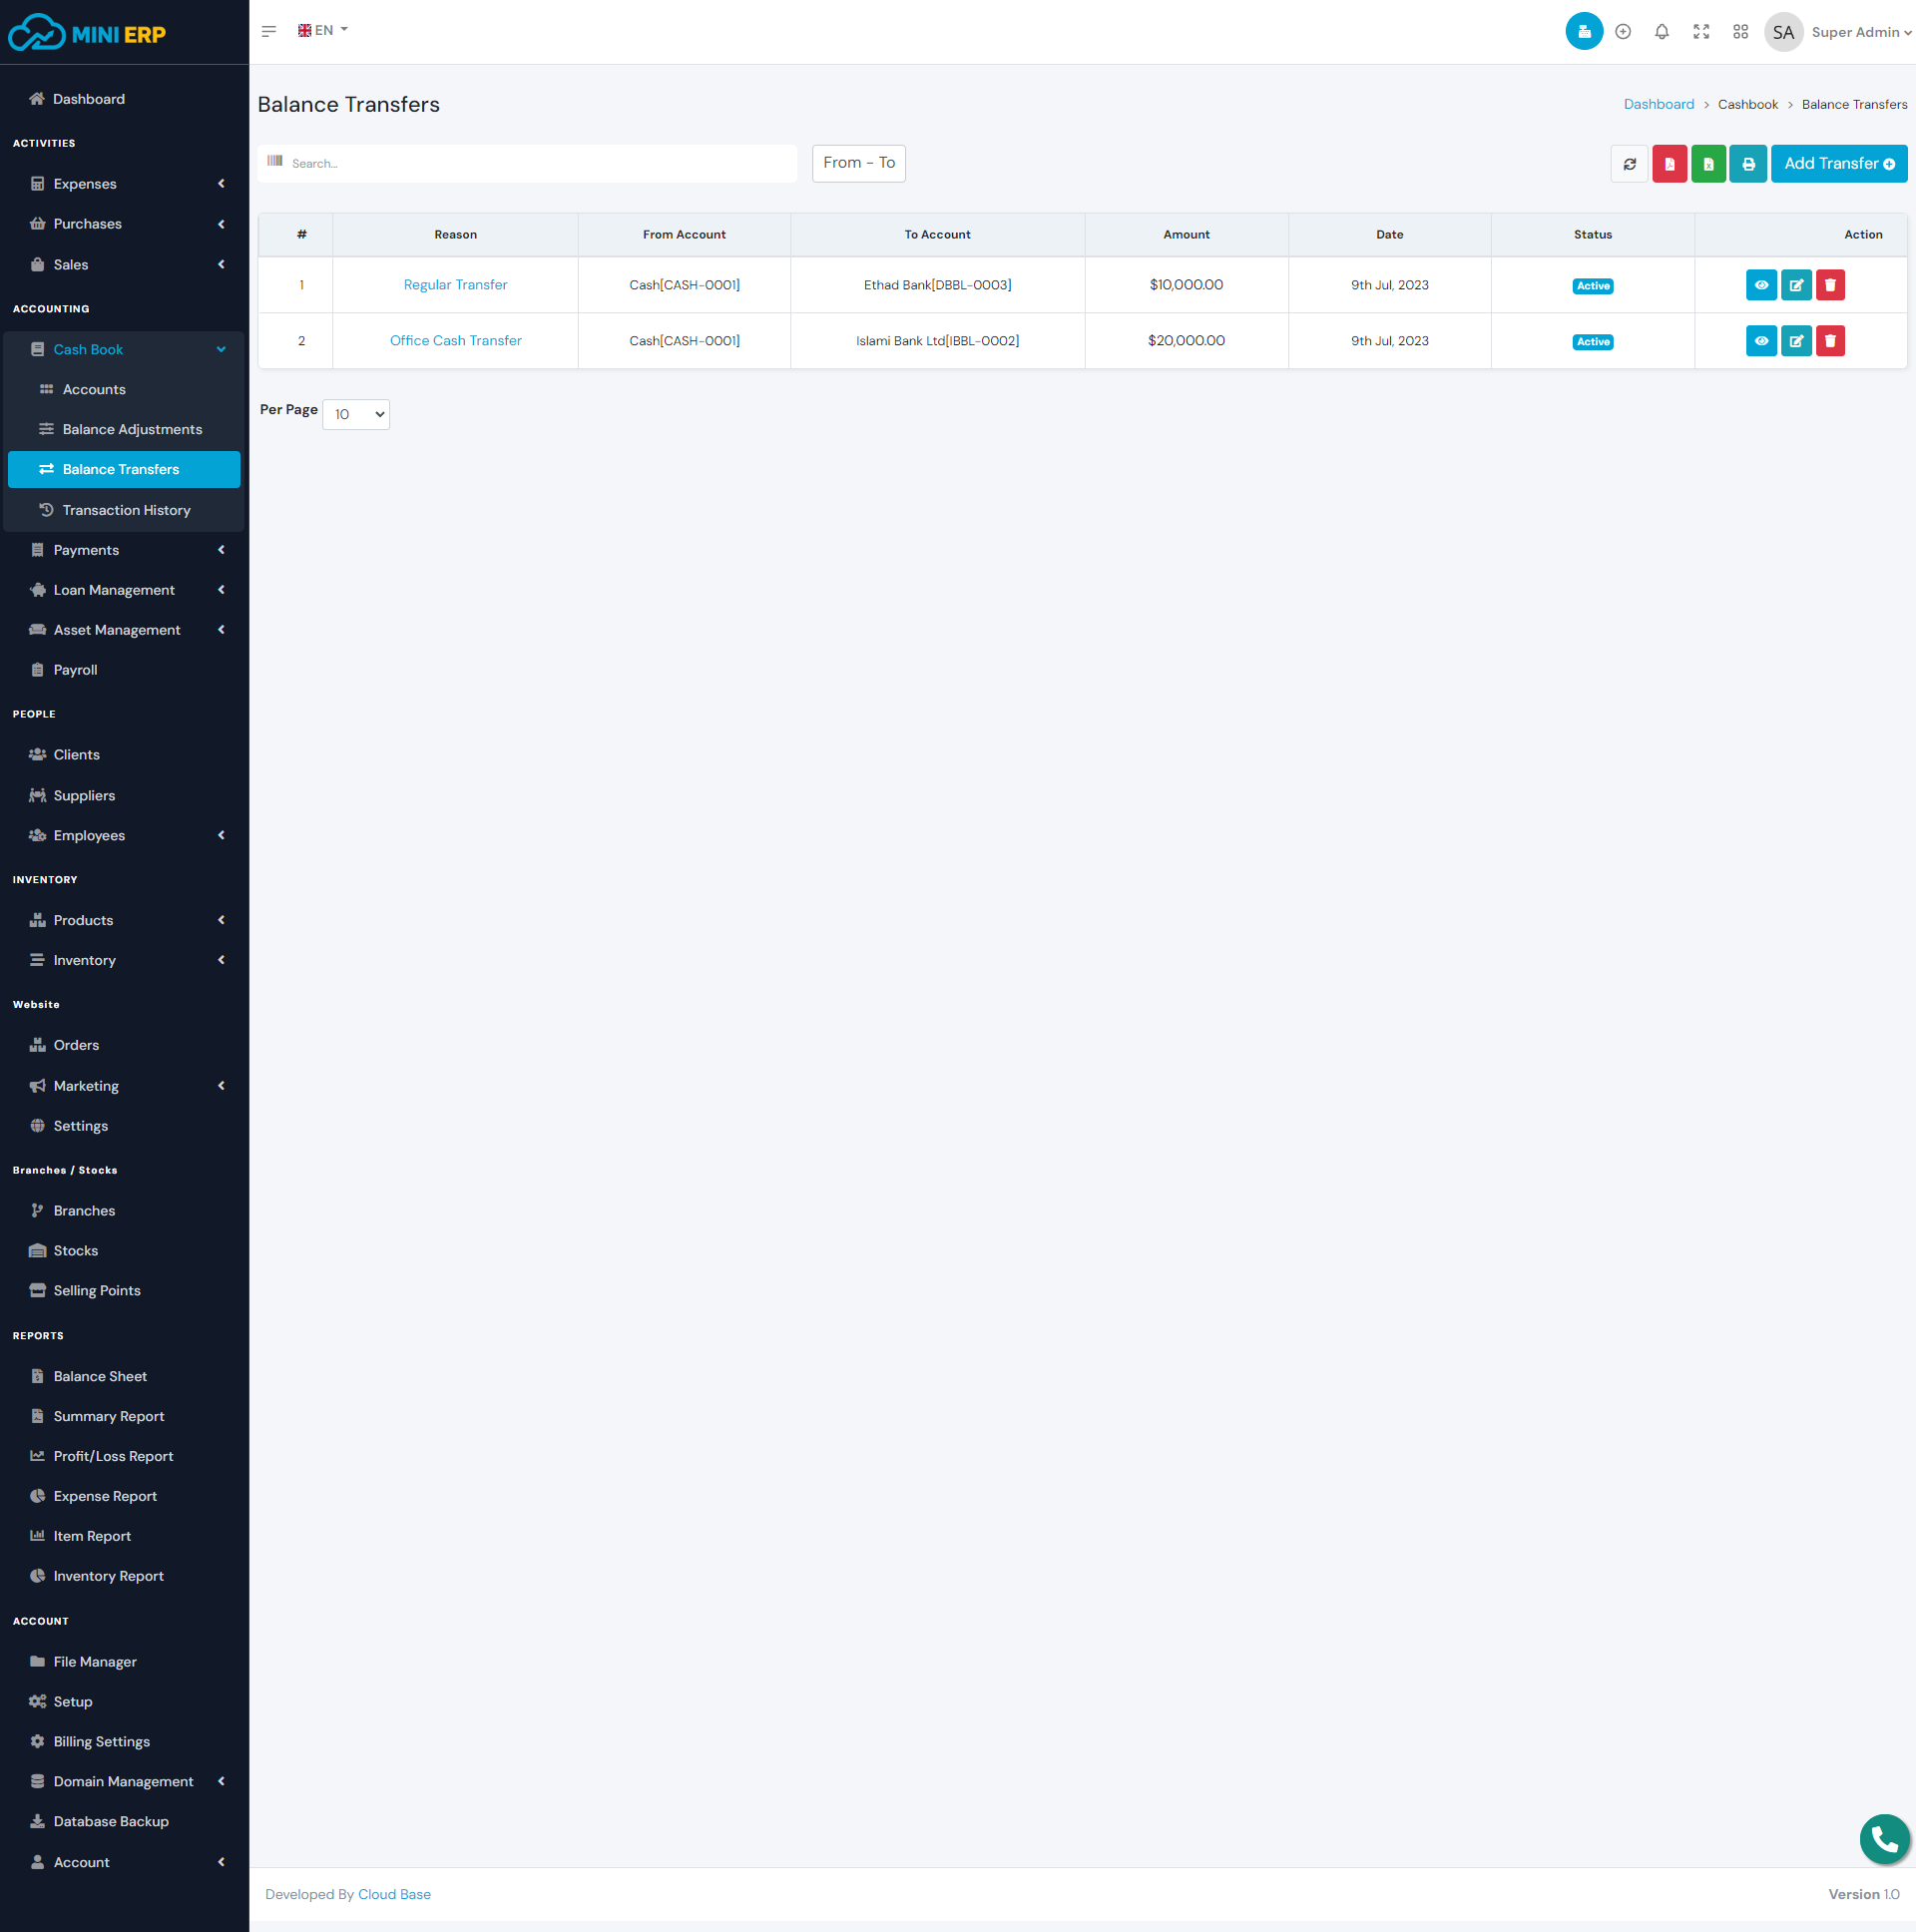
Balance Transfers module helps you to transfer balance from one account to another account. To create a balance transfer you must select 2 different accounts.
| Required fields to create a balance transfer |
|---|
| Transfer Reason => Reason for the transfer. Type any reason as plain text. |
| From Account =>The paying account from where you are transferring the balance. |
| To Account => The receiving account. |
Note: A purchase can have only one damage purchase(One-to-one relationship between Purchases and Damage Purchases).
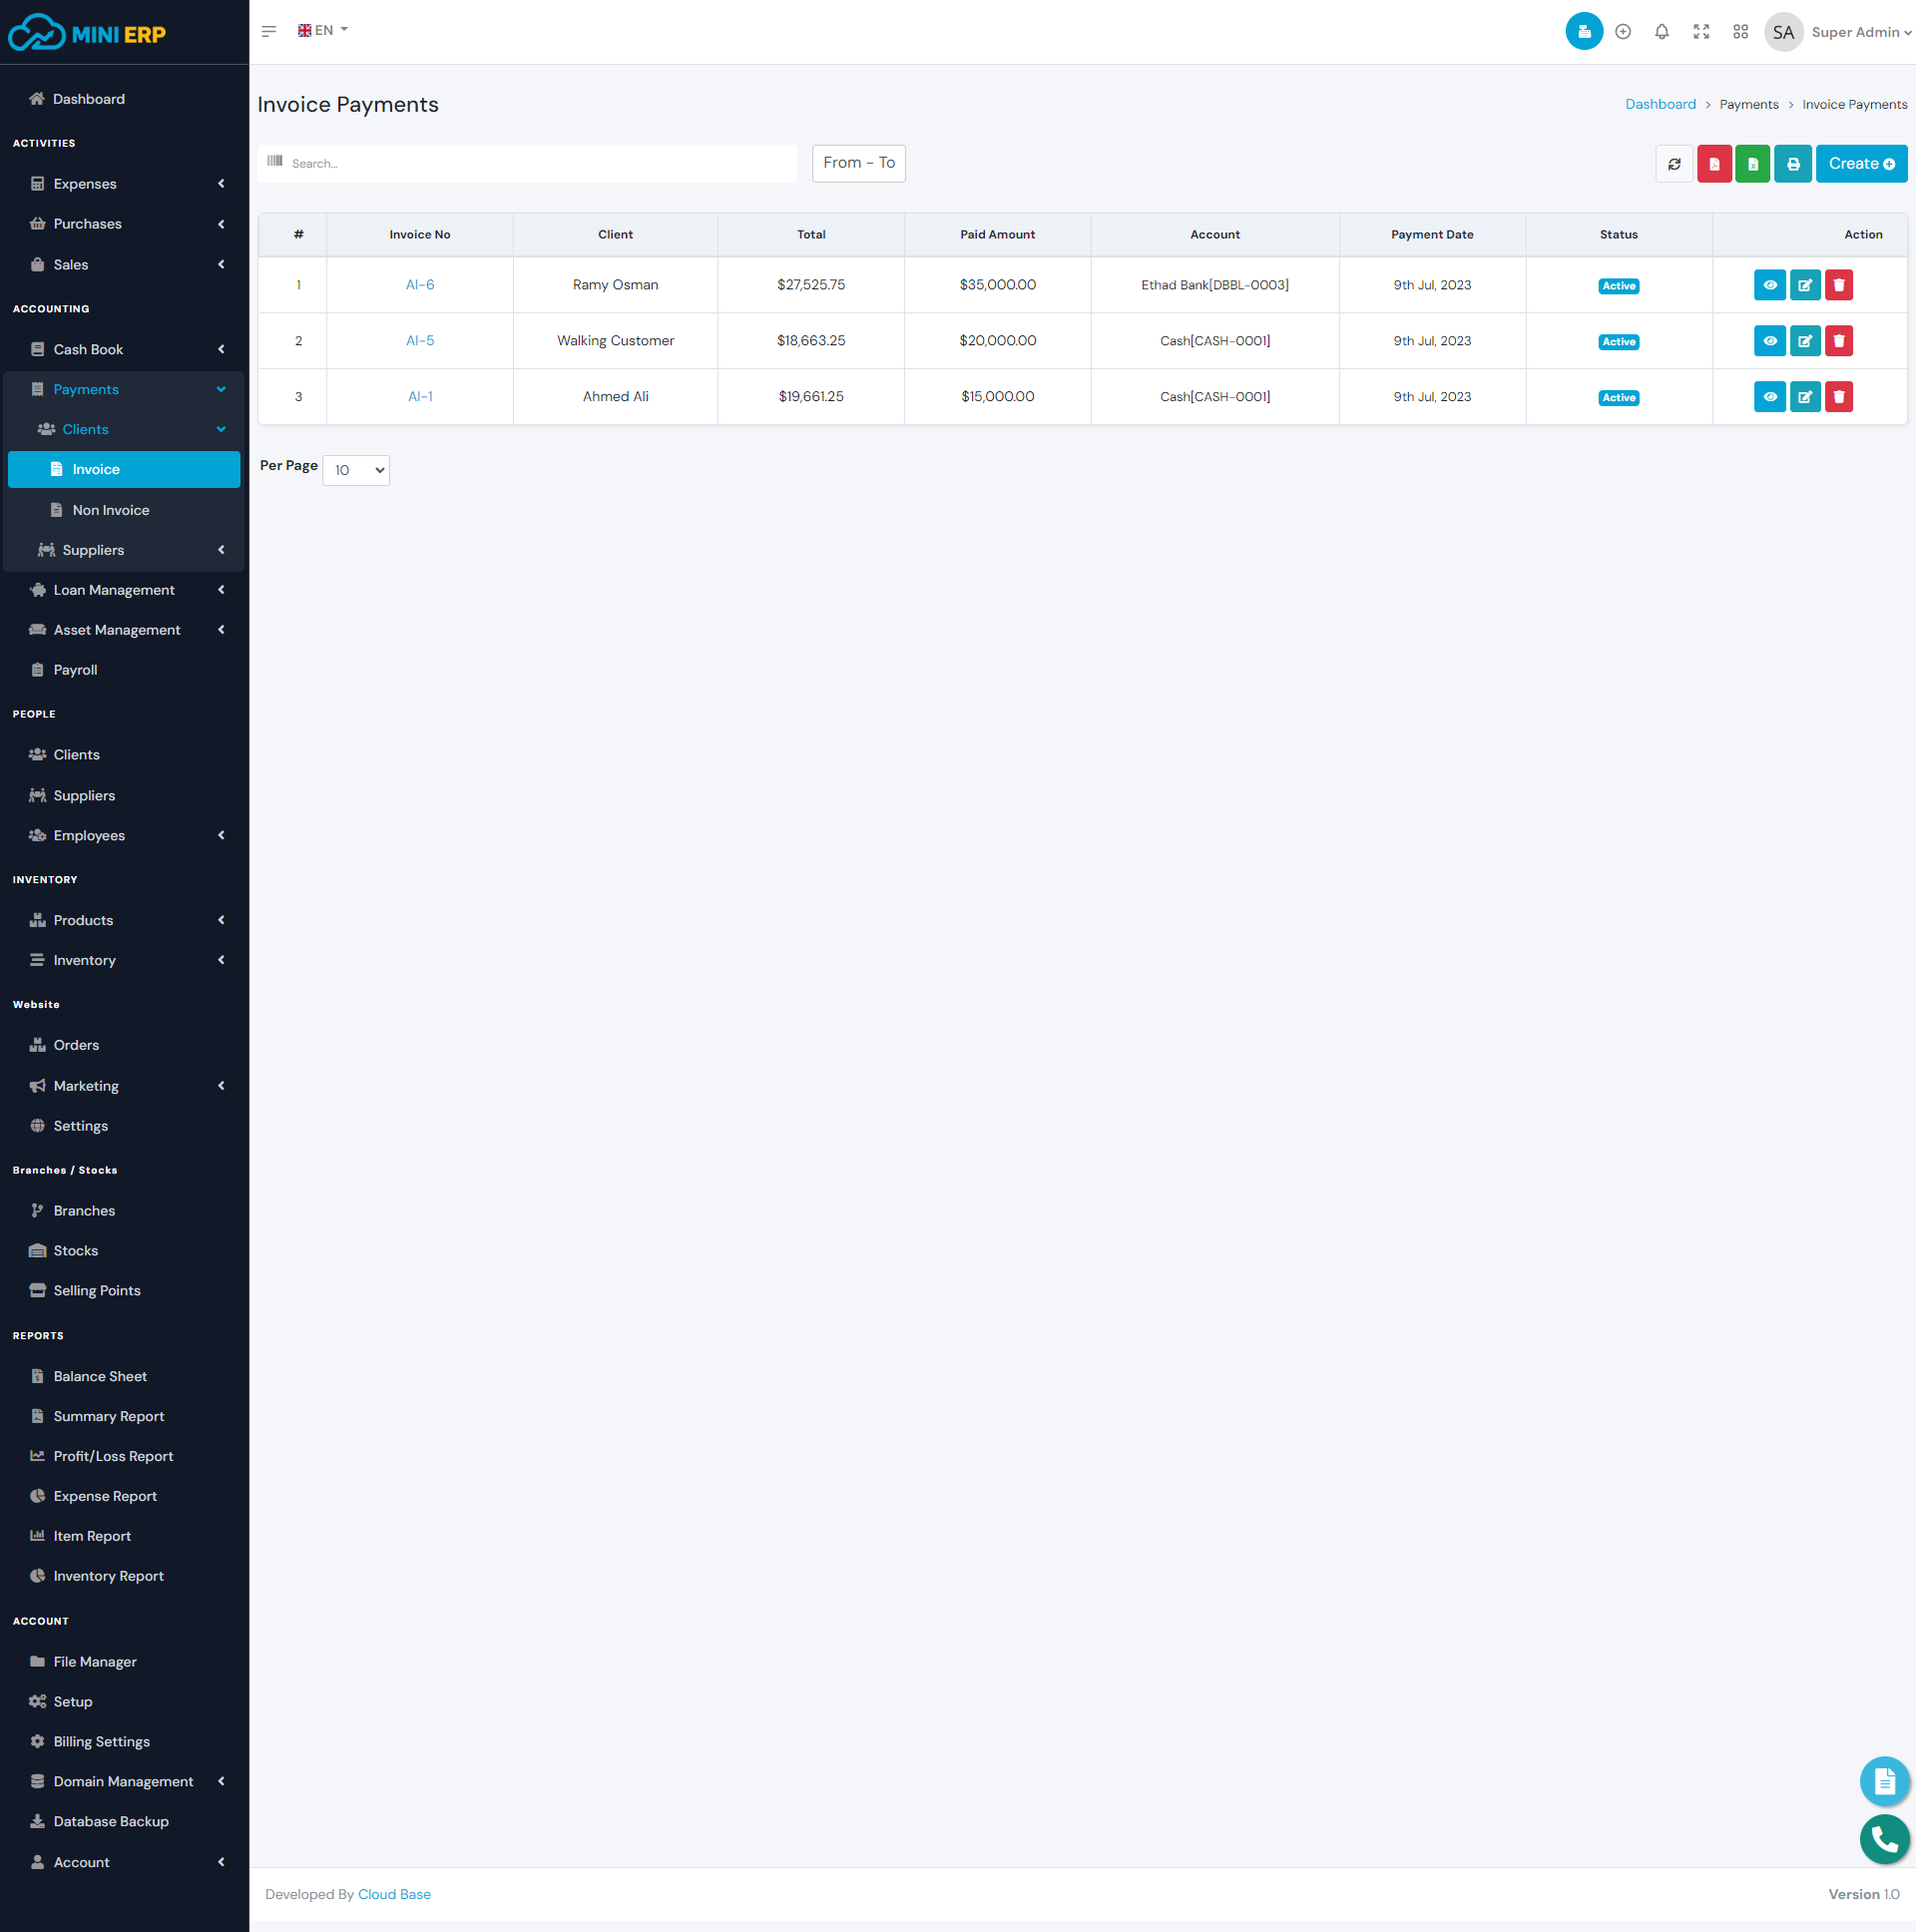
Invoice Payments
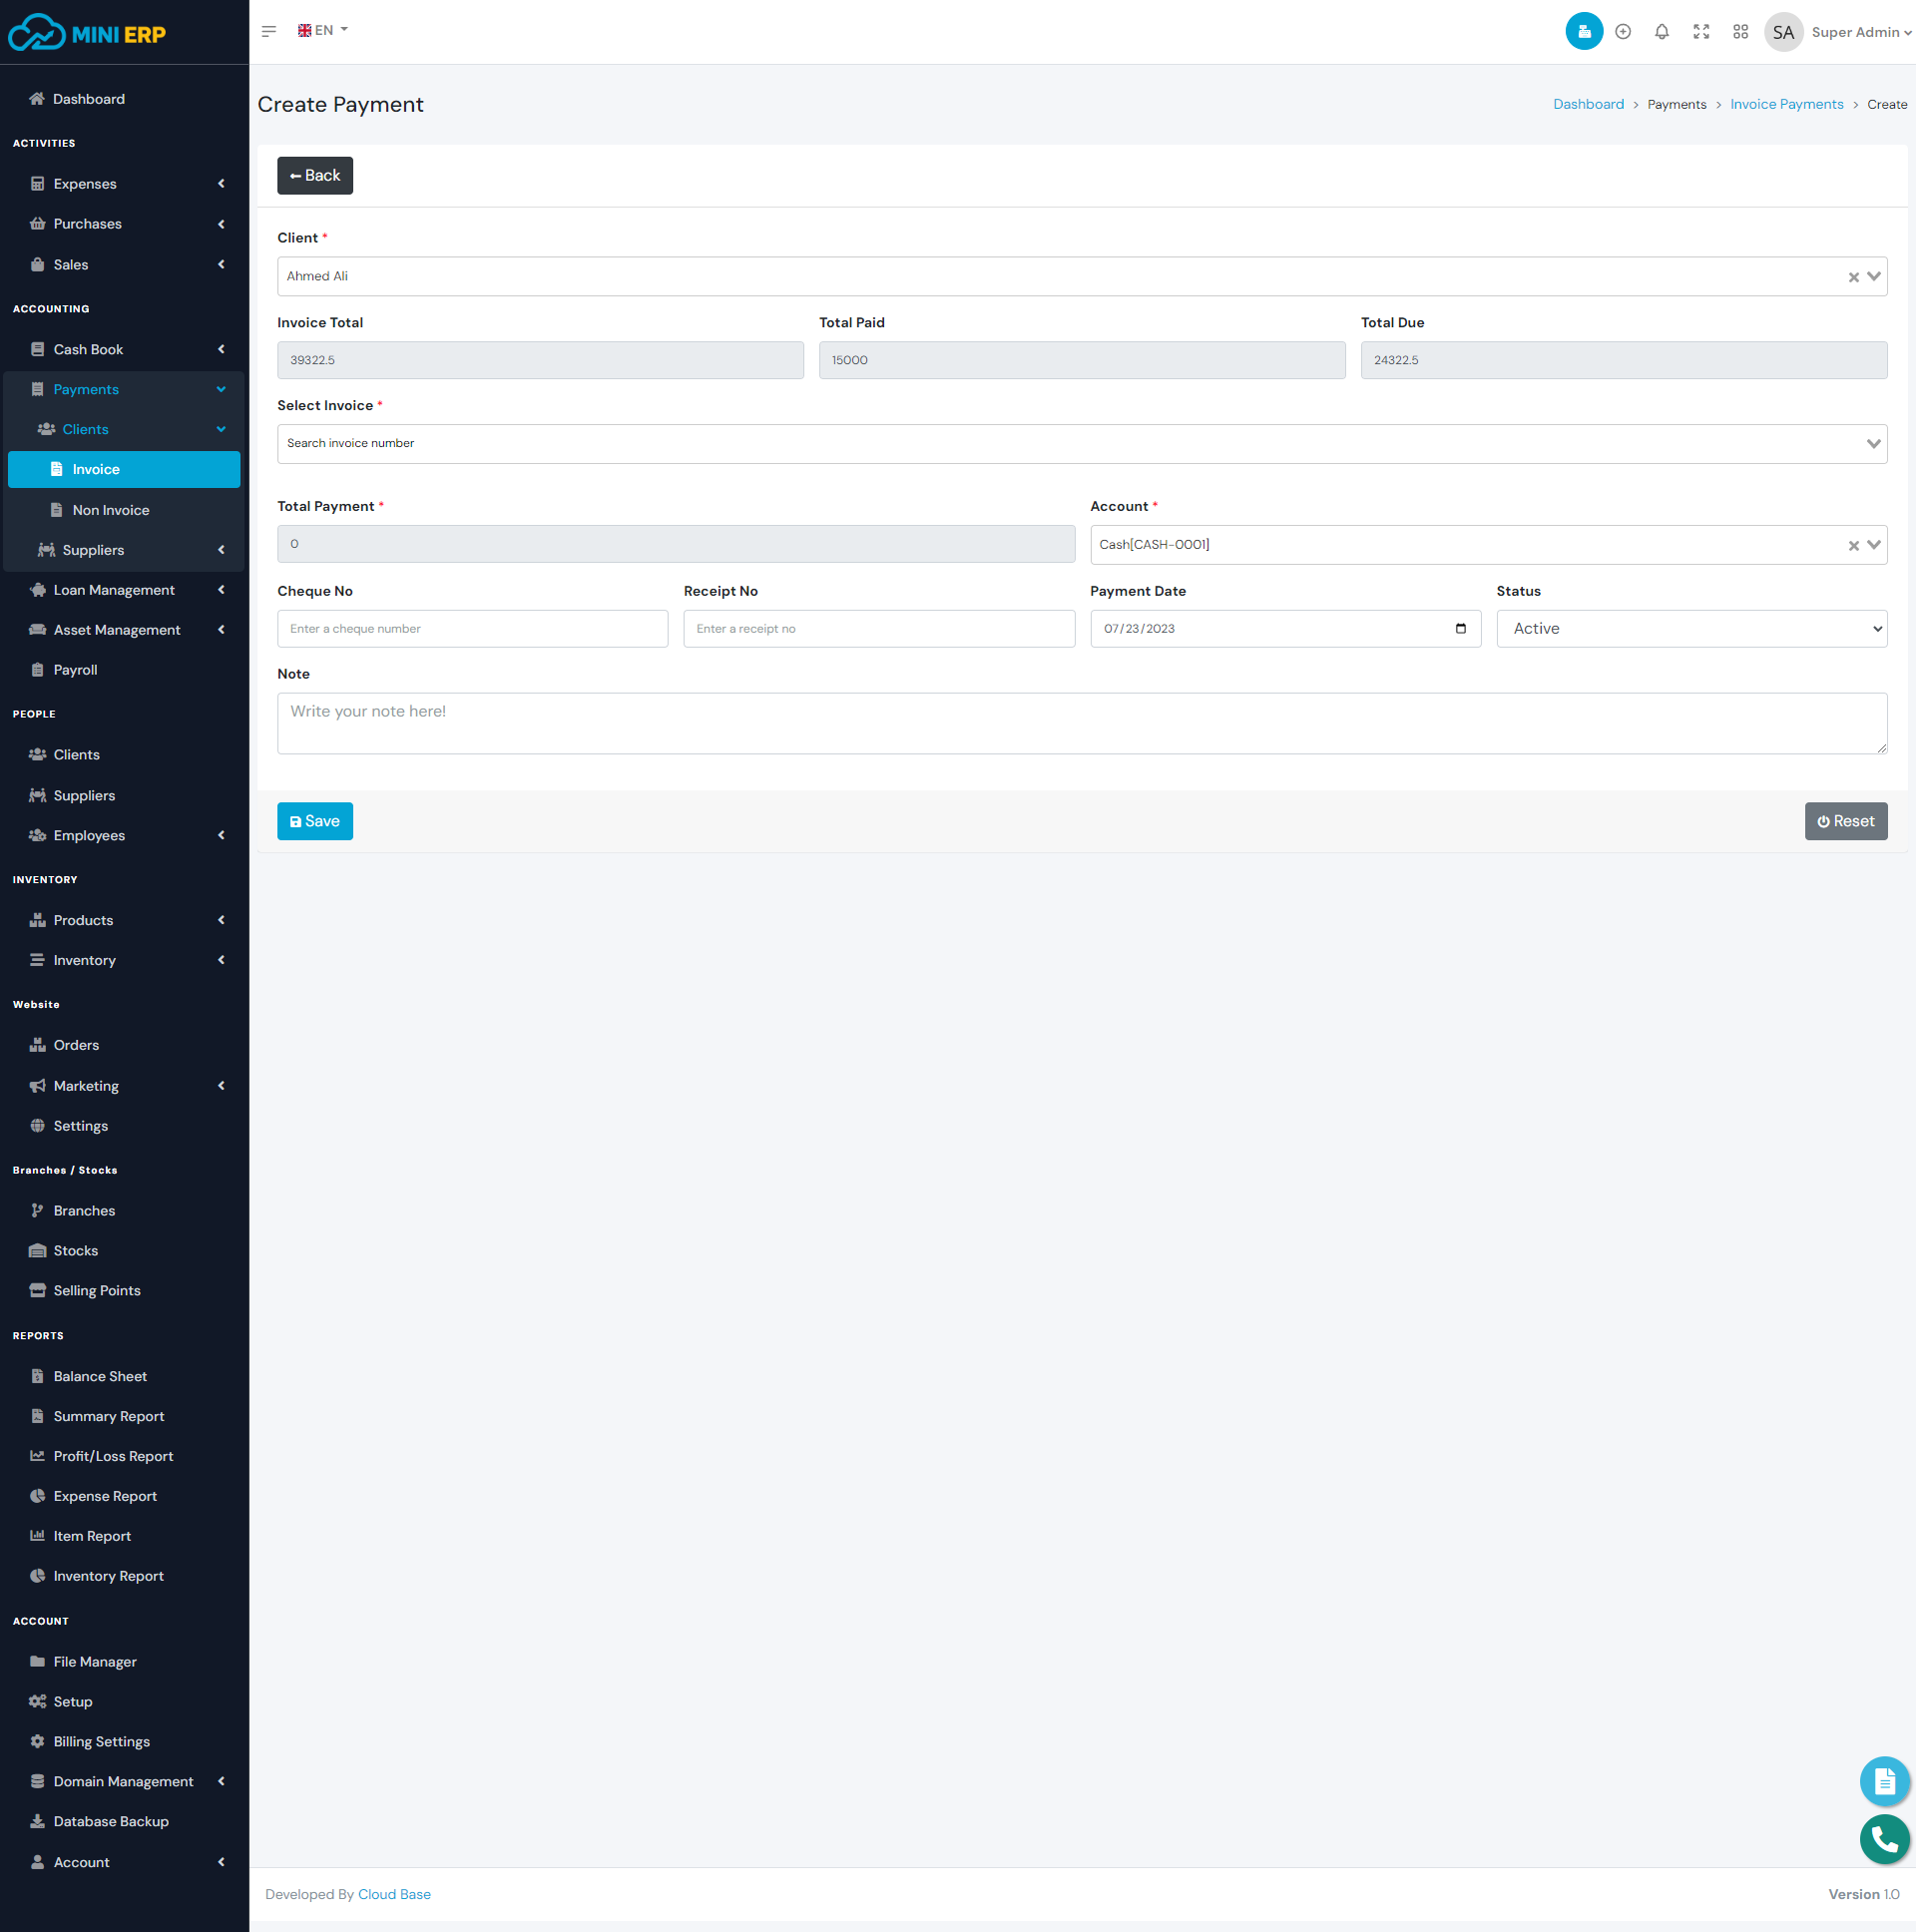
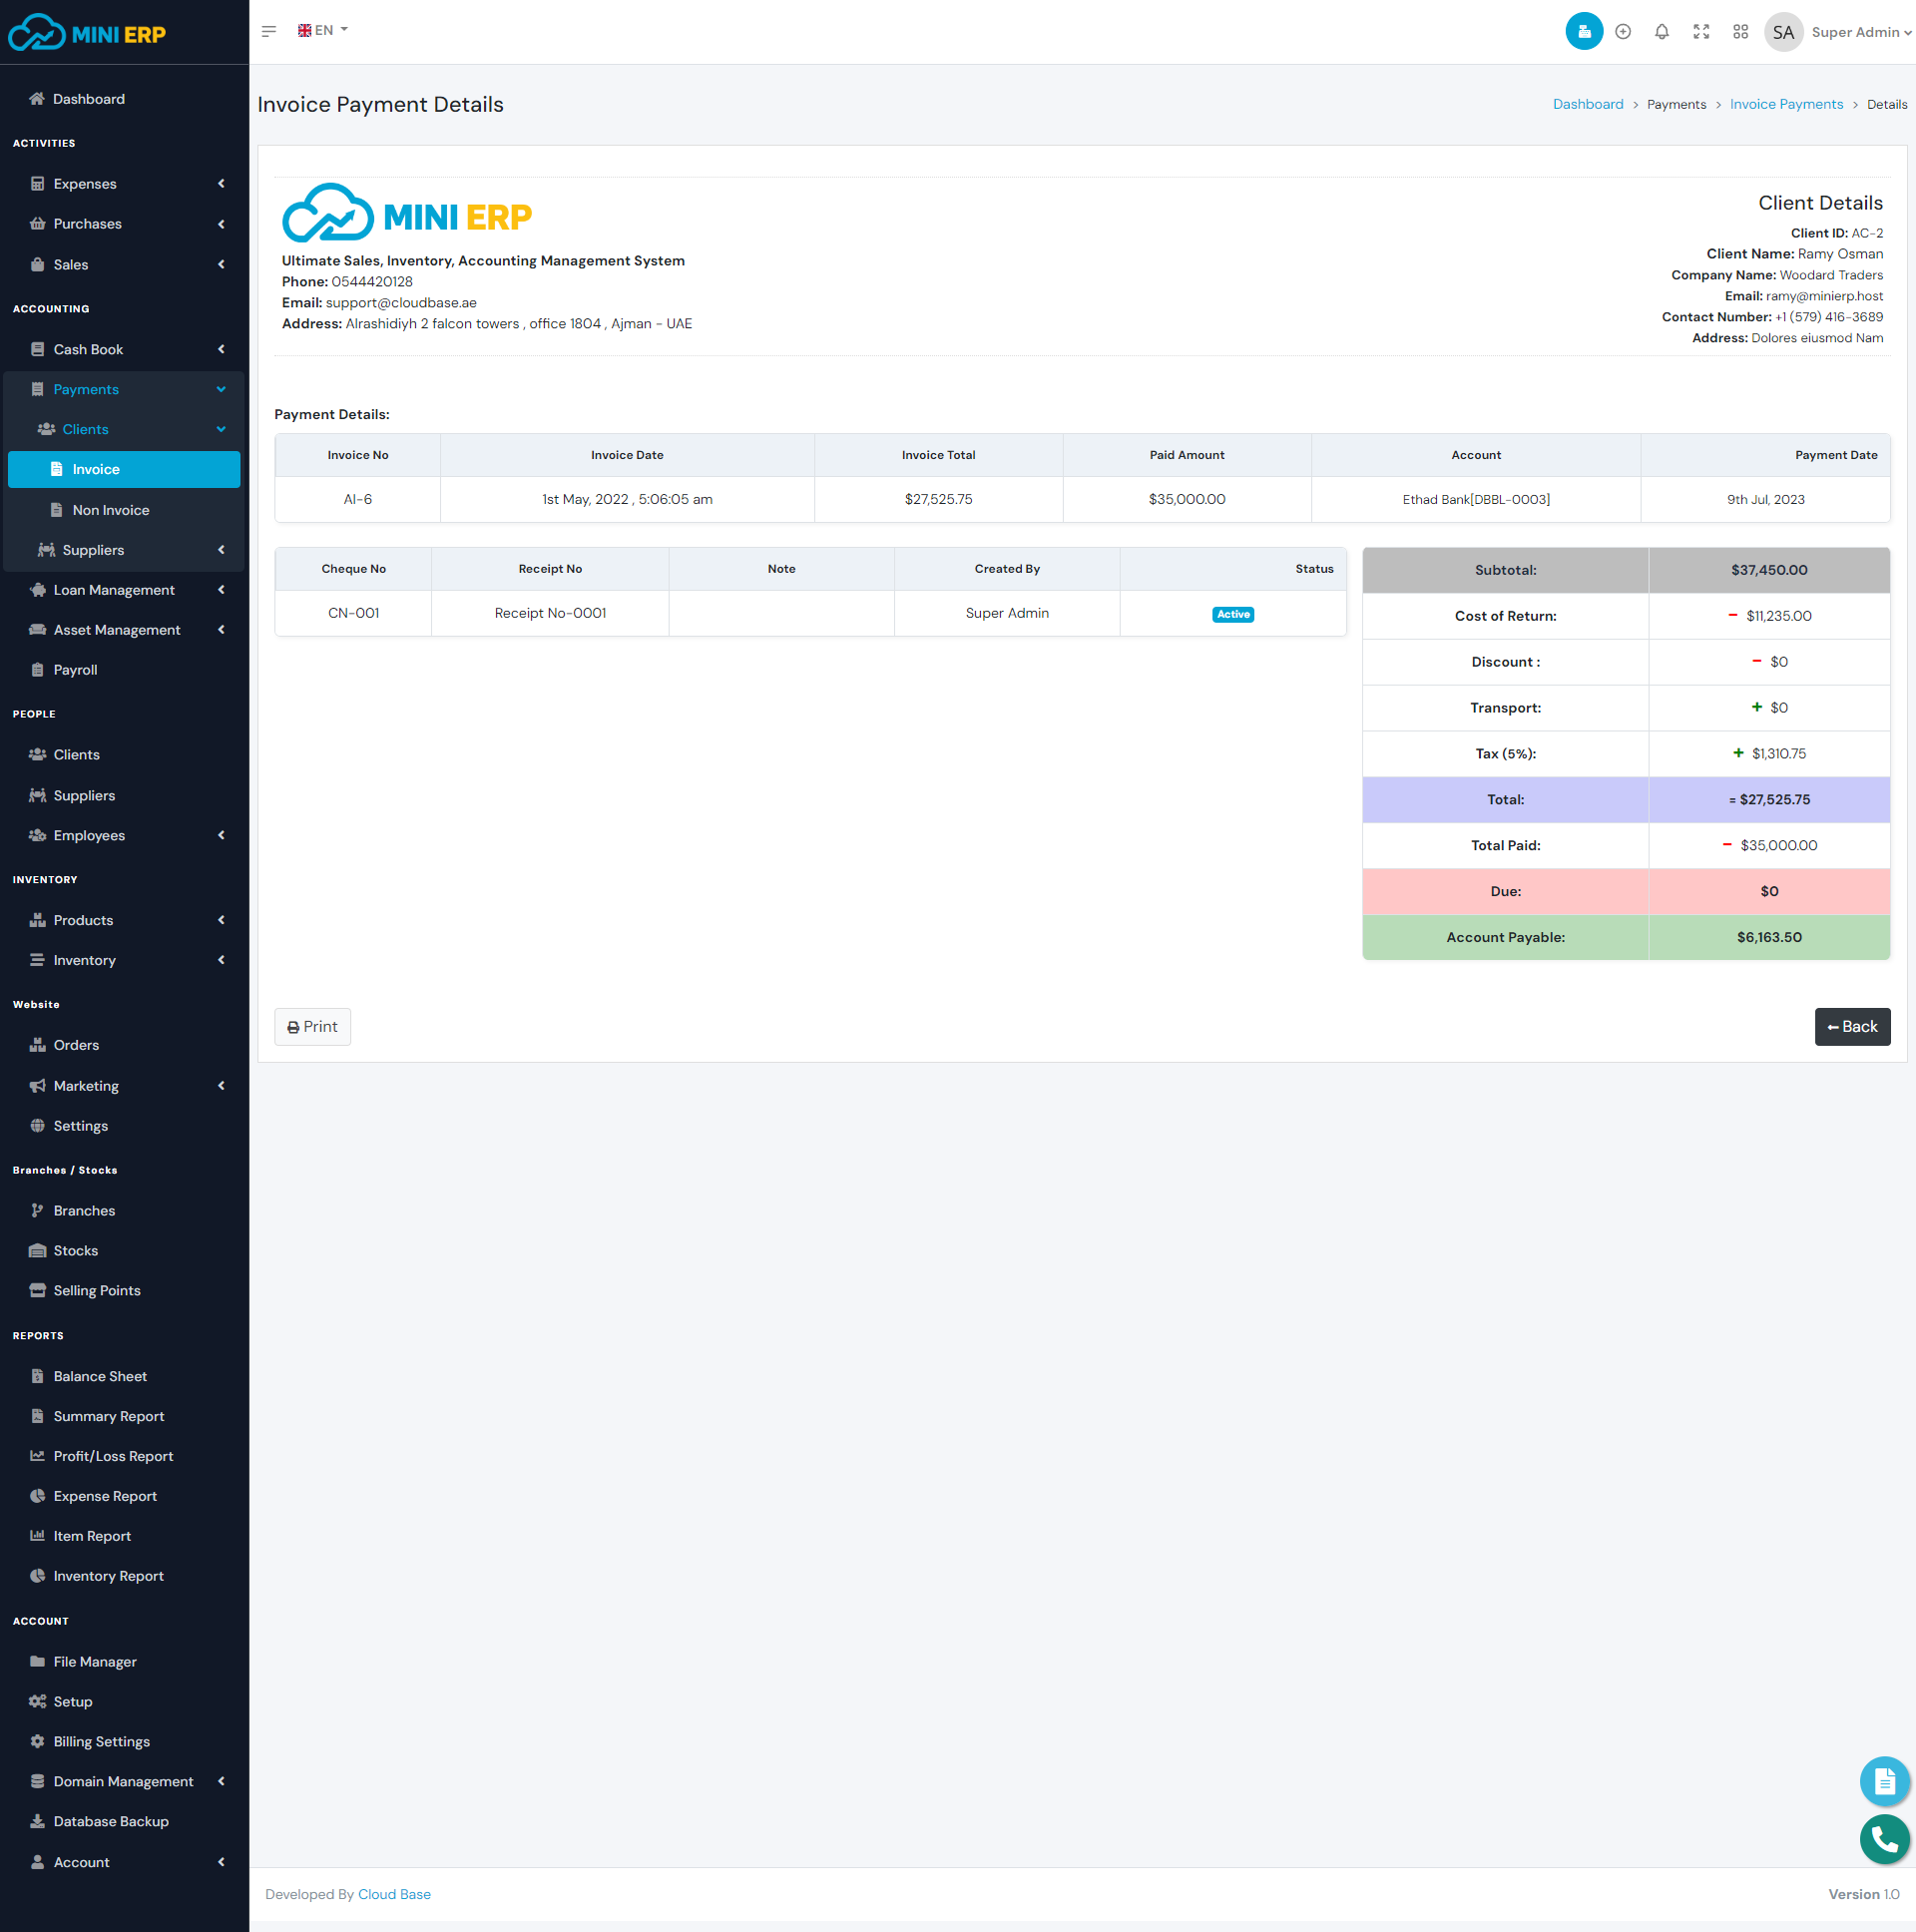
Invoice payments module allows you to manage invoice payments. Using this module you can create payments for invoices. While creating invoice payments you can select single or multiple invoices and add payments for the selected invoices. In order to create invoice payments, you must create invoices first.
| Required fields to create a invoice payment |
|---|
| Client => Client from whom you want to receive invoice payment. Select a client from the list. |
| Select Invoice =>Invoices for which you want to receive payments. After selecting a client you will see the due invoices of the selected client. Select at least one invoice from the list. |
| Account => The receiving account. The total amount will be added to the selected account. Select an account from the list. |
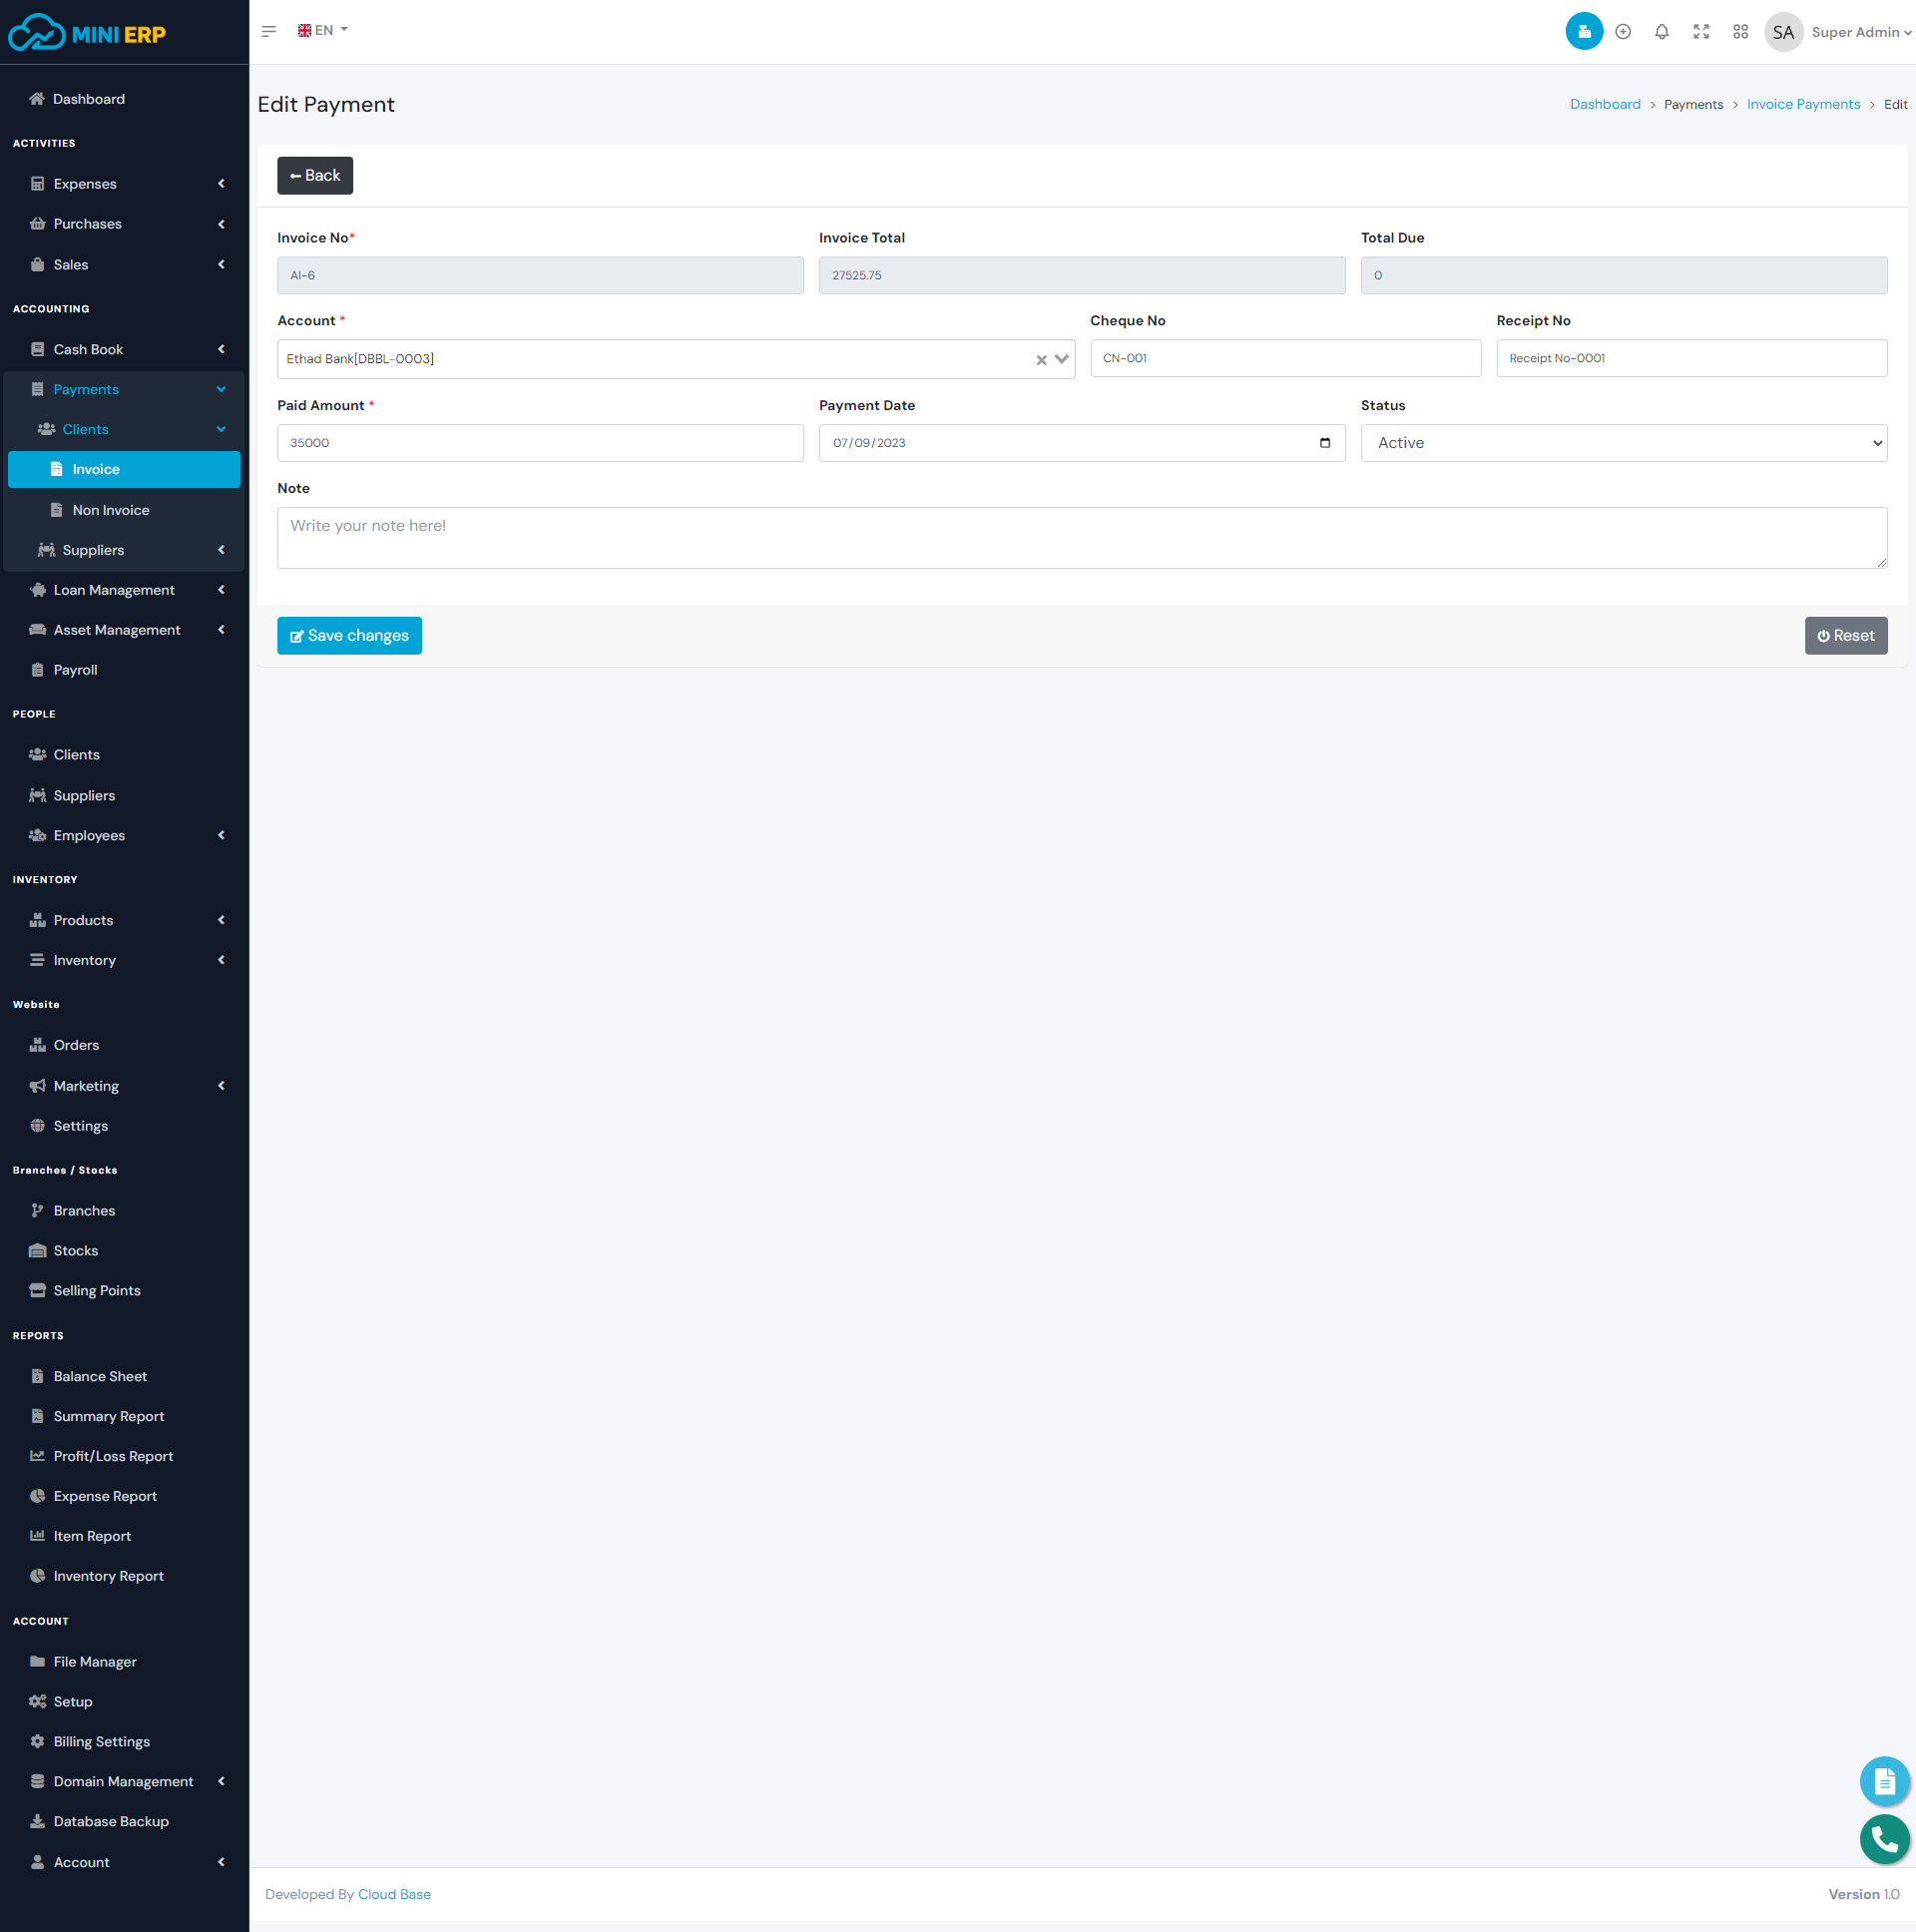
Note: If you delete any invoice payment then the invoice due will be adjusted automatically. Deleting any invoice payment will deduct the amount from the account balance. So we recommend you to use the delete option very carefully.
Non Invoice Payments
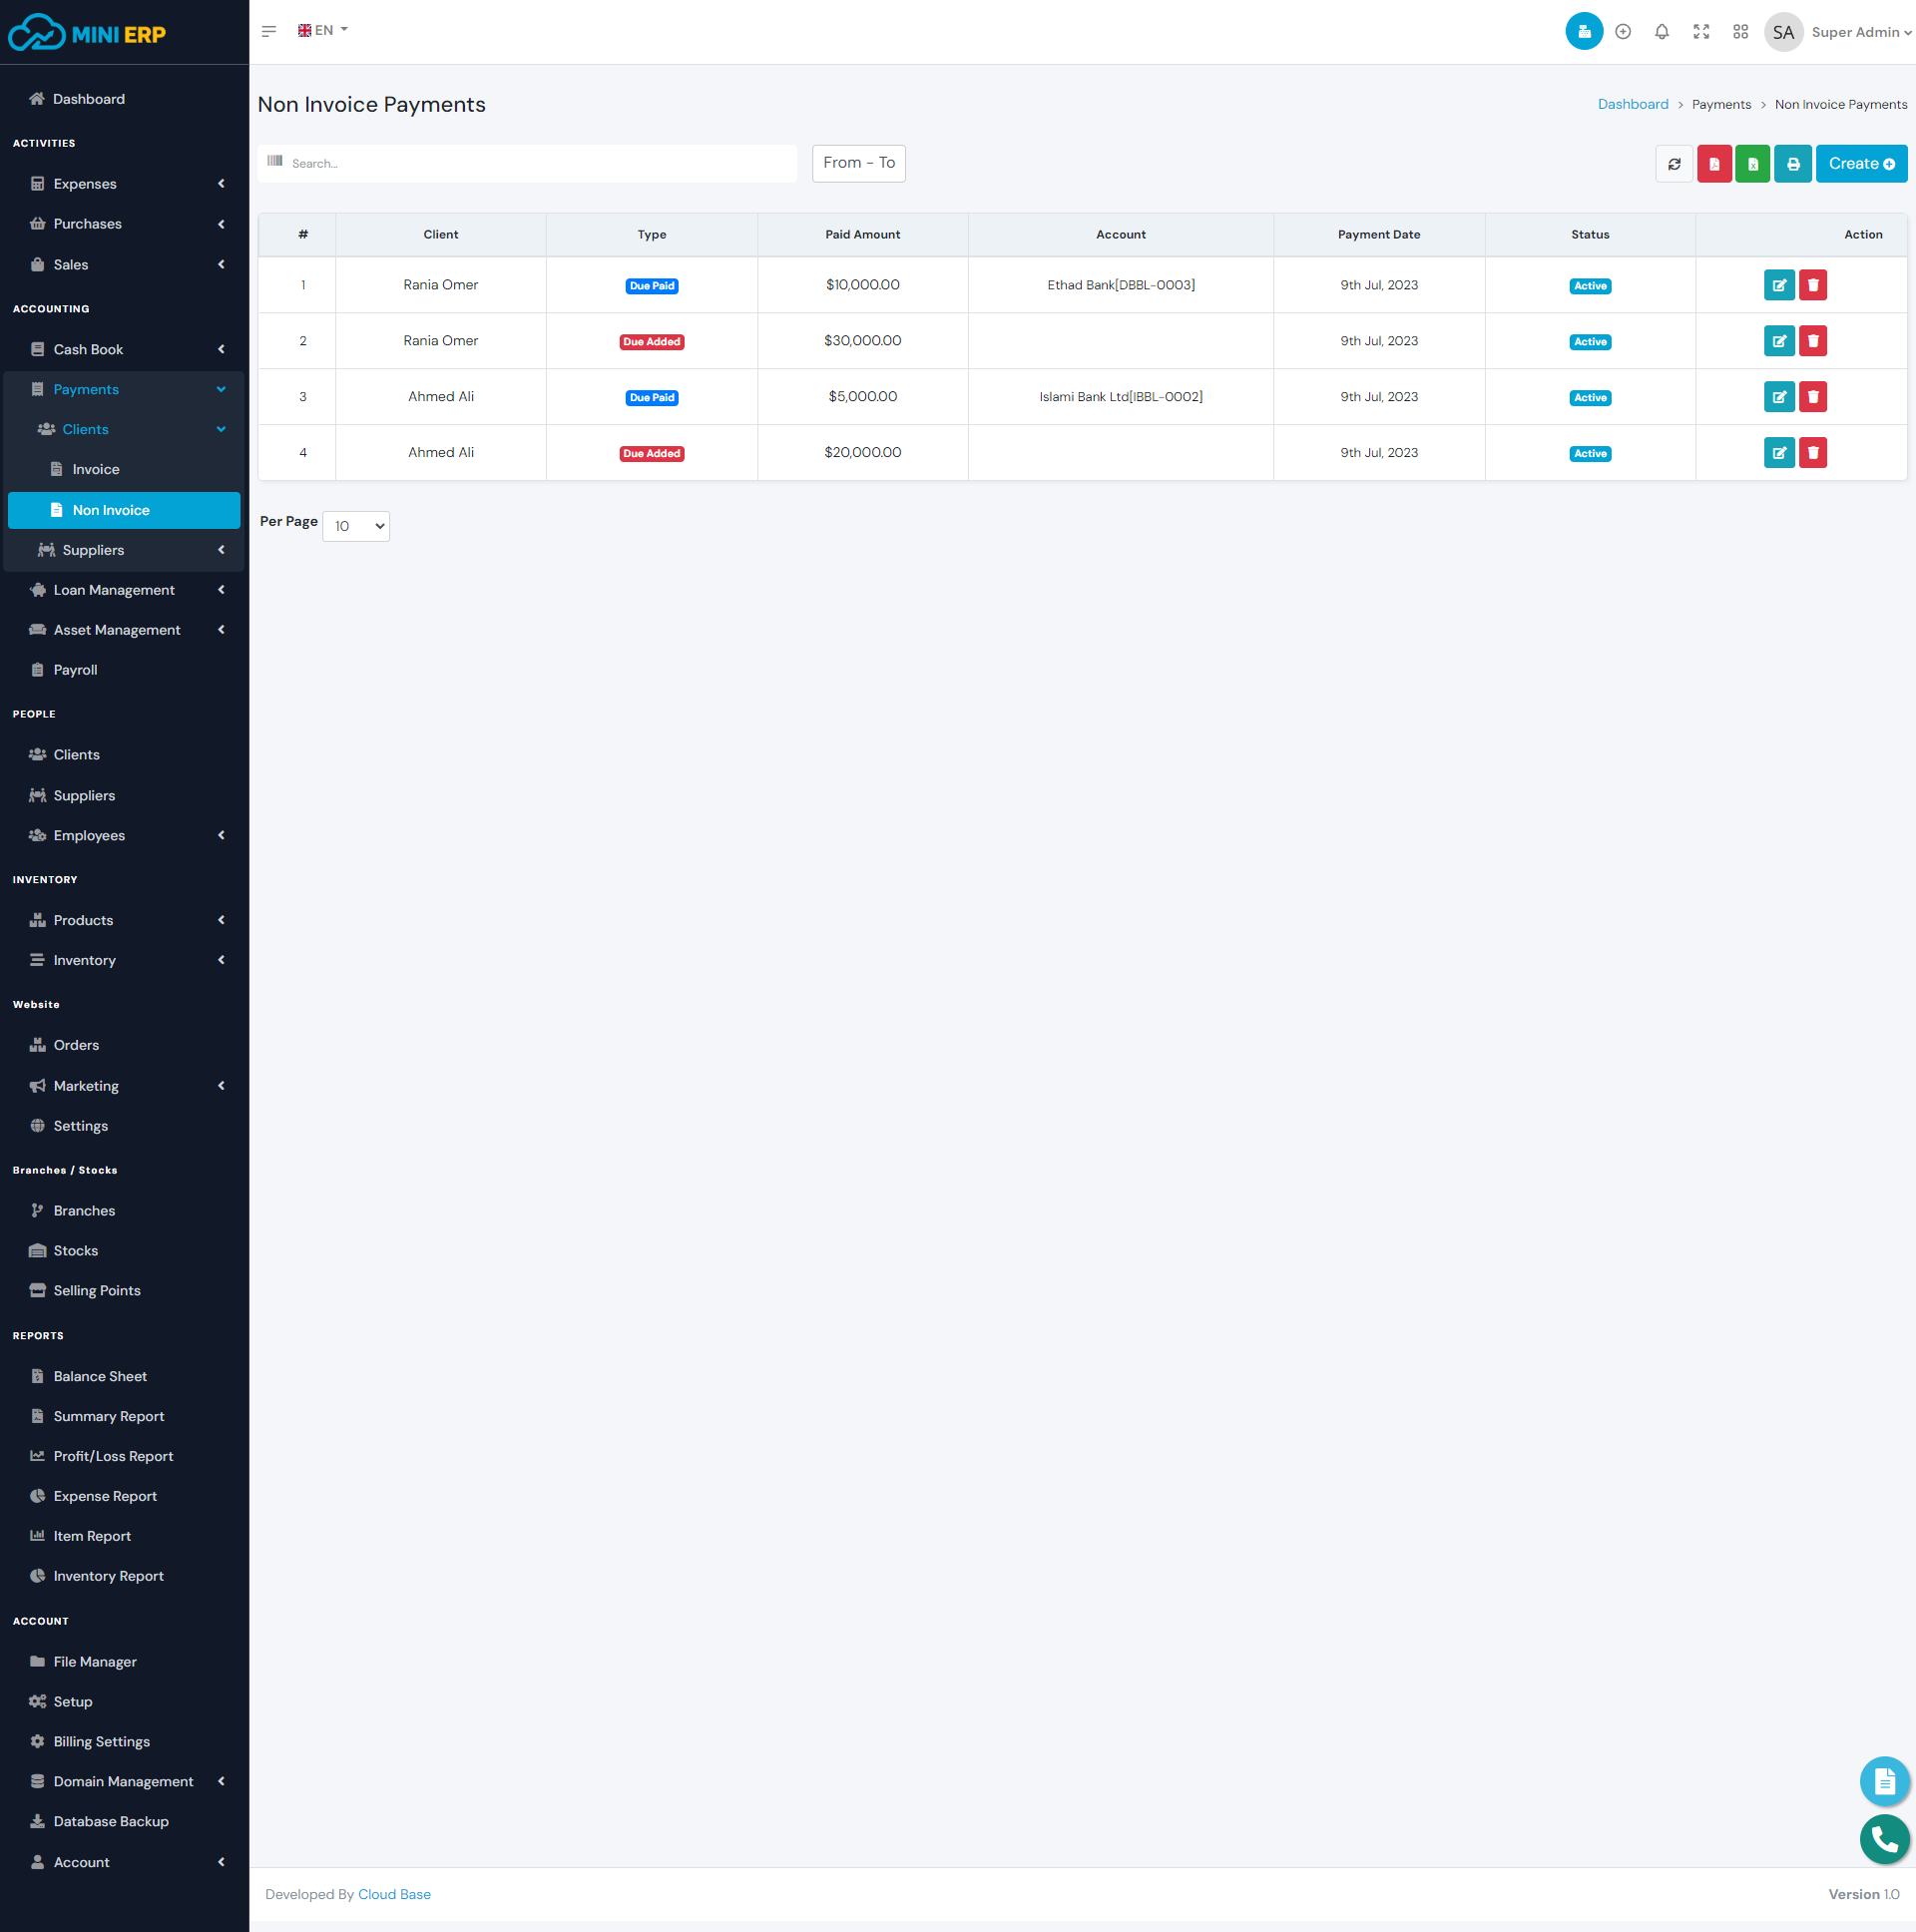
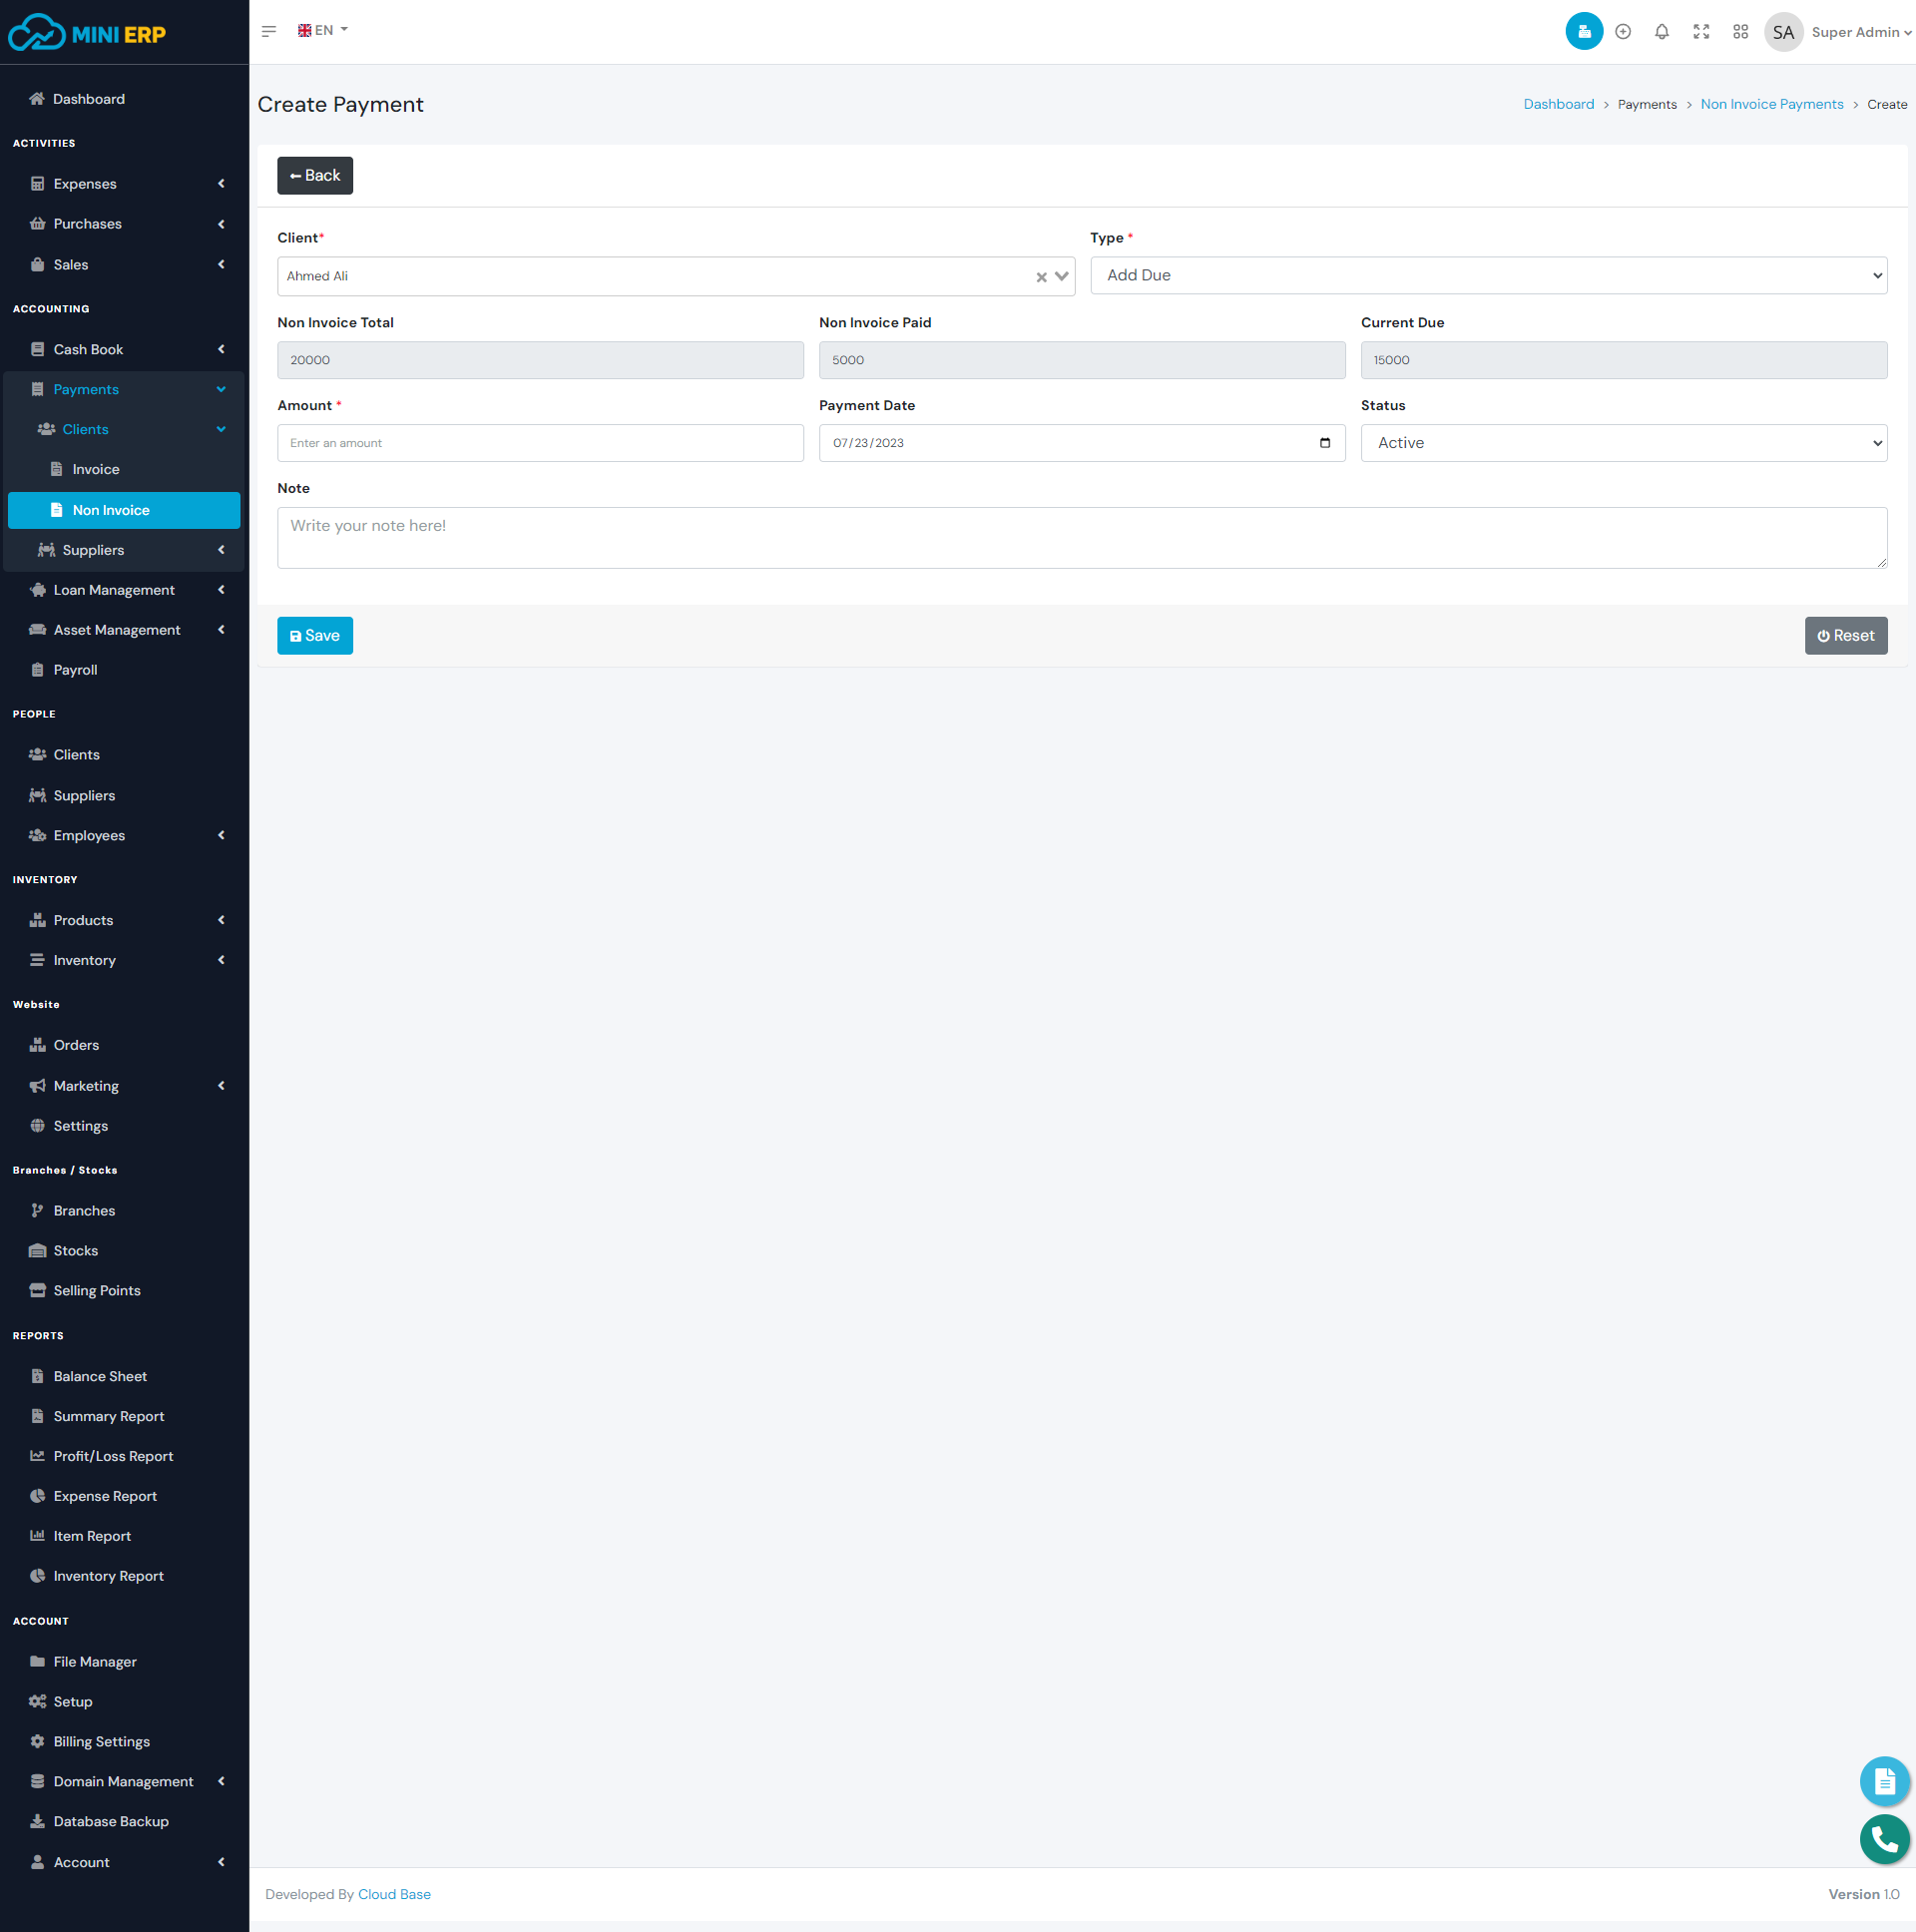
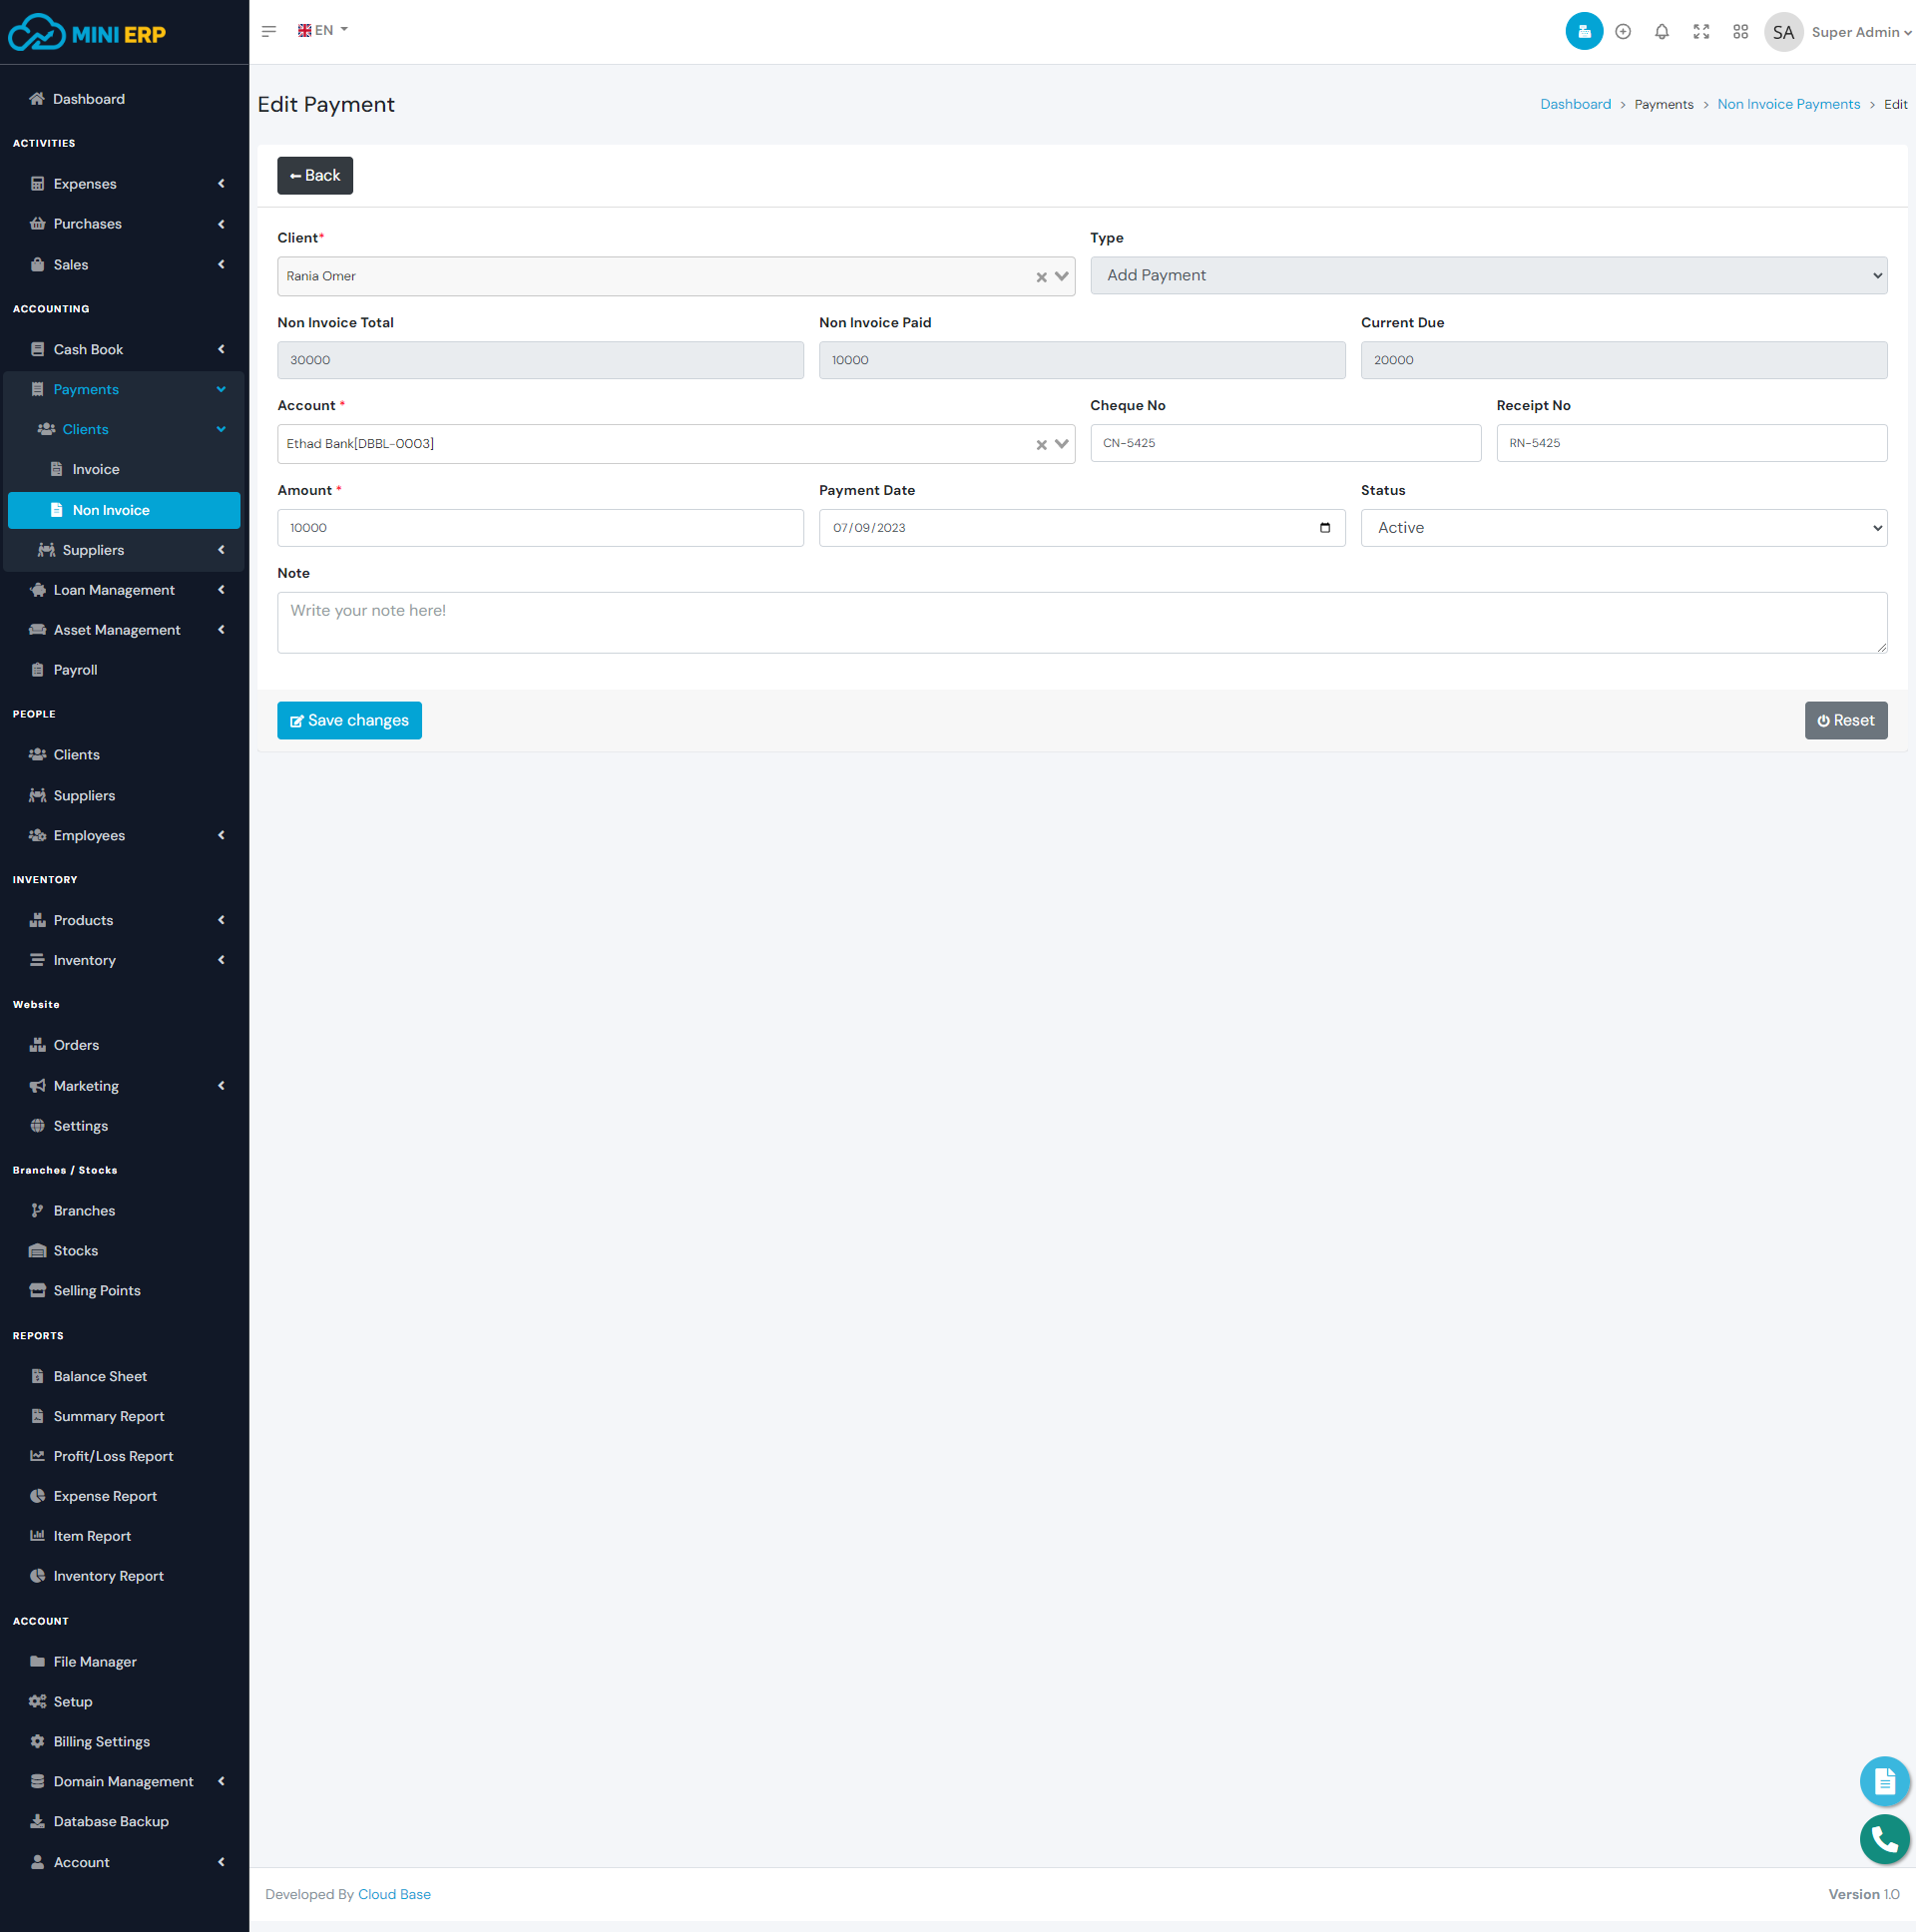
Non Invoice payments module helps you manage non-invoice dues and payments for your clients. Using this module you can bring your client dues and payments from your previous software to Mini ERP. You must create a non-invoice due first in order to create non-invoice payments.
| Required fields to create a non-invoice payment |
|---|
| Client => Client from whom you want to add due or receive invoice payment. Select a client from the list. |
| Type => If you want to add non-invoice due then select due otherwise select add payment to receive payment. |
| Amount => Due amount or the receiving amount. |
| Account(If you select add payment) => The receiving account. The amount will be added to the selected account. Select an account from the list. |
Note: In order to delete any non-invoice client due, you need to delete the non-invoice payments first. Deleting any non-invoice payment will deduct the amount from the account balance. So we recommend you to use the delete option very carefully.
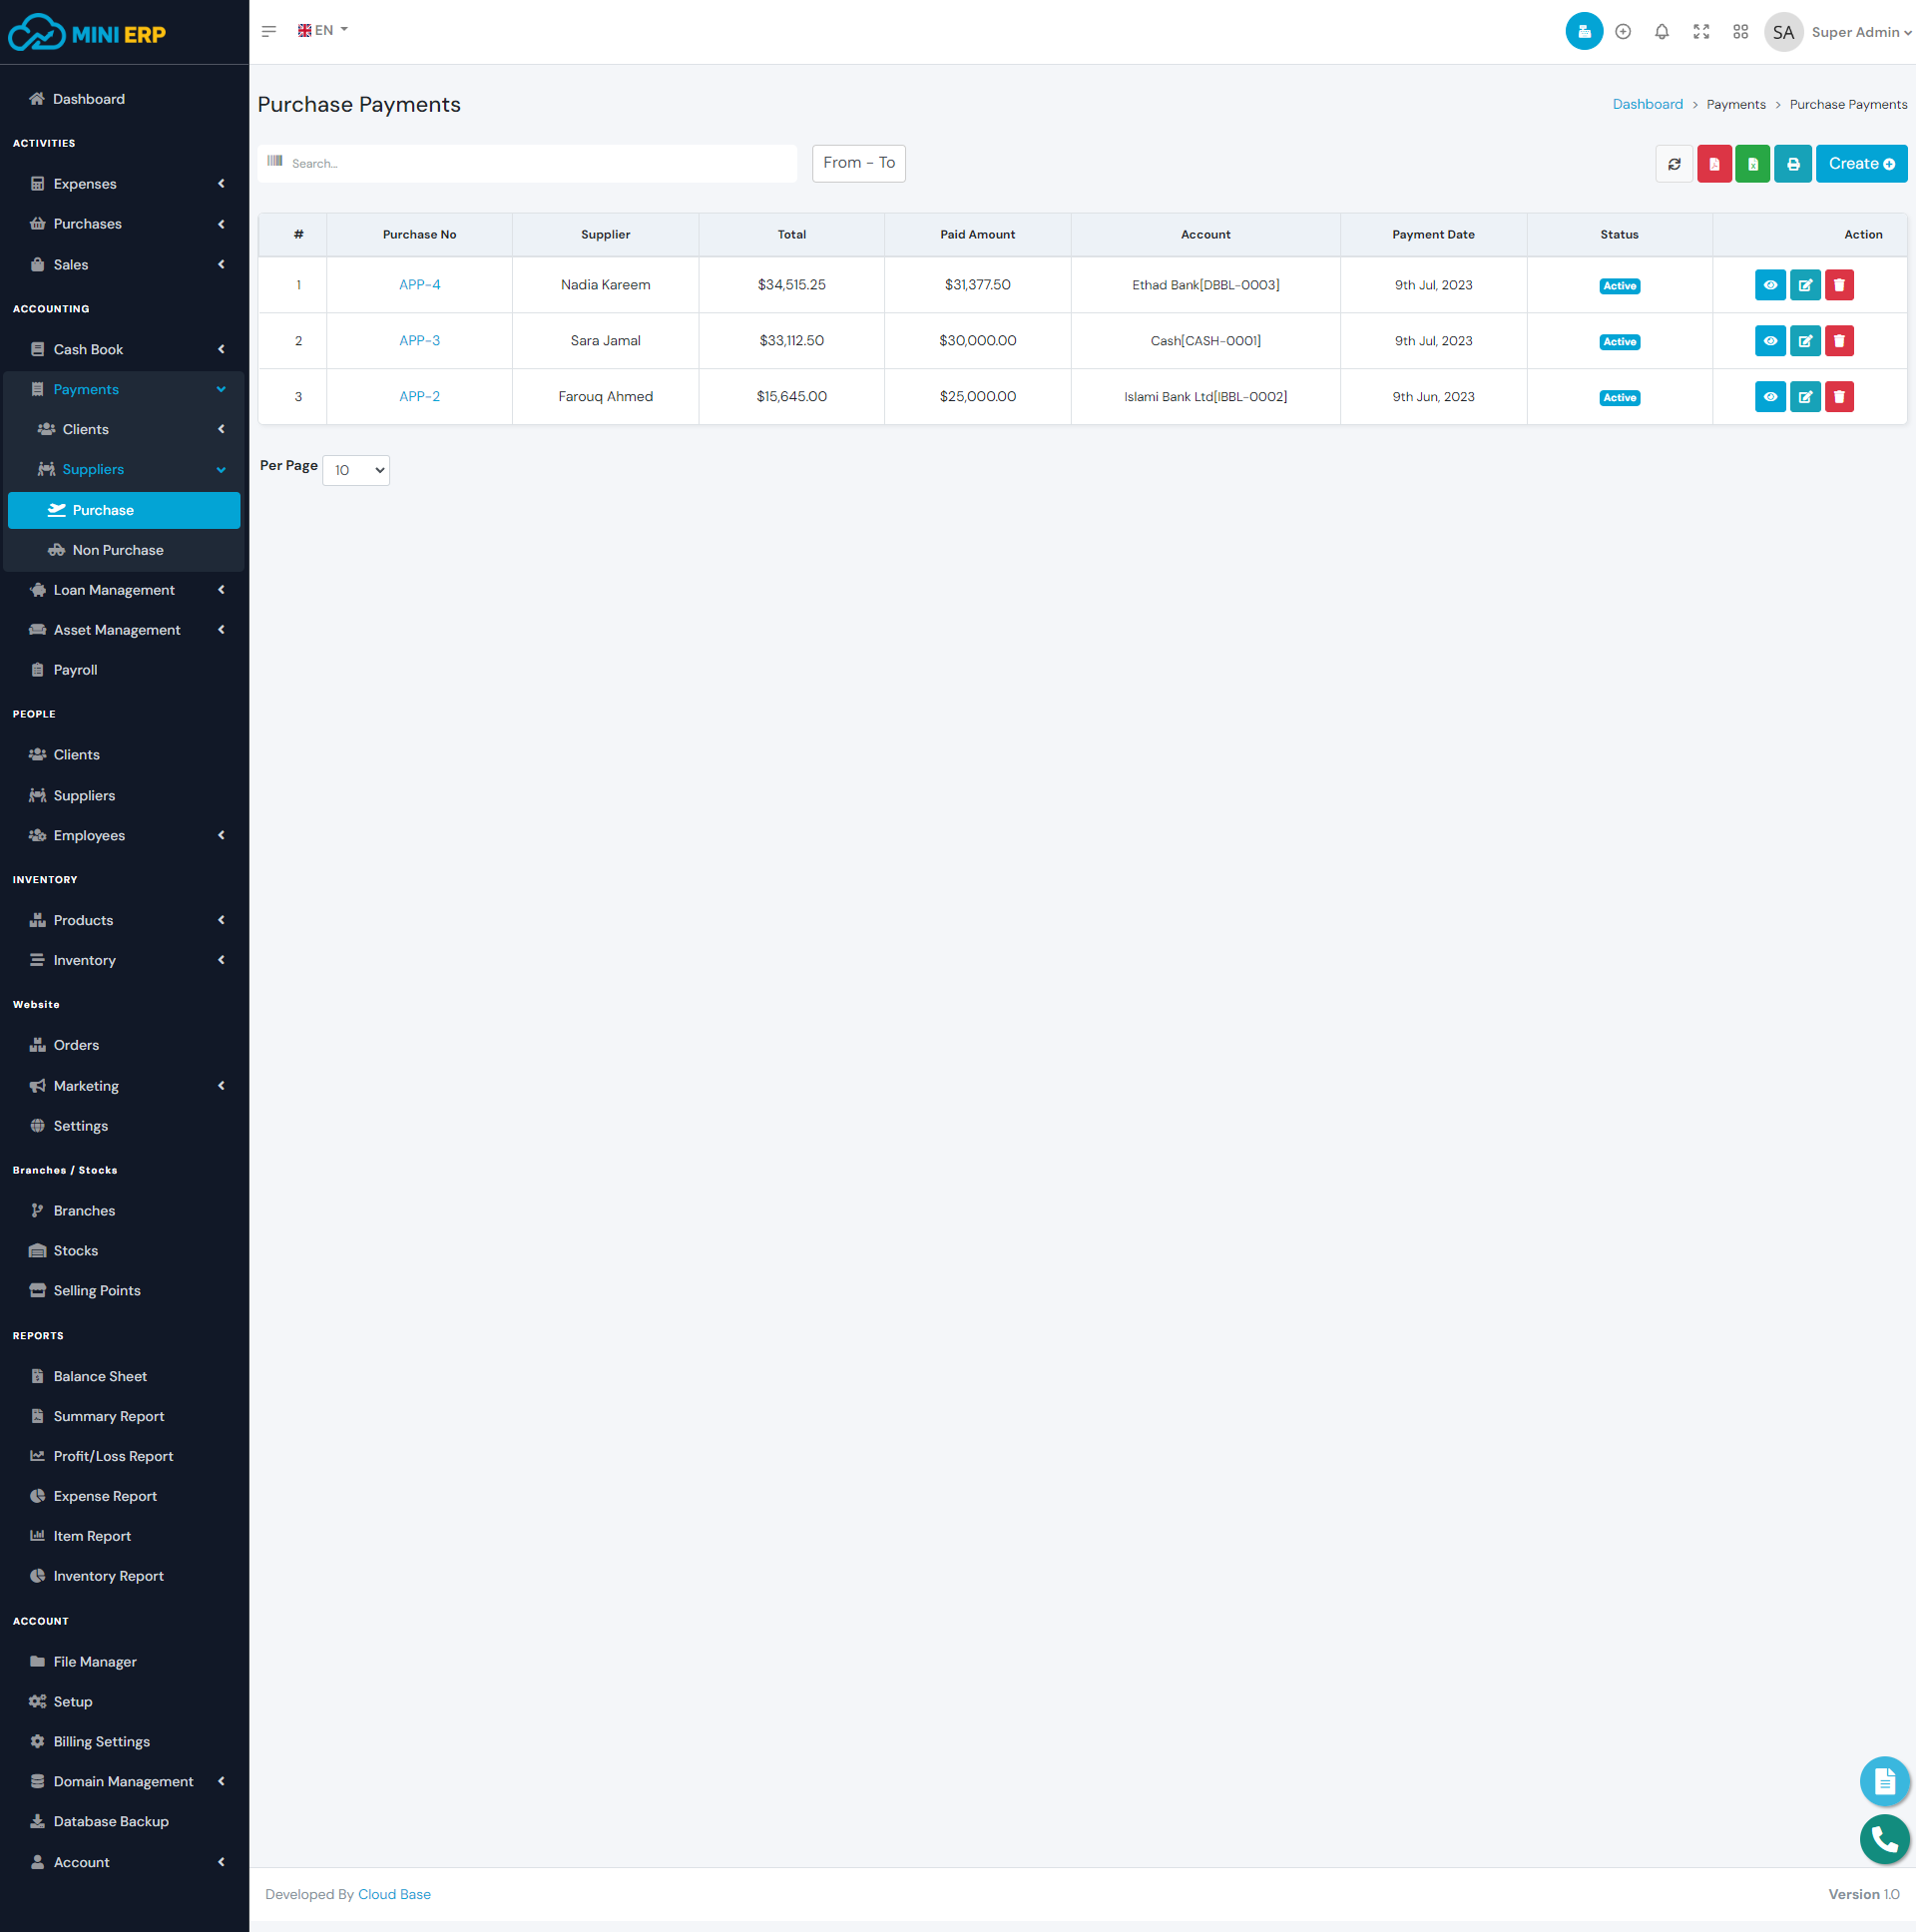
Purchase Payments
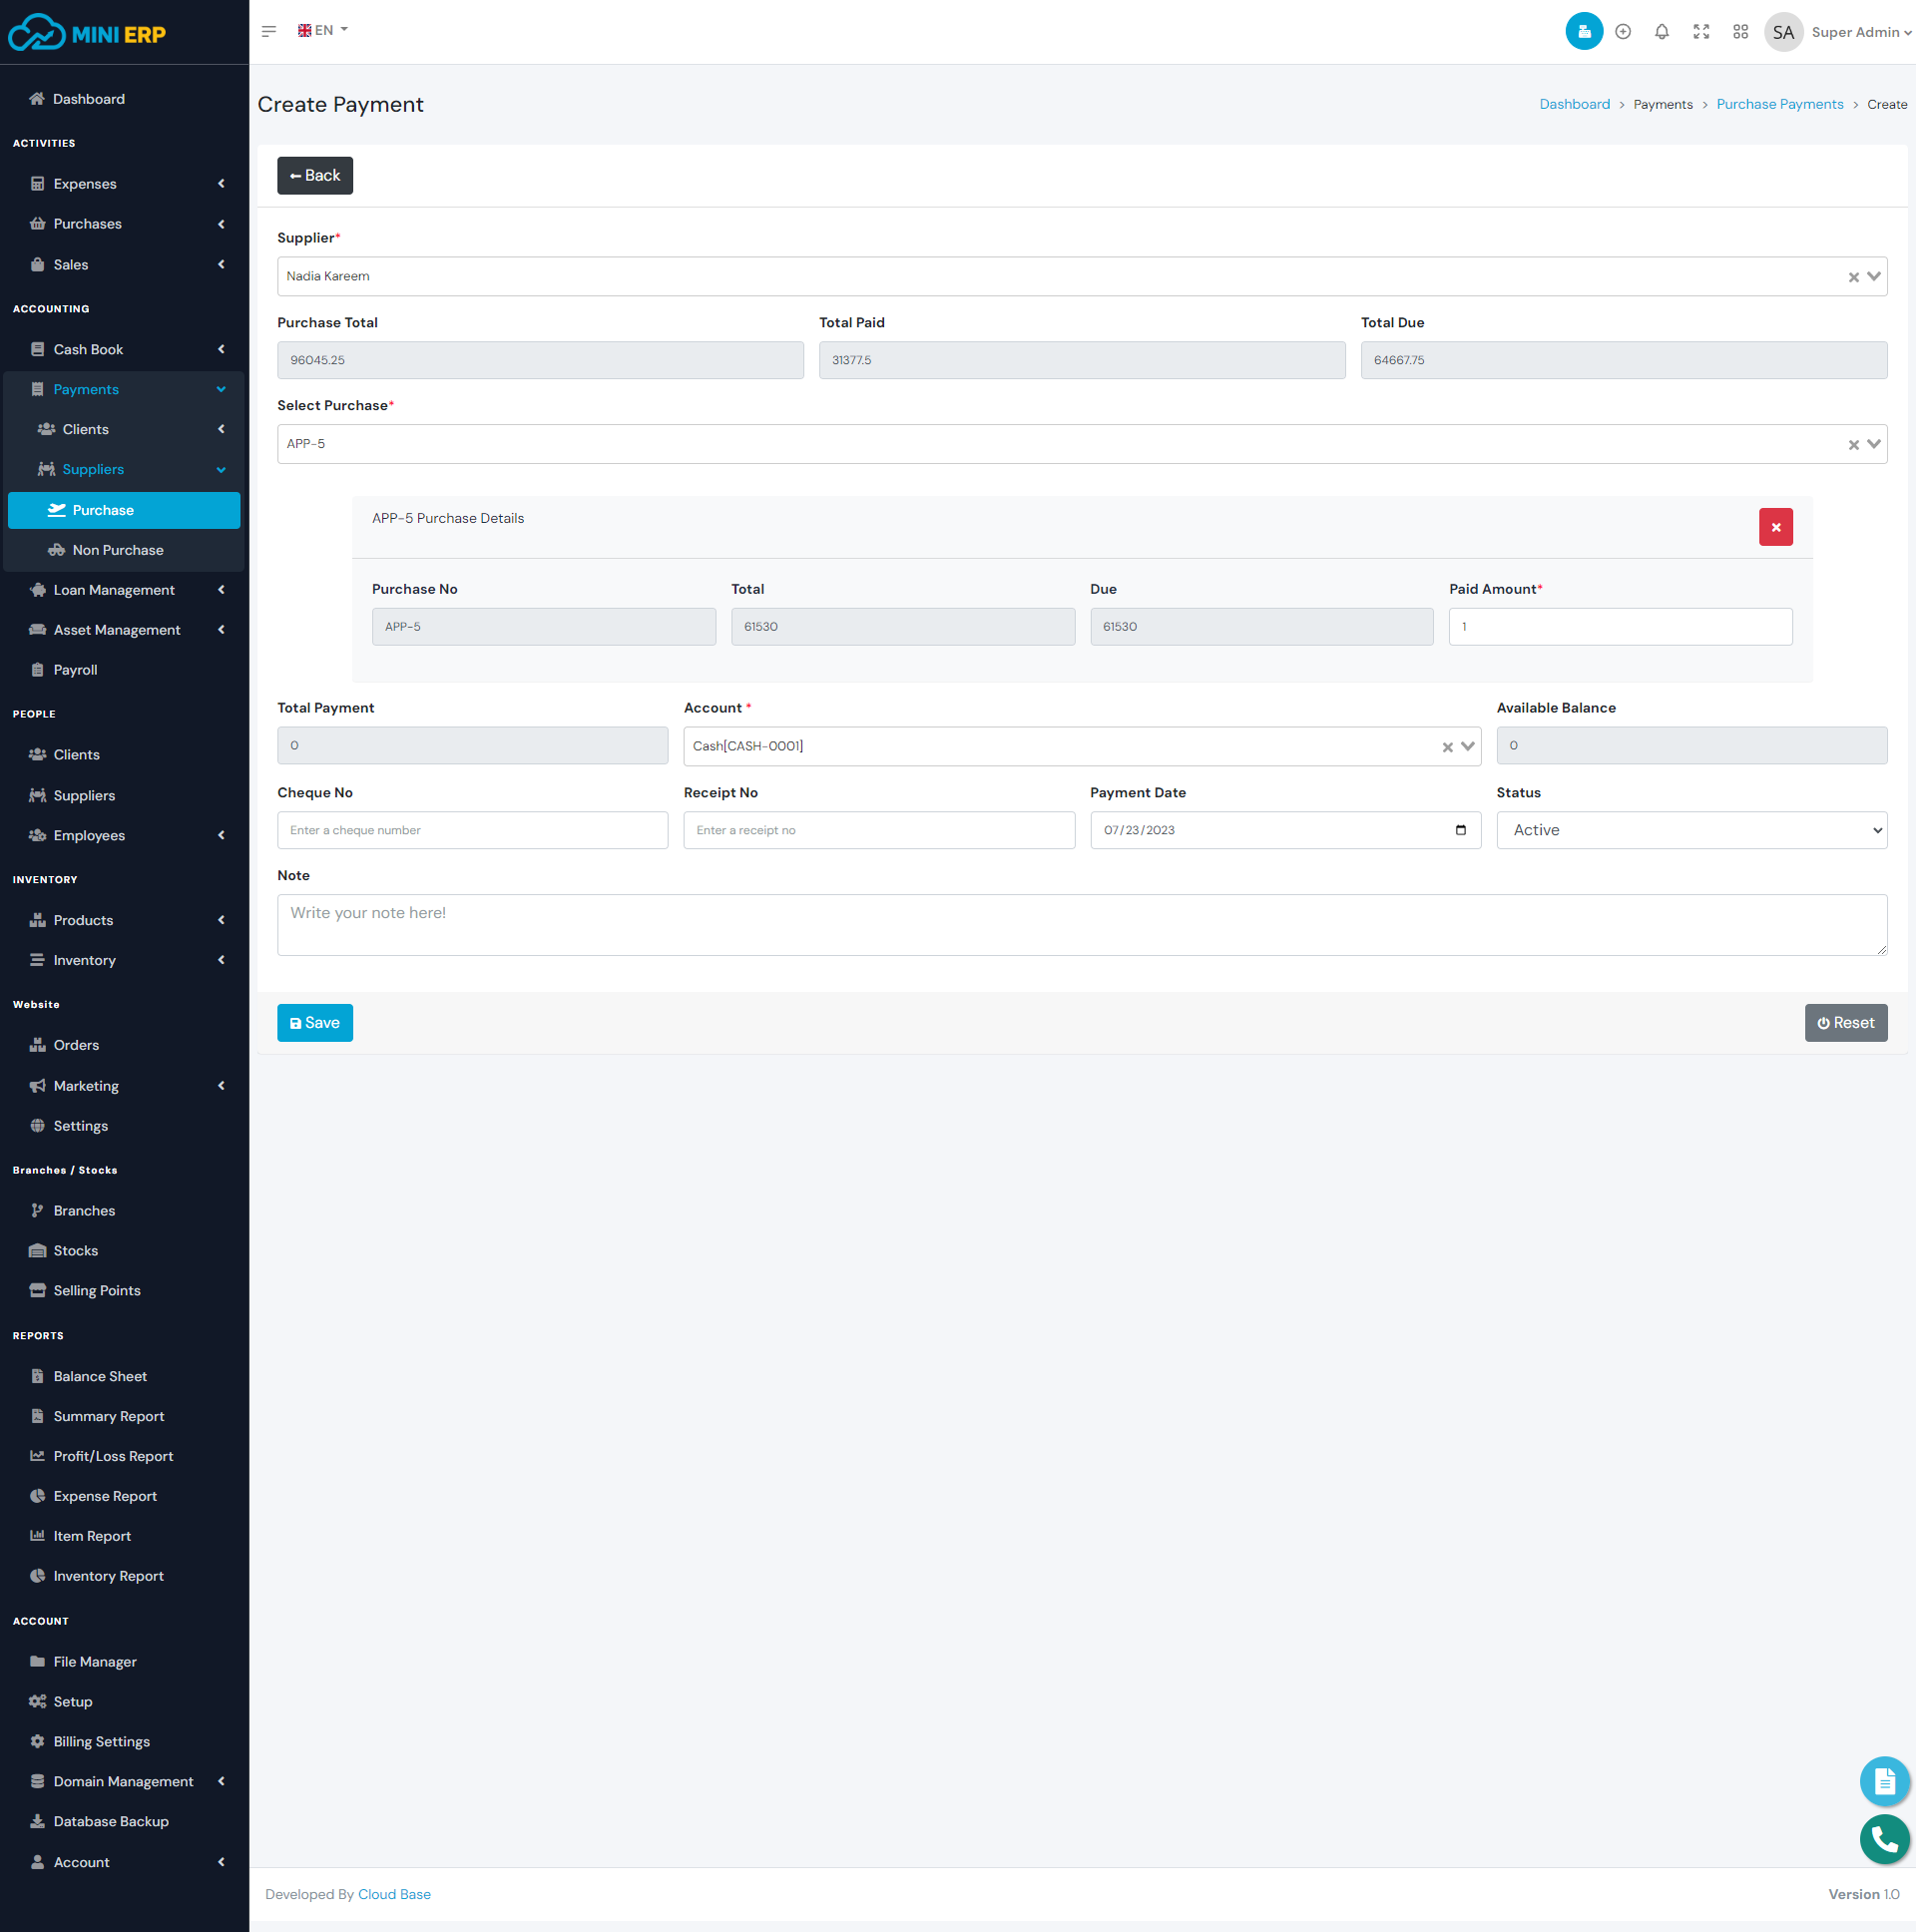
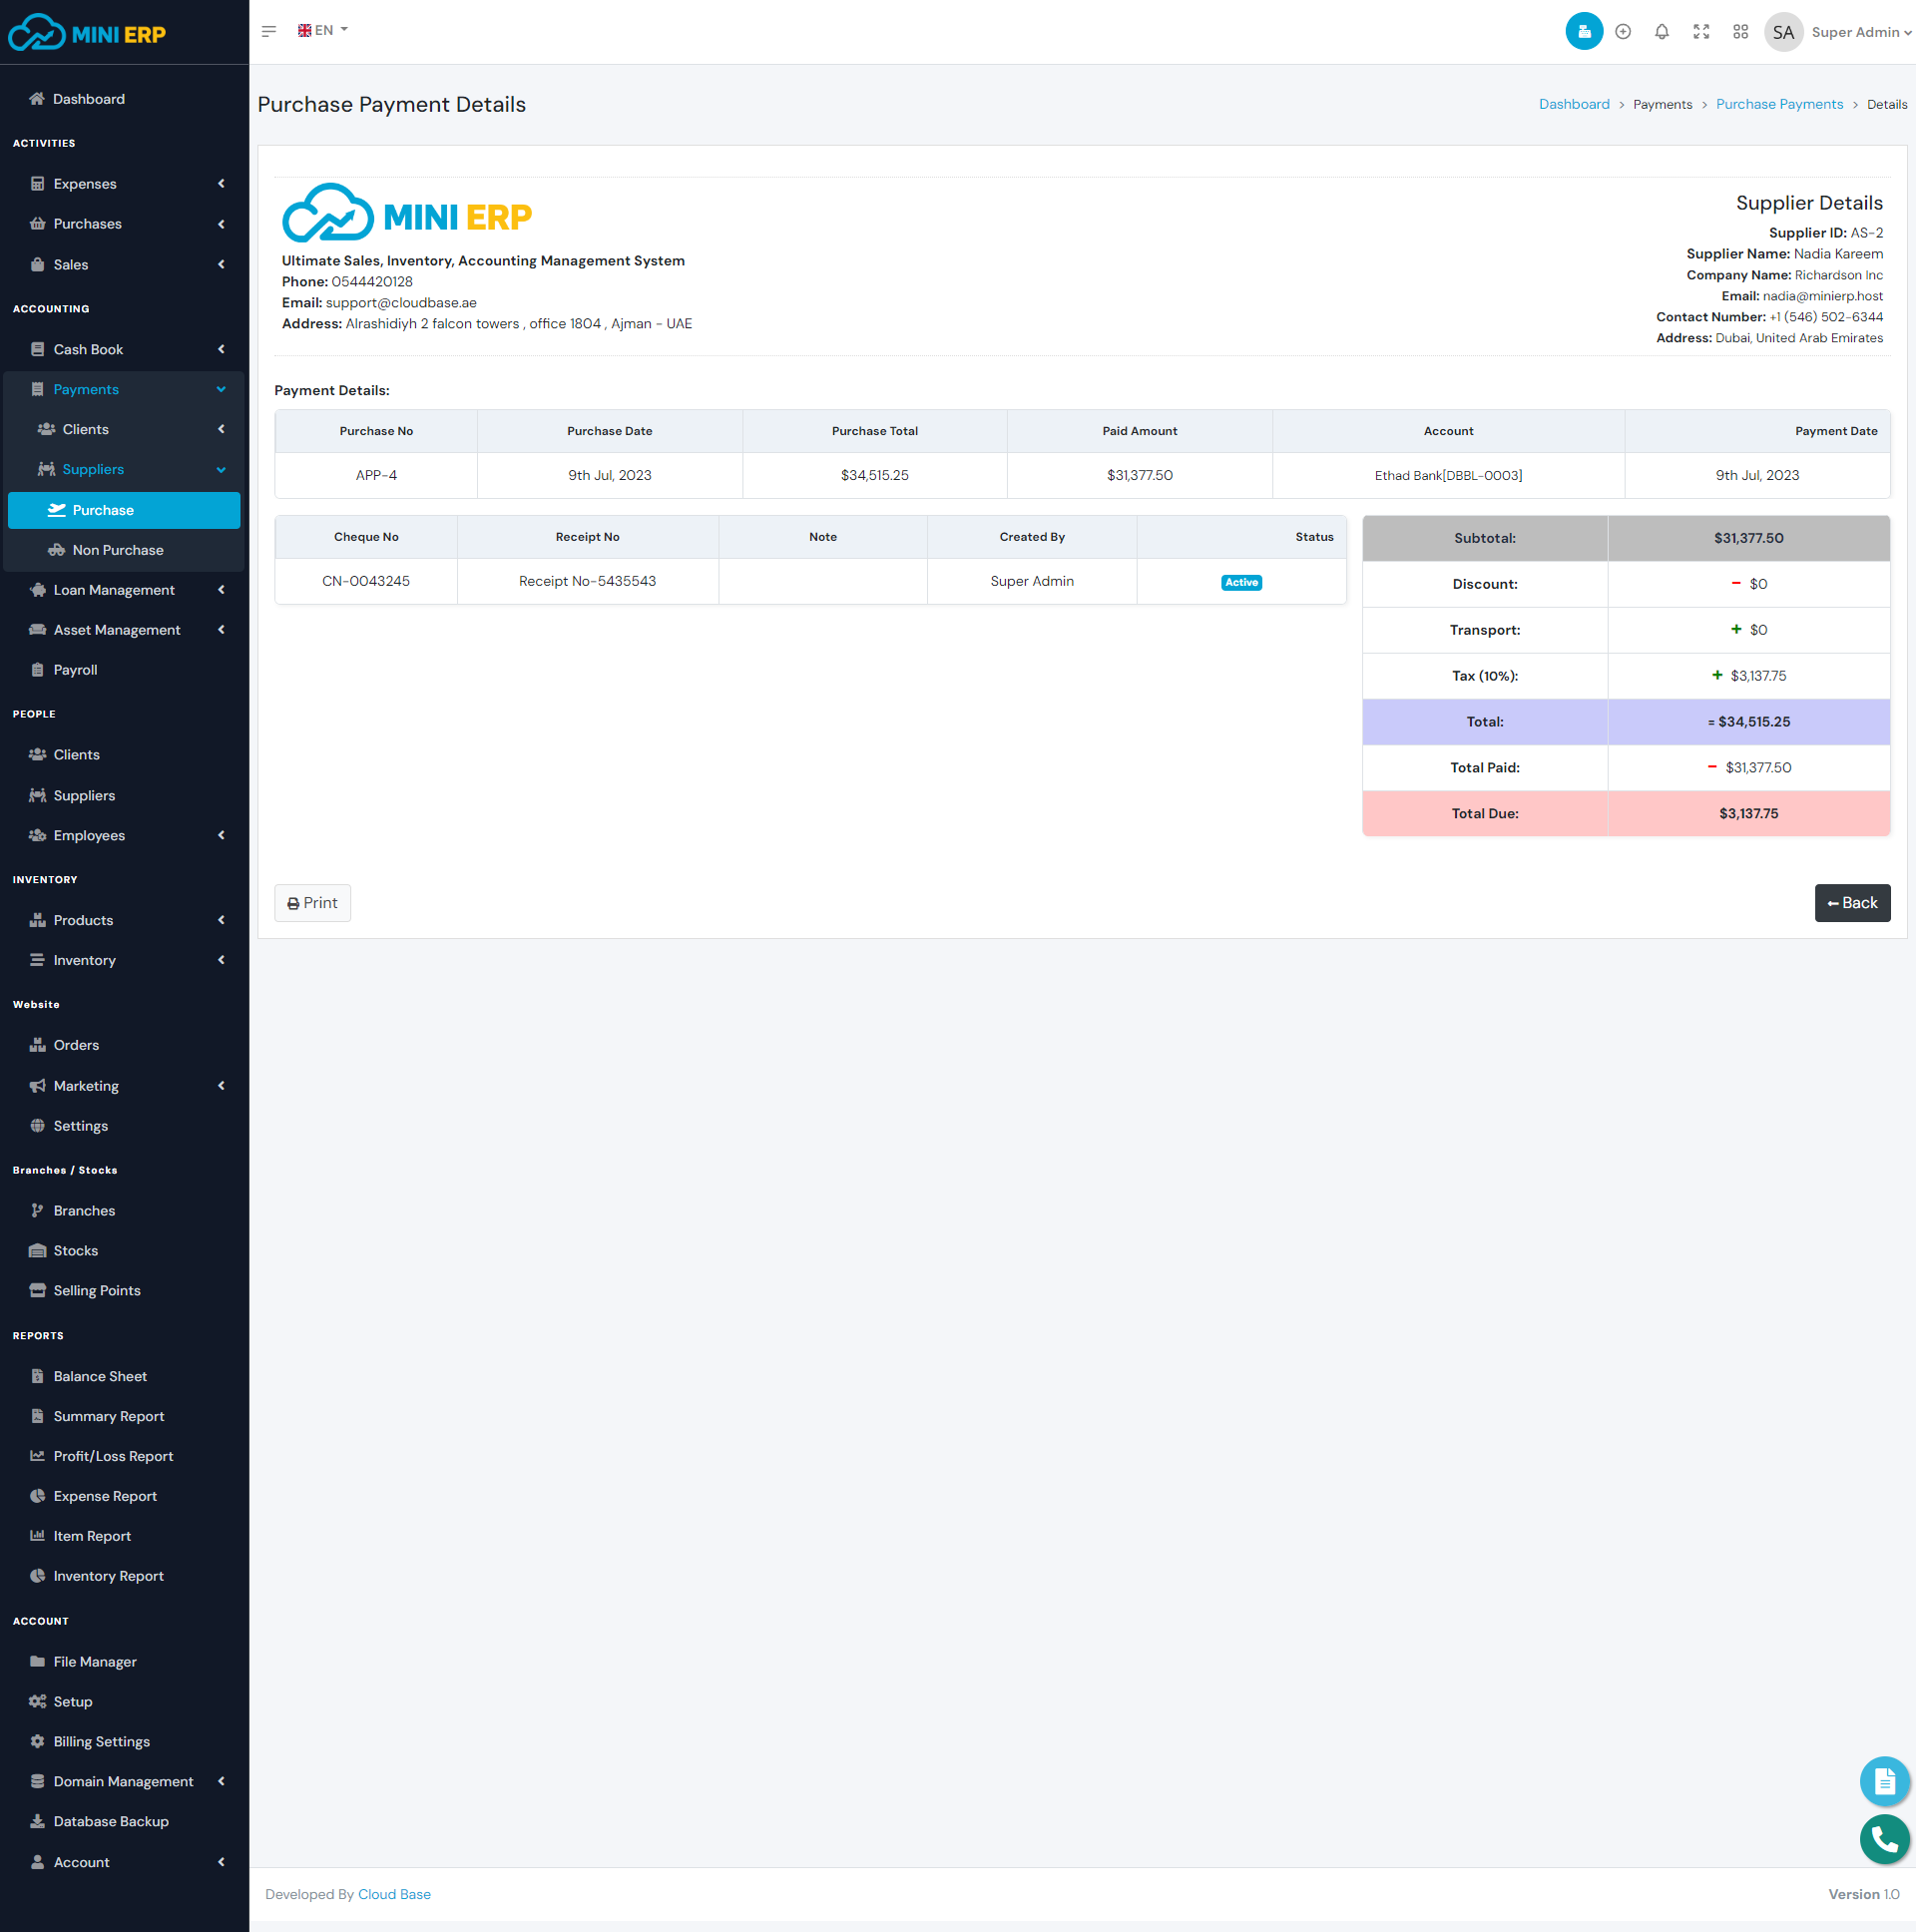
Purchase payments module allows you to manage purchase payments. Using this module you can create payments for purchases. While creating purchase payments you can select single or multiple purchases and sent payments for the selected purchases. In order to create purchase payments, you must create purchases first.
| Required fields to create a purchase payment |
|---|
| Supplier => Supplier to whom you want to sent purchase payment. Select a supplier from the list. |
| Select Purchase =>Purchases for which you want to sent payments. After selecting a supplier you will see the due purchases of the selected supplier. Select at least one purchase from the list. |
| Account => The paying account. The total amount will be sent from the selected account. Select an account from the list. The available balance must be greater than the Total Payment. |
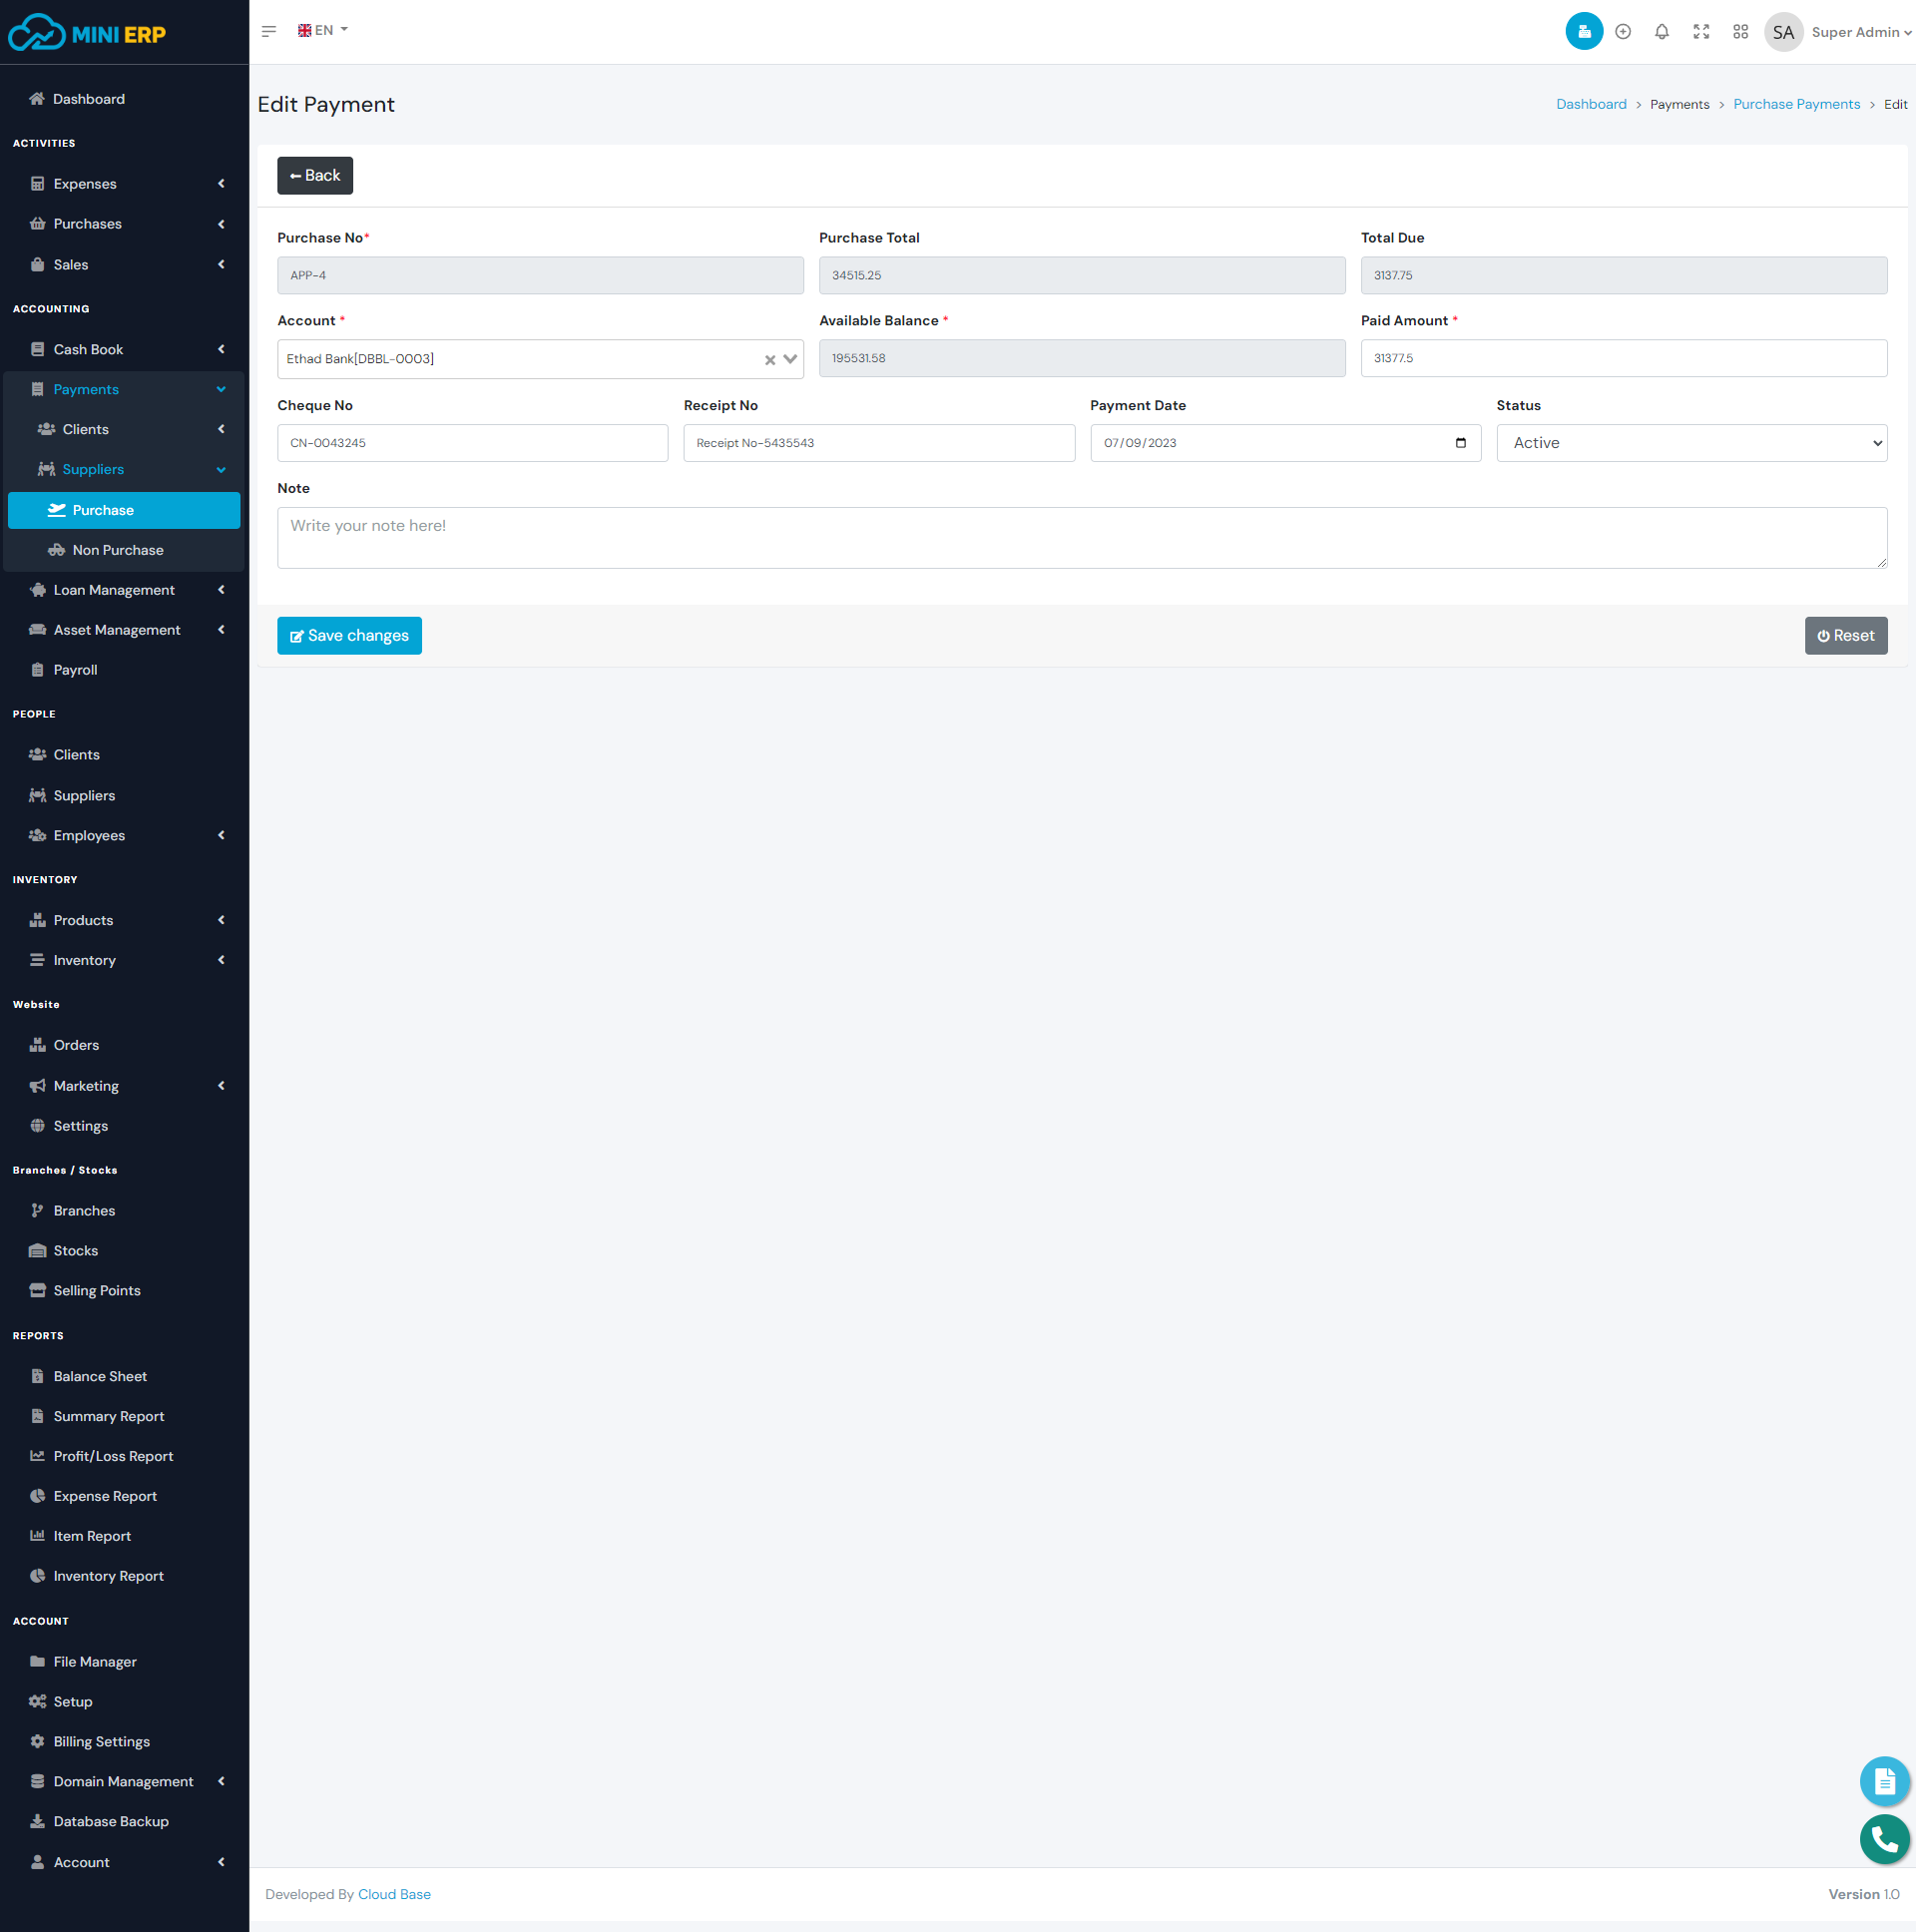
Note: If you delete any purchase payment then the purchase due will be adjusted automatically. Deleting any invoice payment will add the amount from the account balance. So we recommend you to use the delete option very carefully.
Non Purchase Payments
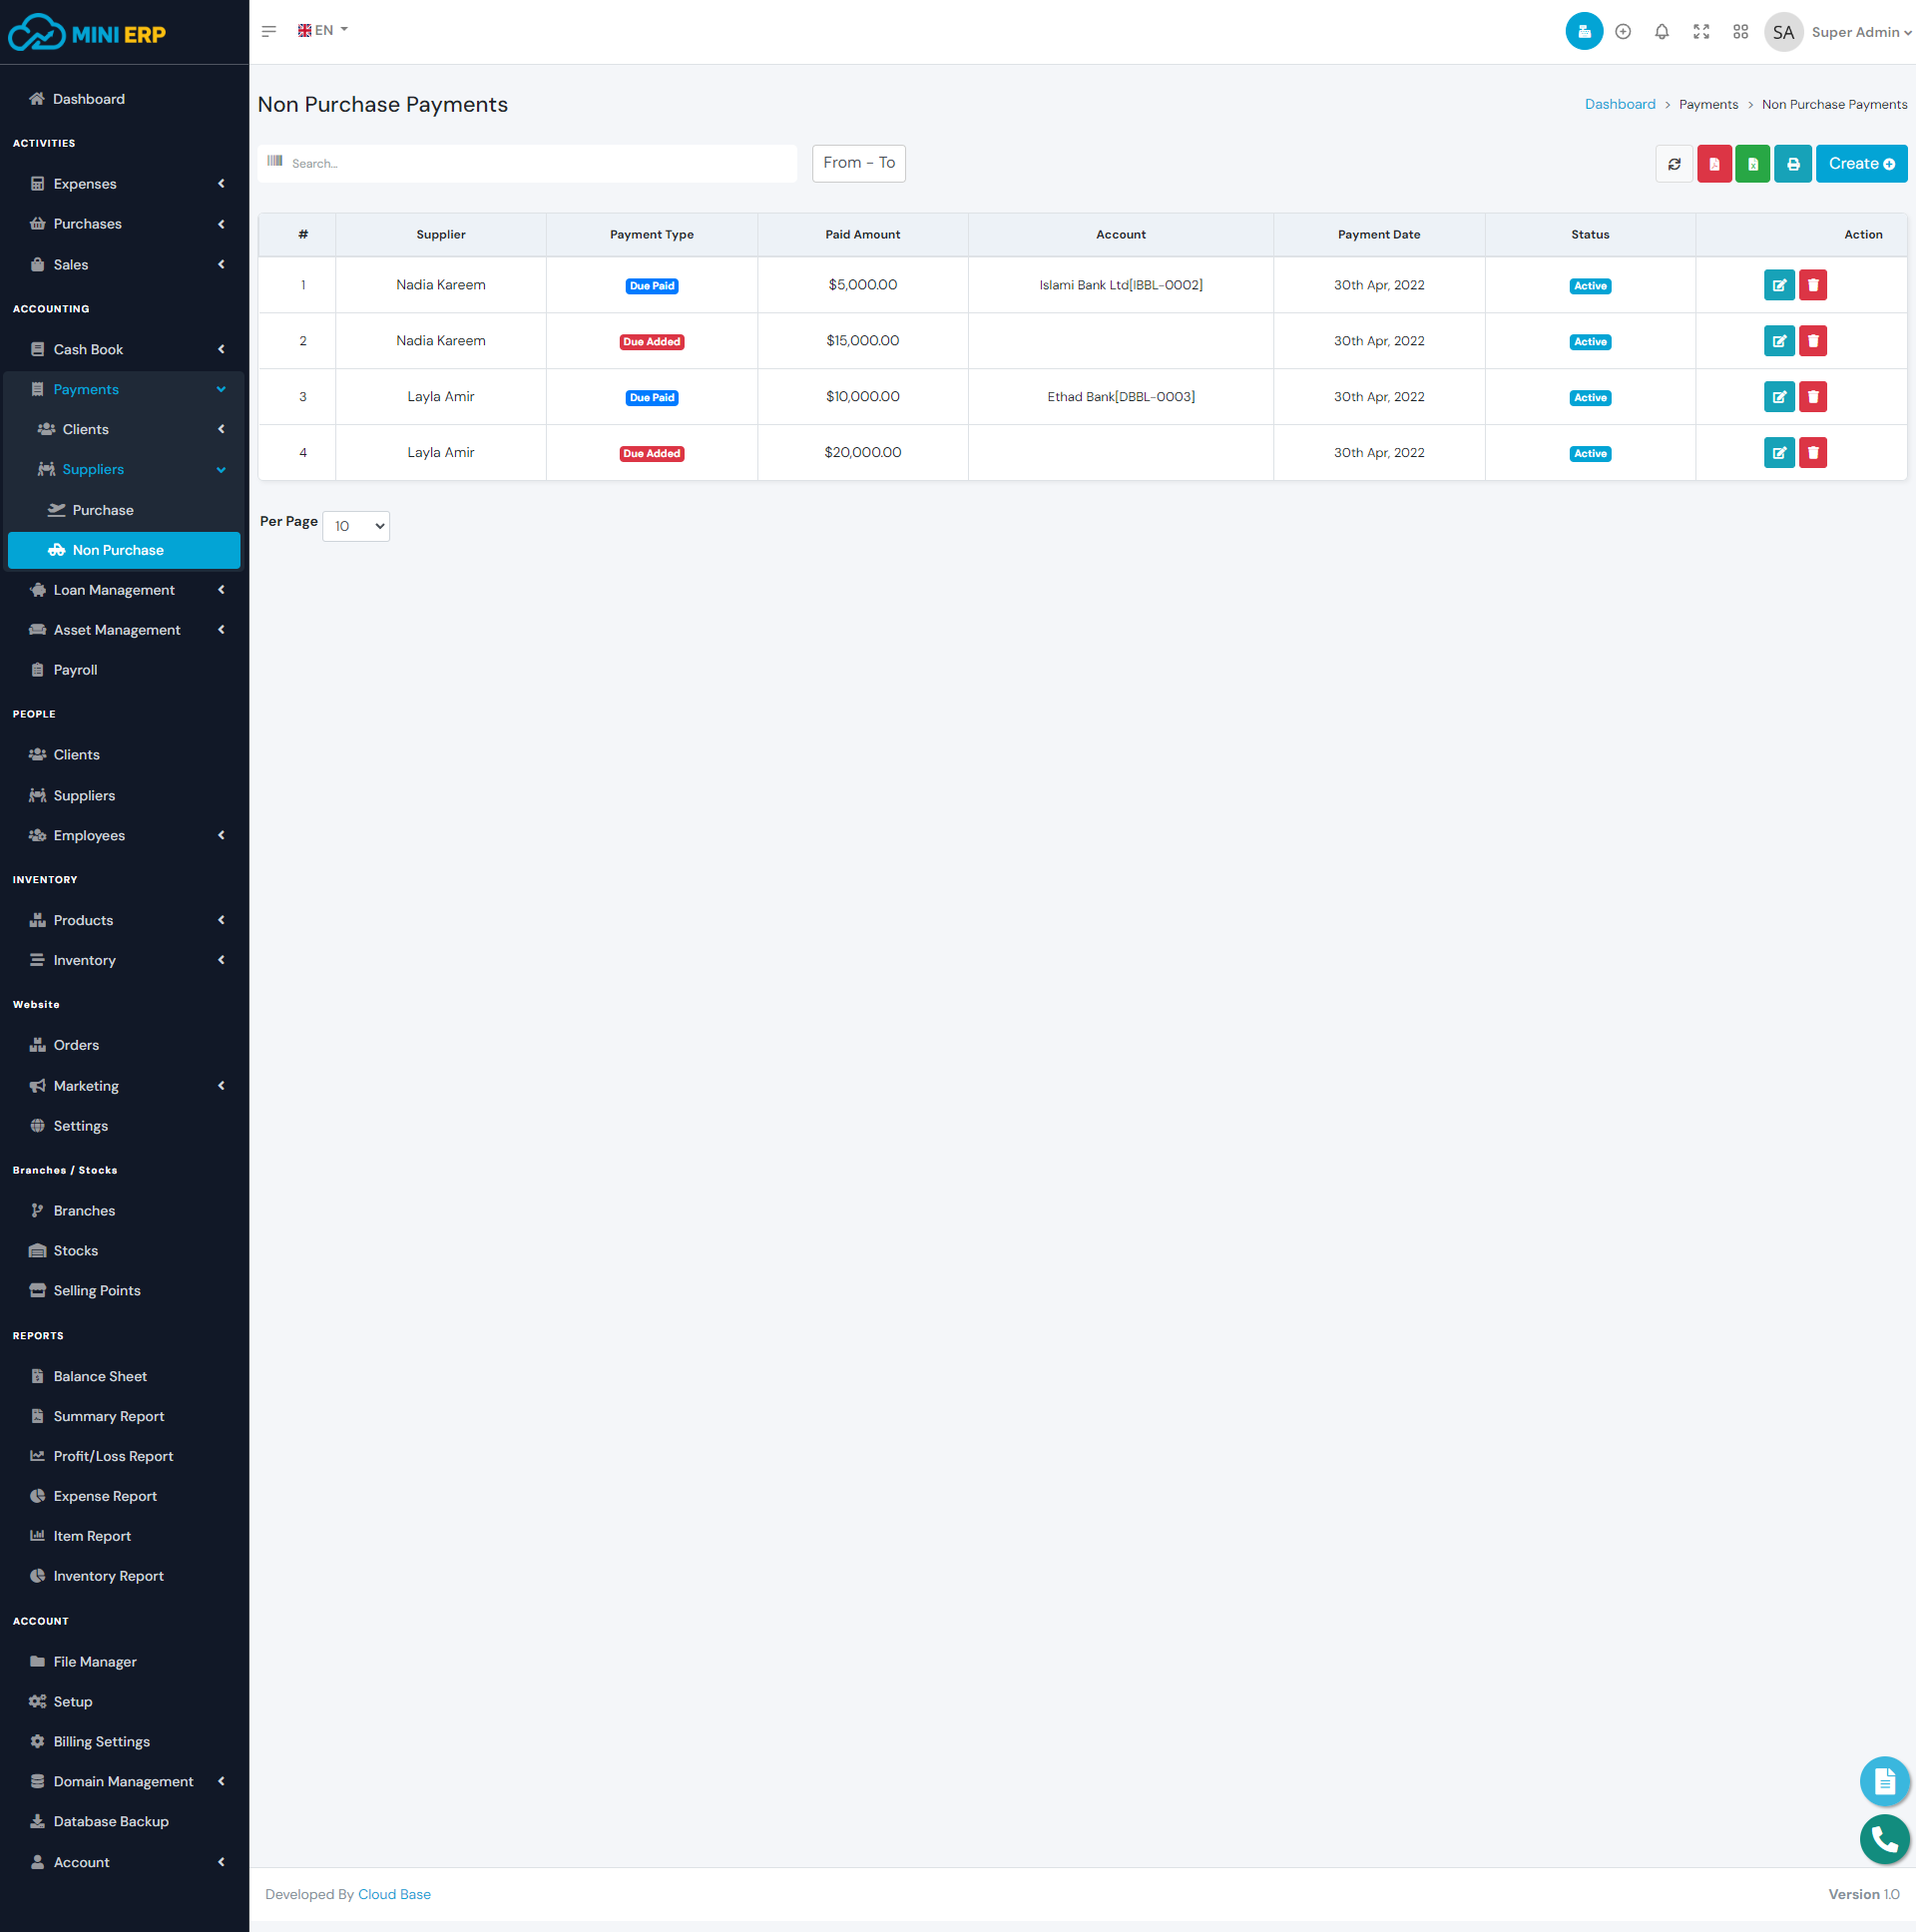
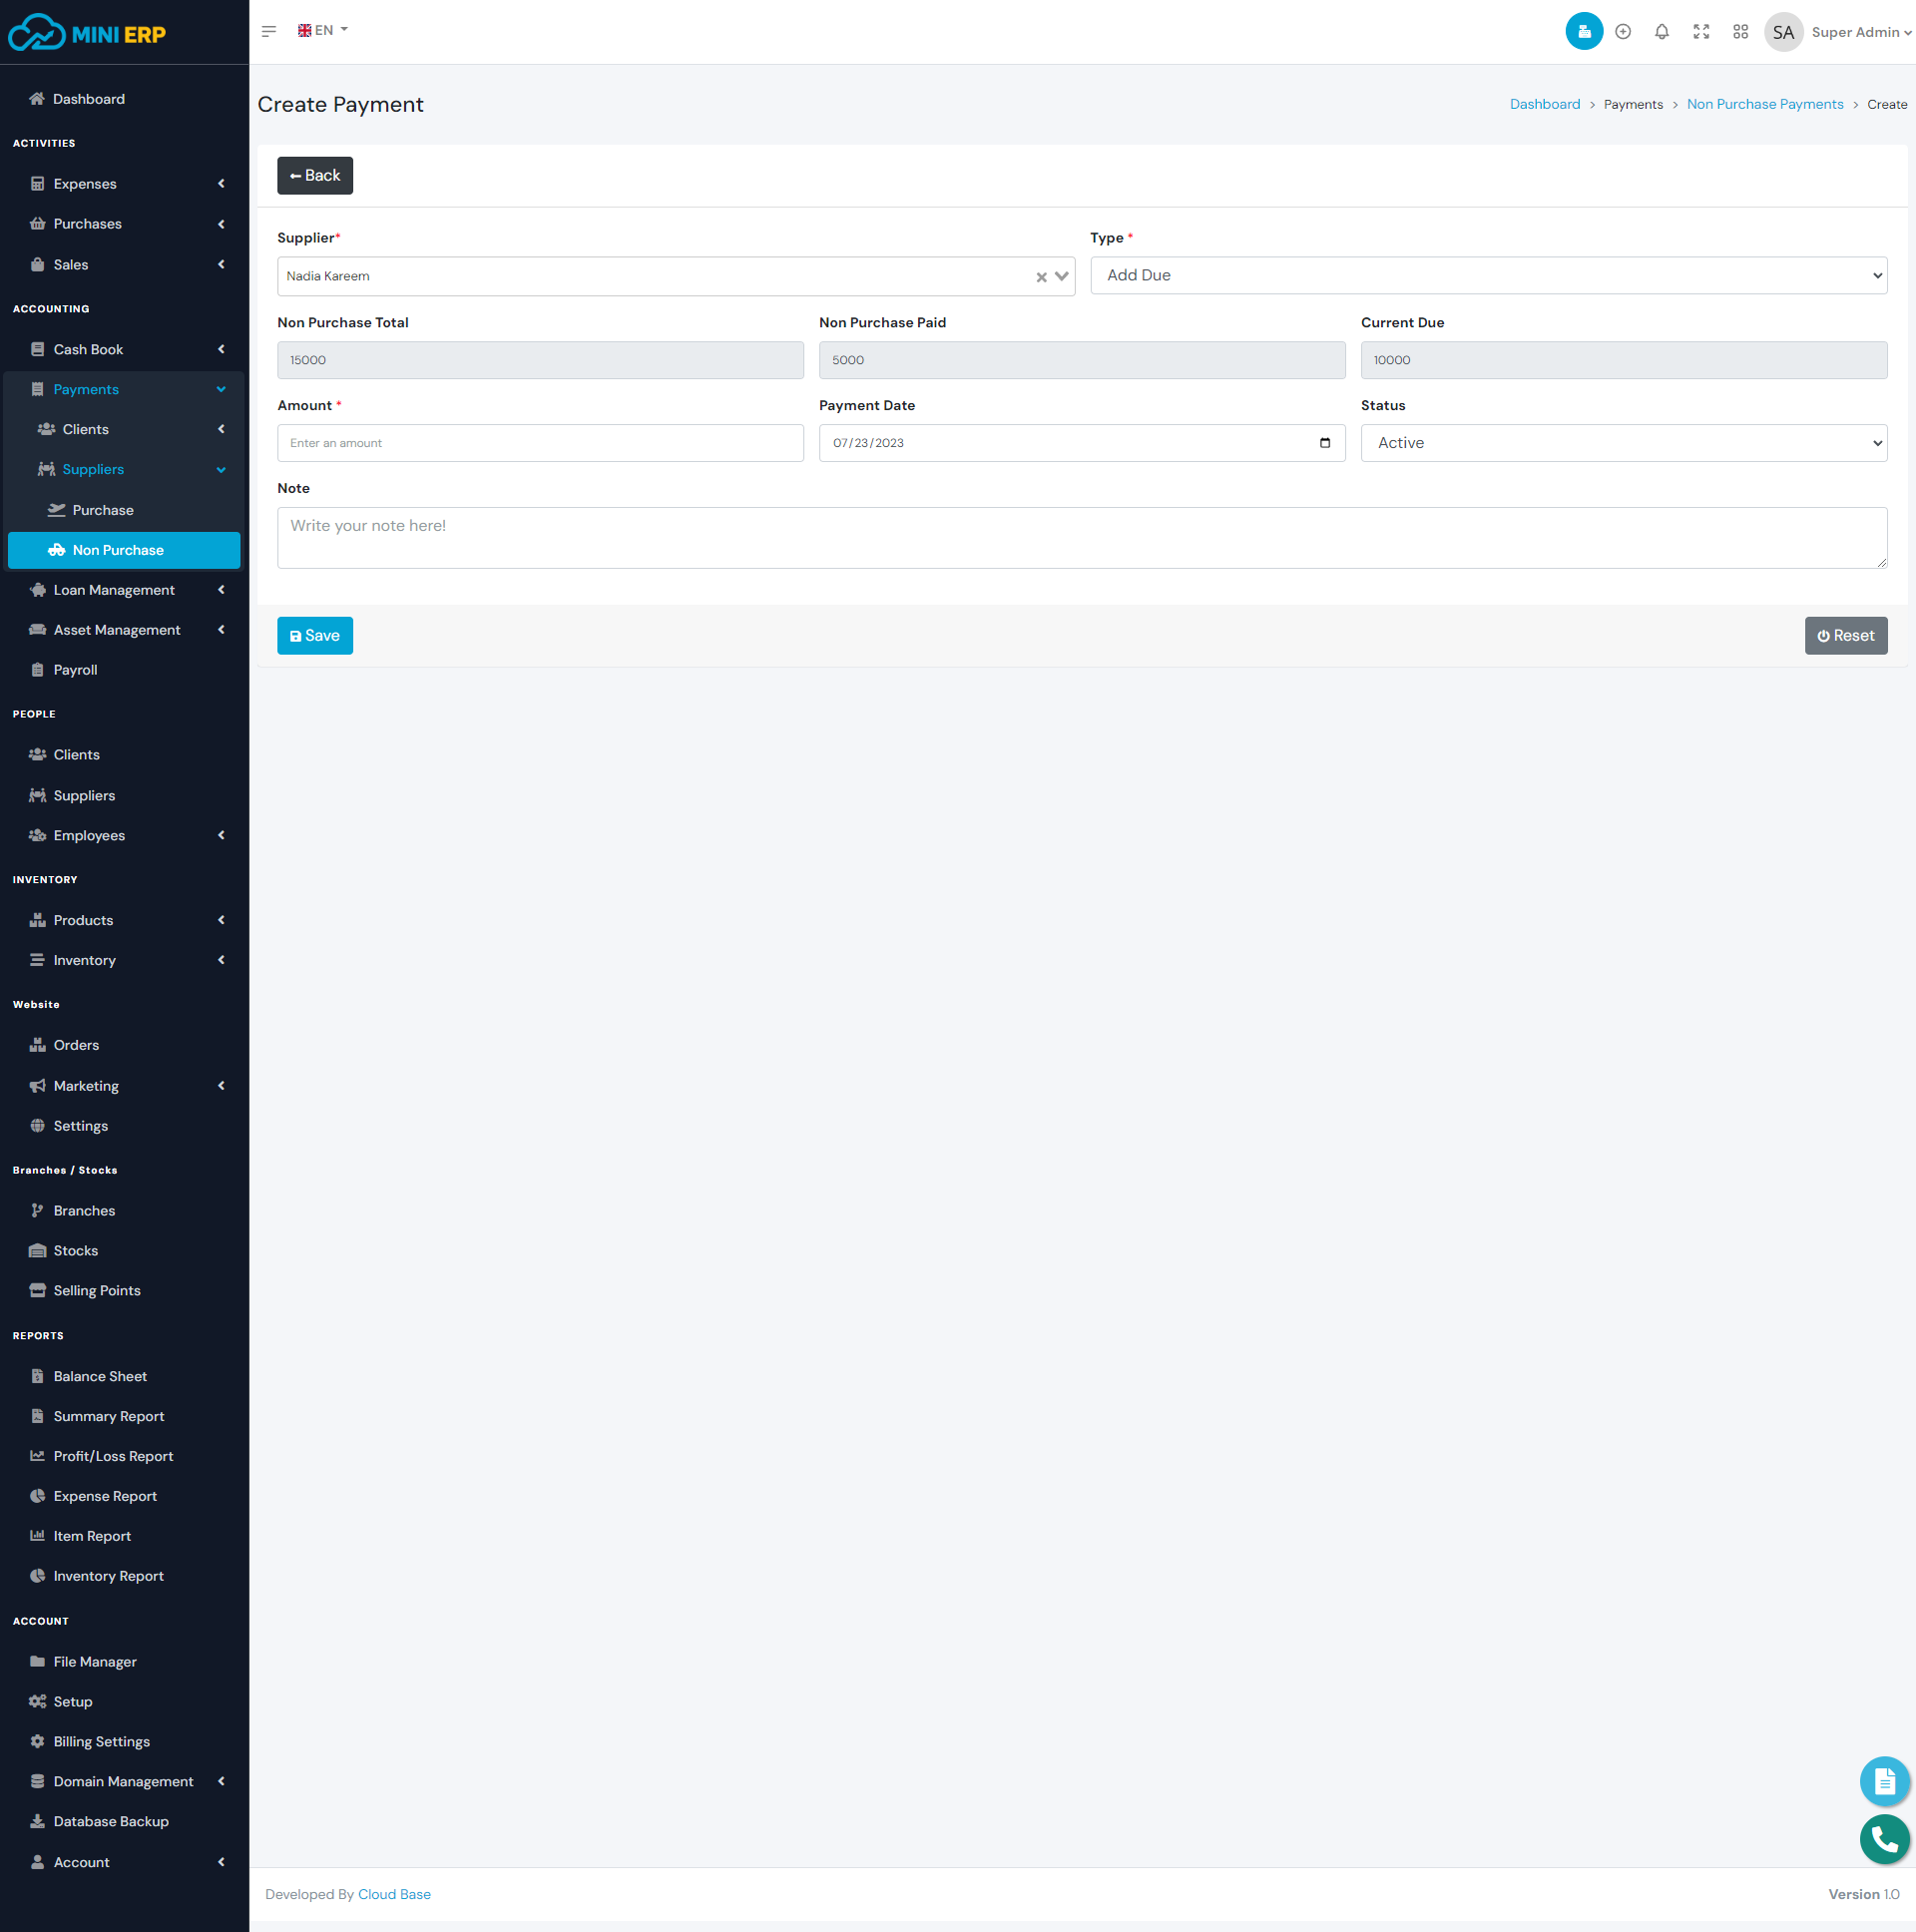
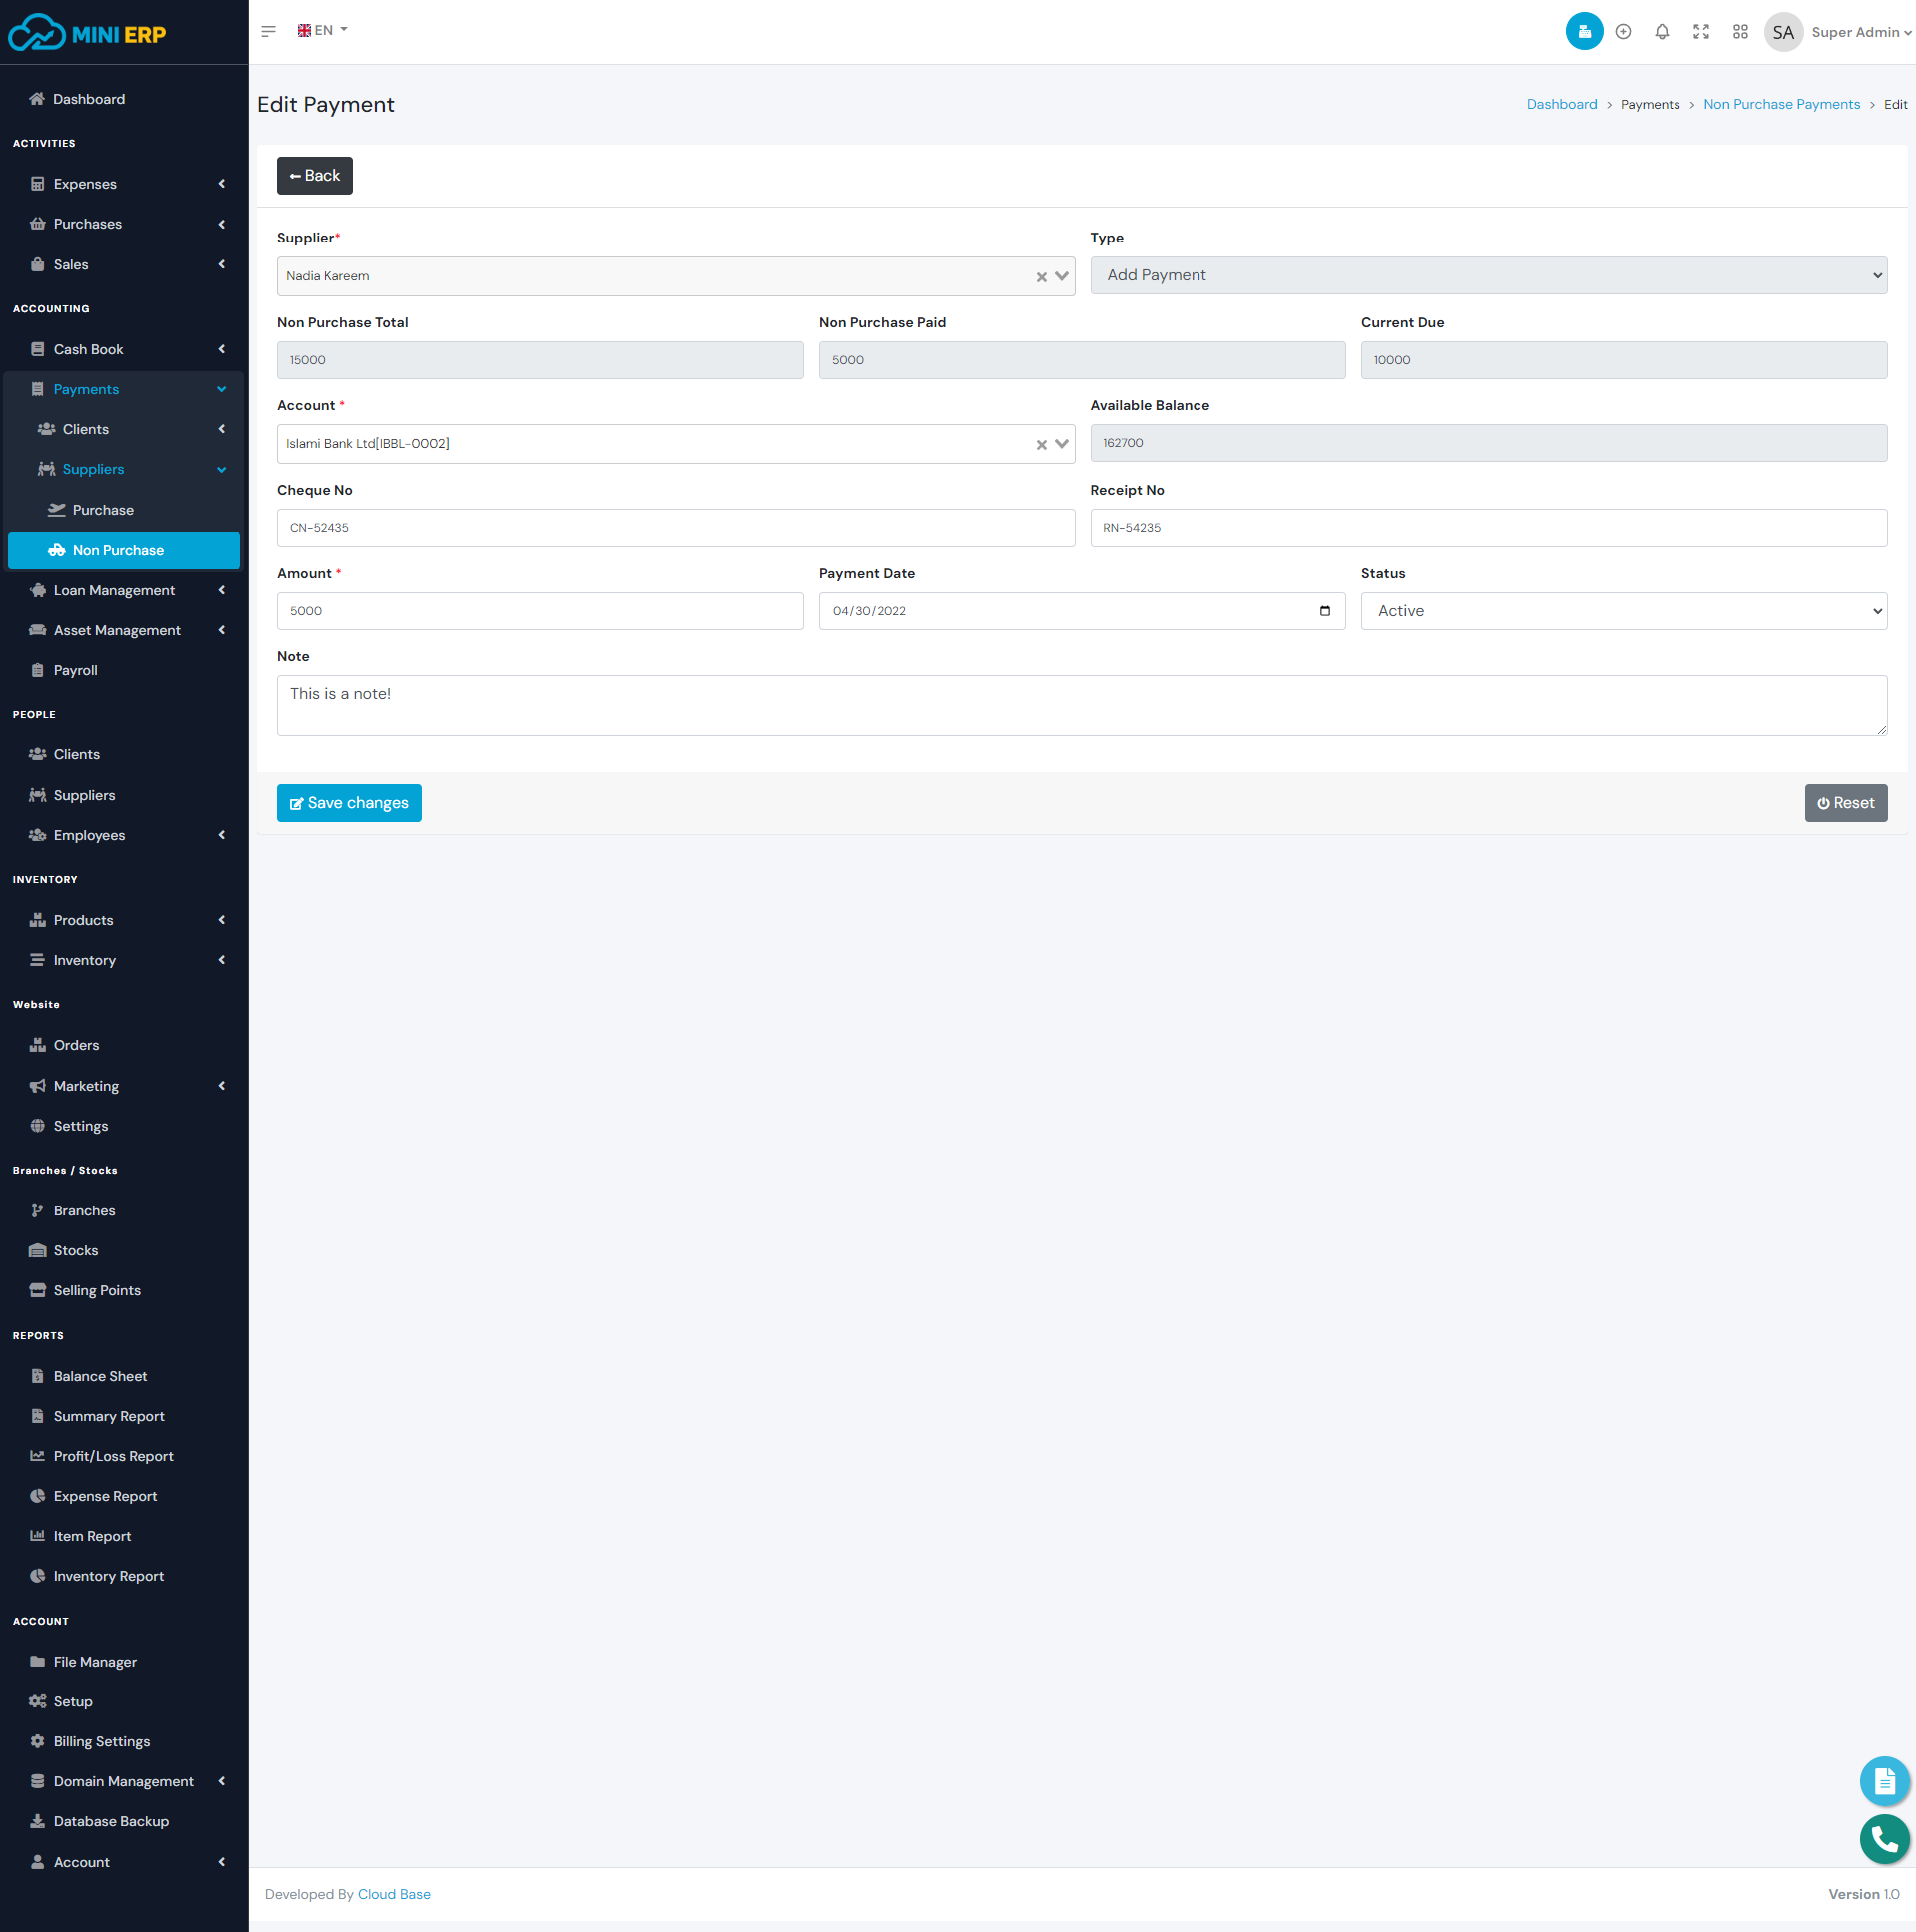
Non Purchase payments module helps you manage non-purchase dues and payments for your suppliers. Using this module you can bring your supplier dues and payments from your previous software to Mini ERP. You must create a non-purchase due first in order to create non-purchase payments.
| Required fields to create a non-purchase payment |
|---|
| Supplier => Client to whom you want to add due or sent purchase payment. Select a supplier from the list. |
| Type => If you want to add non-purchase due then select due otherwise select add payment to sent payment. |
| Amount => Due amount or the paying amount. |
| Account(If you select add payment) => The paying account. The amount will be deducted from the selected account. Select an account from the list. The available balance must be greater than the paying amount. |
Note: In order to delete any non-purchase supplier due, you need to delete the non-purchase payments first. Deleting any non-purchase payment will add the amount to the account balance. So we recommend you to use the delete option very carefully.
Loans
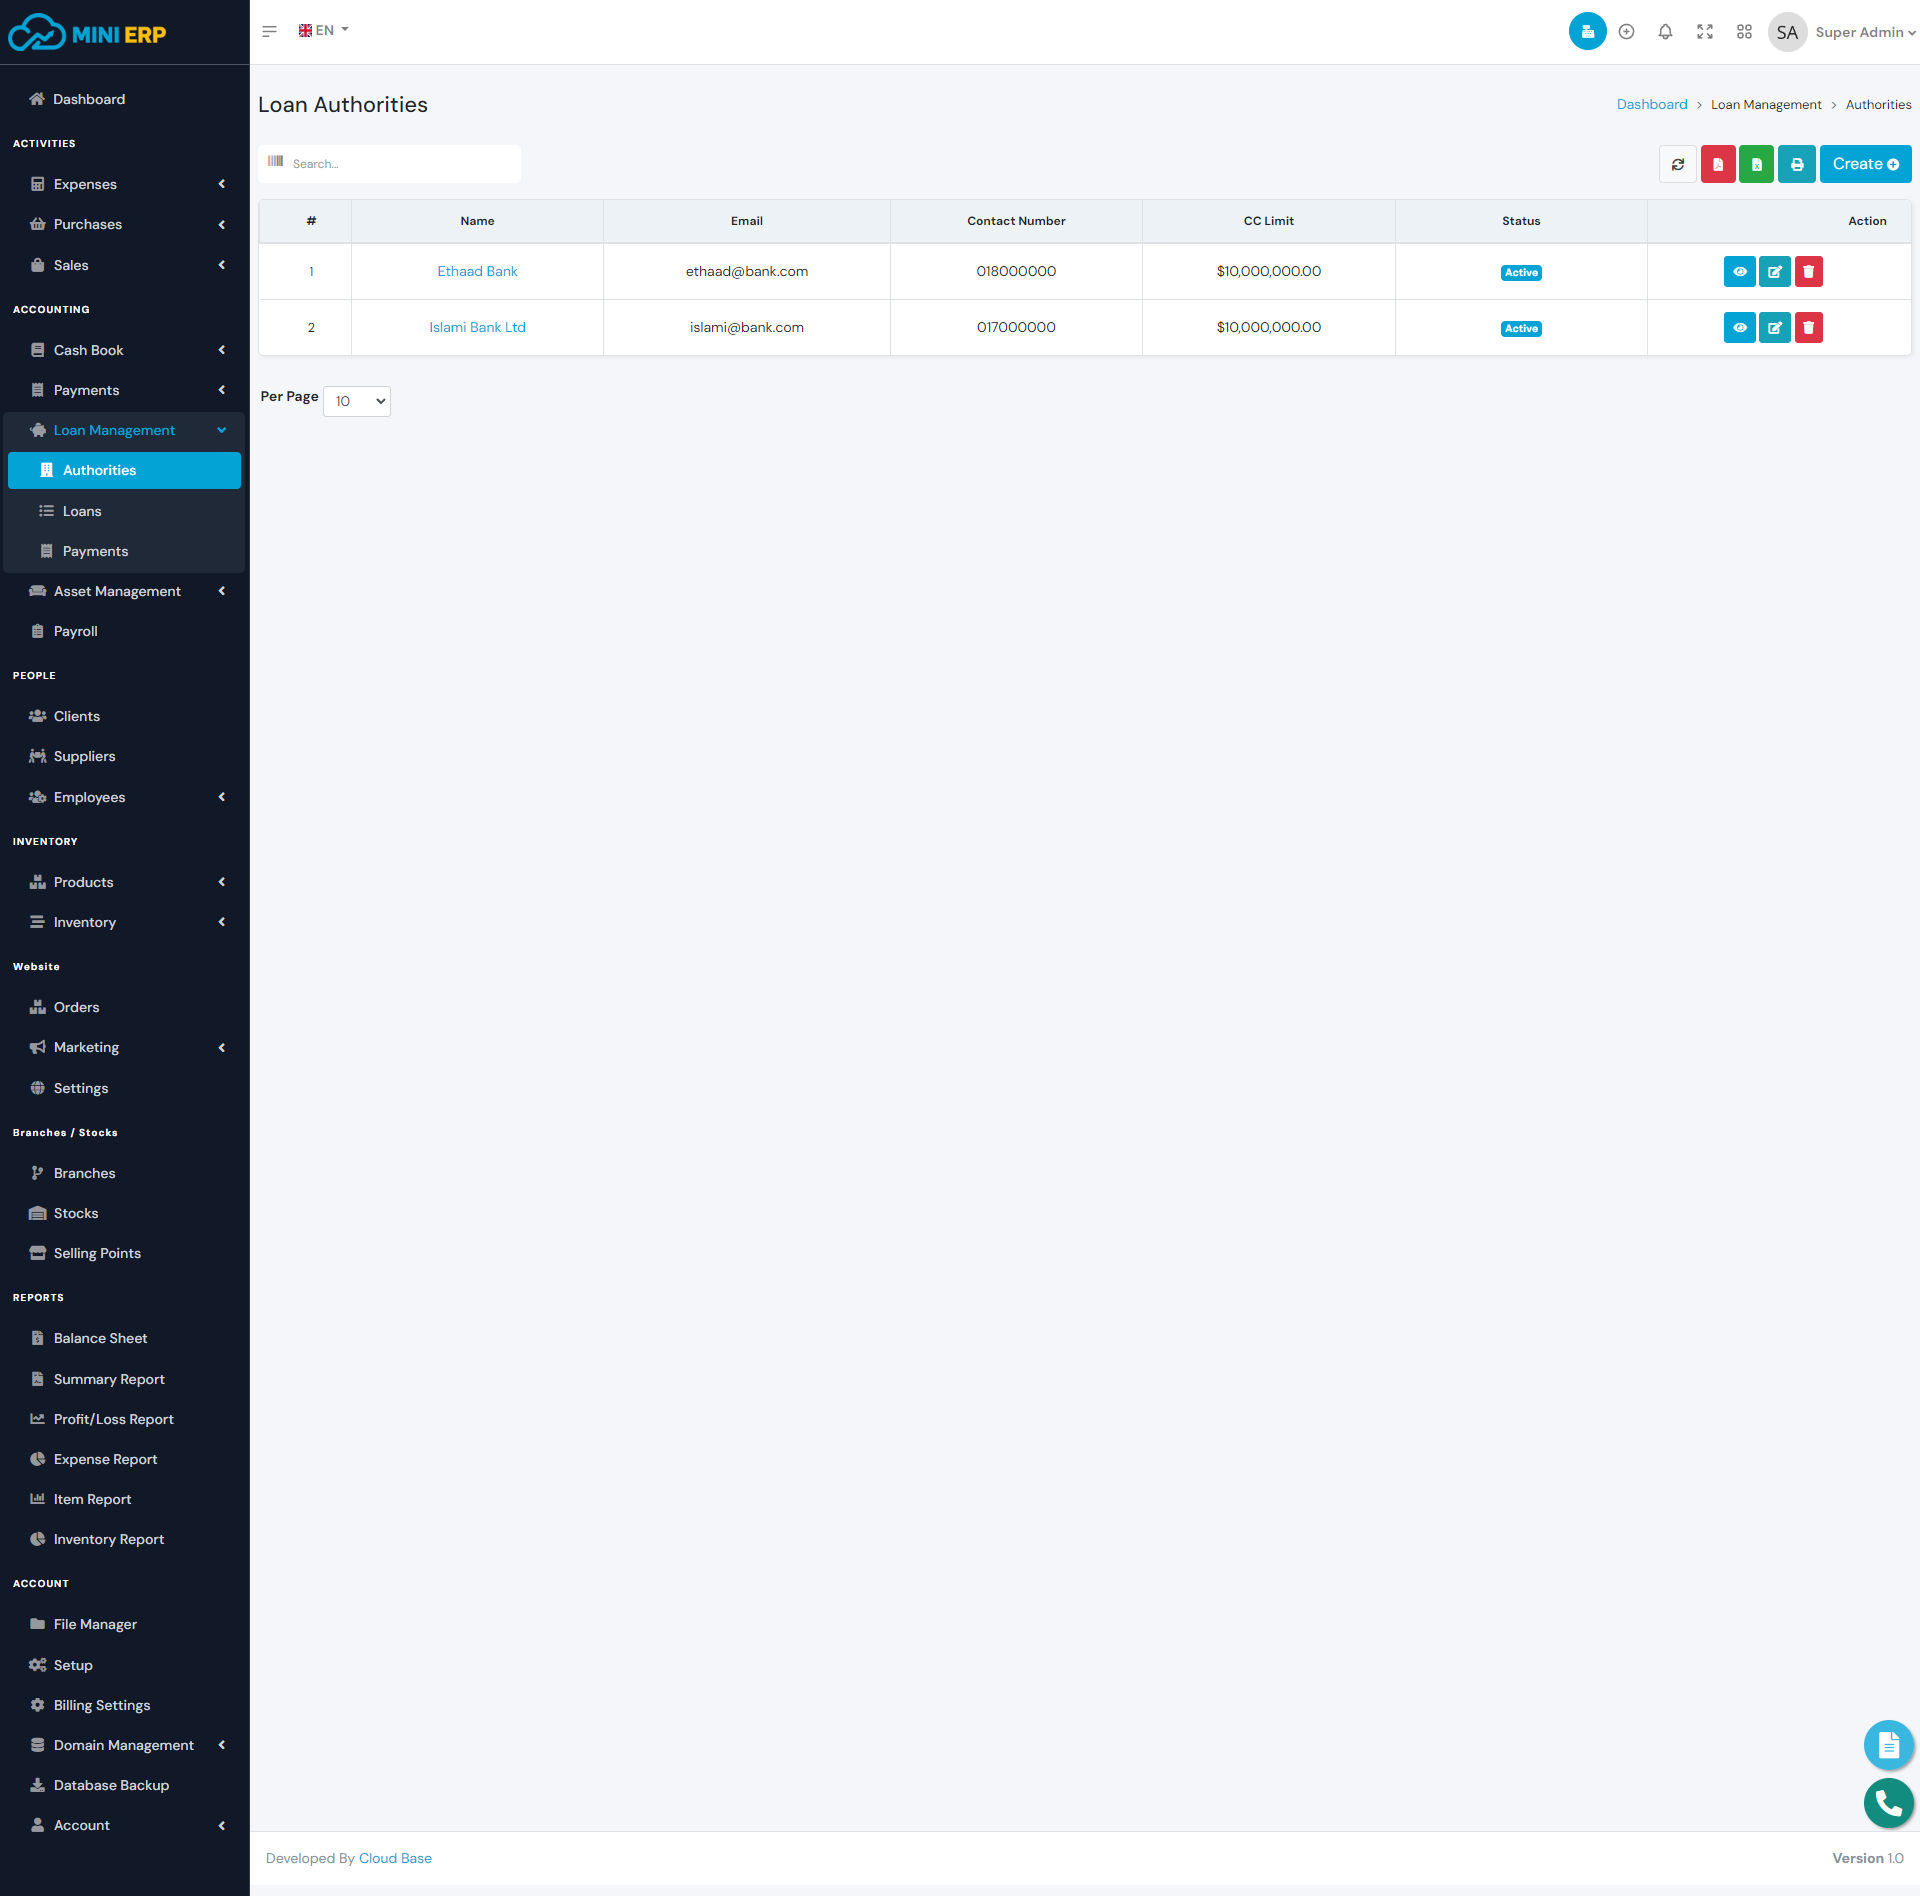
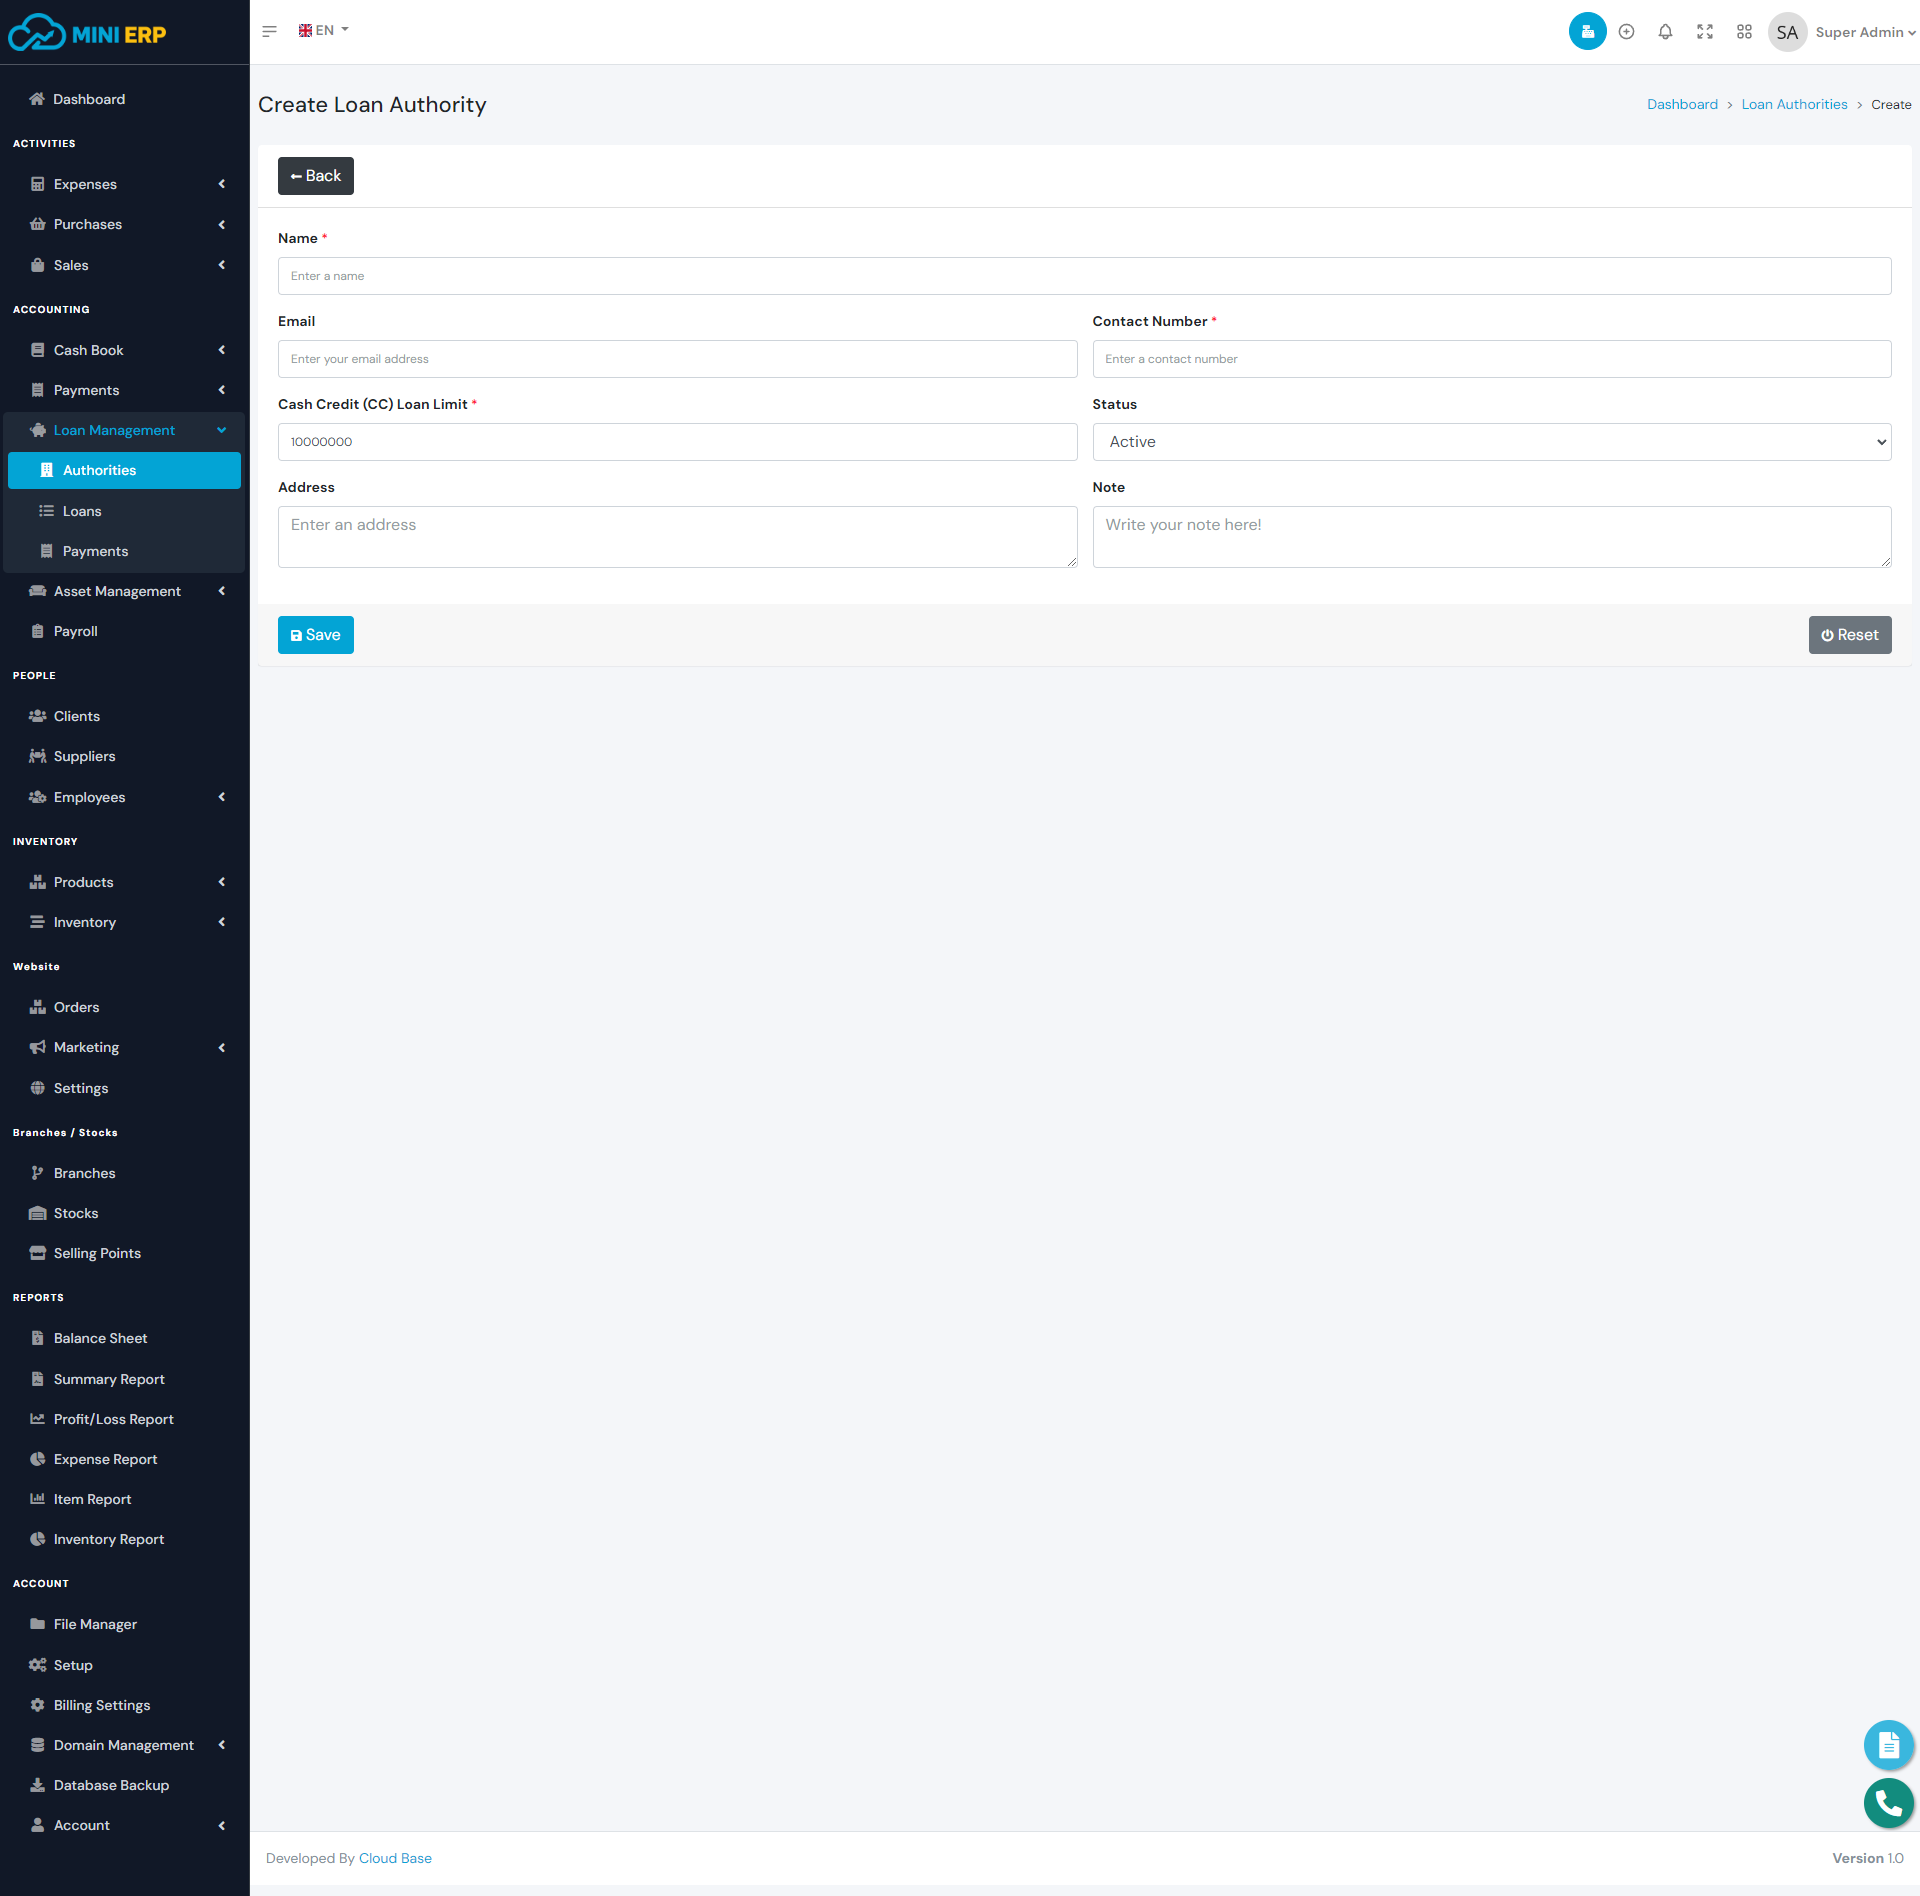
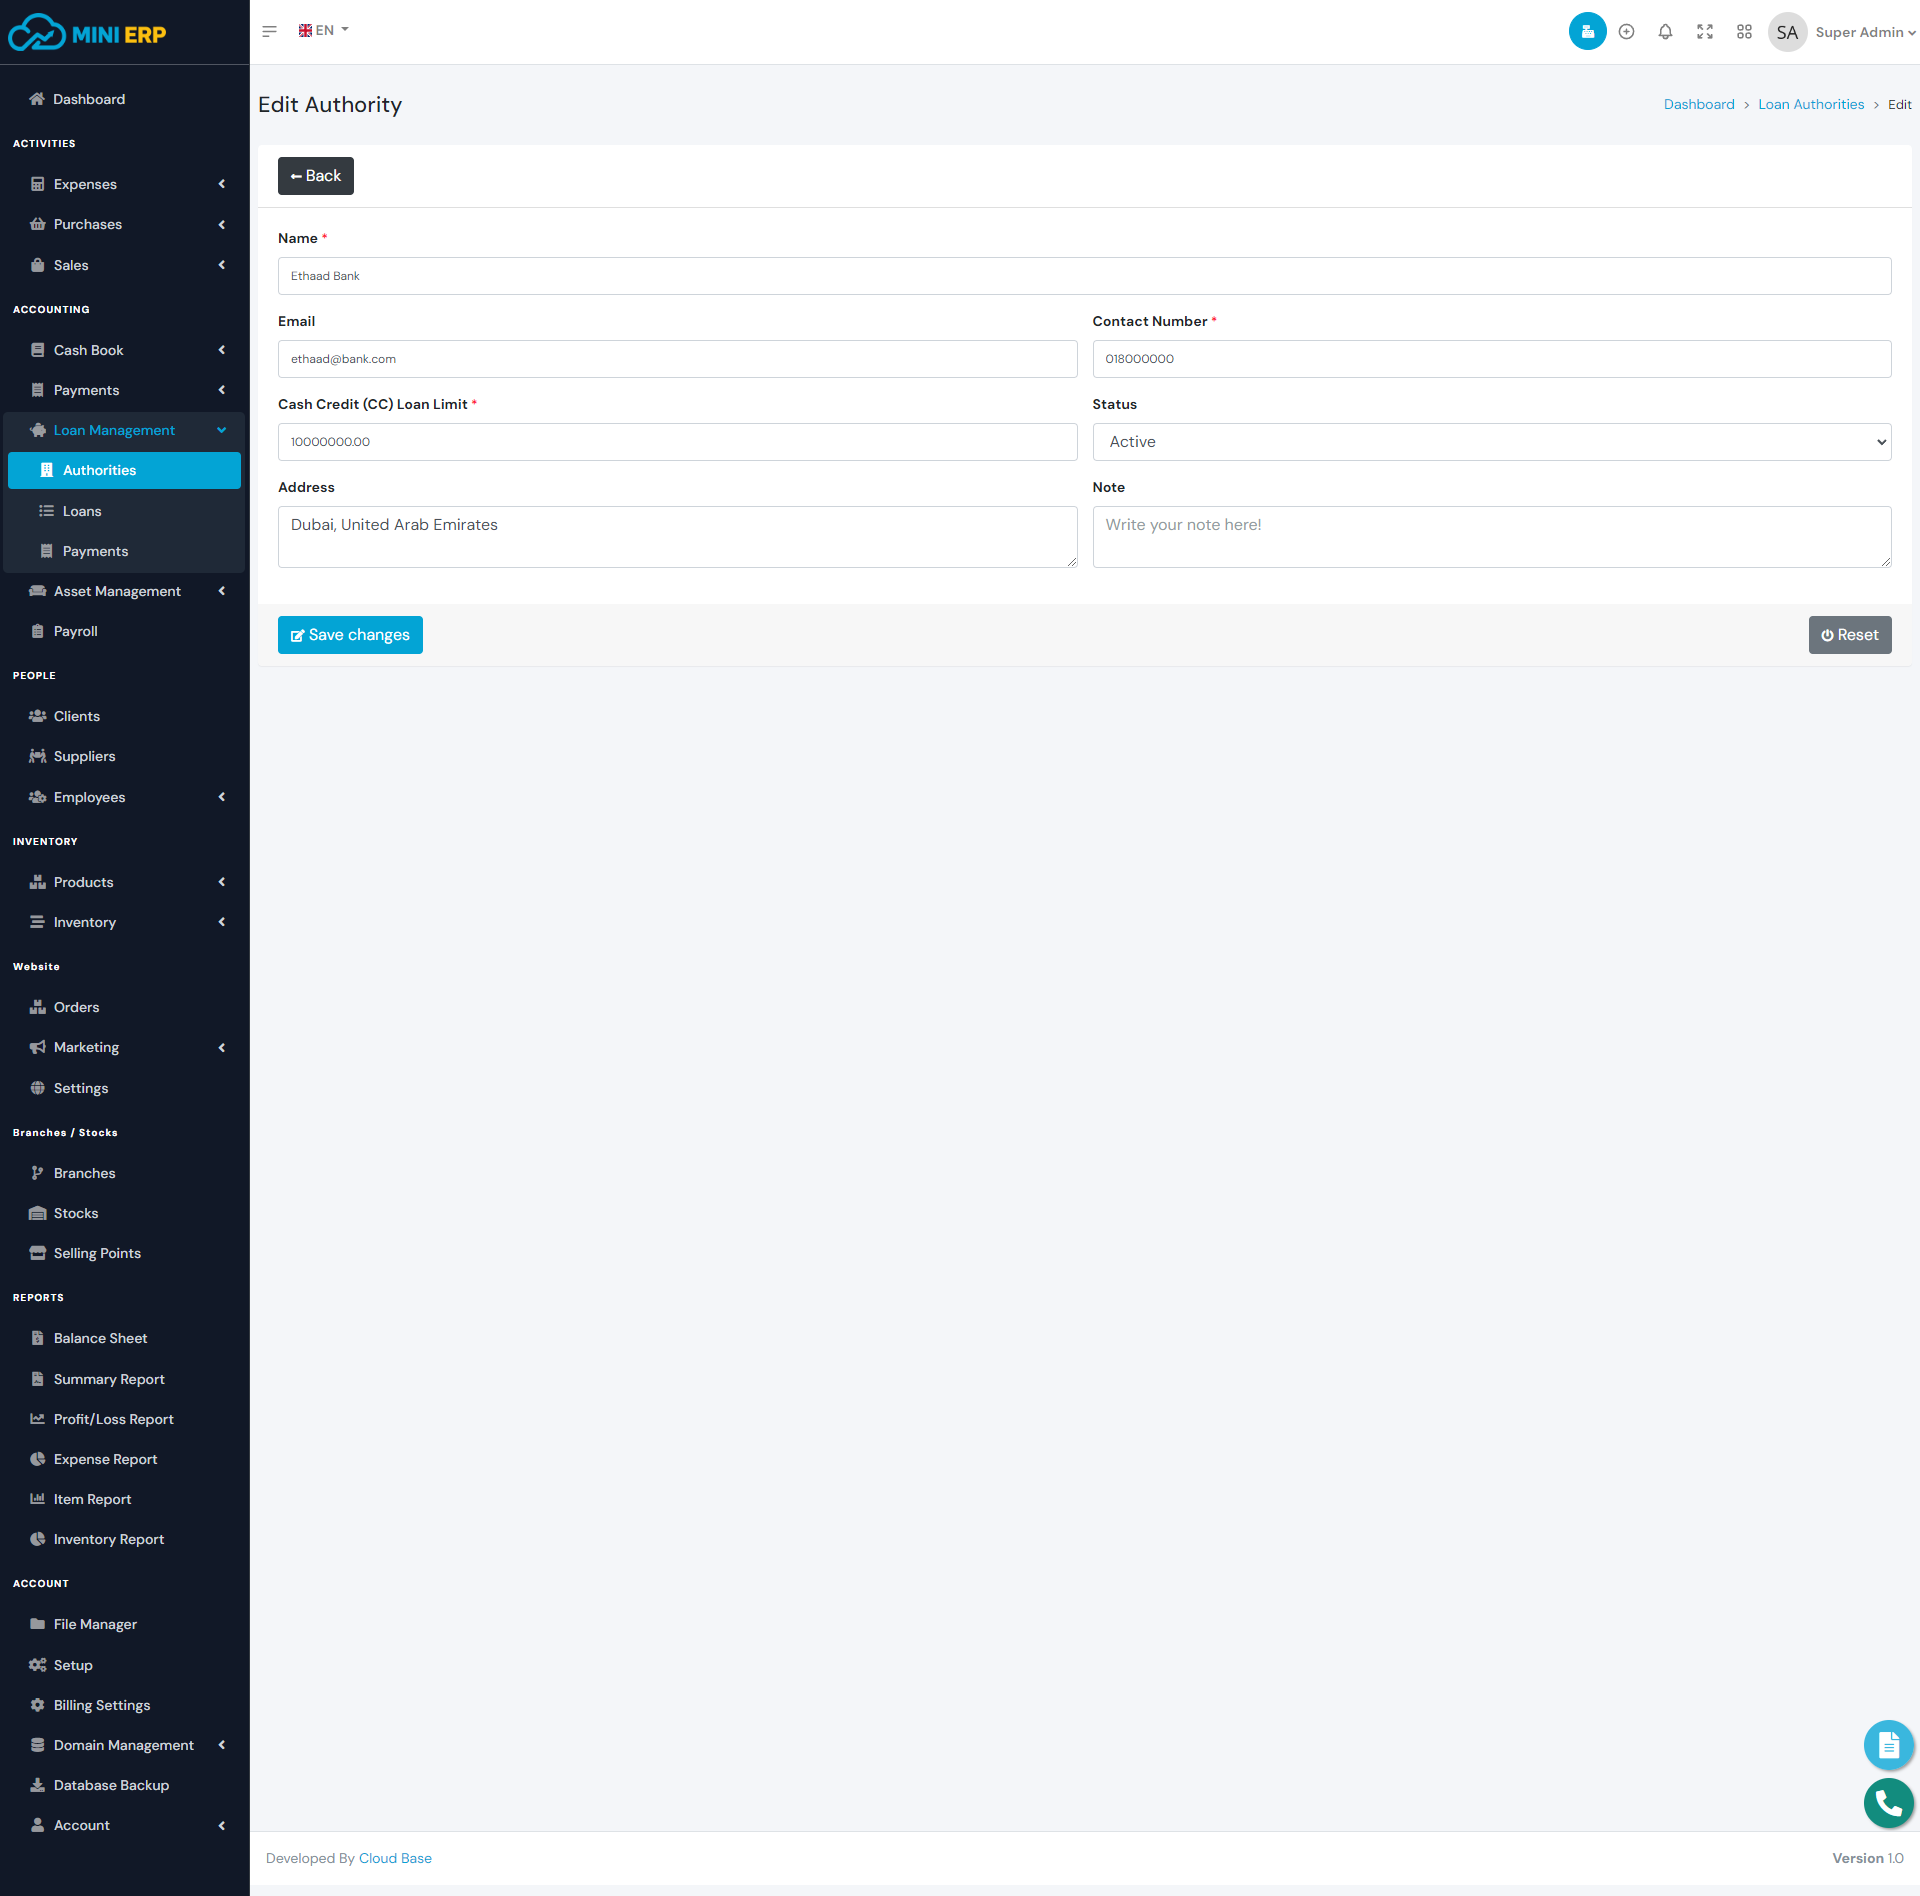
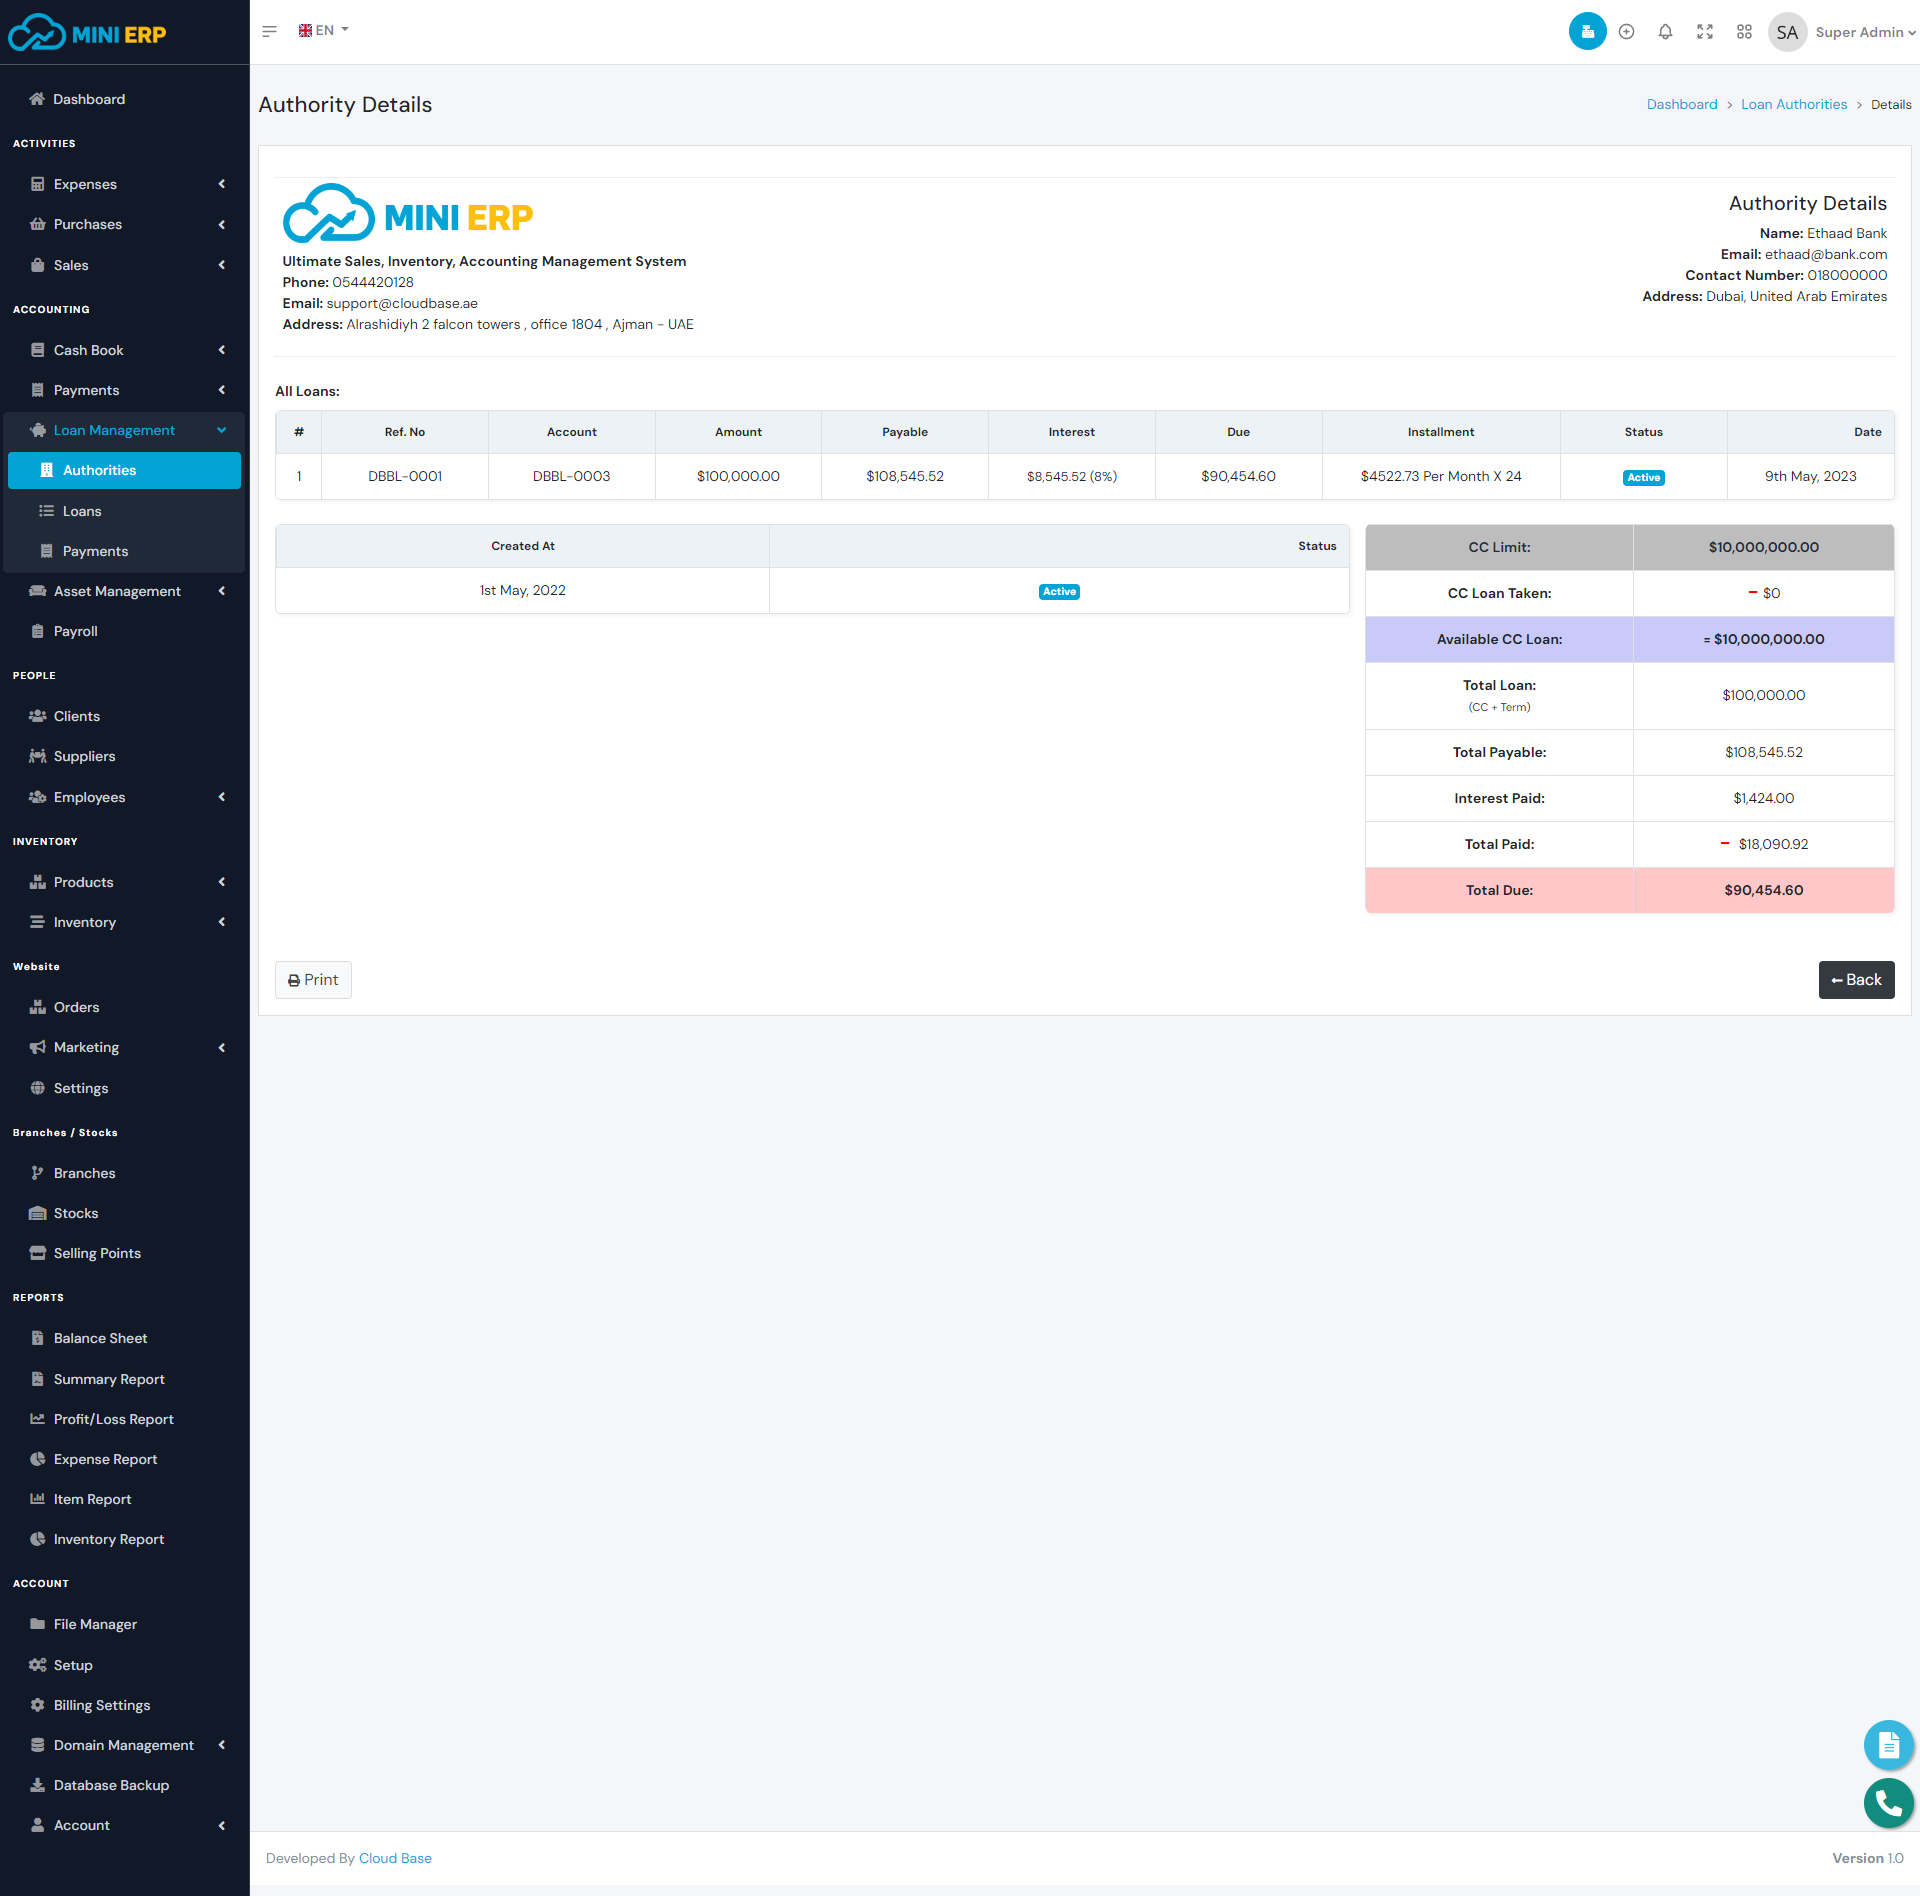
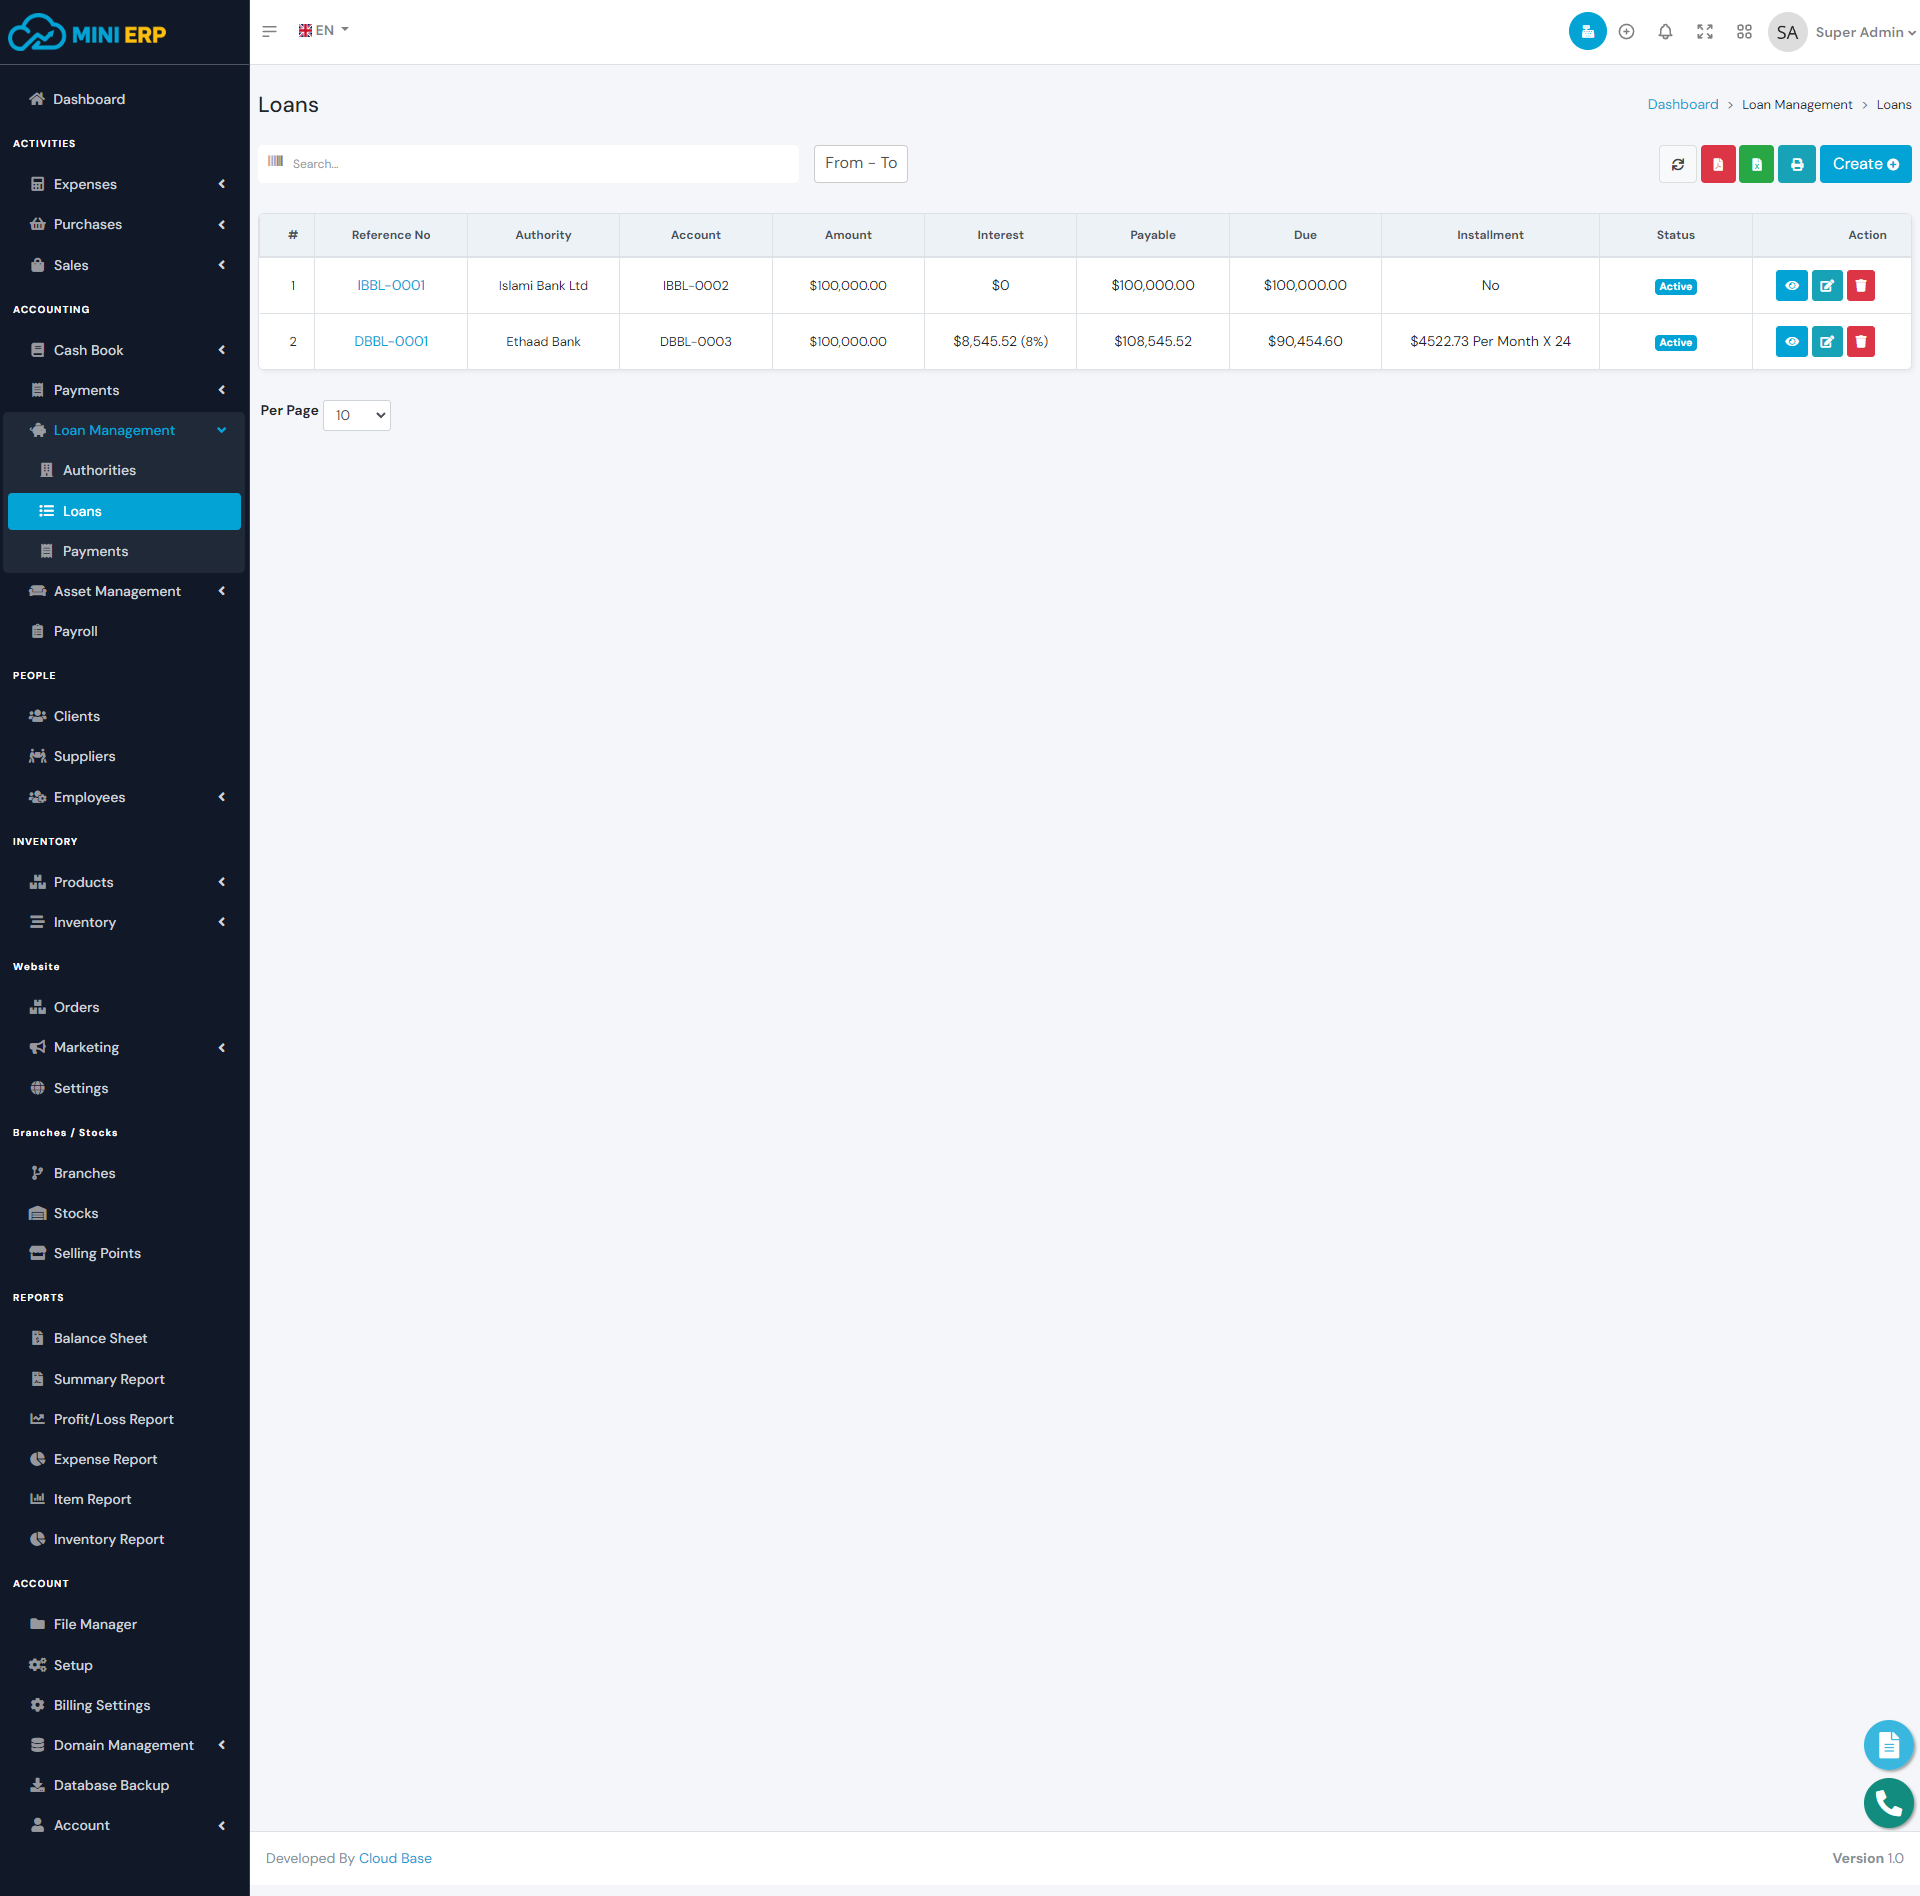
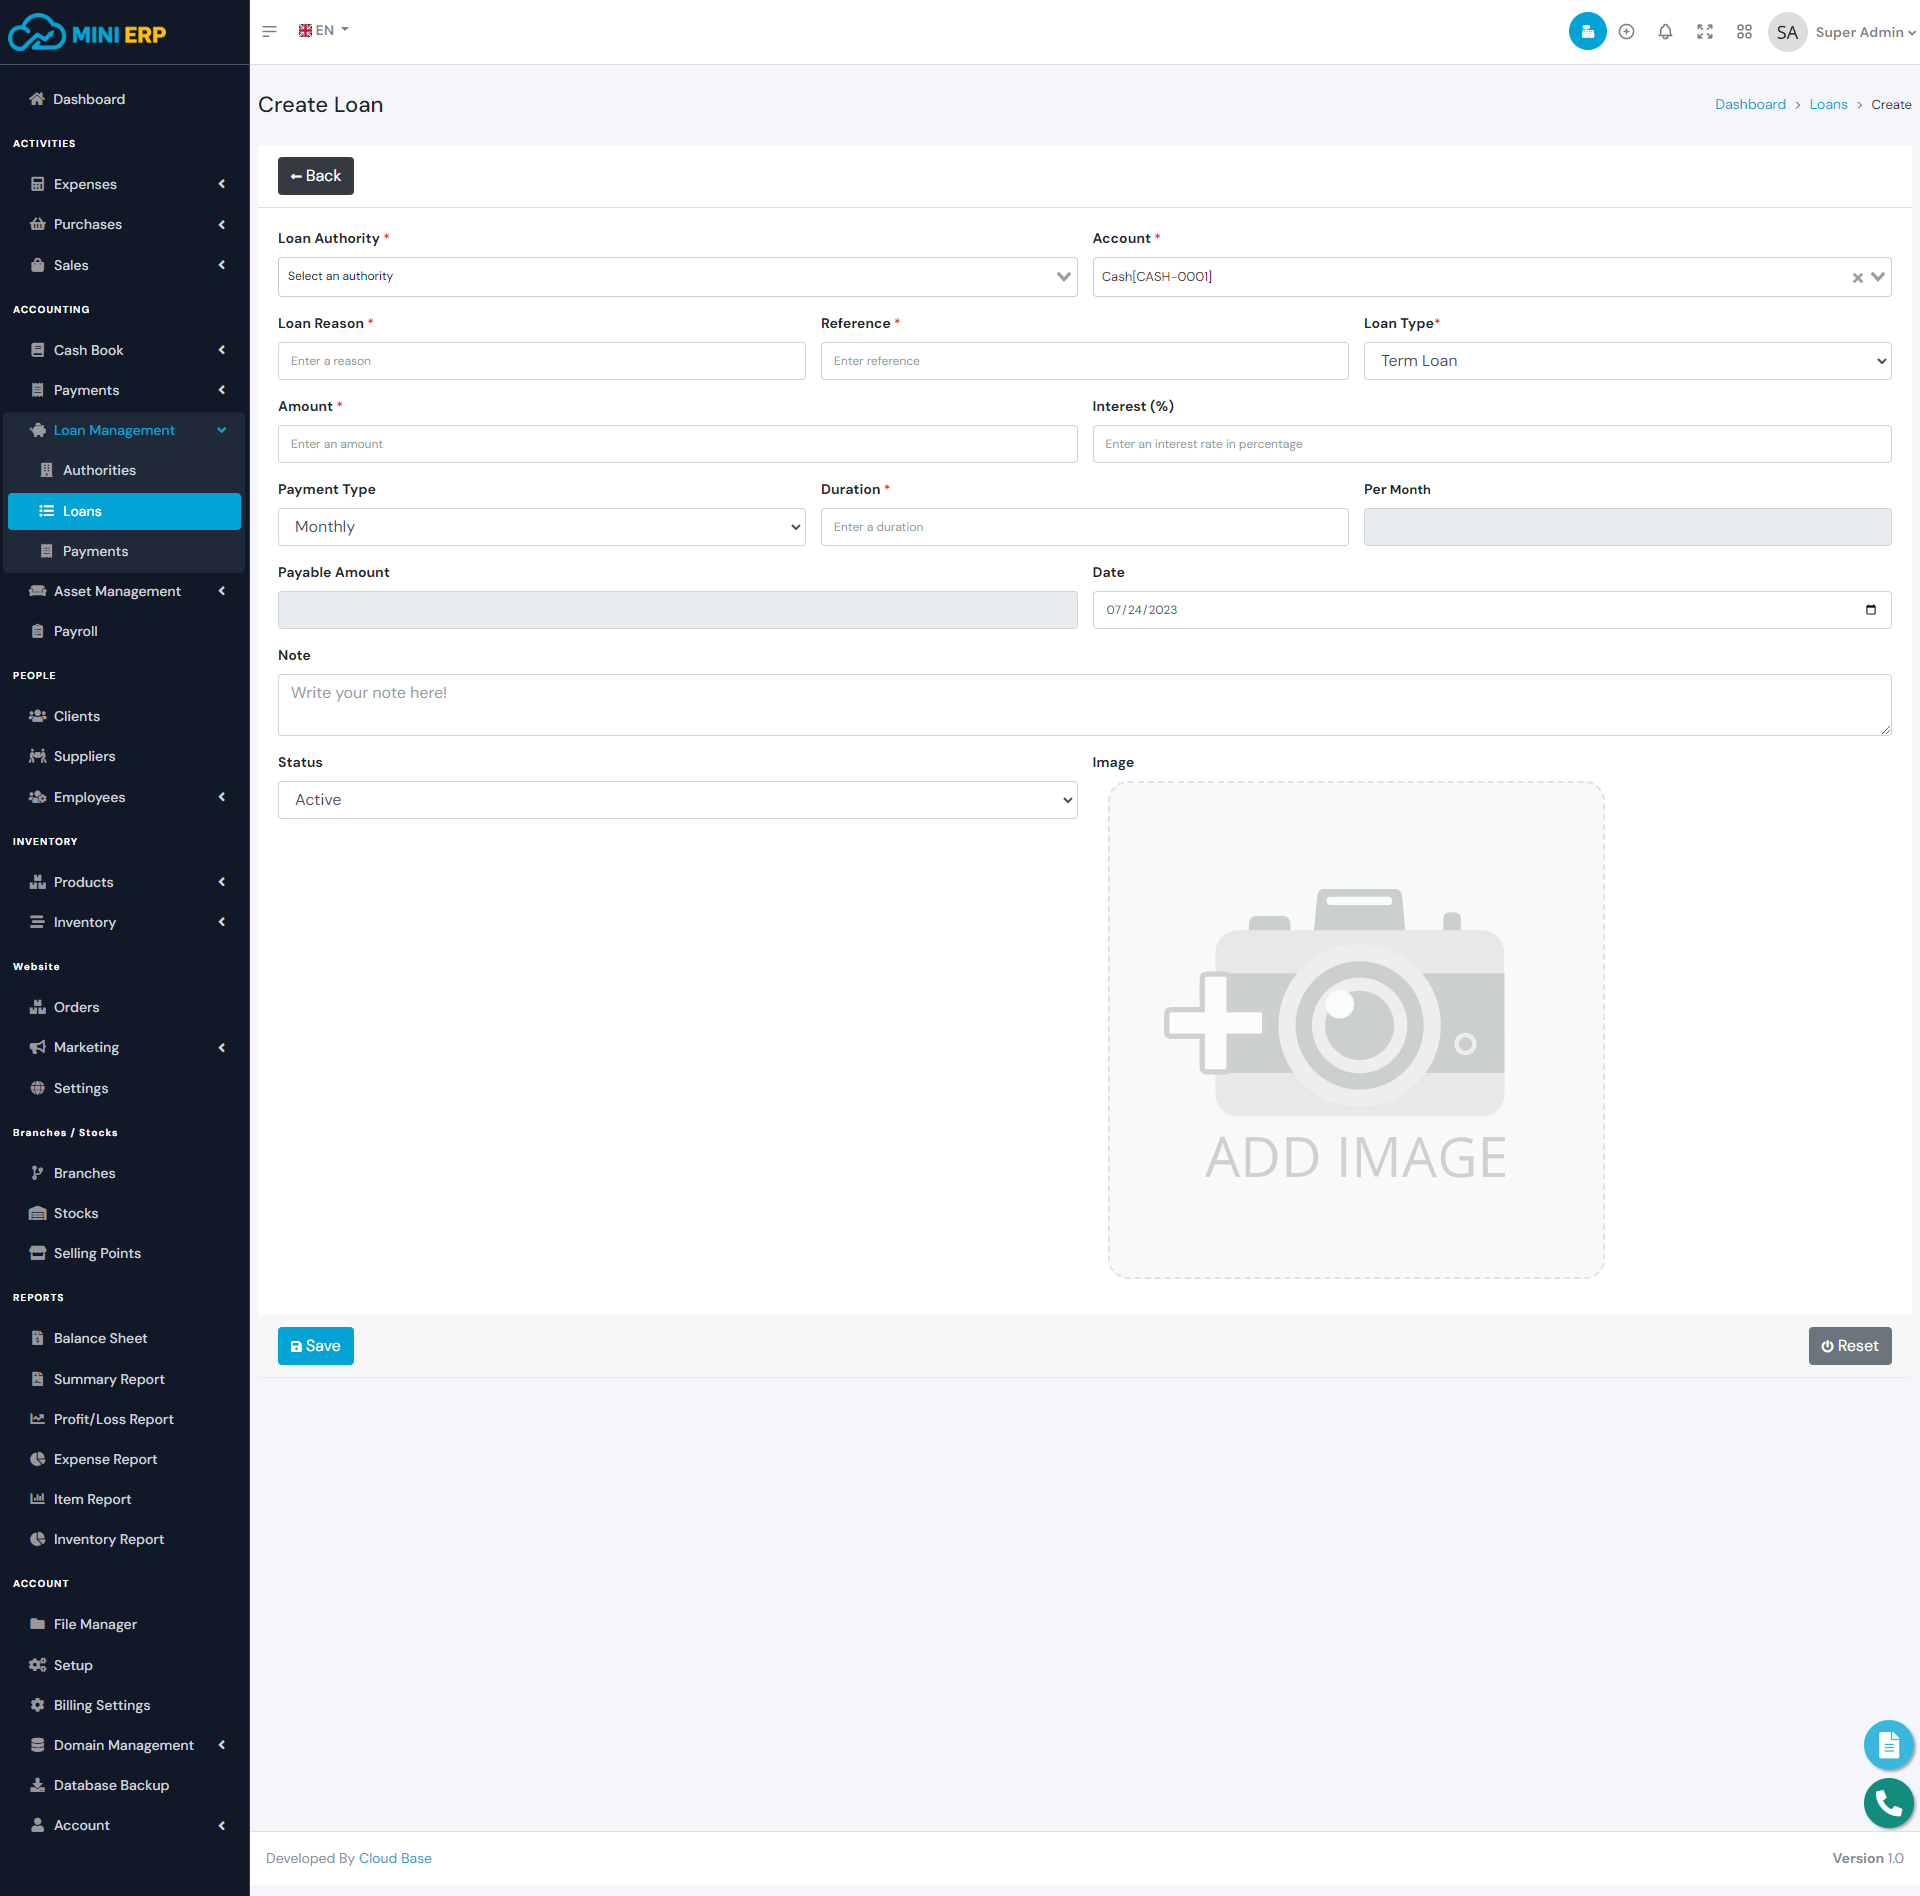
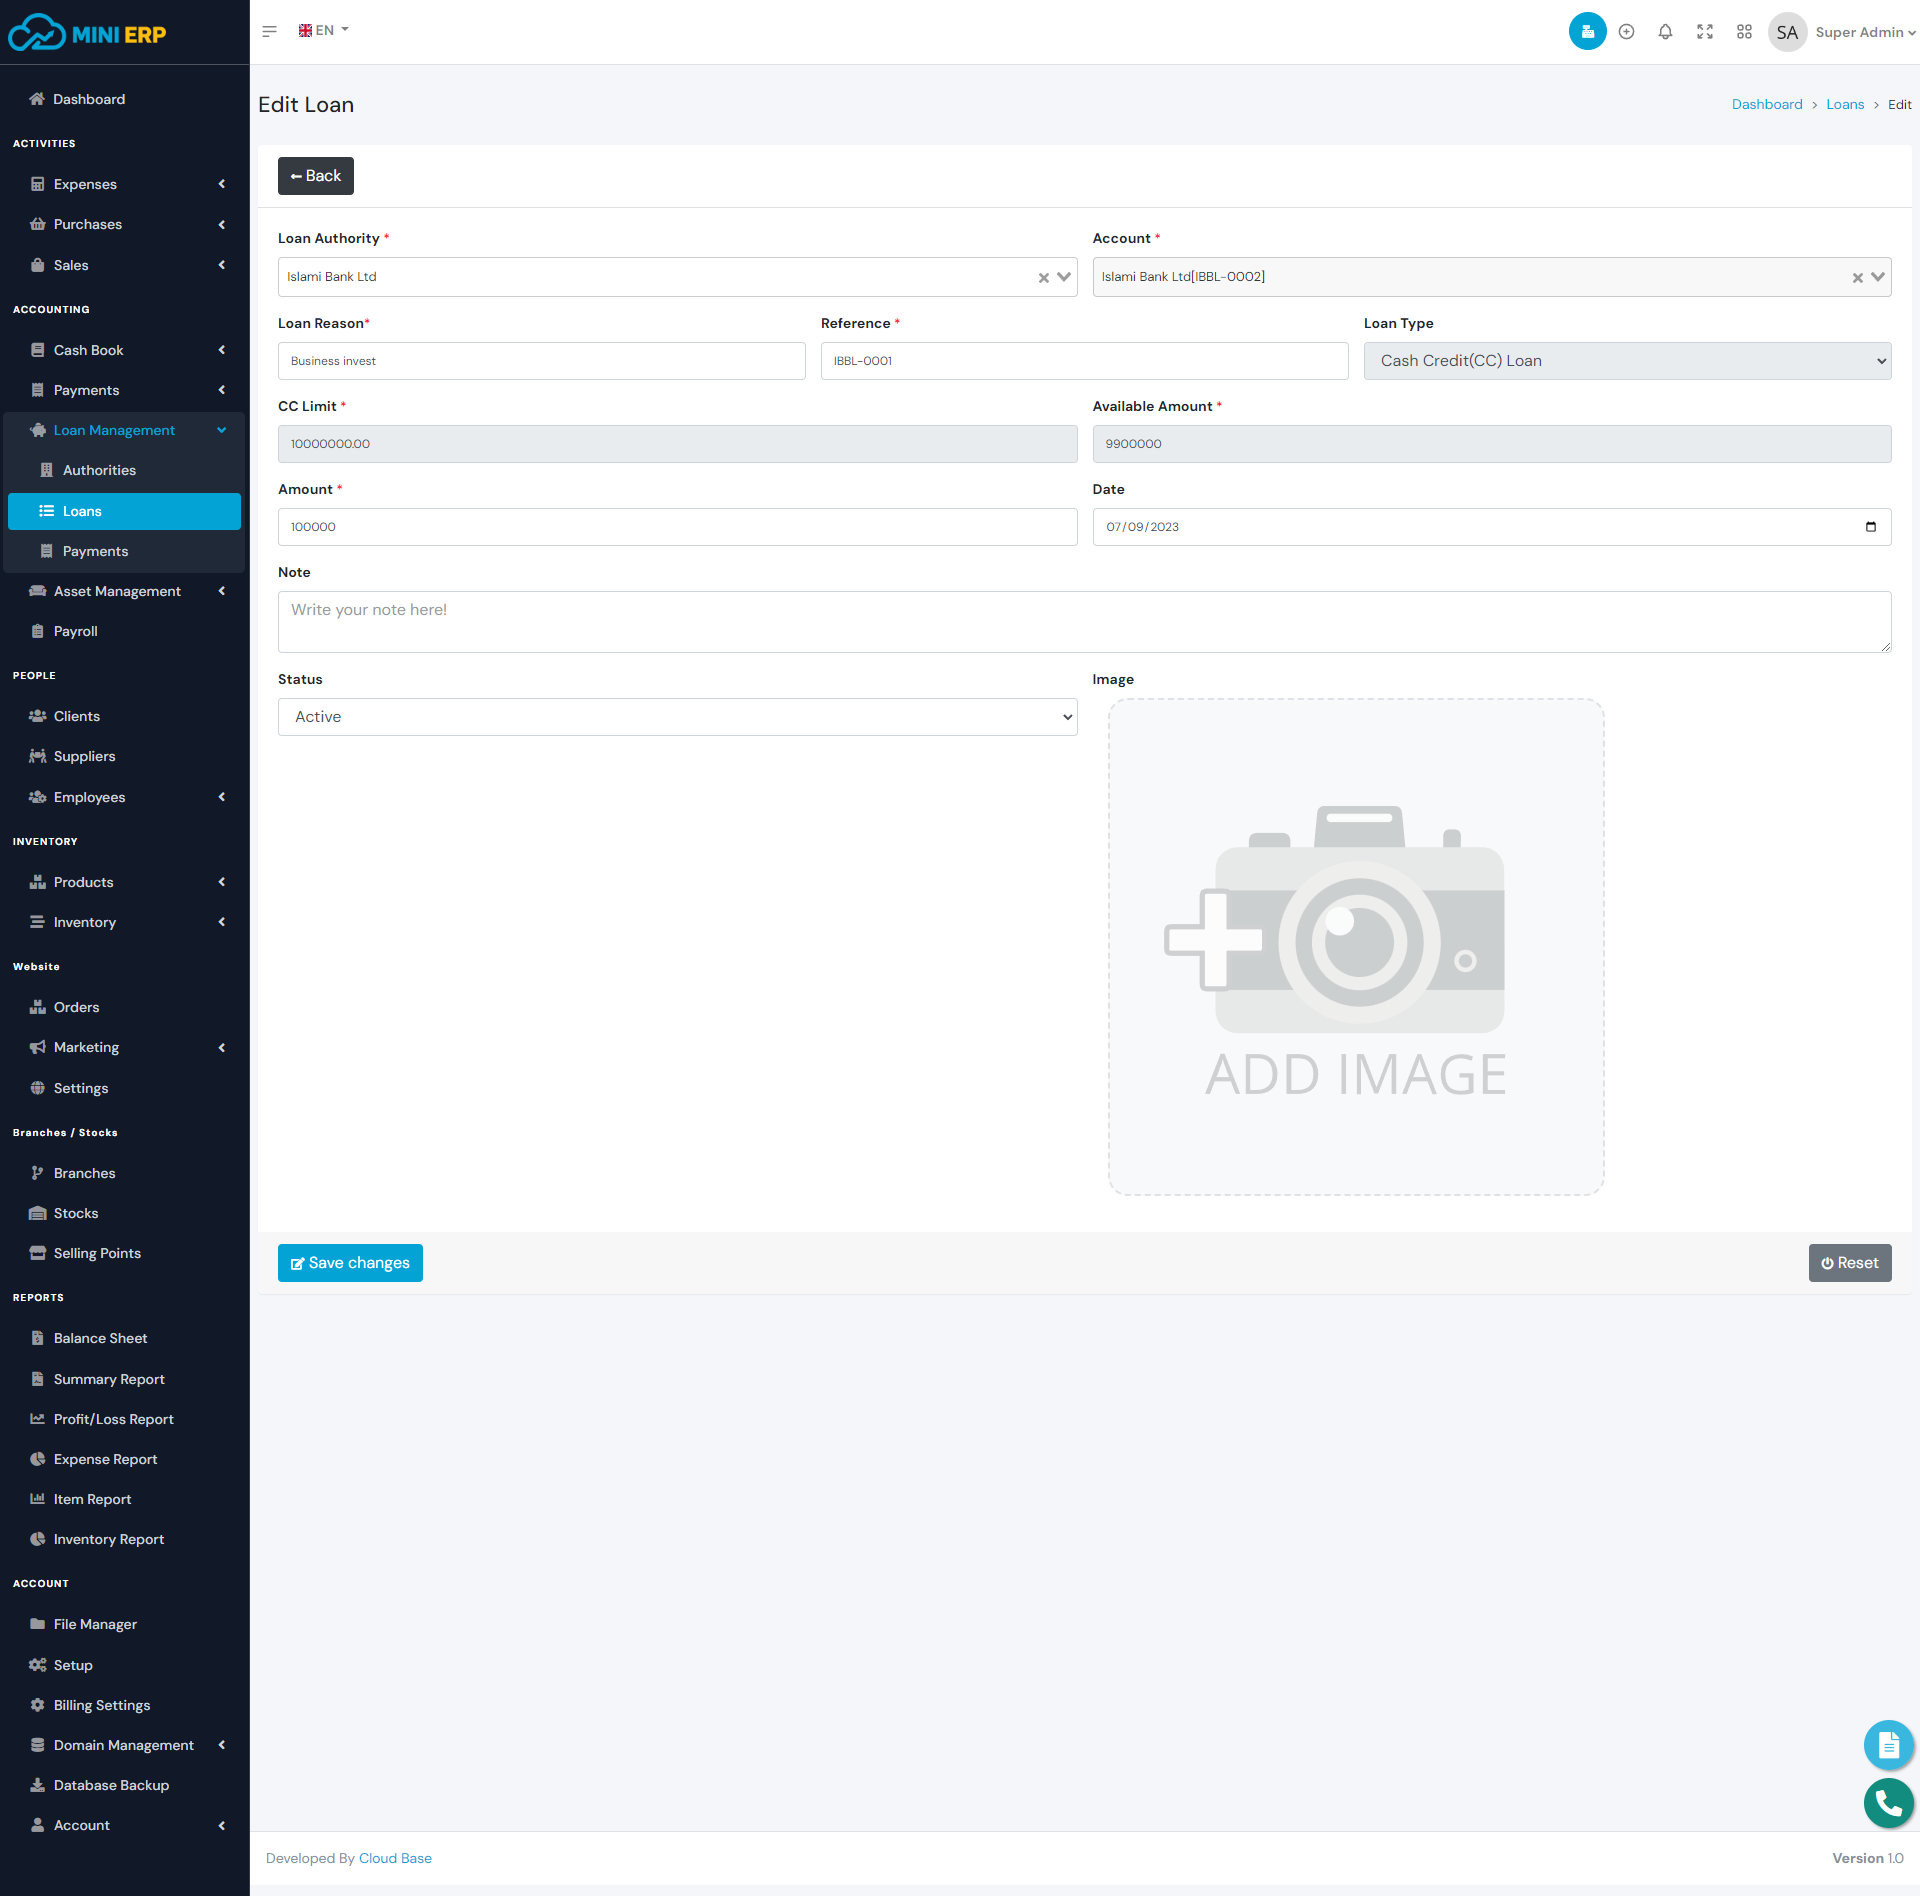
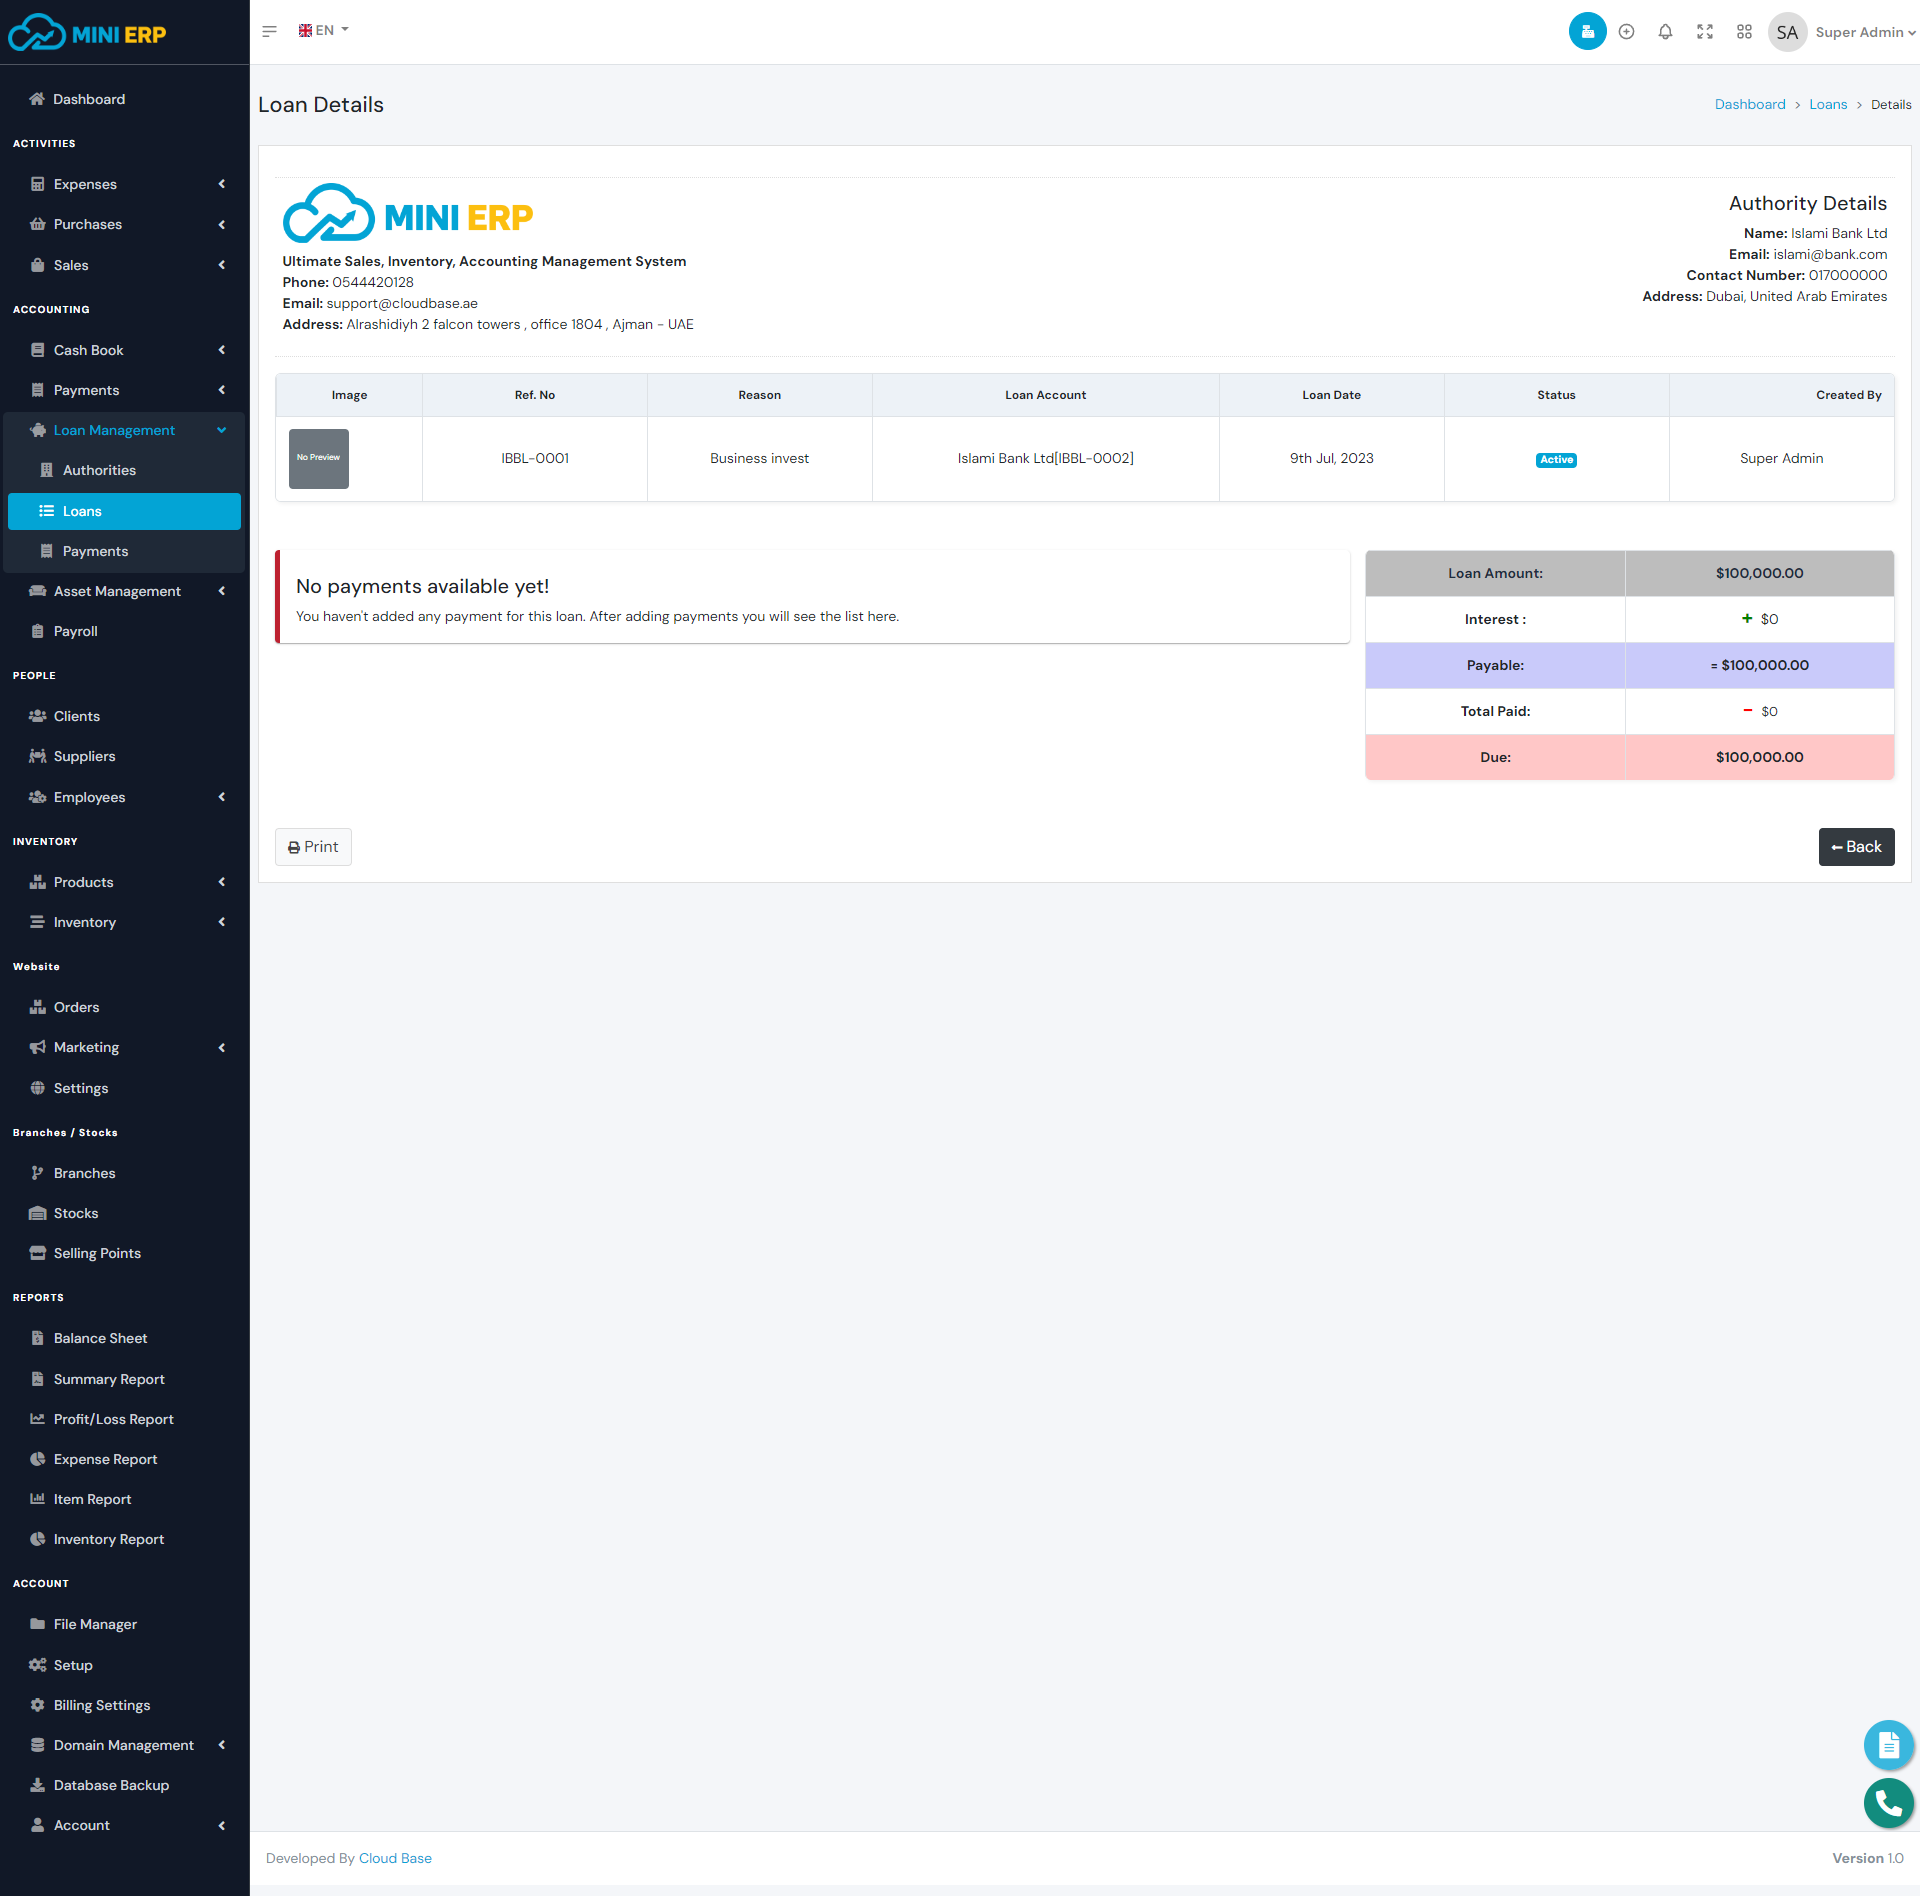
Loans module helps you to add loans to your account. Using this module you can manage your bank loan calculations and keep track of the loan payments. After adding a loan the loan amount will be added to the selected account. Mini ERP will allow you to create 2 types of loans and these are CC loans and Term loans. For a CC loan, you will pay the interest manually while paying the loan payment. For the term loan, the monthly payment rate and interest will be calculated automatically. You must create at least loan authority first in order to create any loan.
| Required fields to create a loan |
|---|
| Loan Authority => Authority who is providing the loan.. Select a authority from the list. |
| Account => The receiving account. The loan amount will be added to the selected account. Select an account from the list. |
| Loan Reason => Reason for your loan. You can add any reason as plain text. |
| Reference => Reference for the loan. Please use a meaningful reference because you will need to use this reference later in the loan payments module to select the loan. |
| Amount => Loan amount. The amount will be added to the selected account. |
| Loan Type => Type of the loan. There are 2 types of loans available in the sytem. If you are willing to add a term loan then select term loan otherwise select CC loan. |
| Payment Type(If term loan is selected.) => Loan payment type. You can select daily, monthly or yearly payment type trom the select box. |
| Duration(If term loan is selected.) => Duration of the loan. Enter the duration based on payment type. For example, if your loan duration is 2 years and you are selecting payment type monthly then you need to enter 24 in the duration input field. |
Note: In order to delete any loan, you need to delete the loan payments first. Deleting any loan will delete the loan payments and the balance from the account. So we recommend you to use the delete option very carefully.
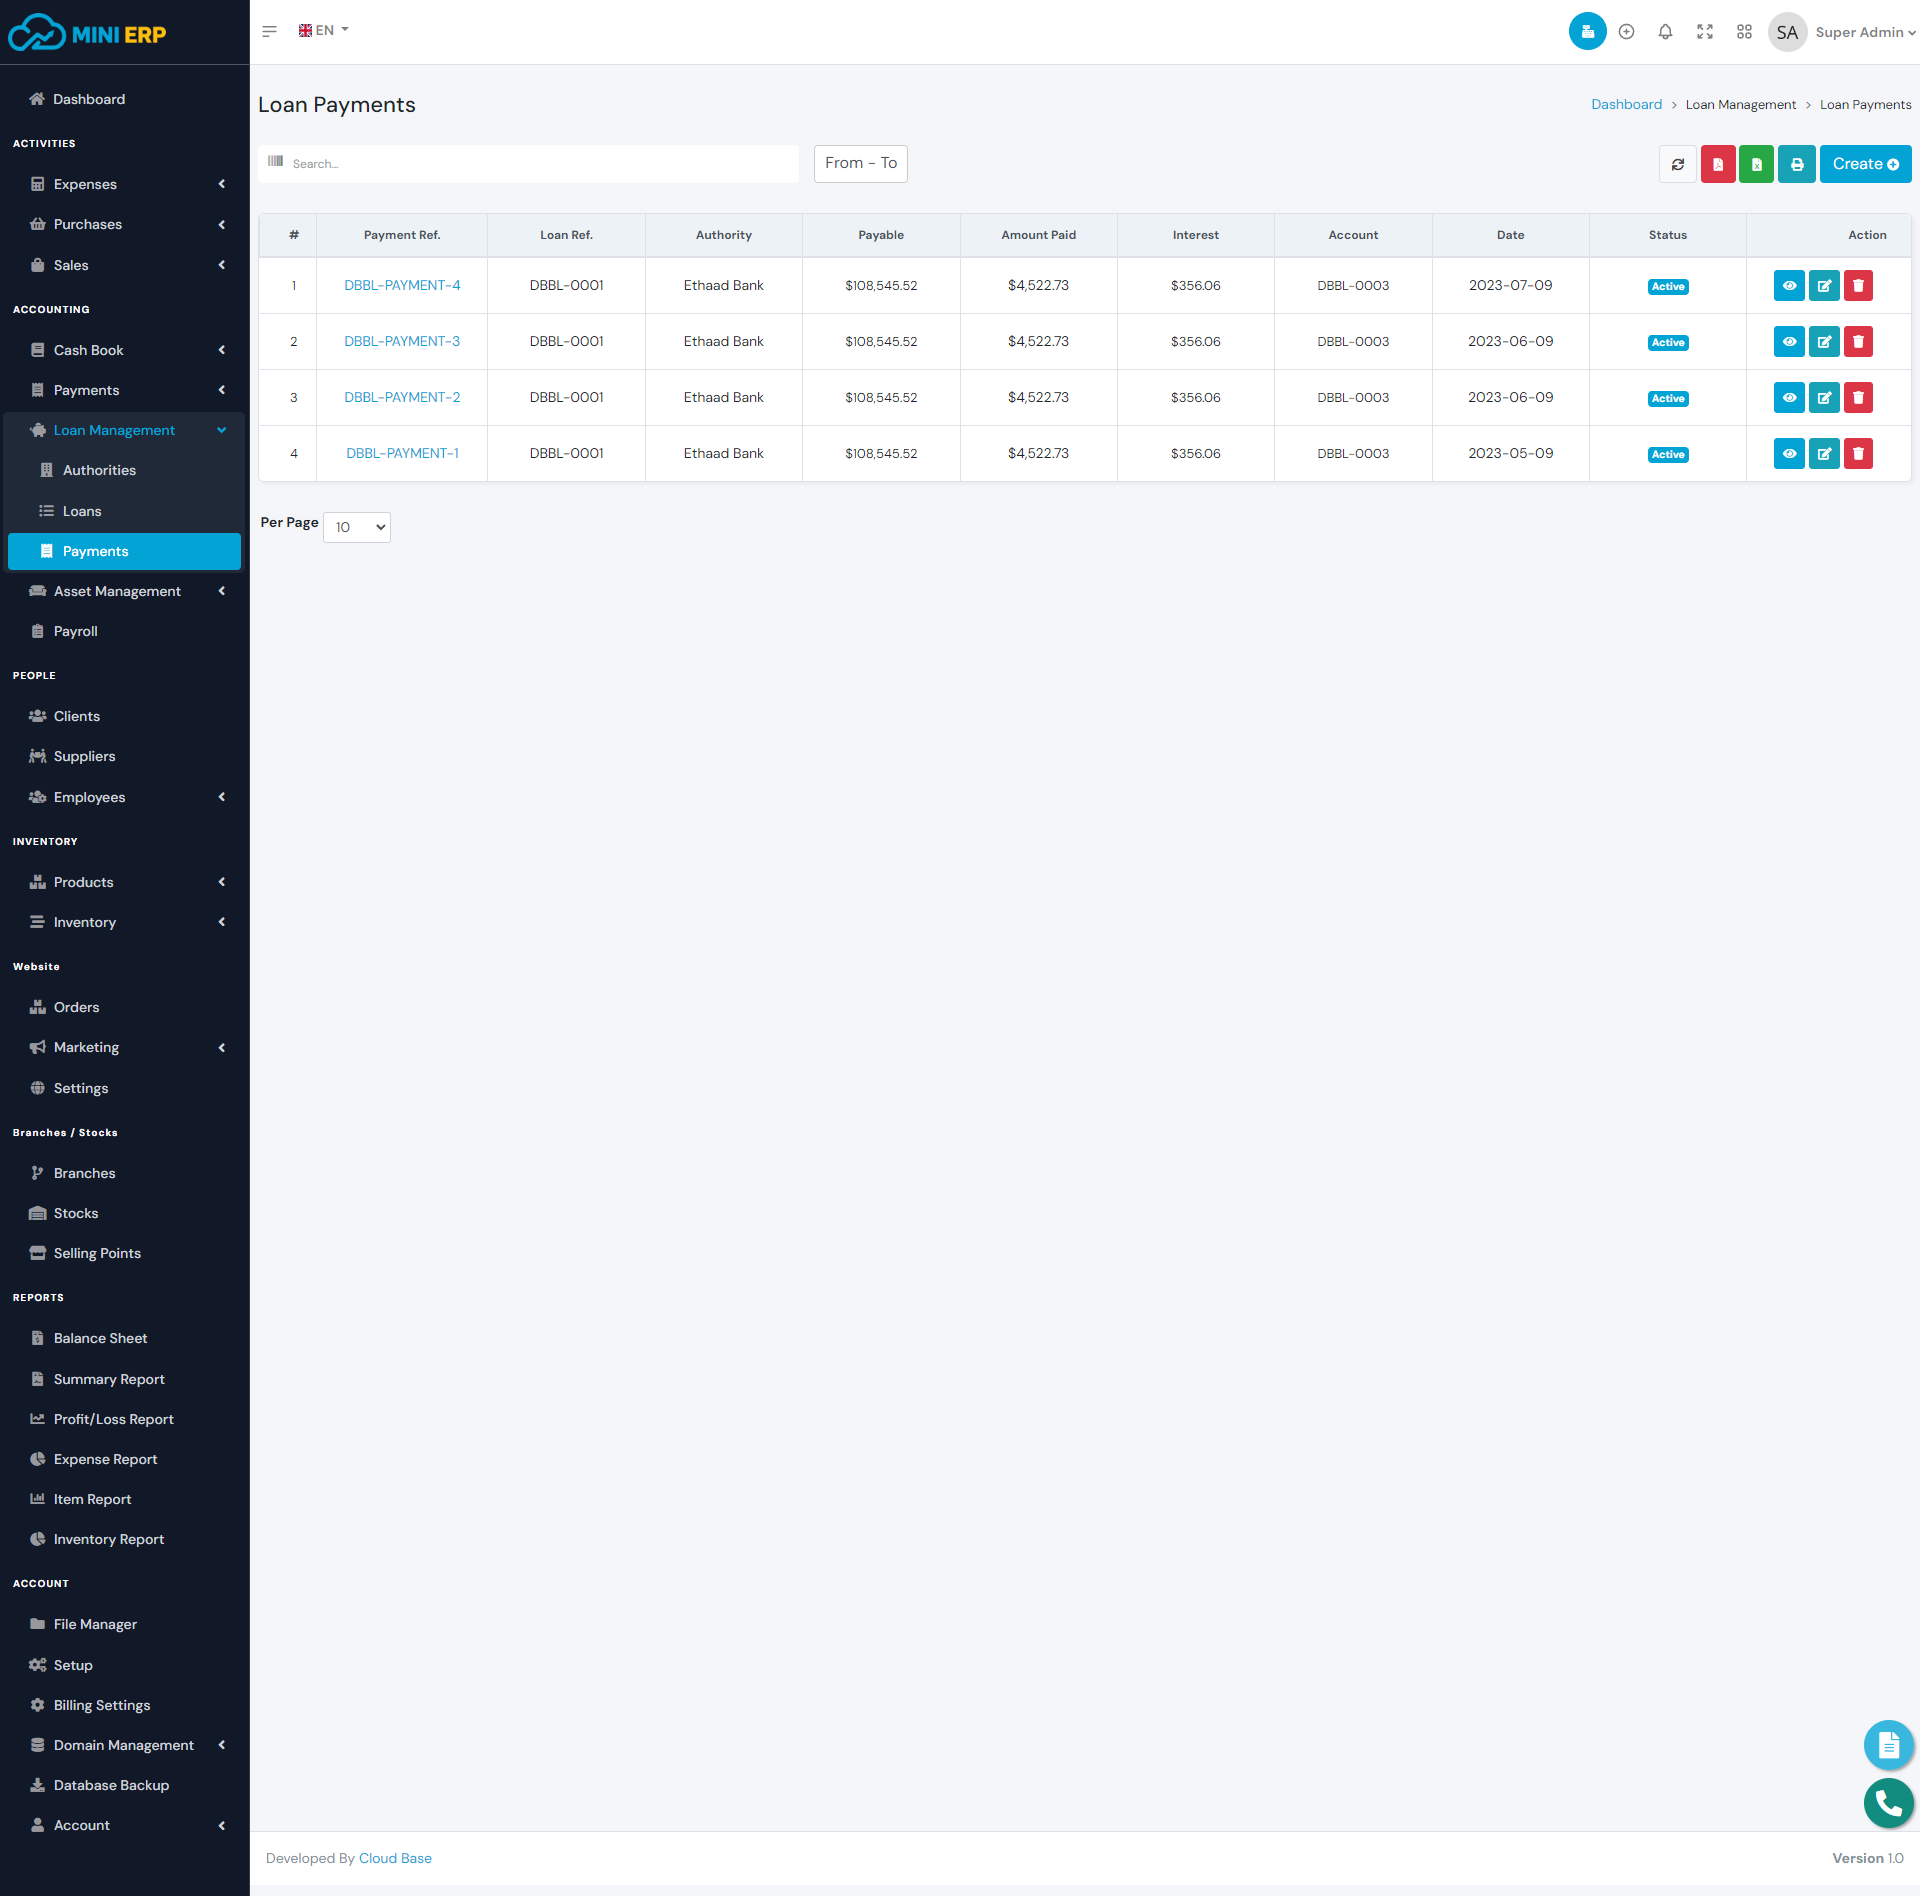
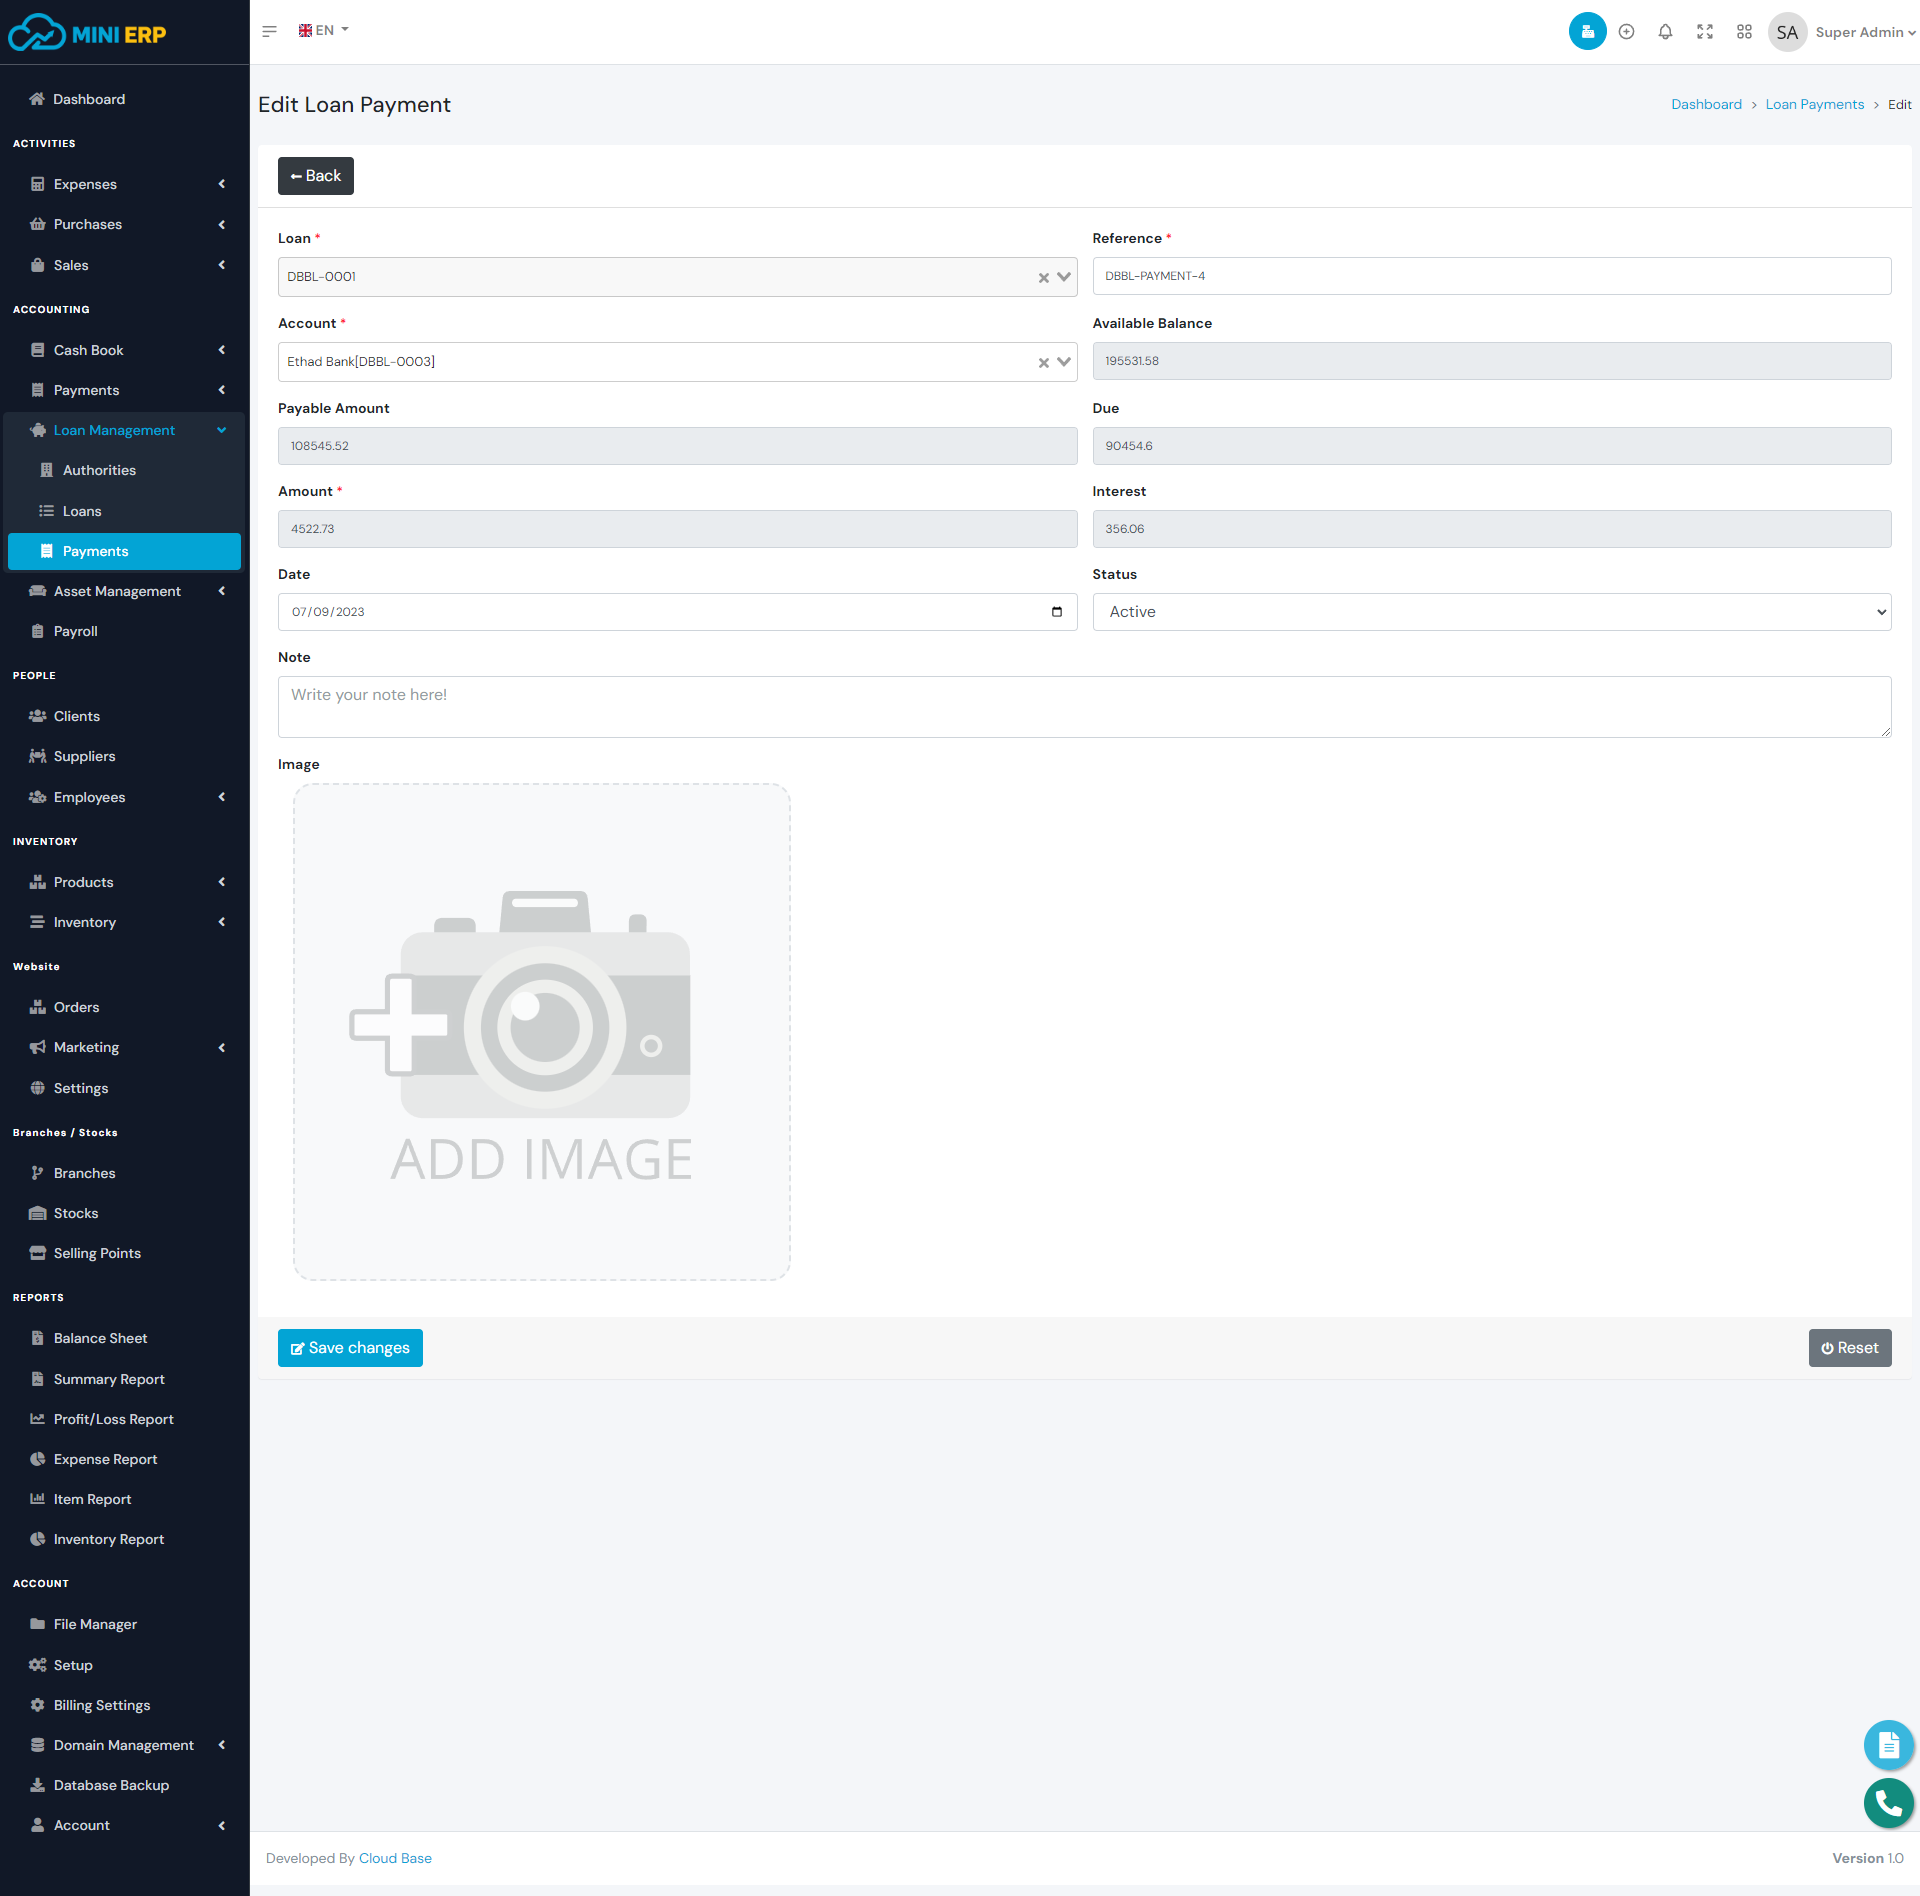
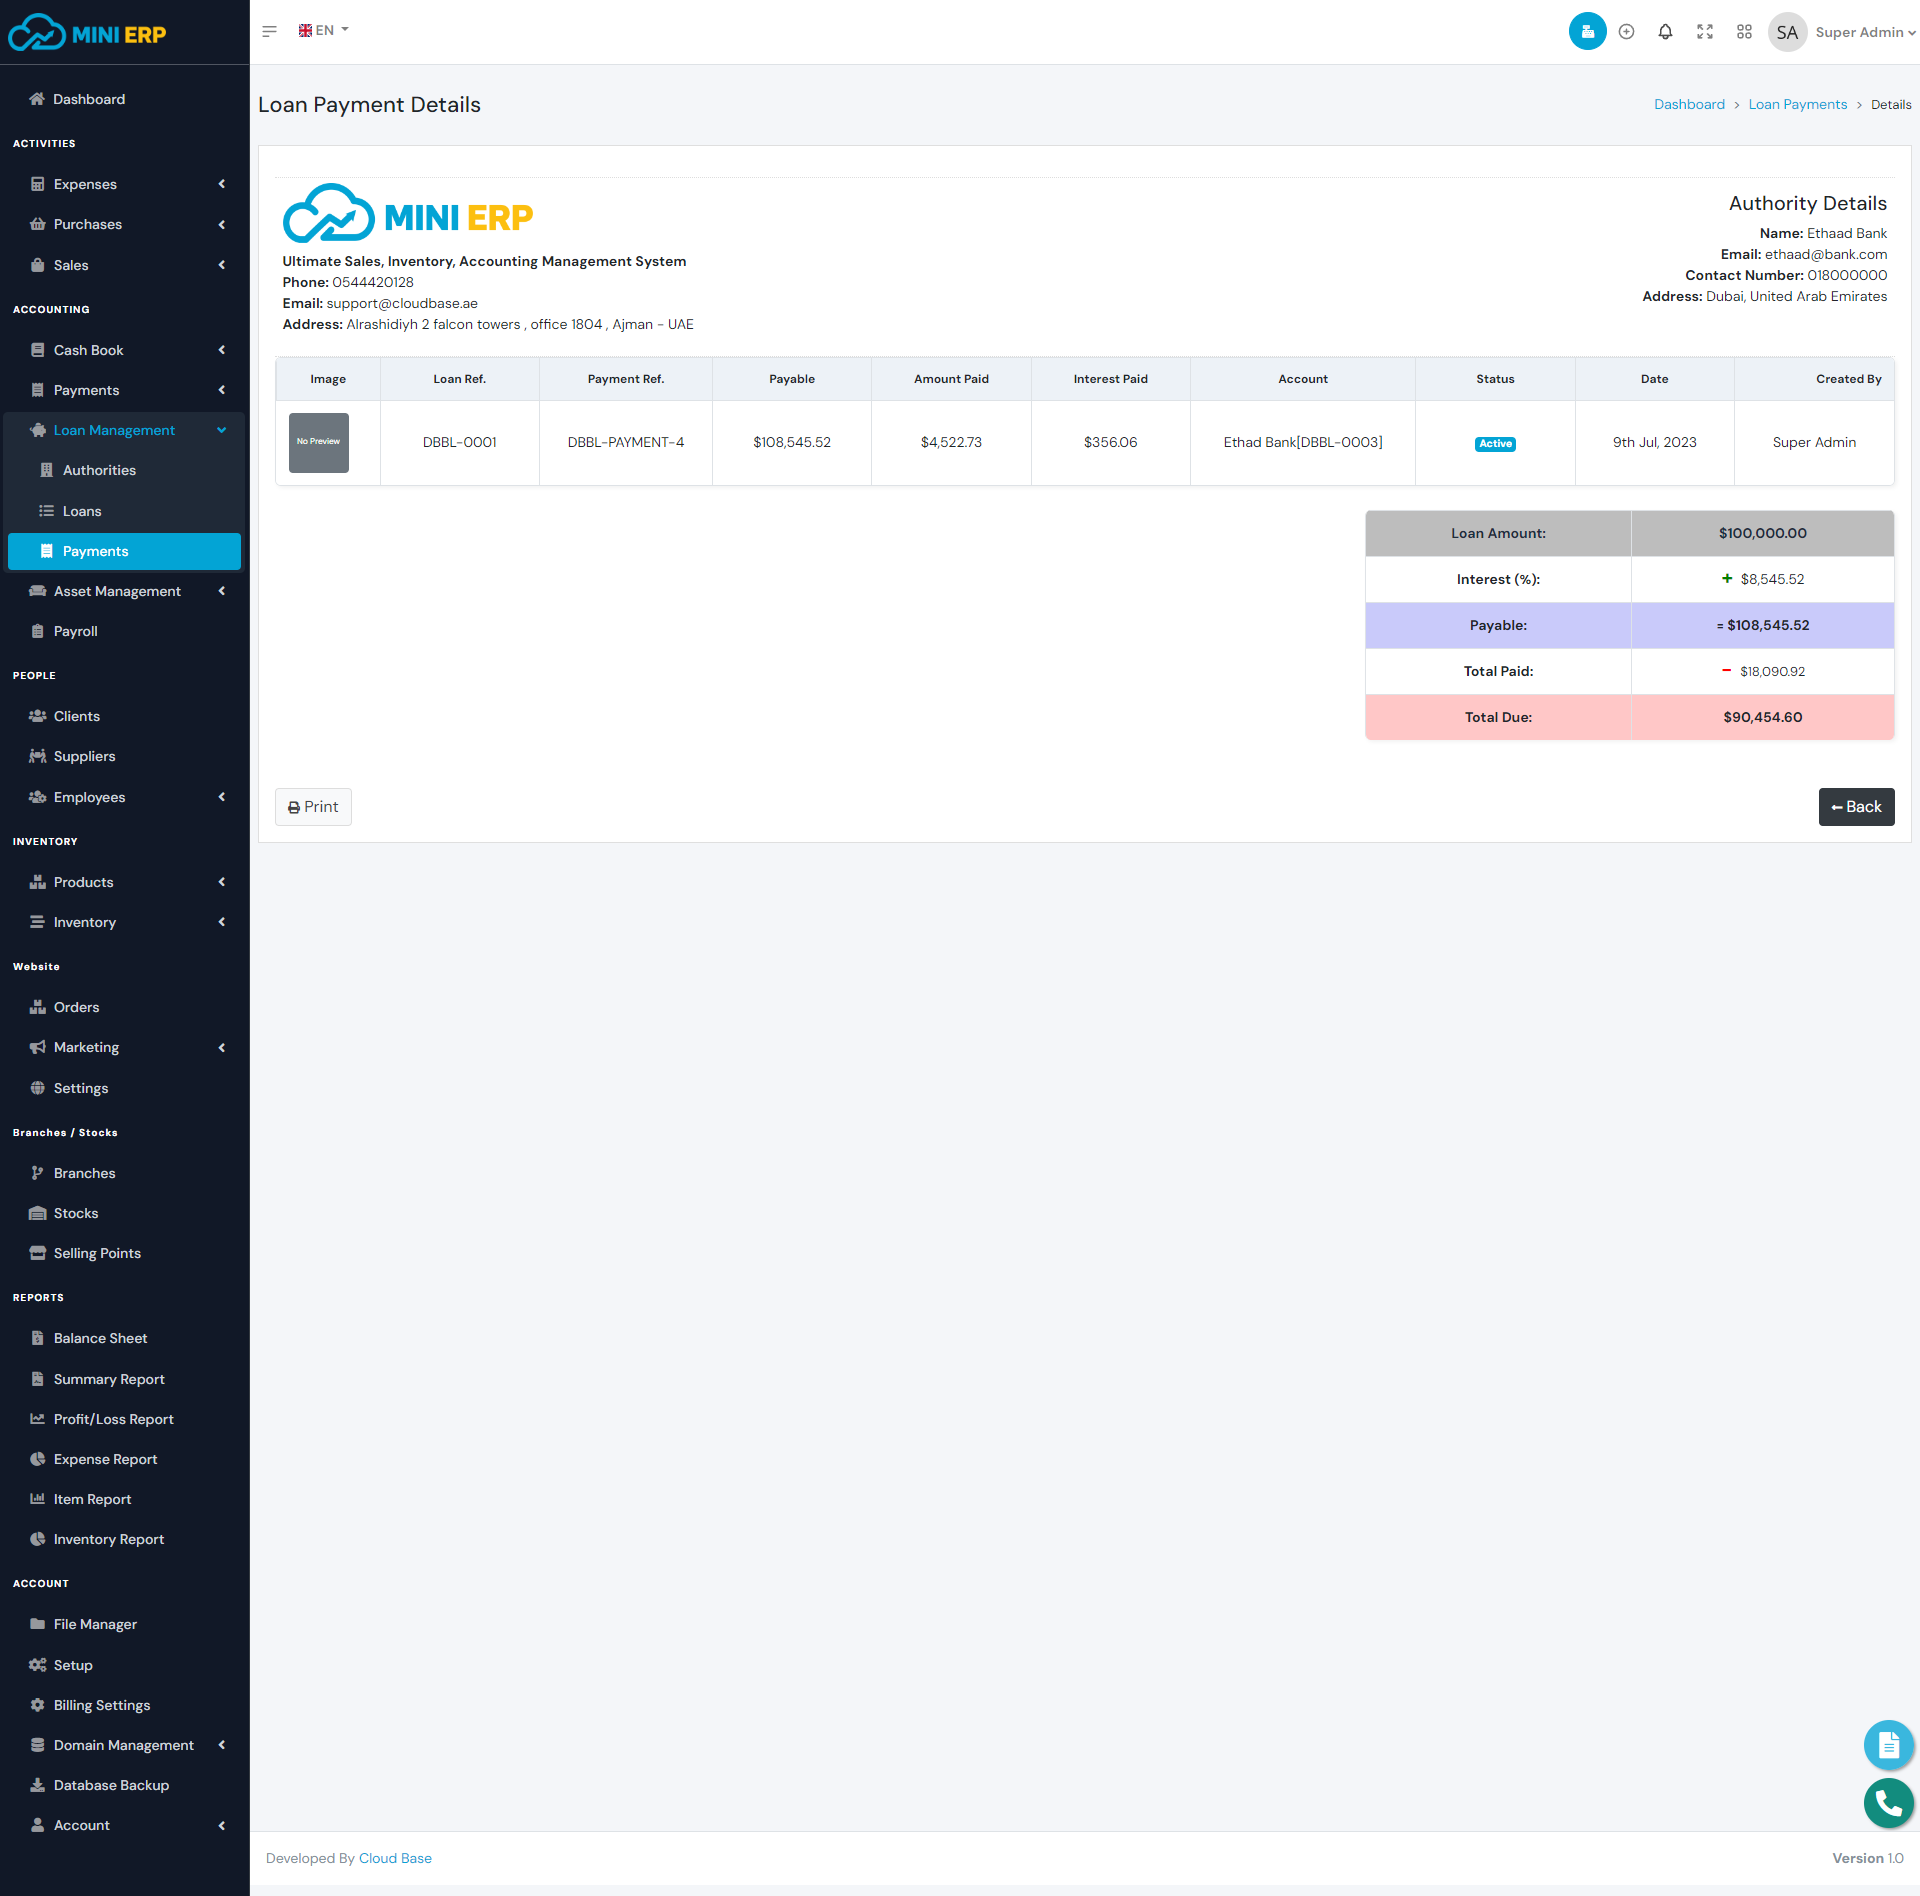
Loan Payments
Loan payments module helps add payments for your loans. Using this module you can make payments for your unpaid loans. You must create loans first in order to create loan payments.
| Required fields to create a loan payment |
|---|
| Loan => Client to whom you want to add due or sent purchase payment. Select a supplier from the list. |
| Reference => Select a loan for which you want to make payment. Identify your loan by your loan reference. Select a loan from the list. |
| Account => The paying account. The payment amount will be sent from the selected account. Select an account from the list. The available balance must be greater than the Payment Amount. |
| Amount(If paying for a CC loan) => The paying amount. For the term loan, the amount will be calculated autometically. |
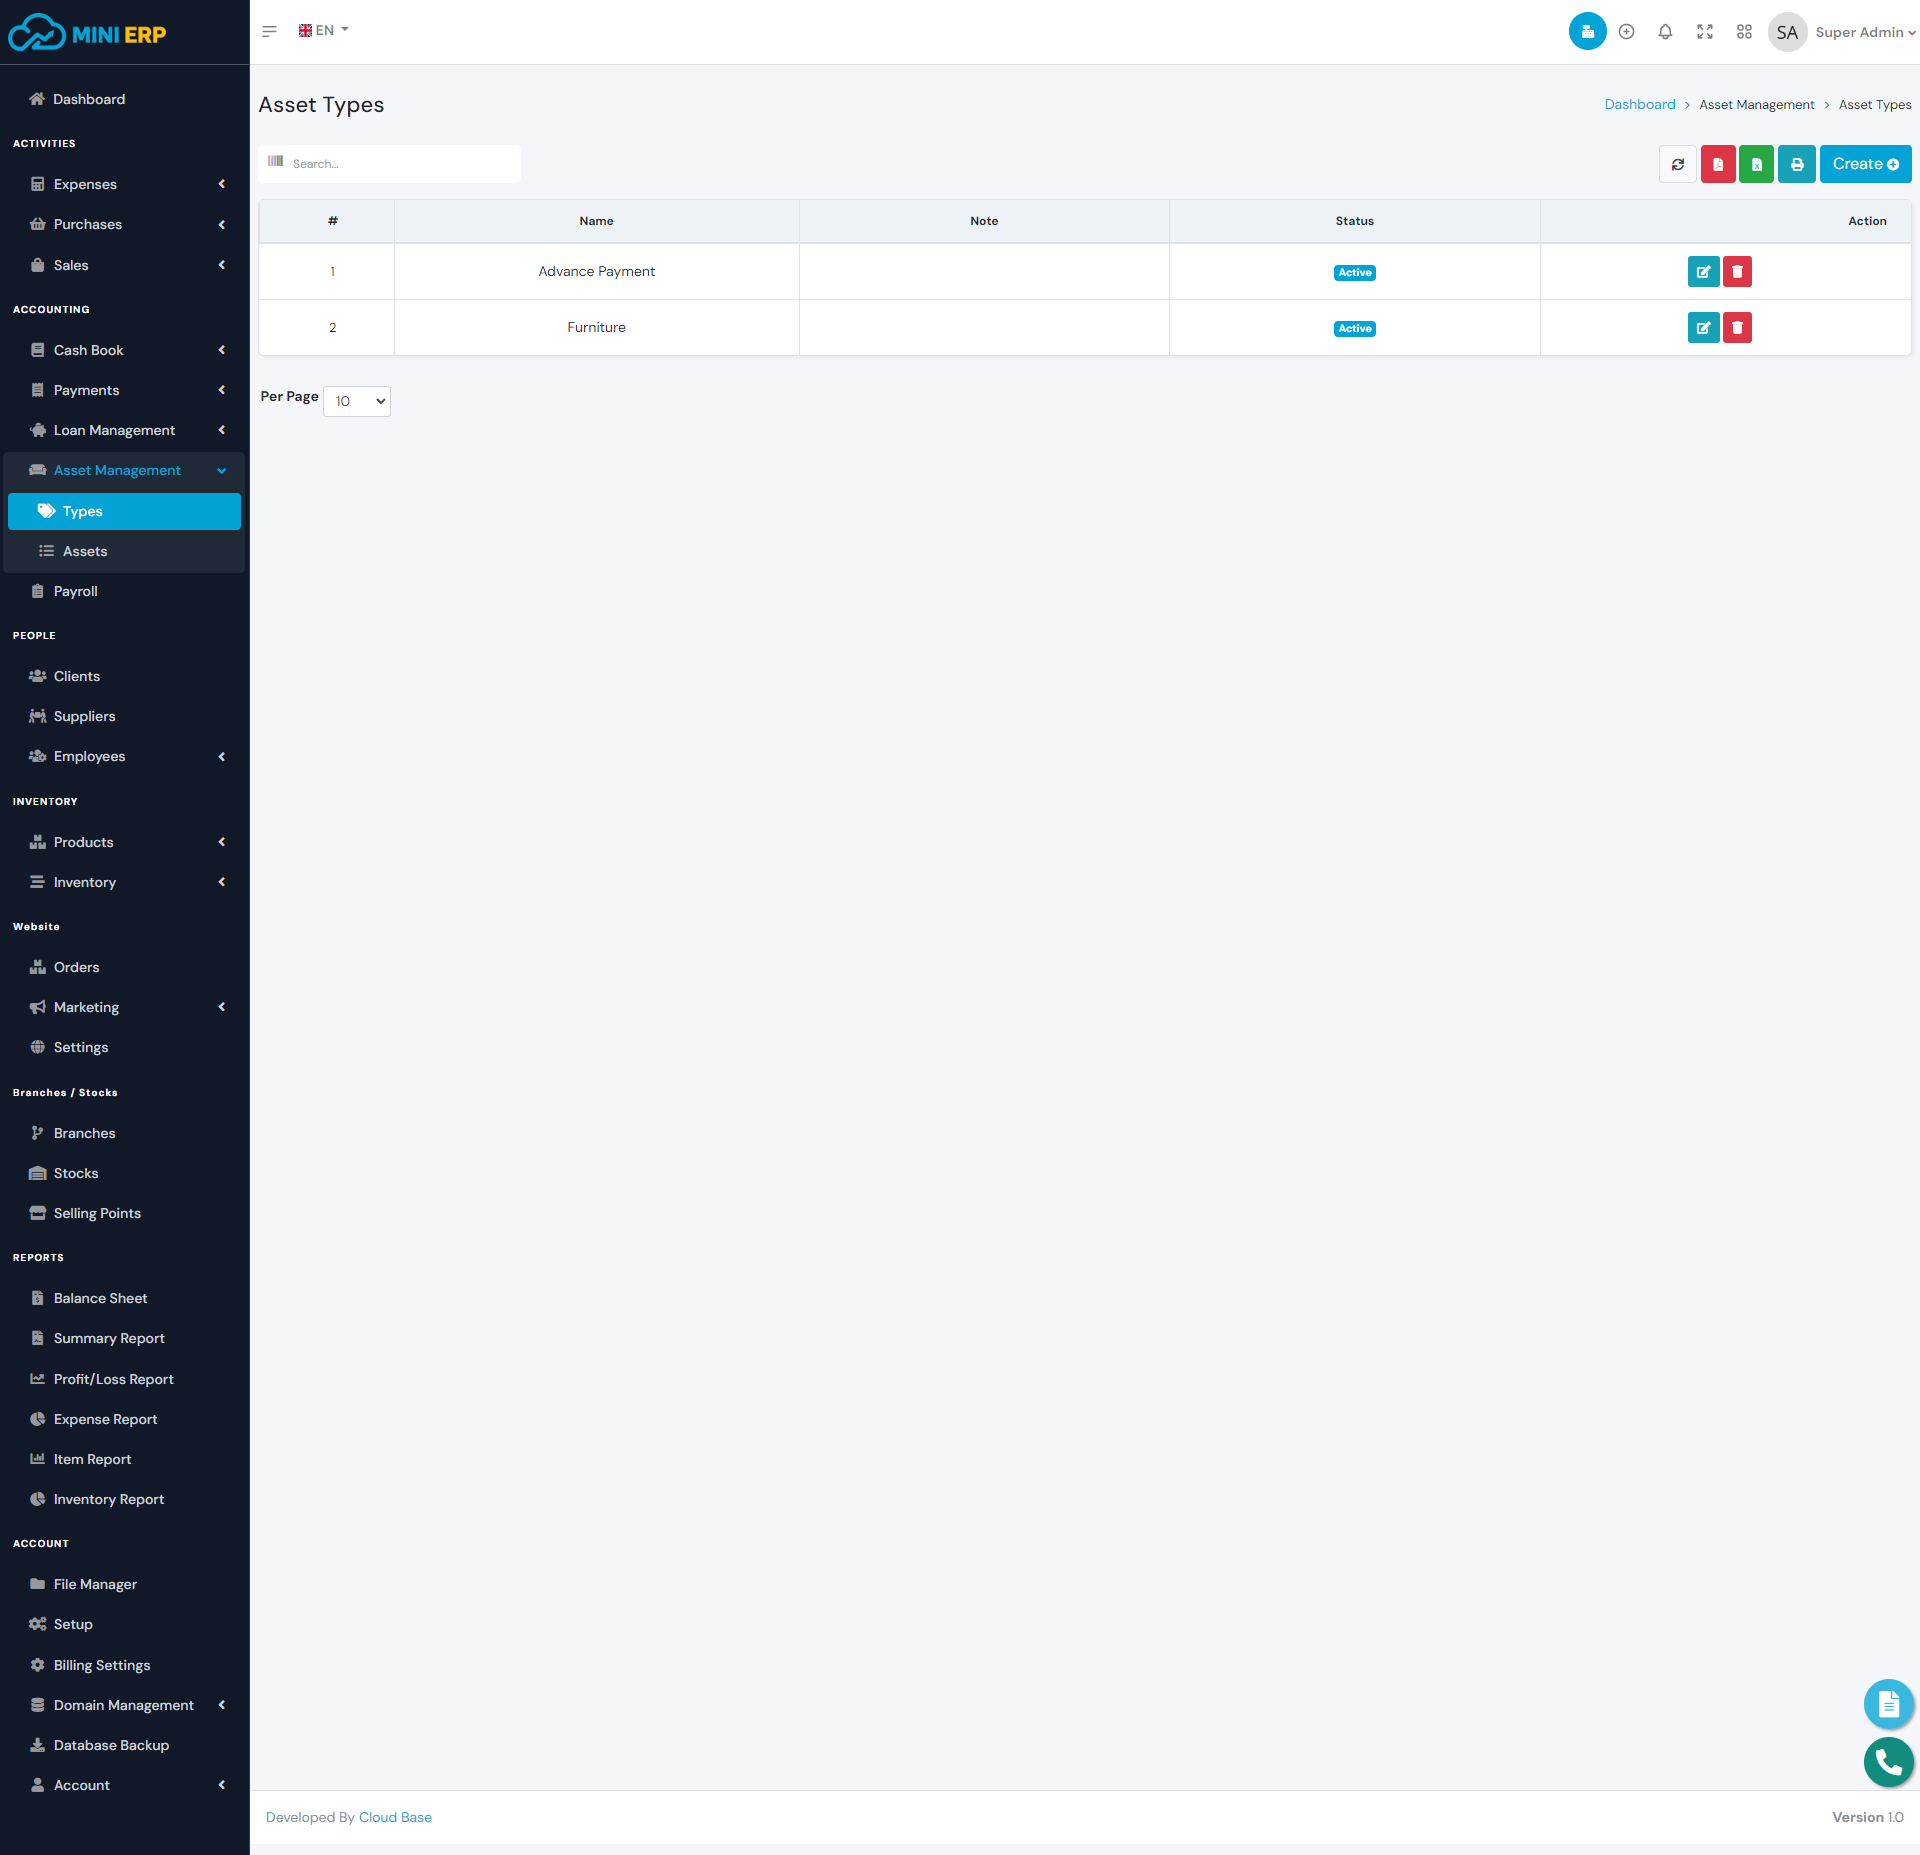
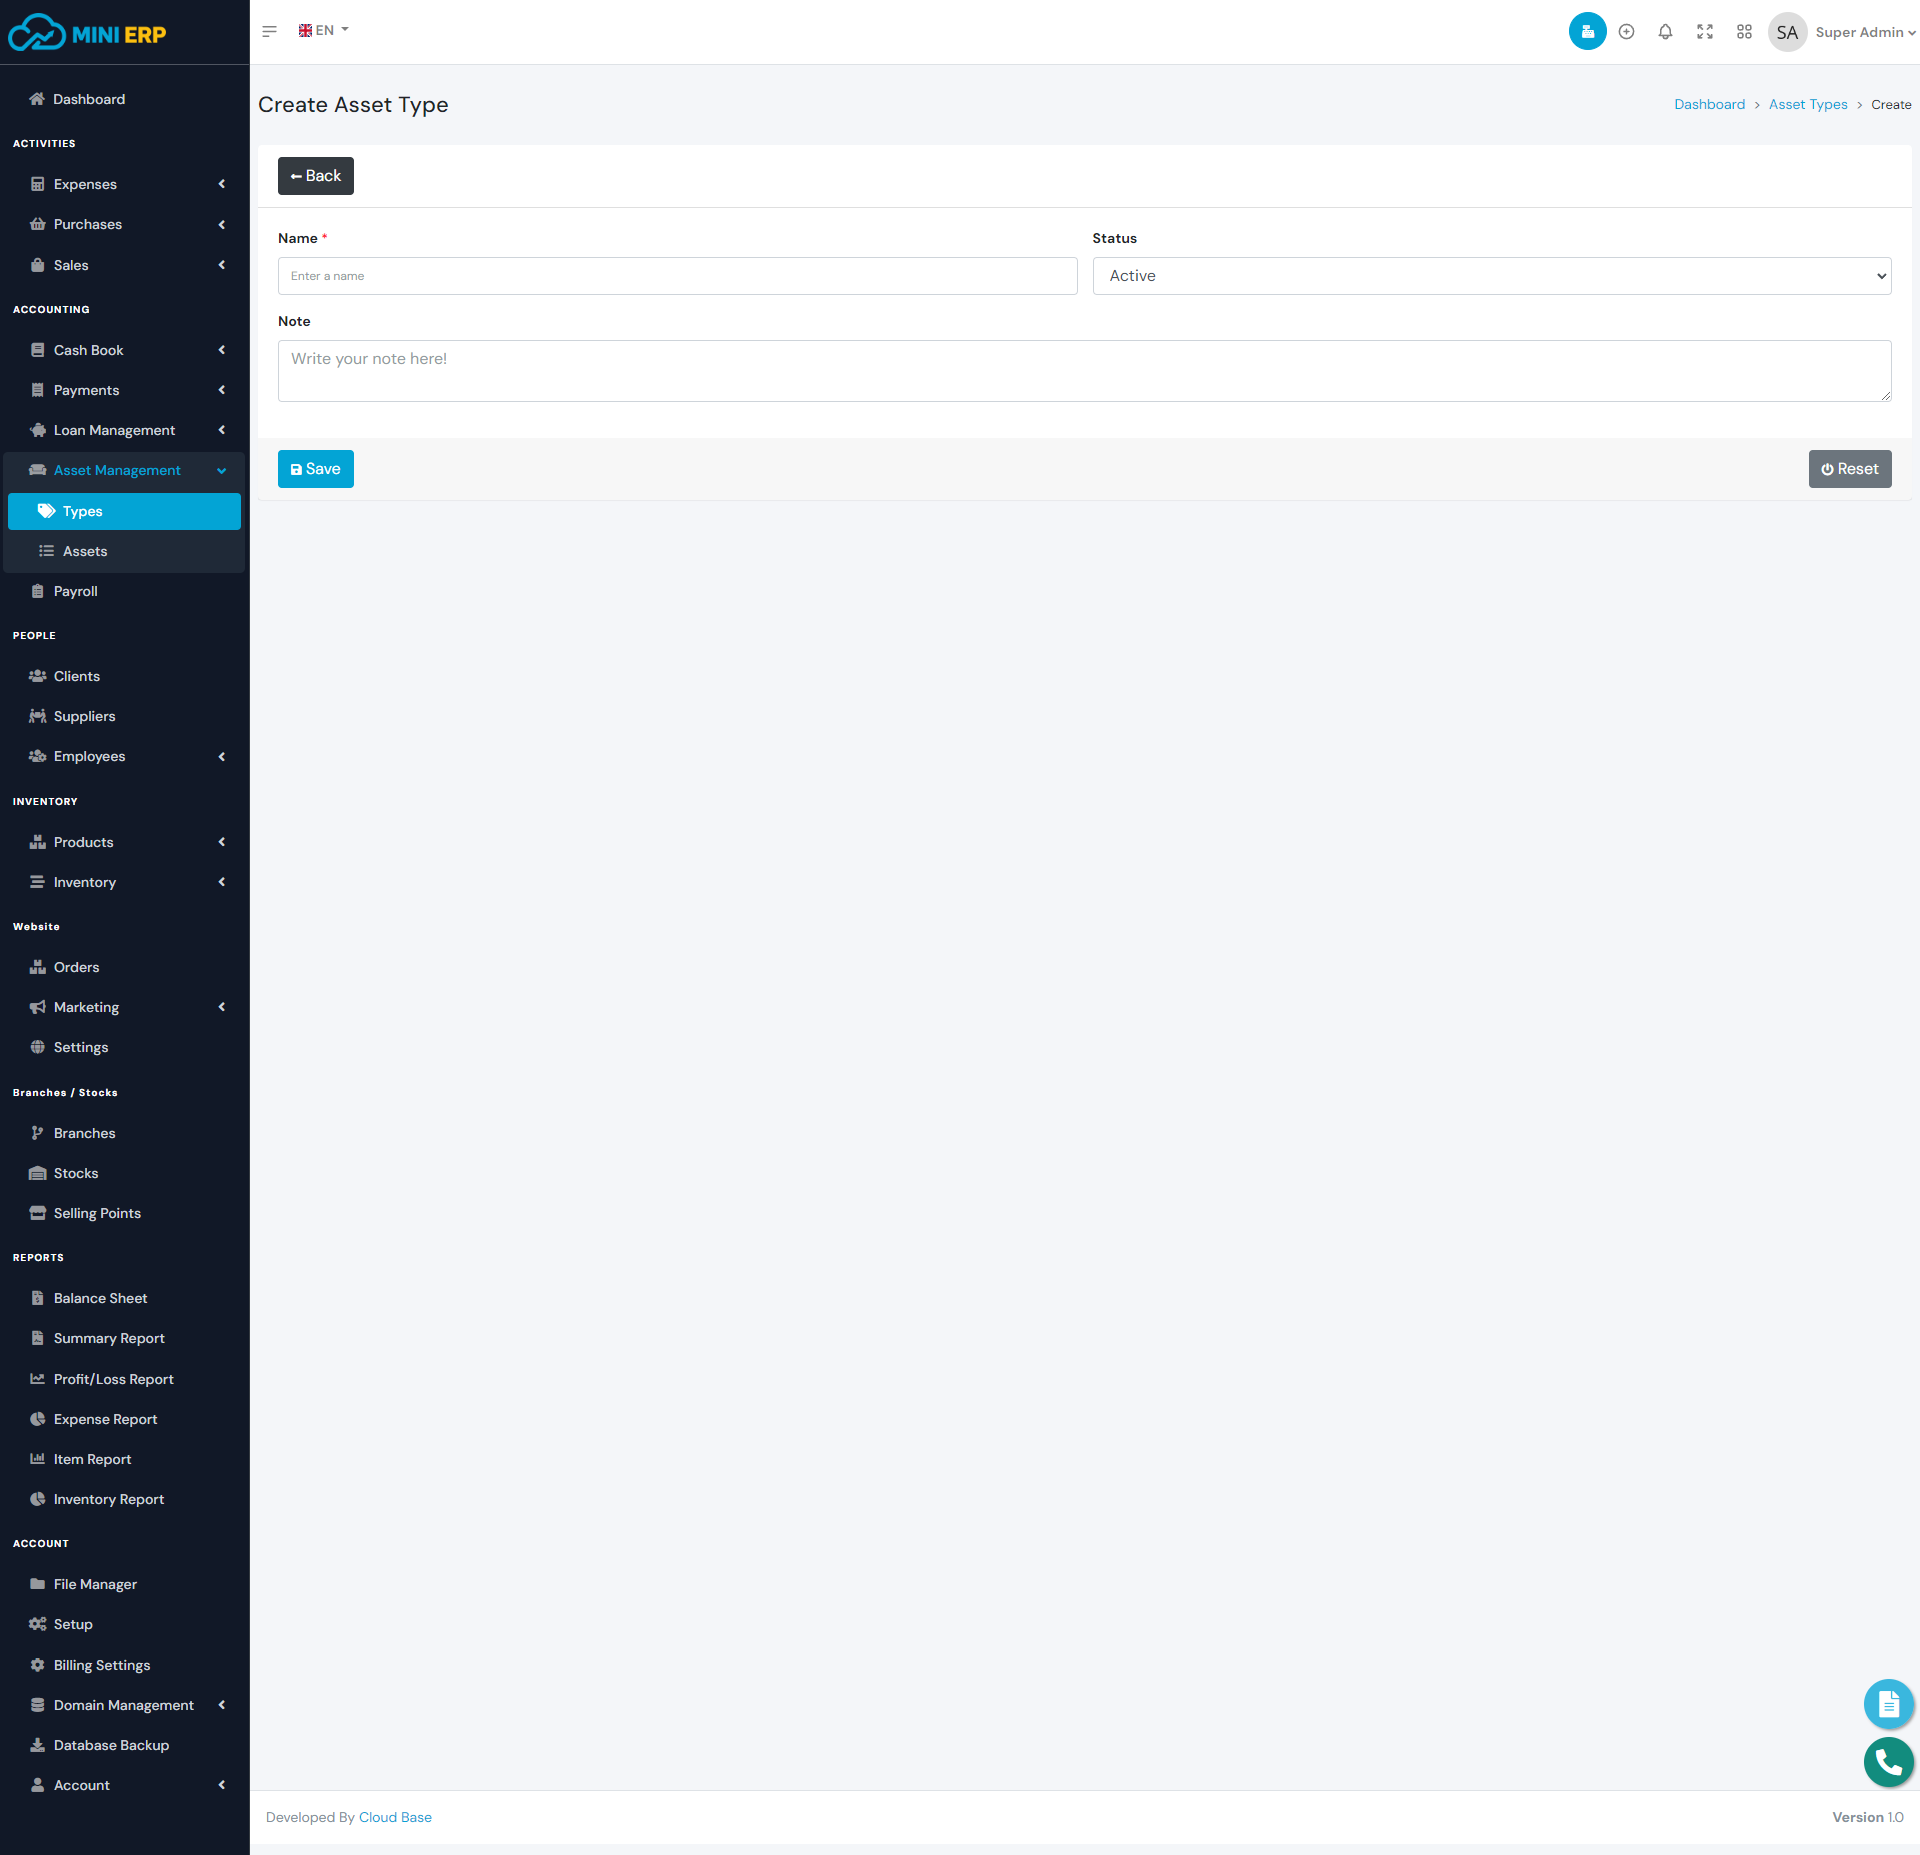
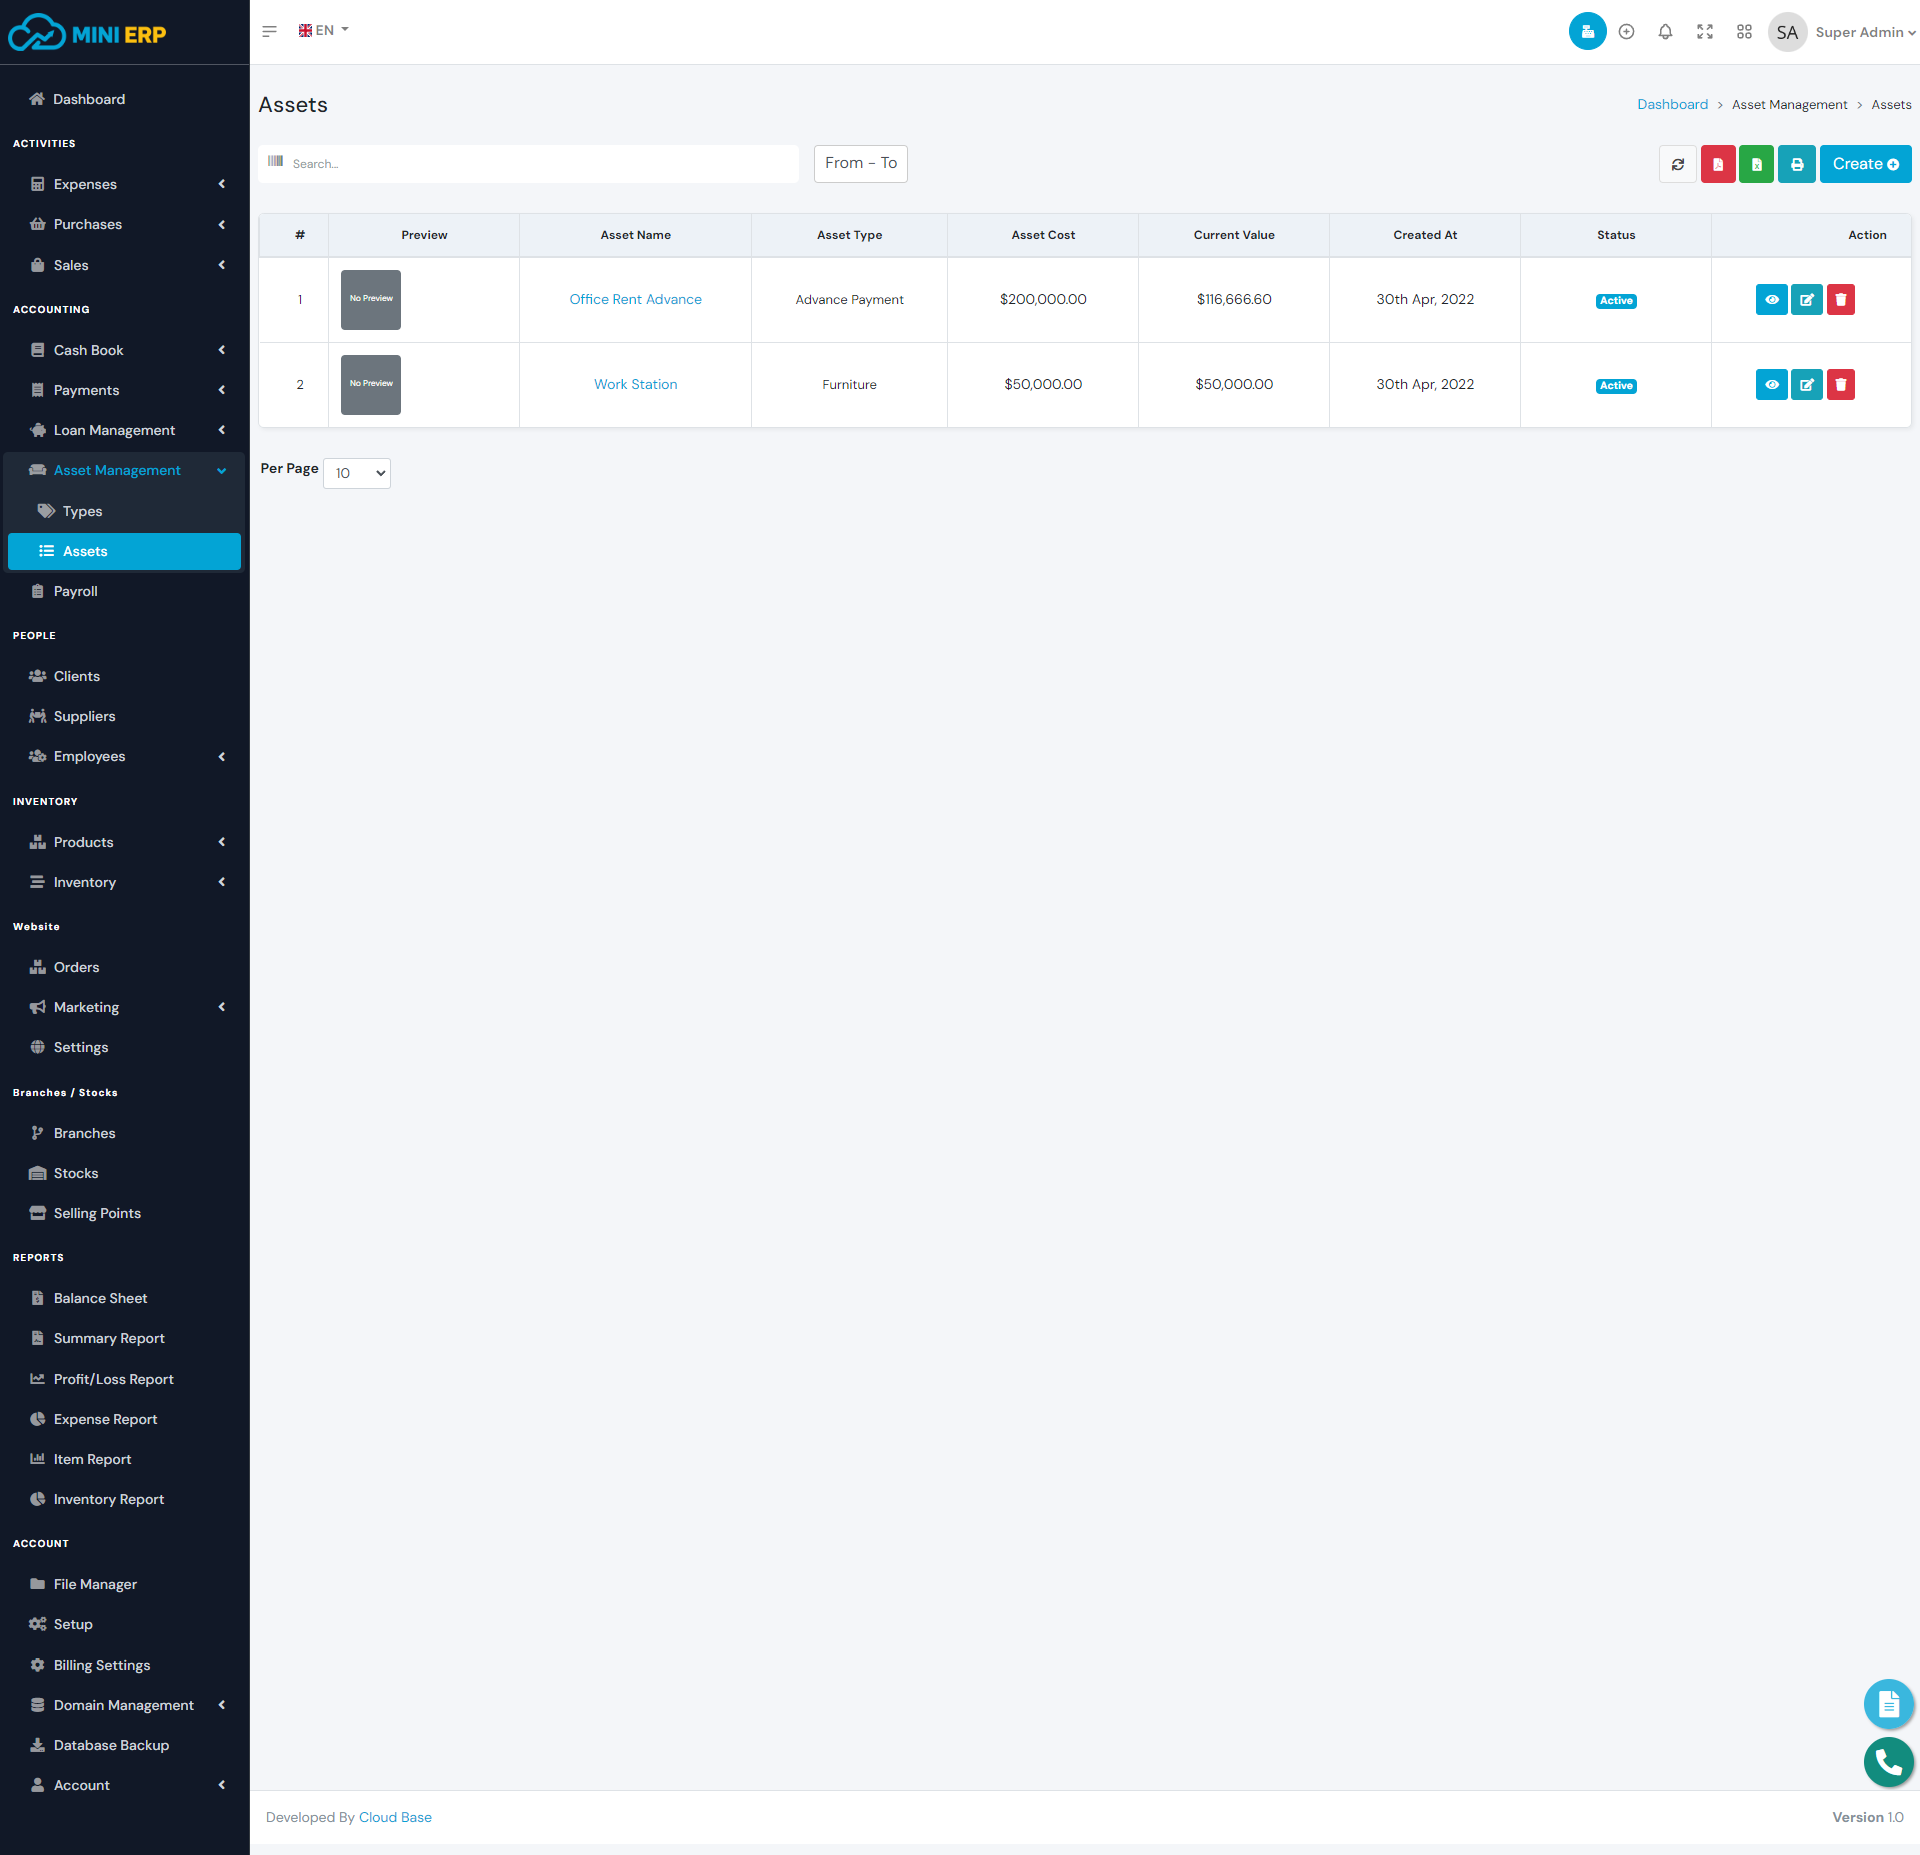
Assets
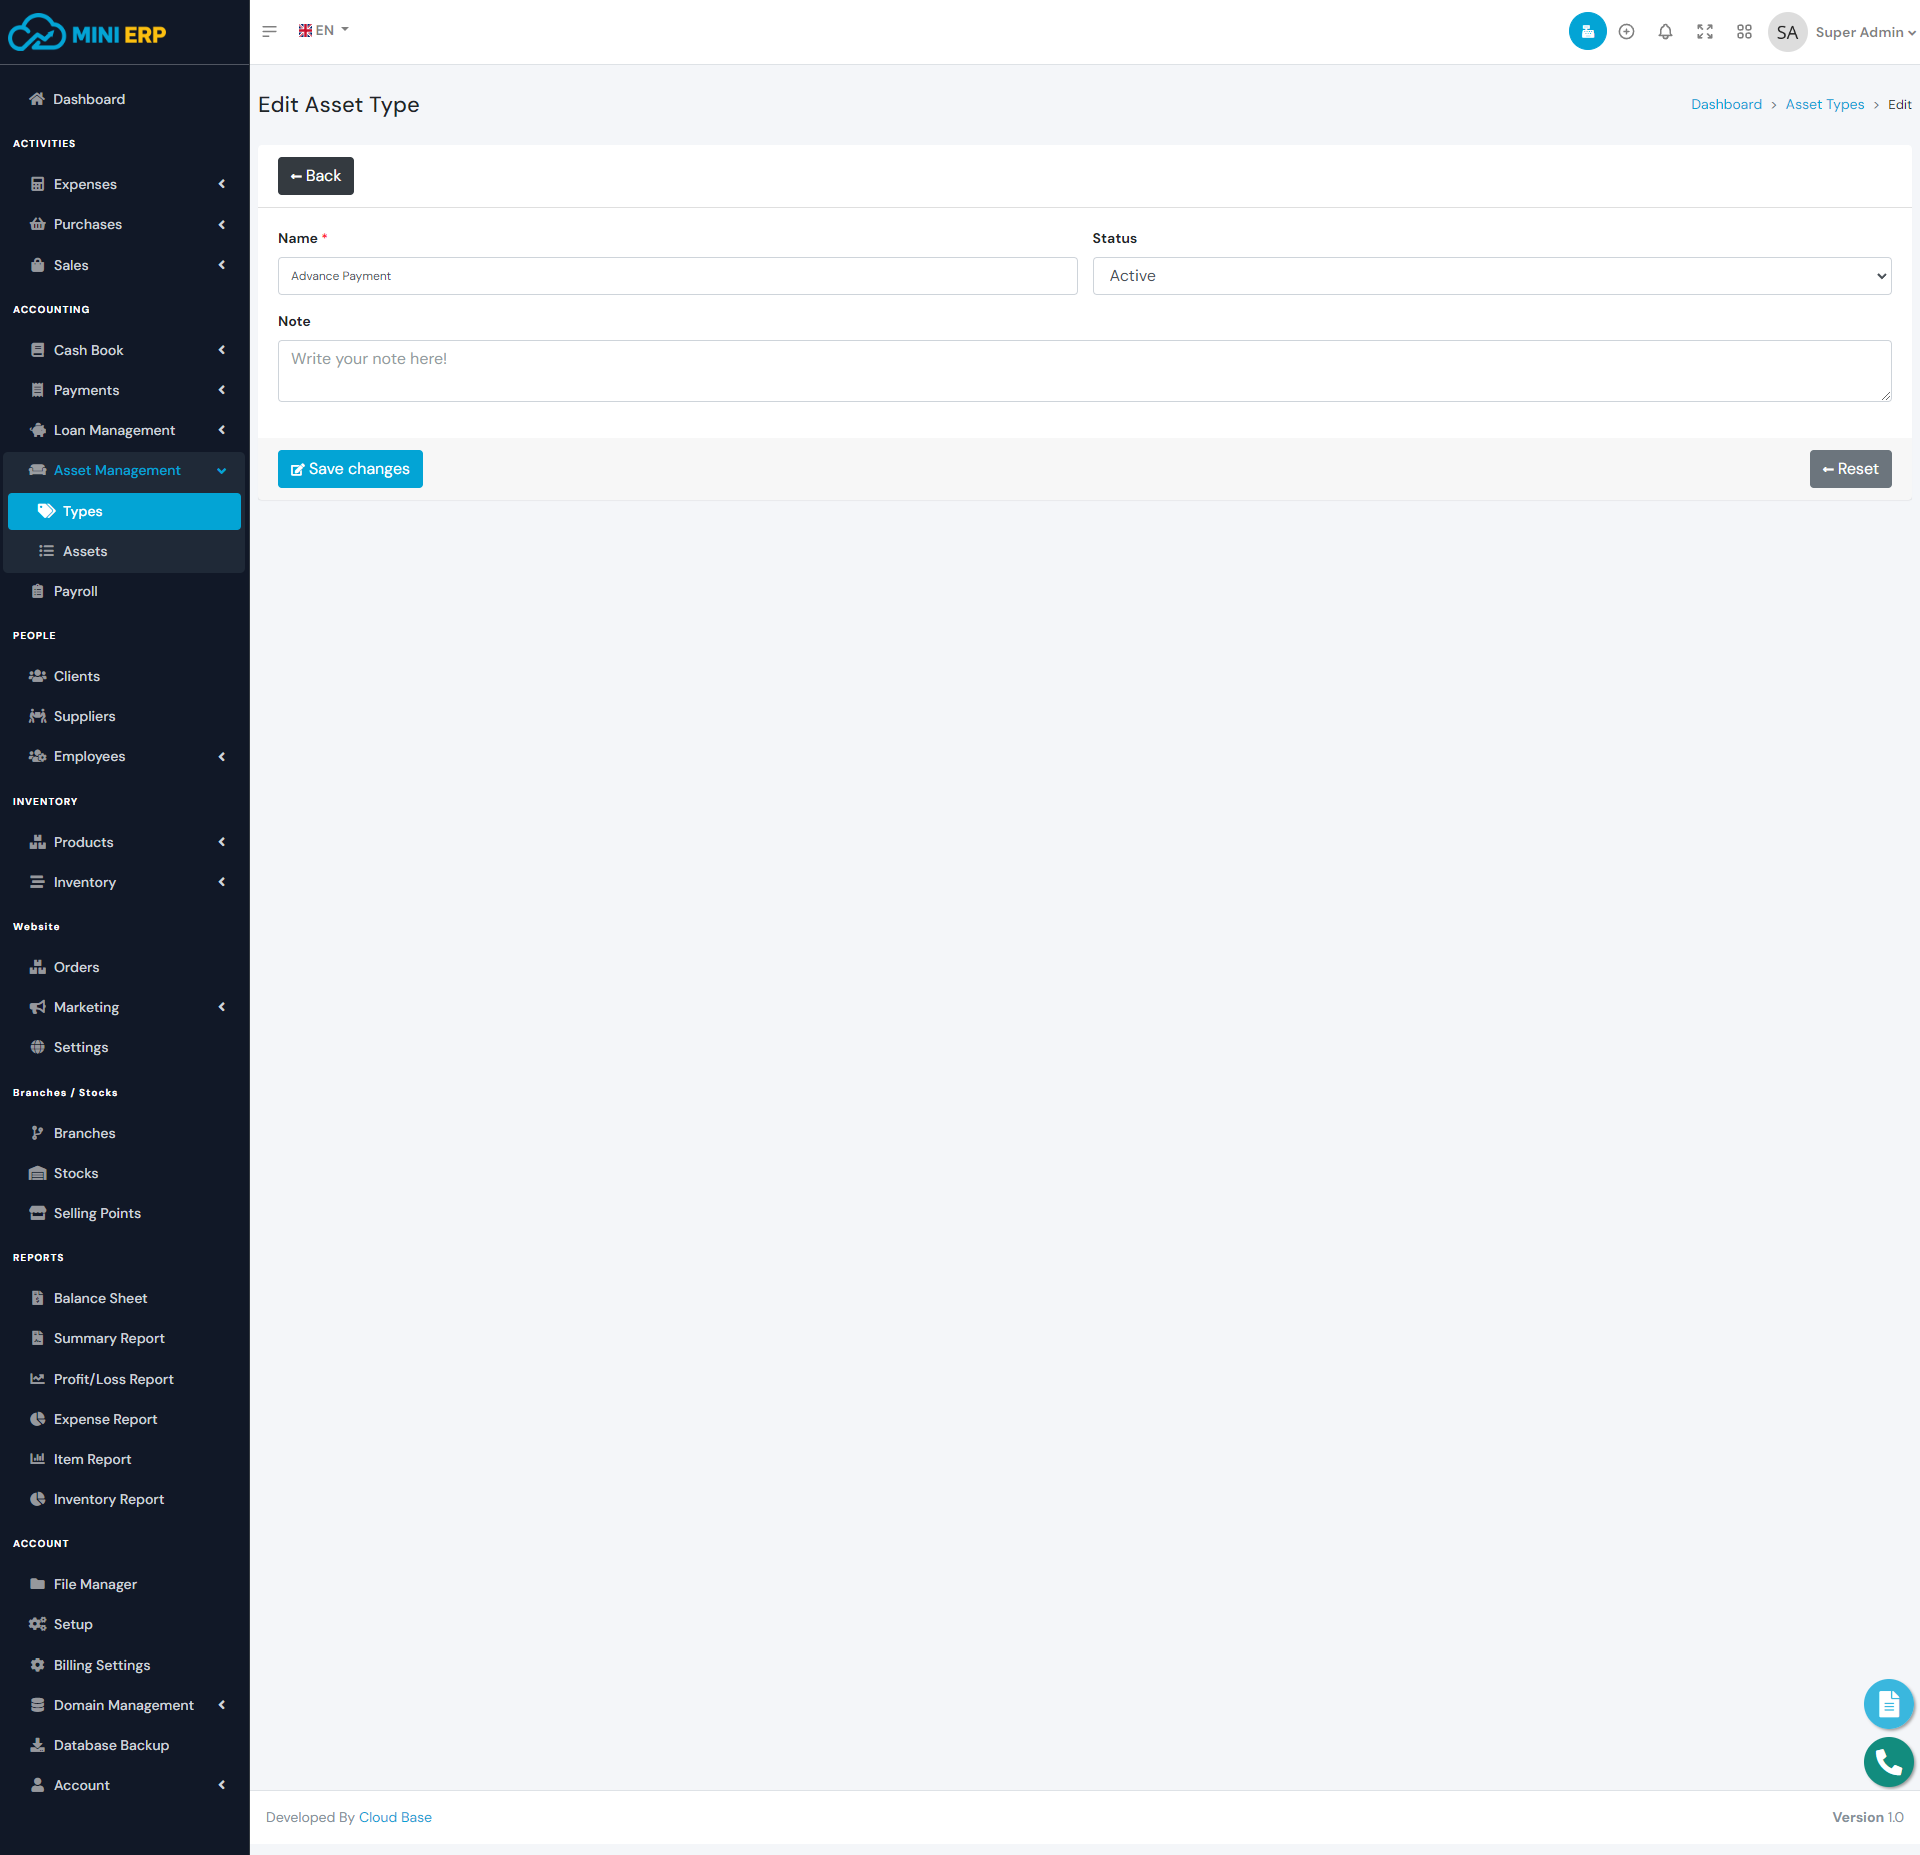
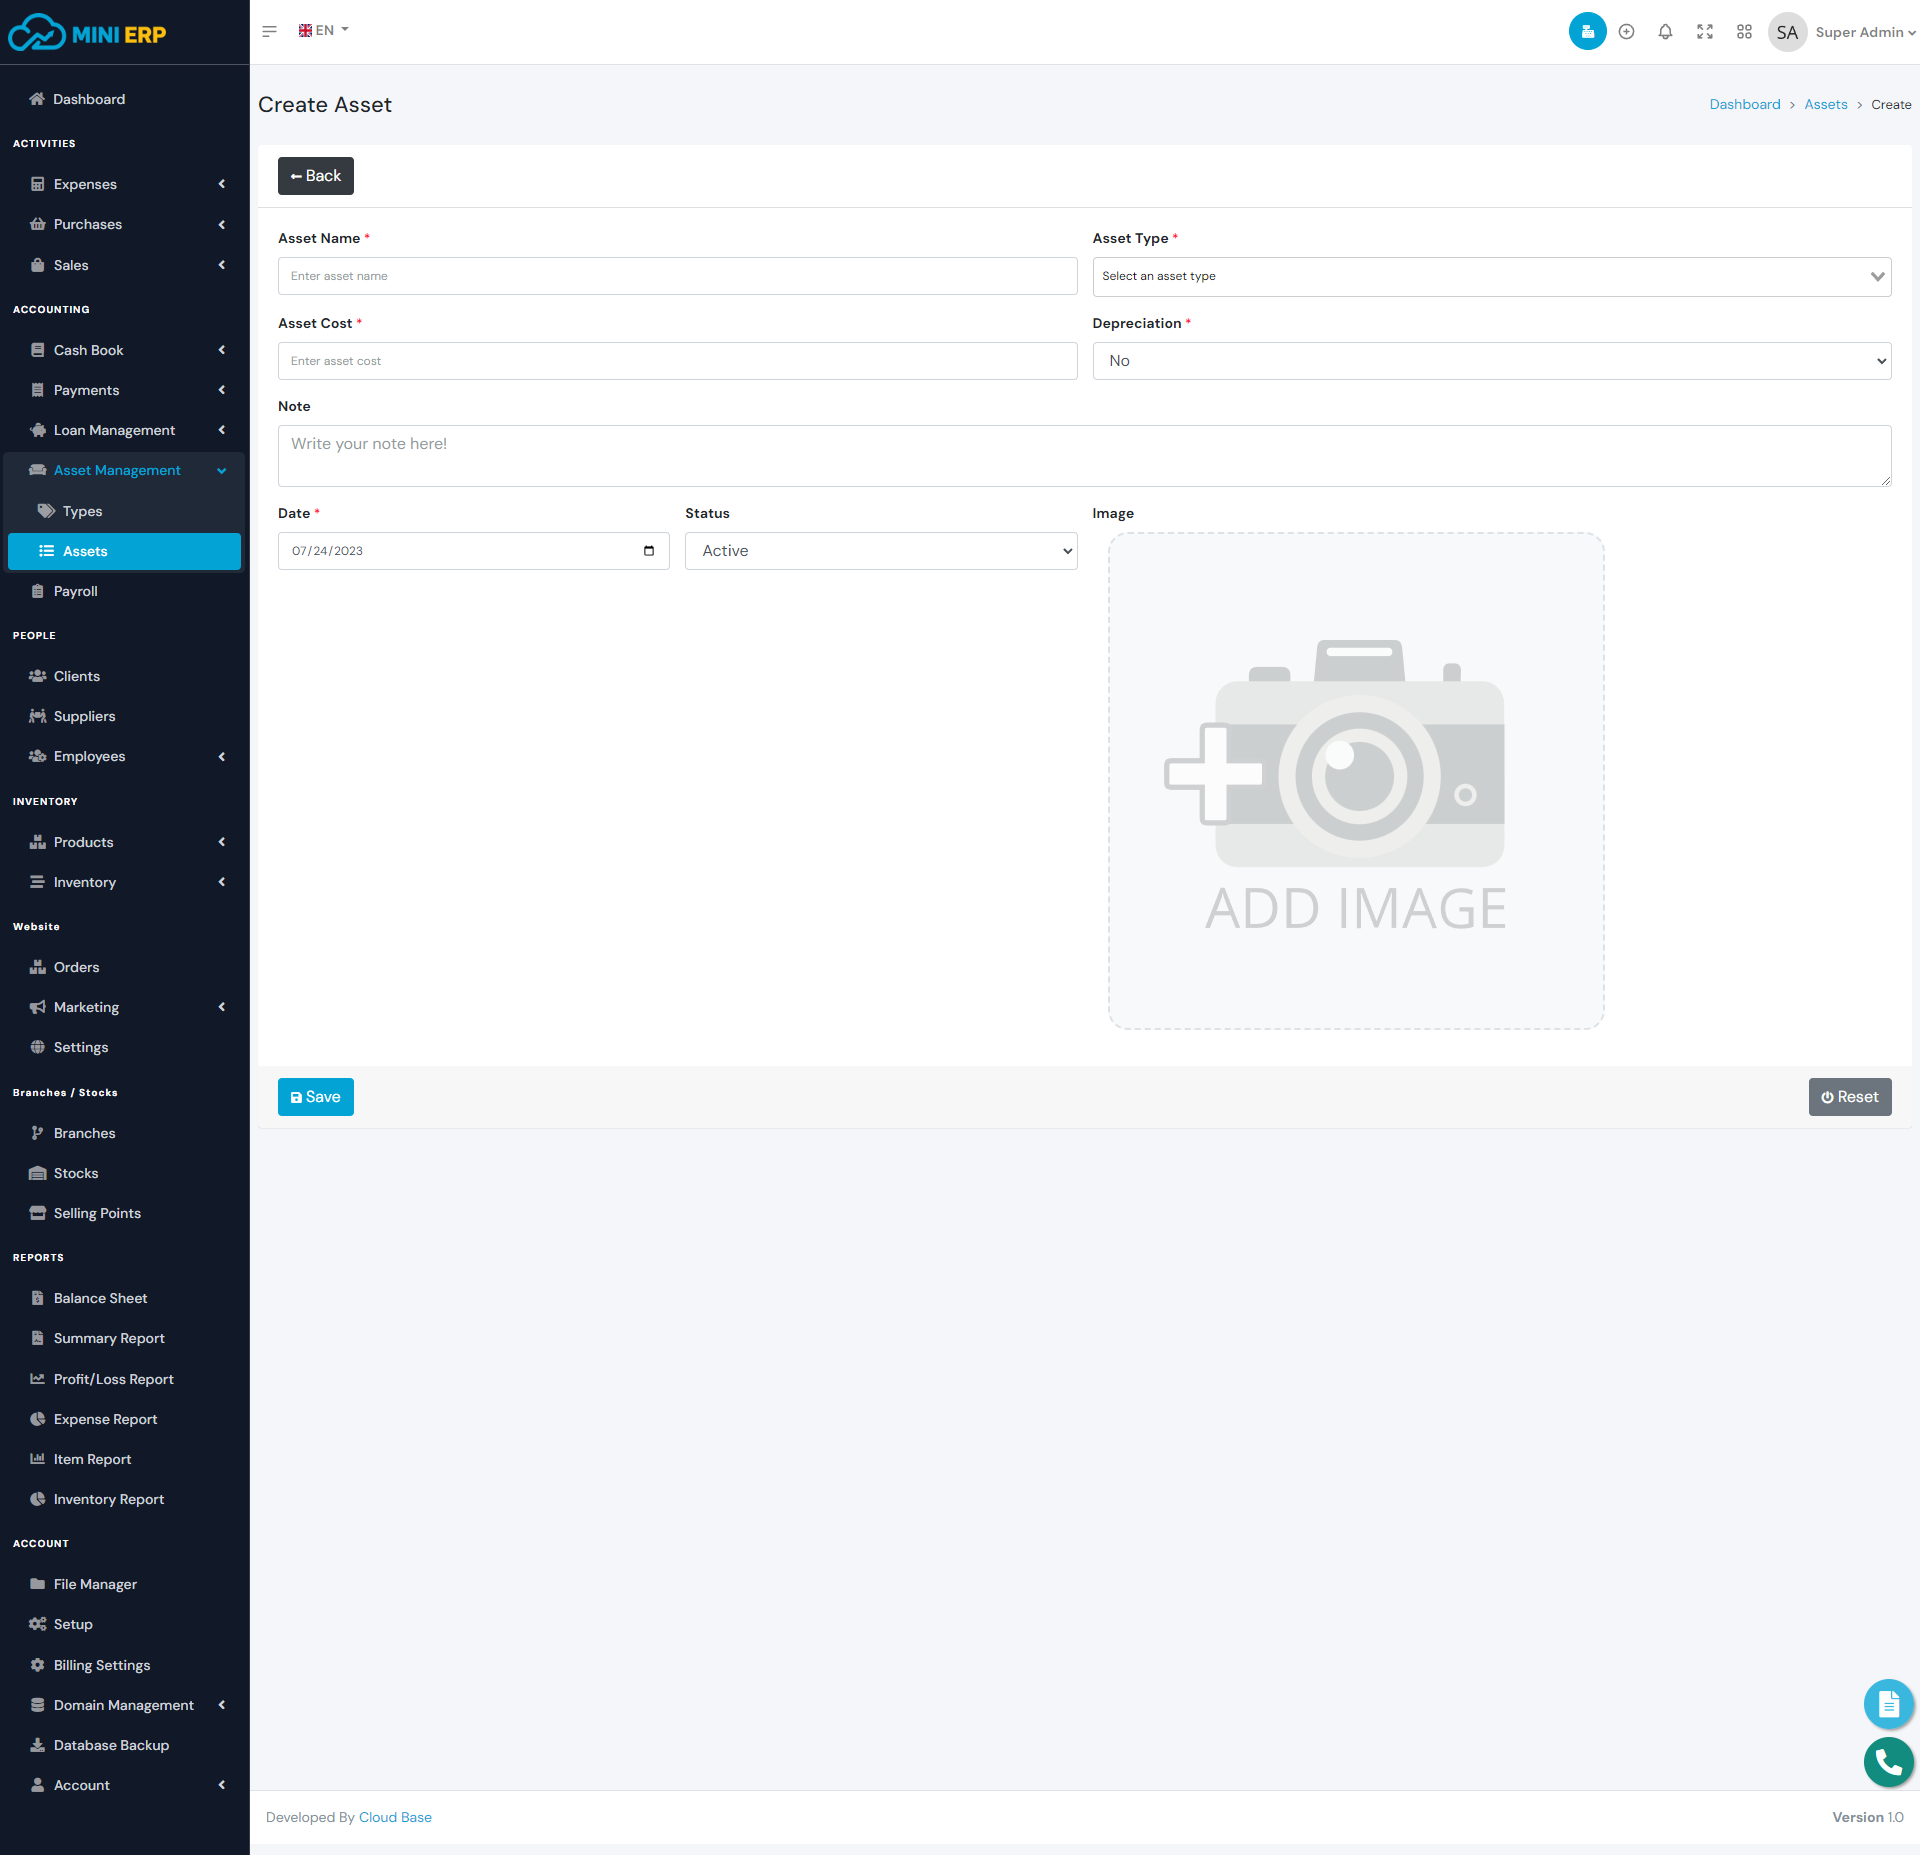
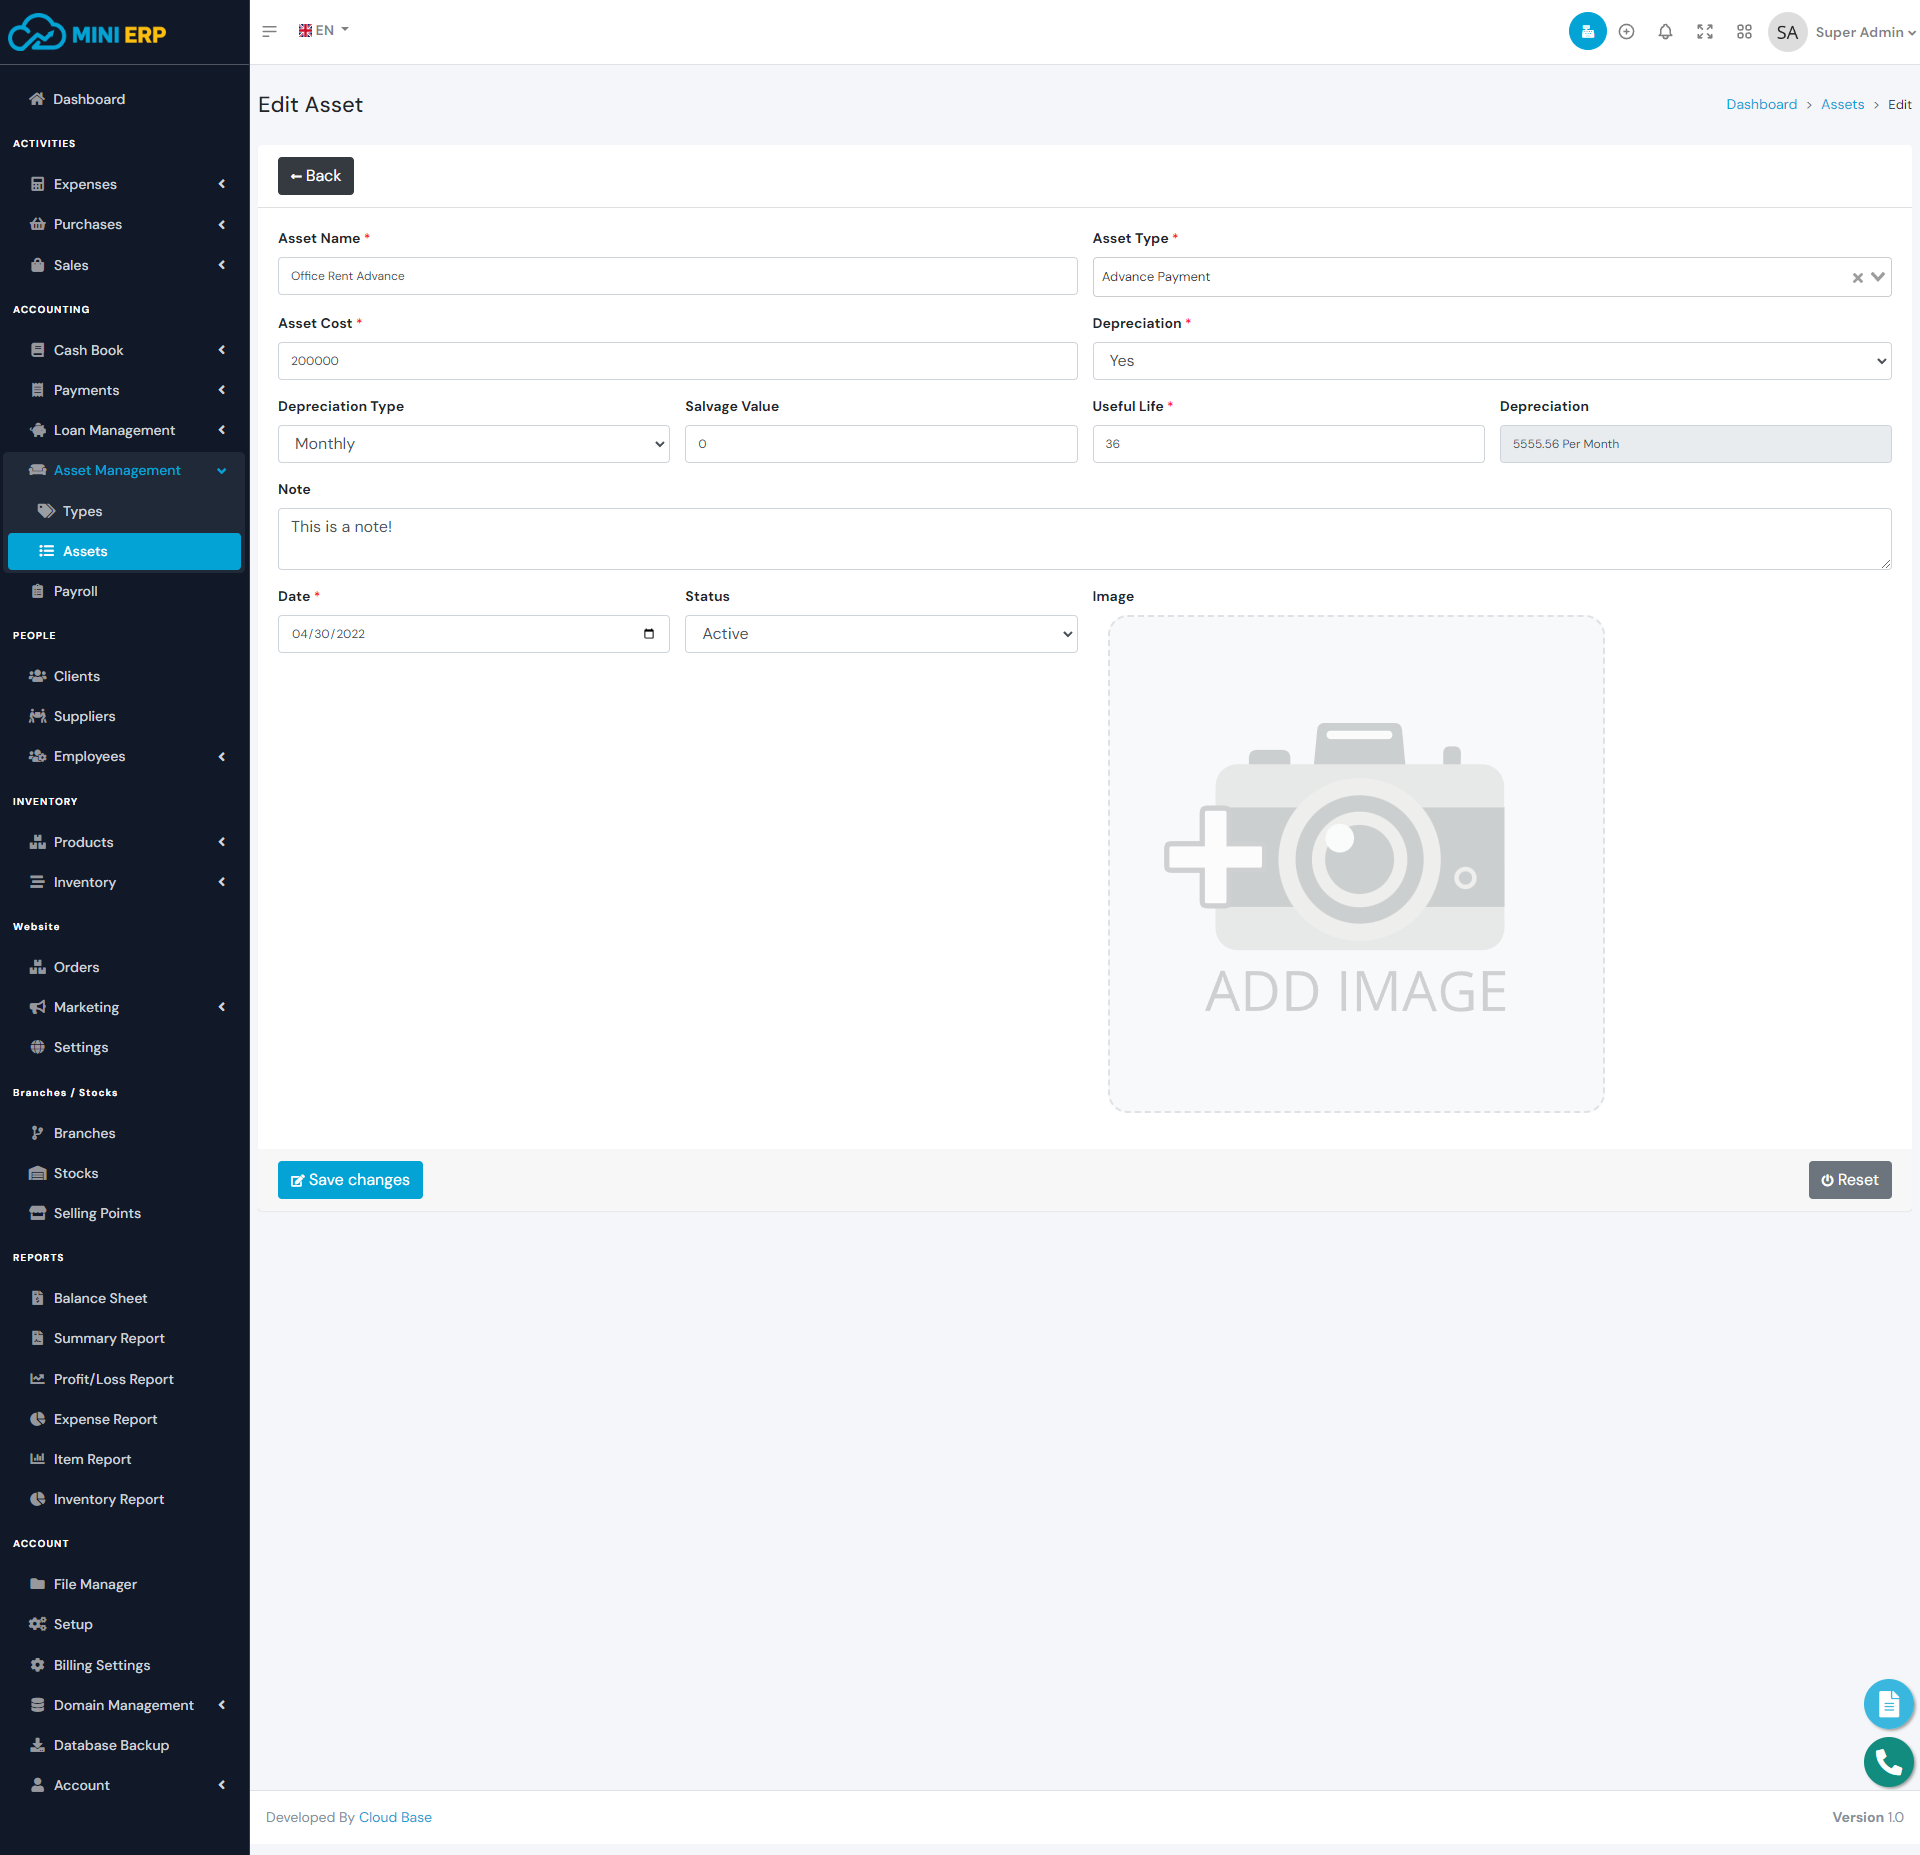
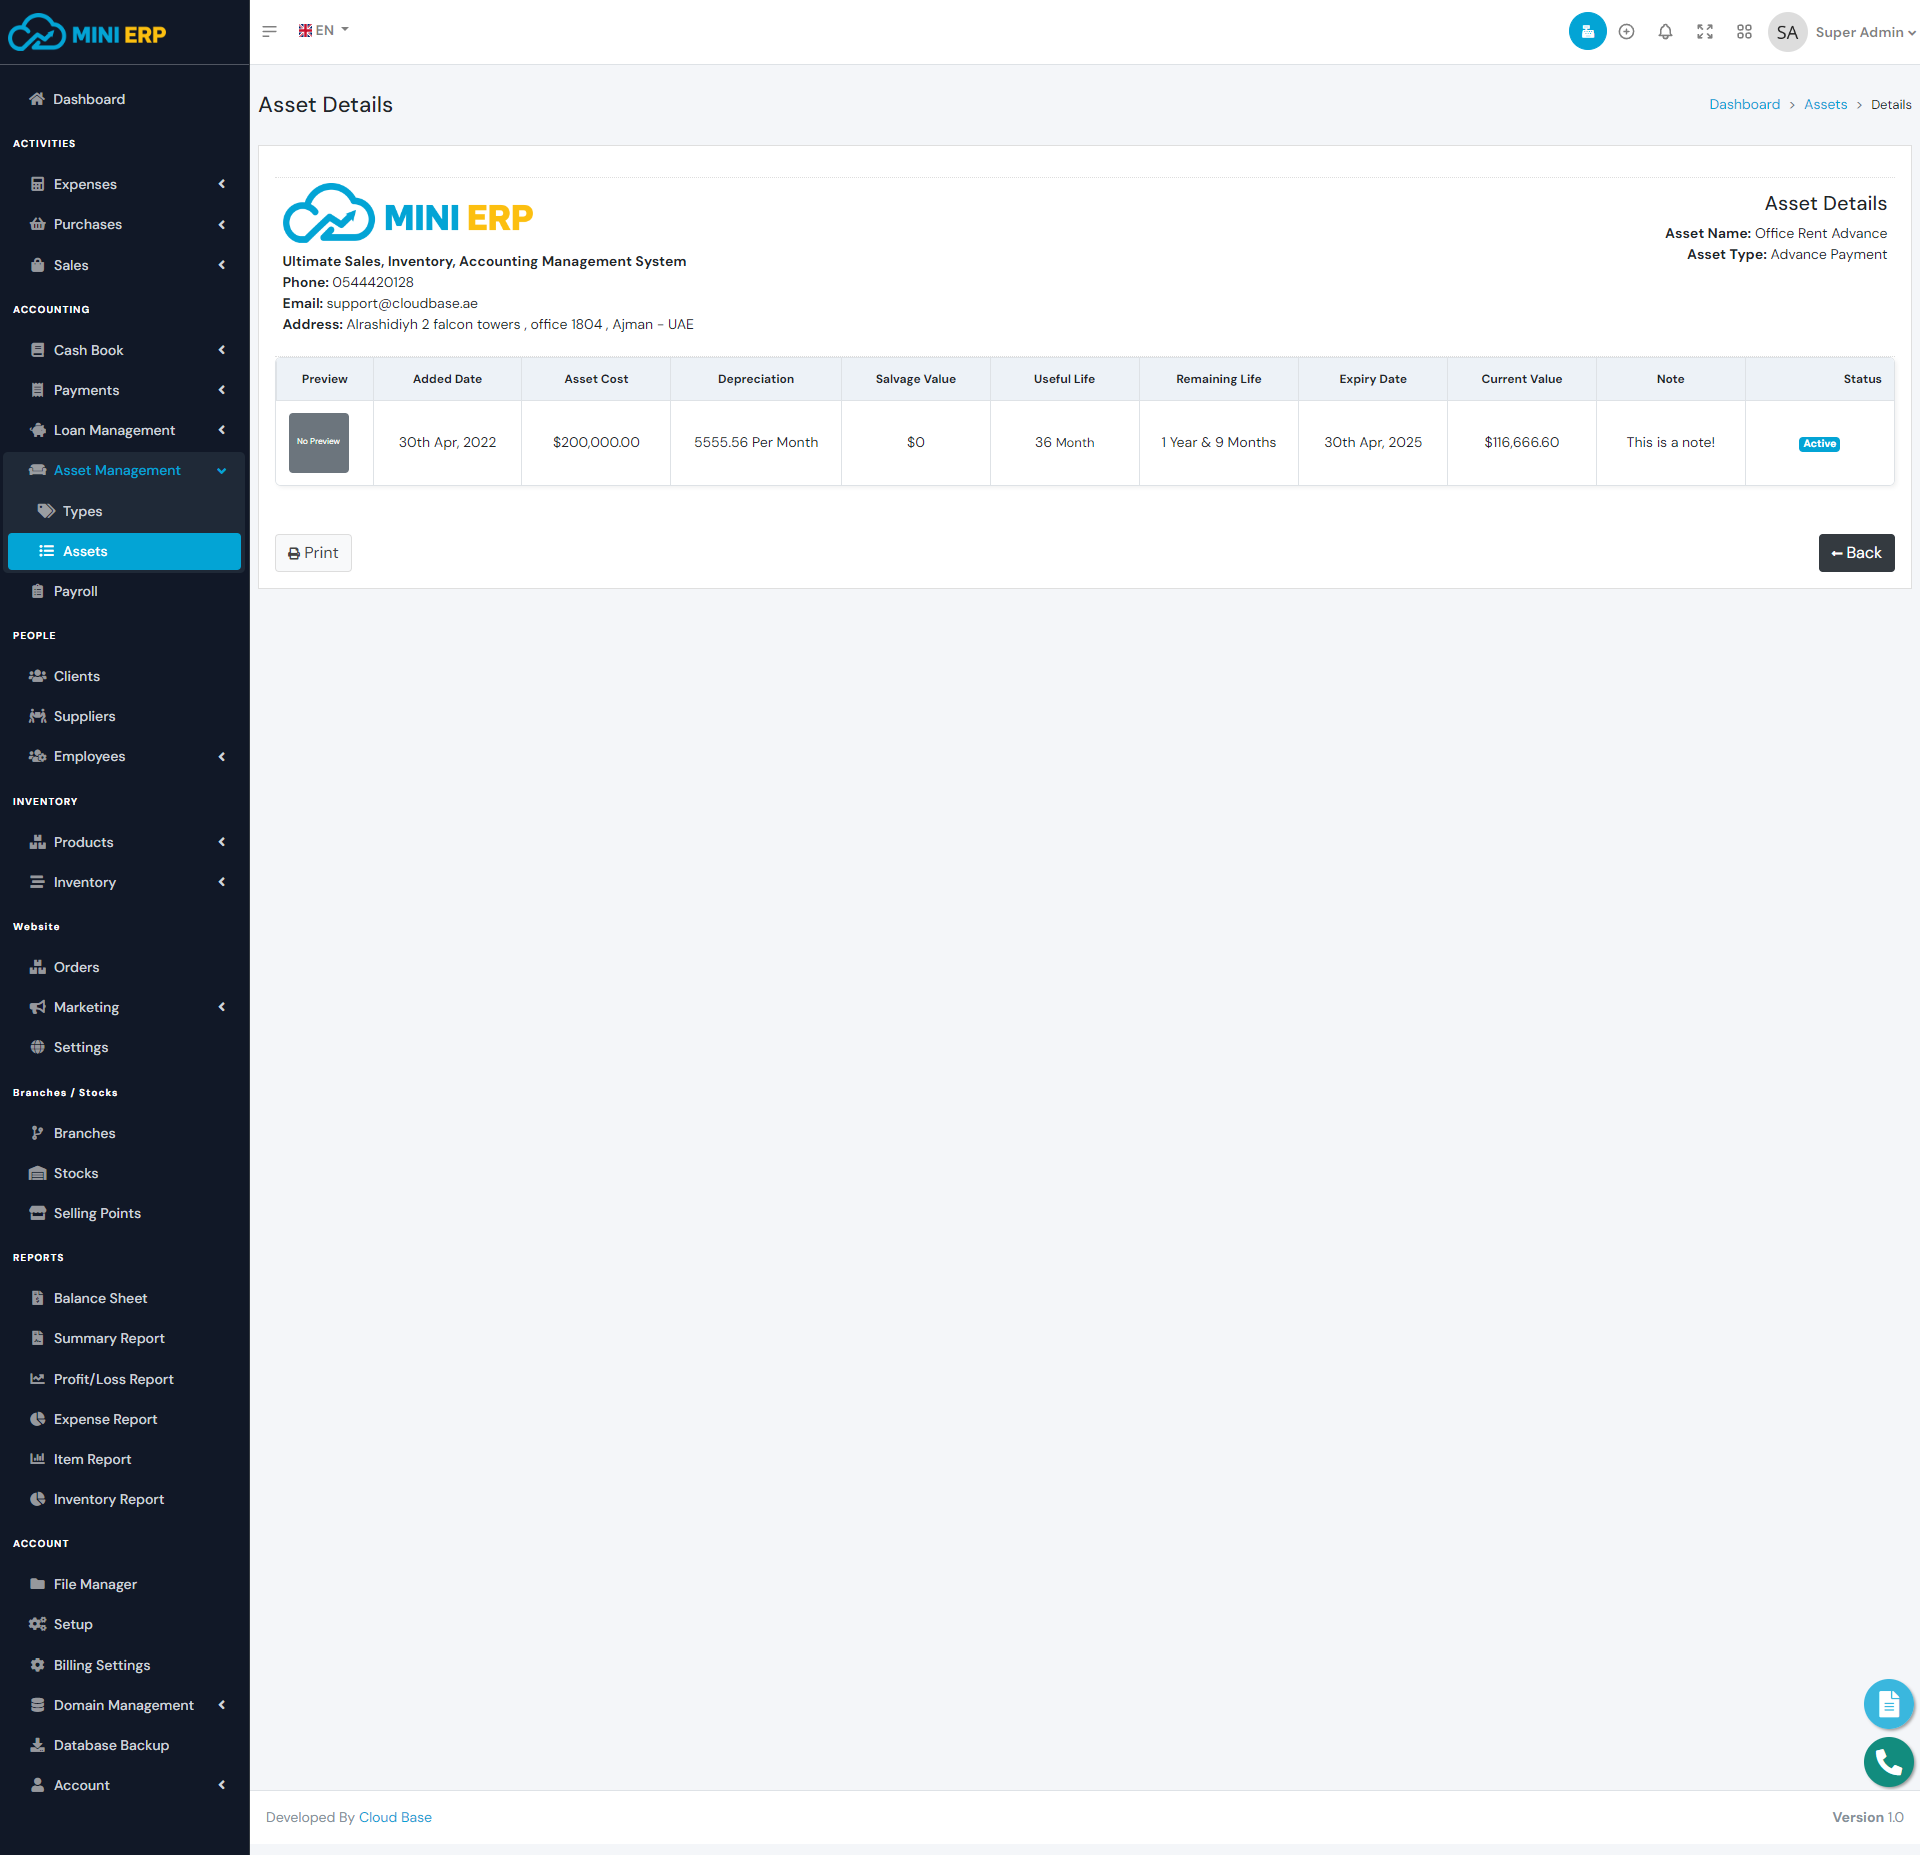
Asset management module helps you manage your company docs and their deprecation. We have implemented straight line depreciation method to calculate the deprecation. You can also create docs without any deprecation. In order to create any asset, you need to create an asset type first.
| Required fields to create a loan payment |
|---|
| Asset Name => Name of the asset. You can enter any name. |
| Asset Type => Type(Category) of the asset. Select an asset type from the list. |
| Asset Cost => The current value of your asset. Enter a number as the asset cost. |
| Depreciation => If the asset has deprecation then select yes otherwise select no. |
| Depreciation Type(If the asset has deprecation) => Select a deprecation type. You can select yearly deprecation or monthly deprecation. |
| Salvage Value(If the asset has deprecation) => Salvage value is the estimated book value of an asset after depreciation is complete. |
| Useful Life(If the asset has deprecation) => The useful life of an asset is an accounting estimate of the number of years it is likely to remain in service for the purpose of cost-effective revenue generation. |
Payroll
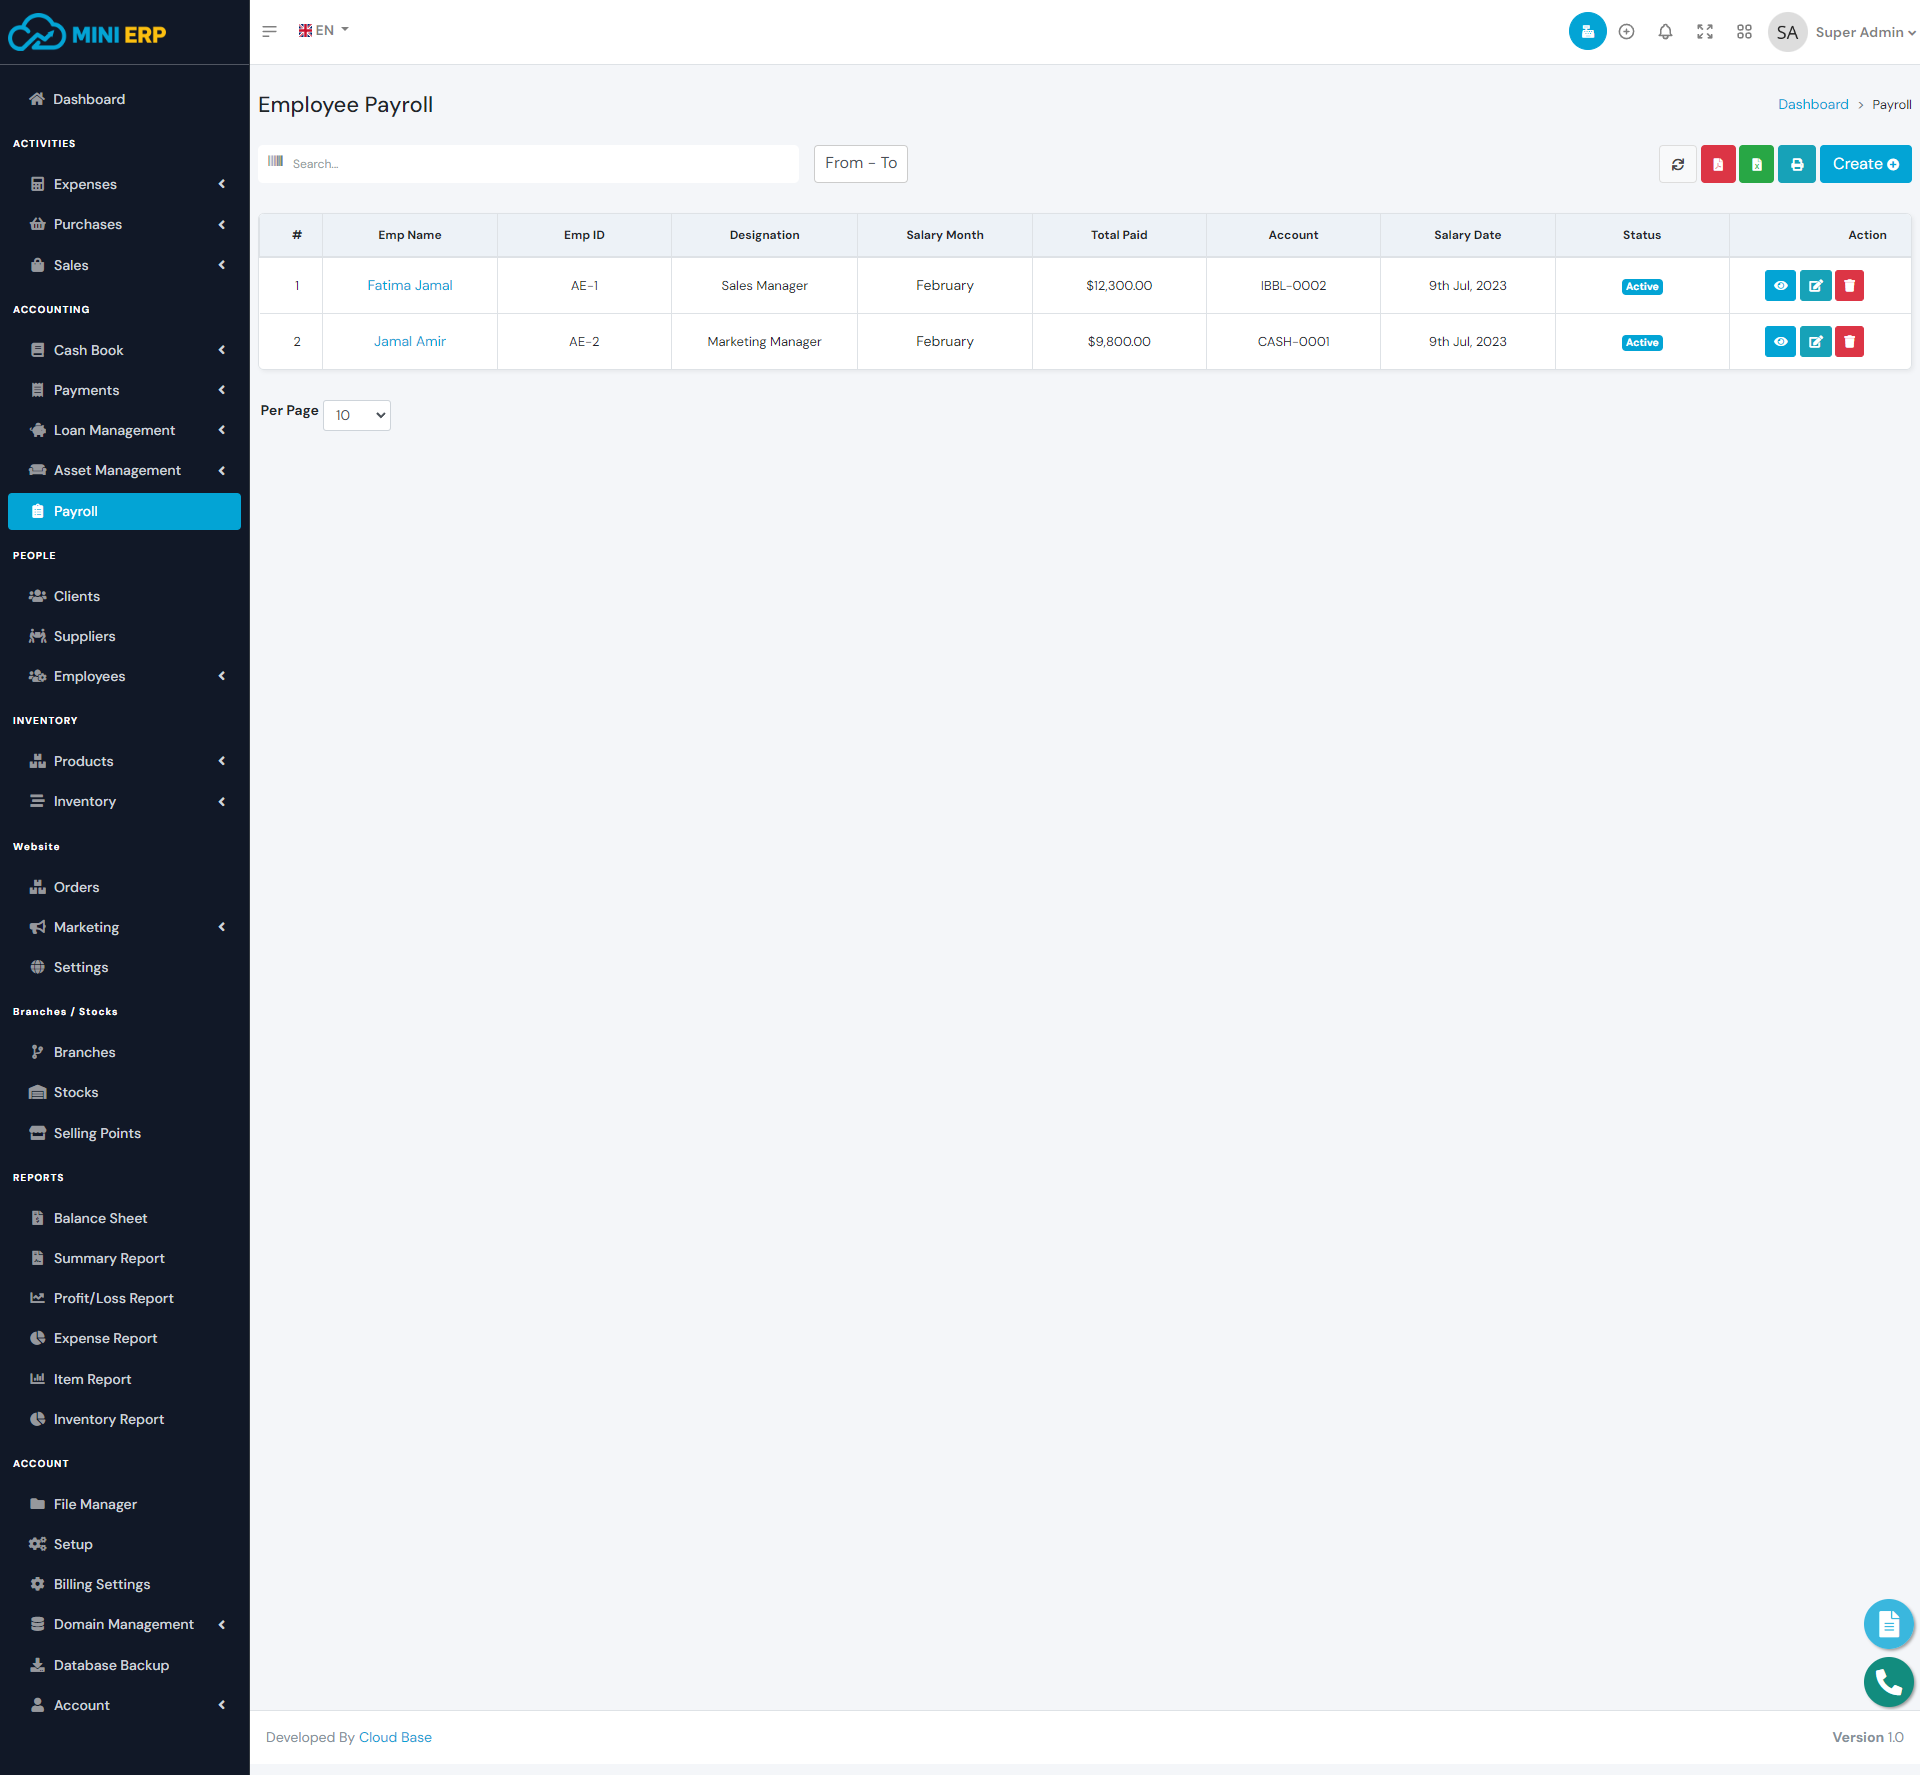
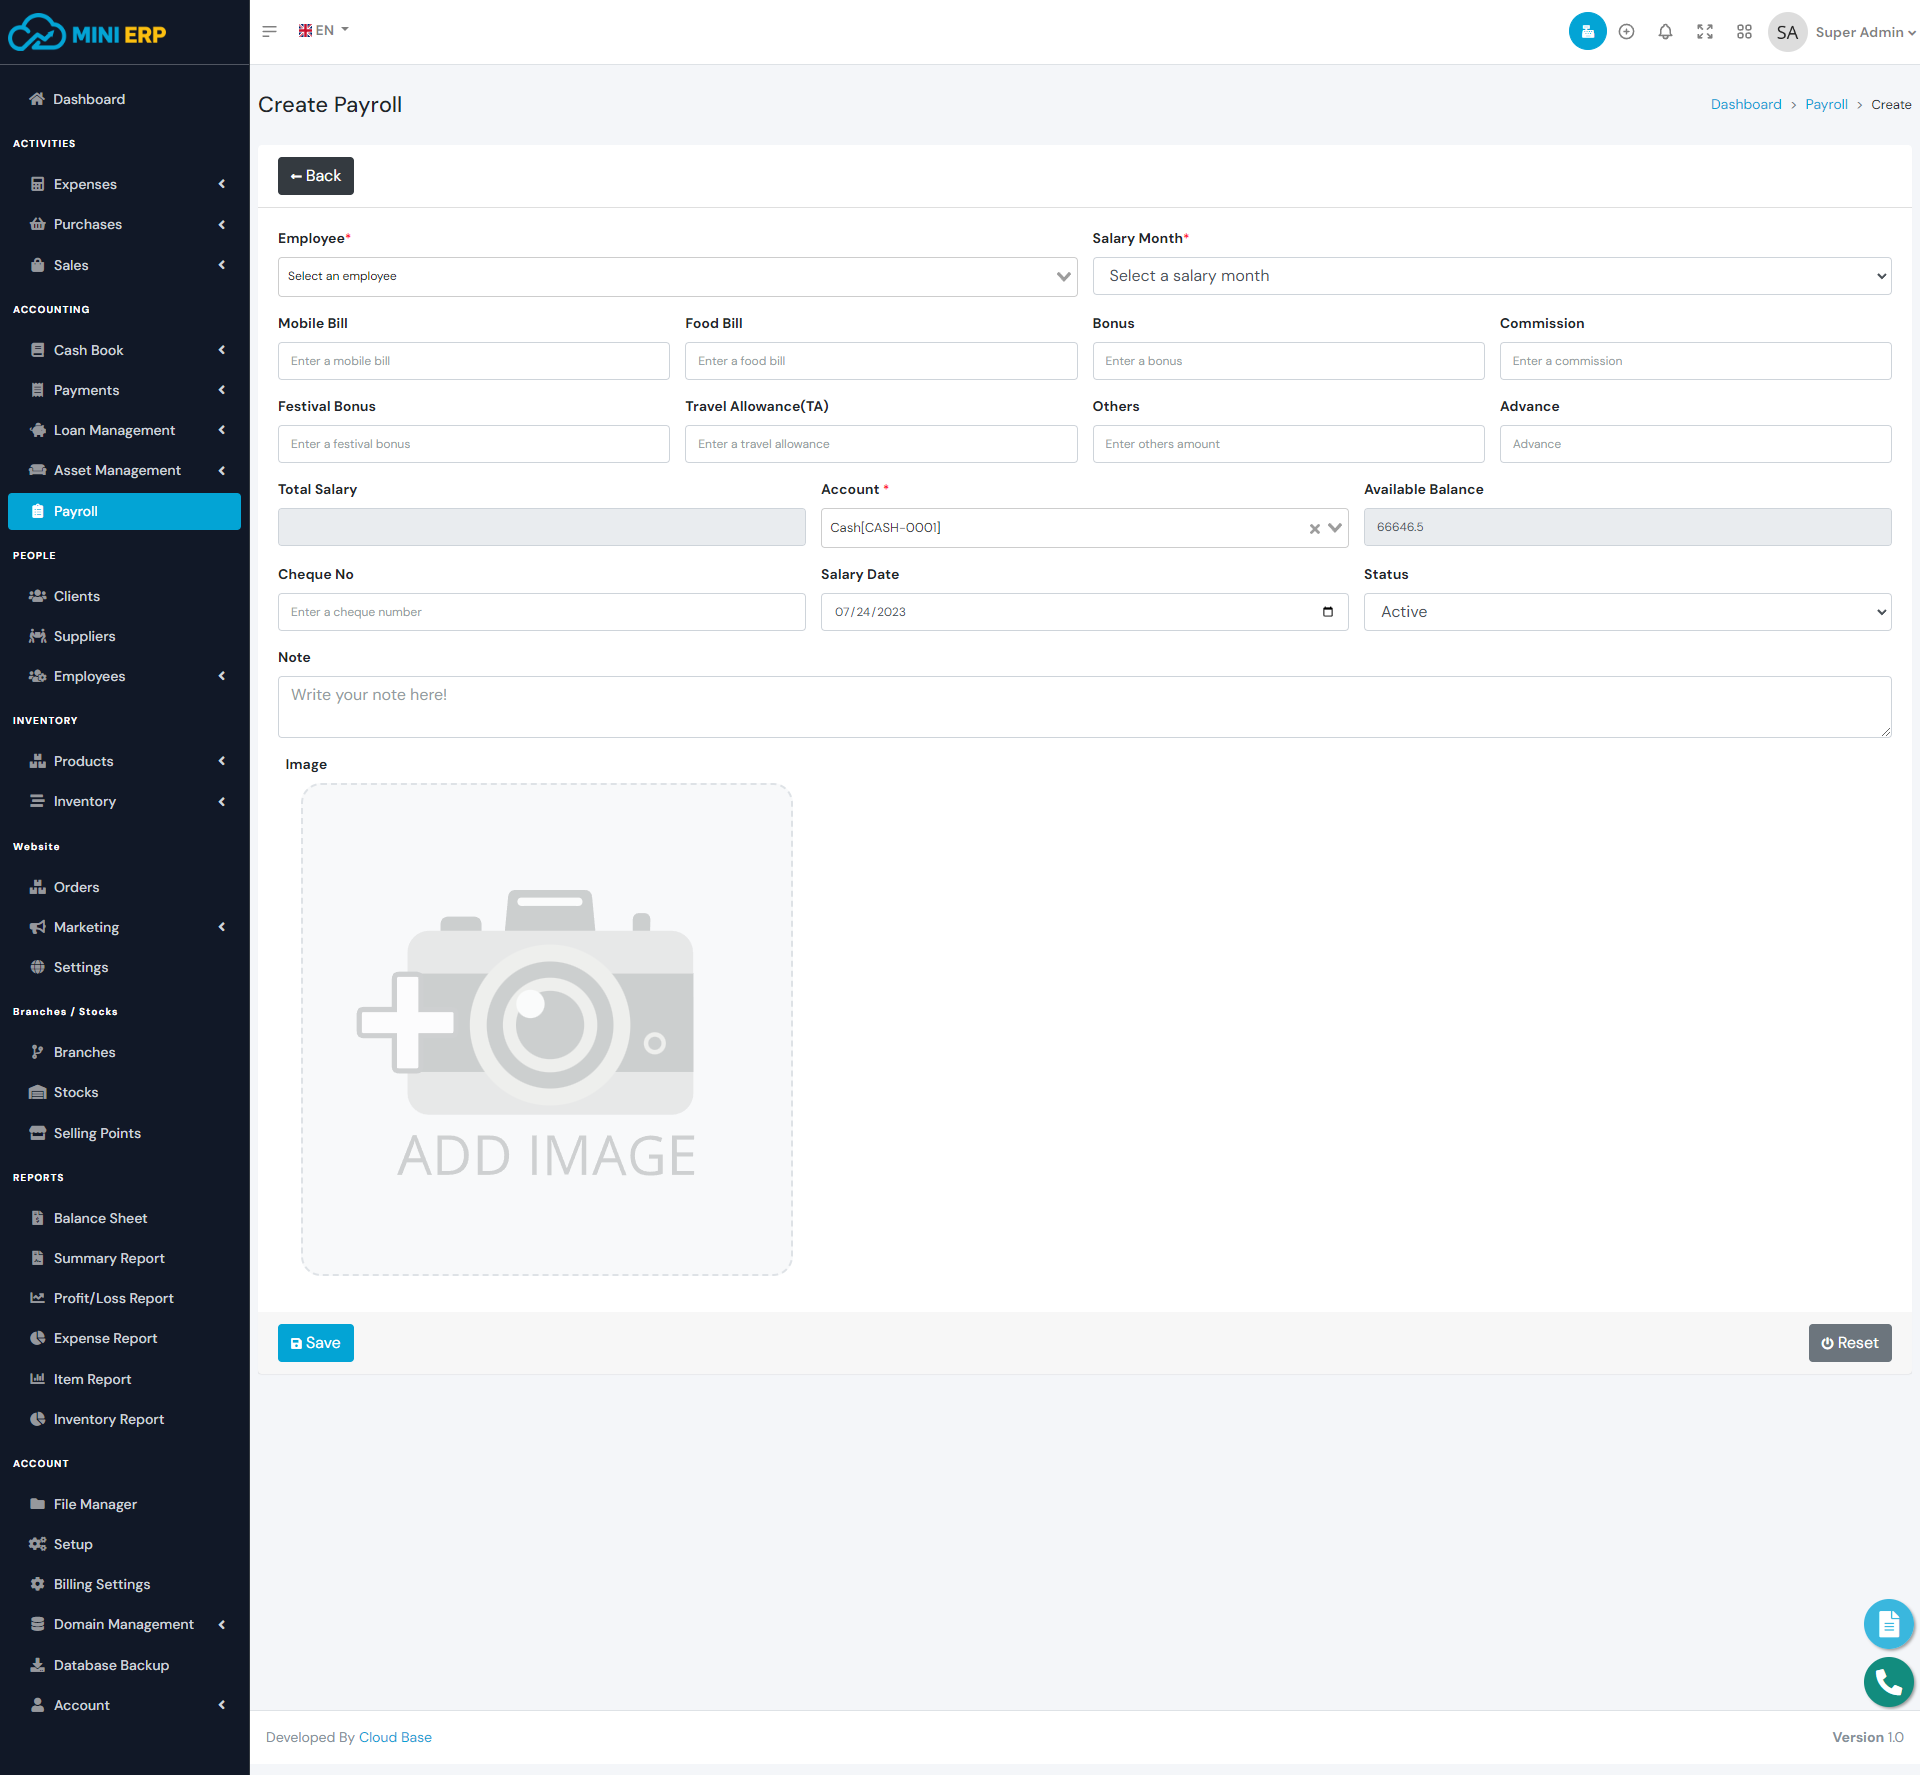
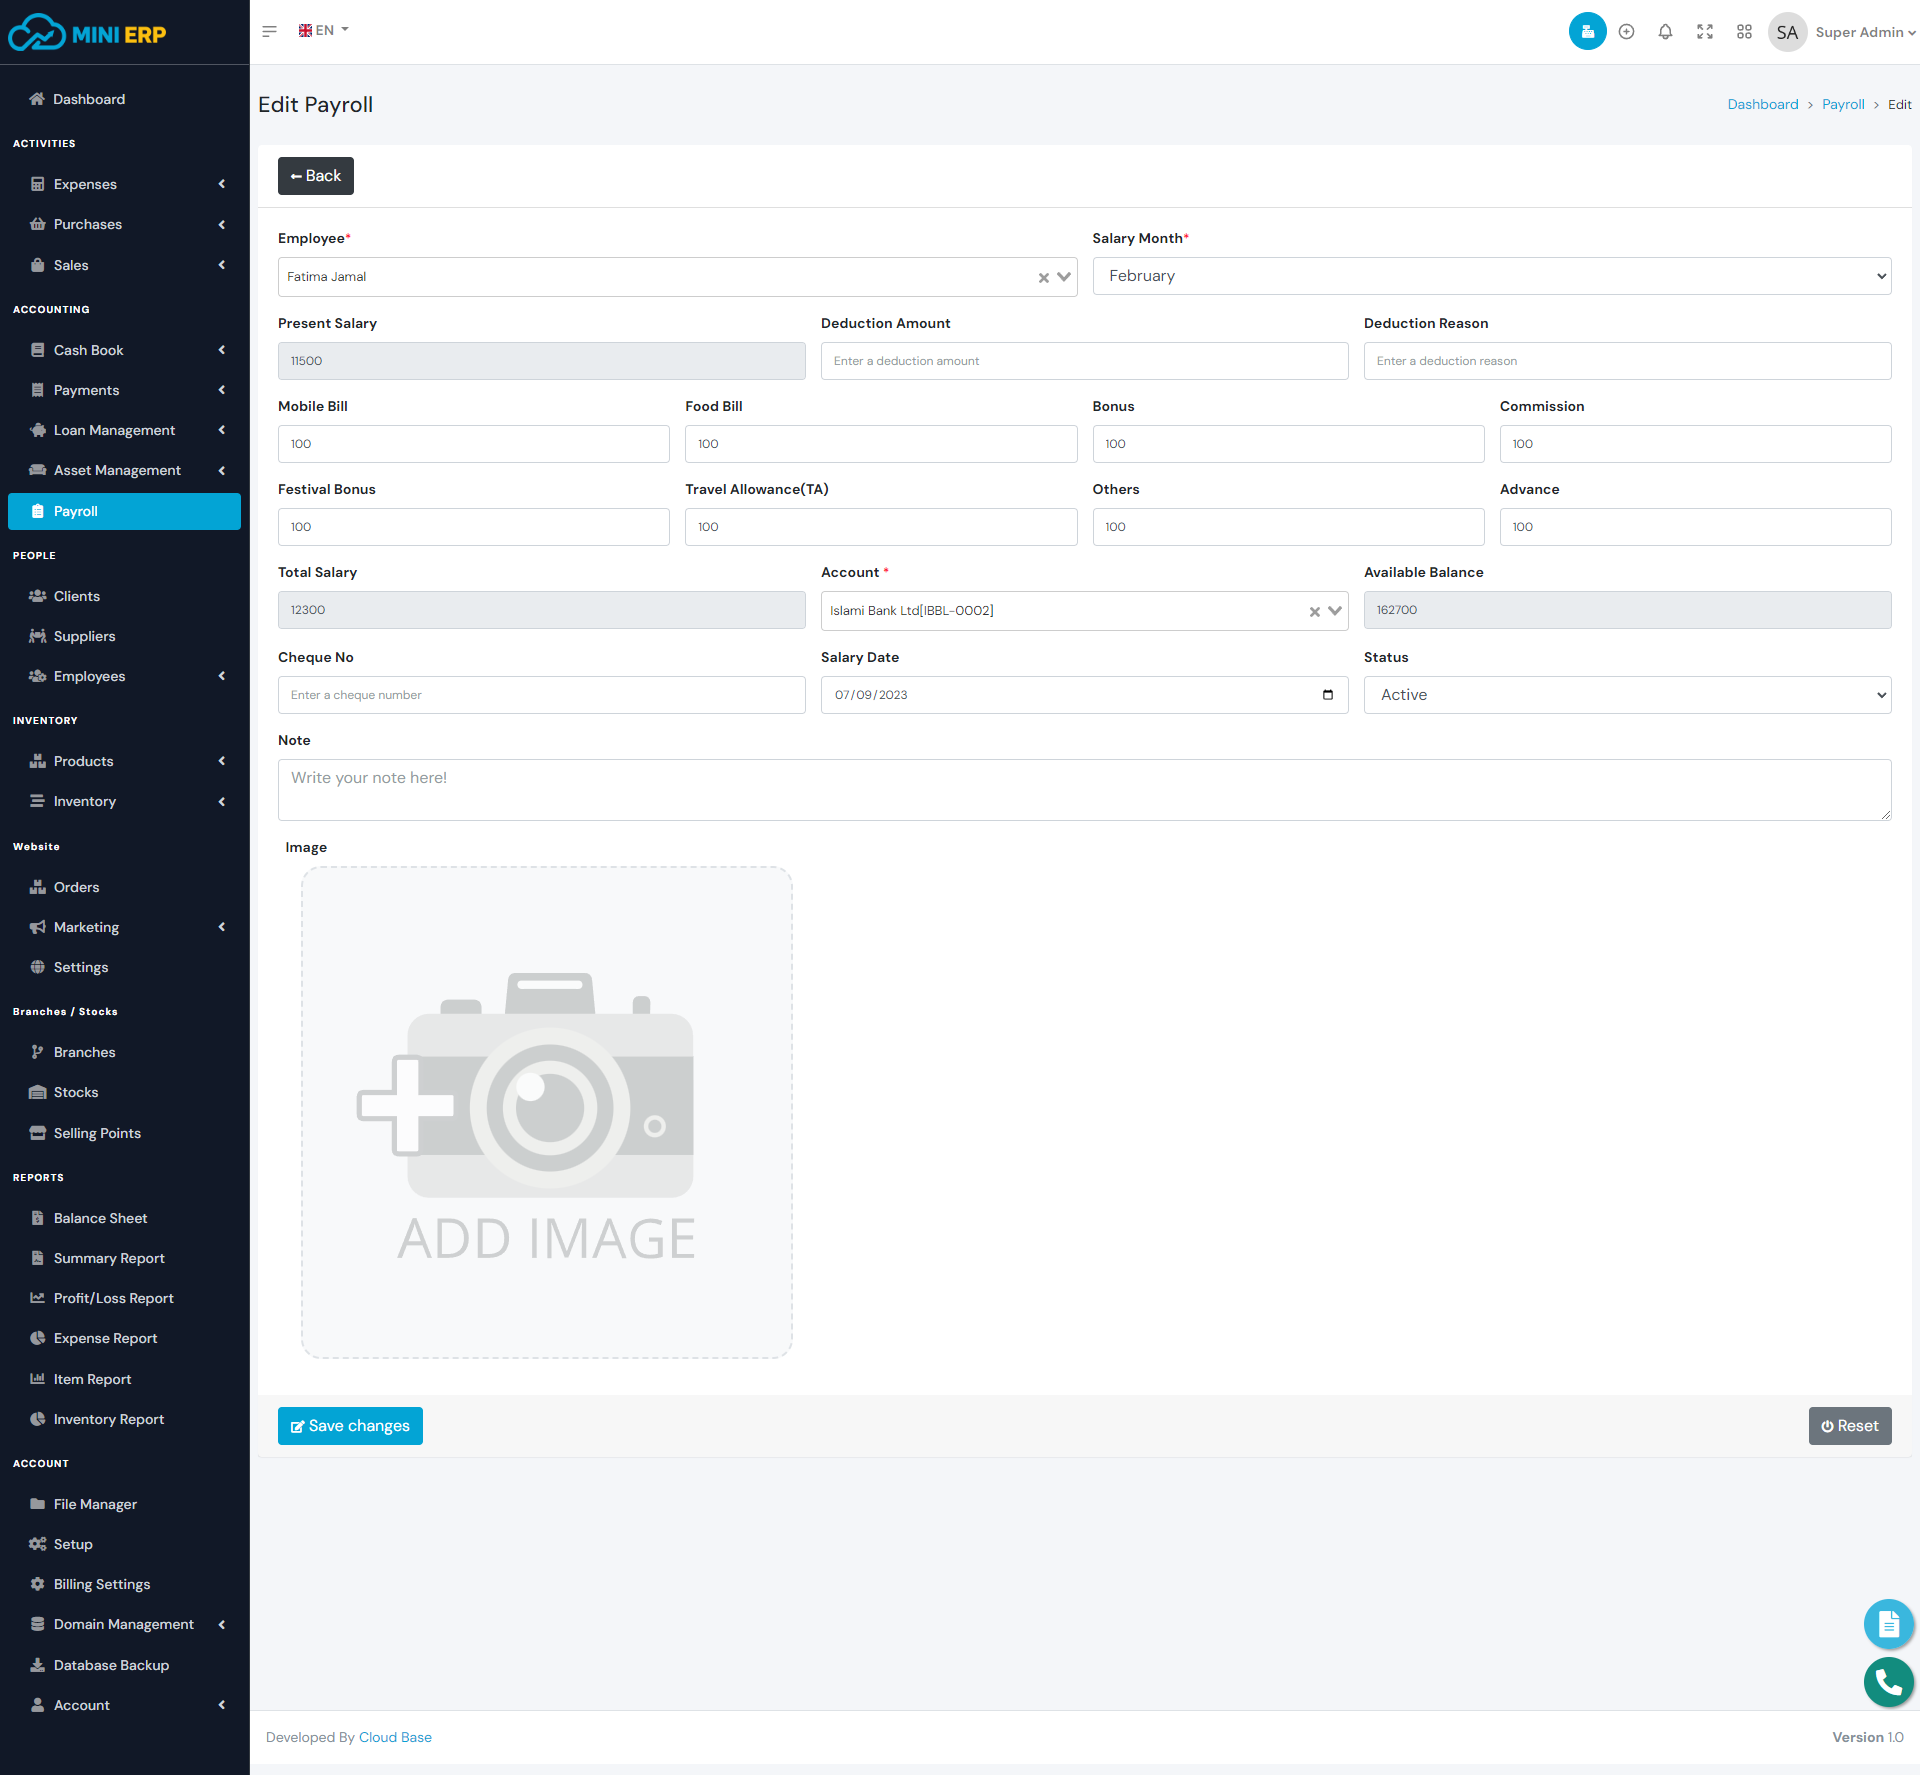
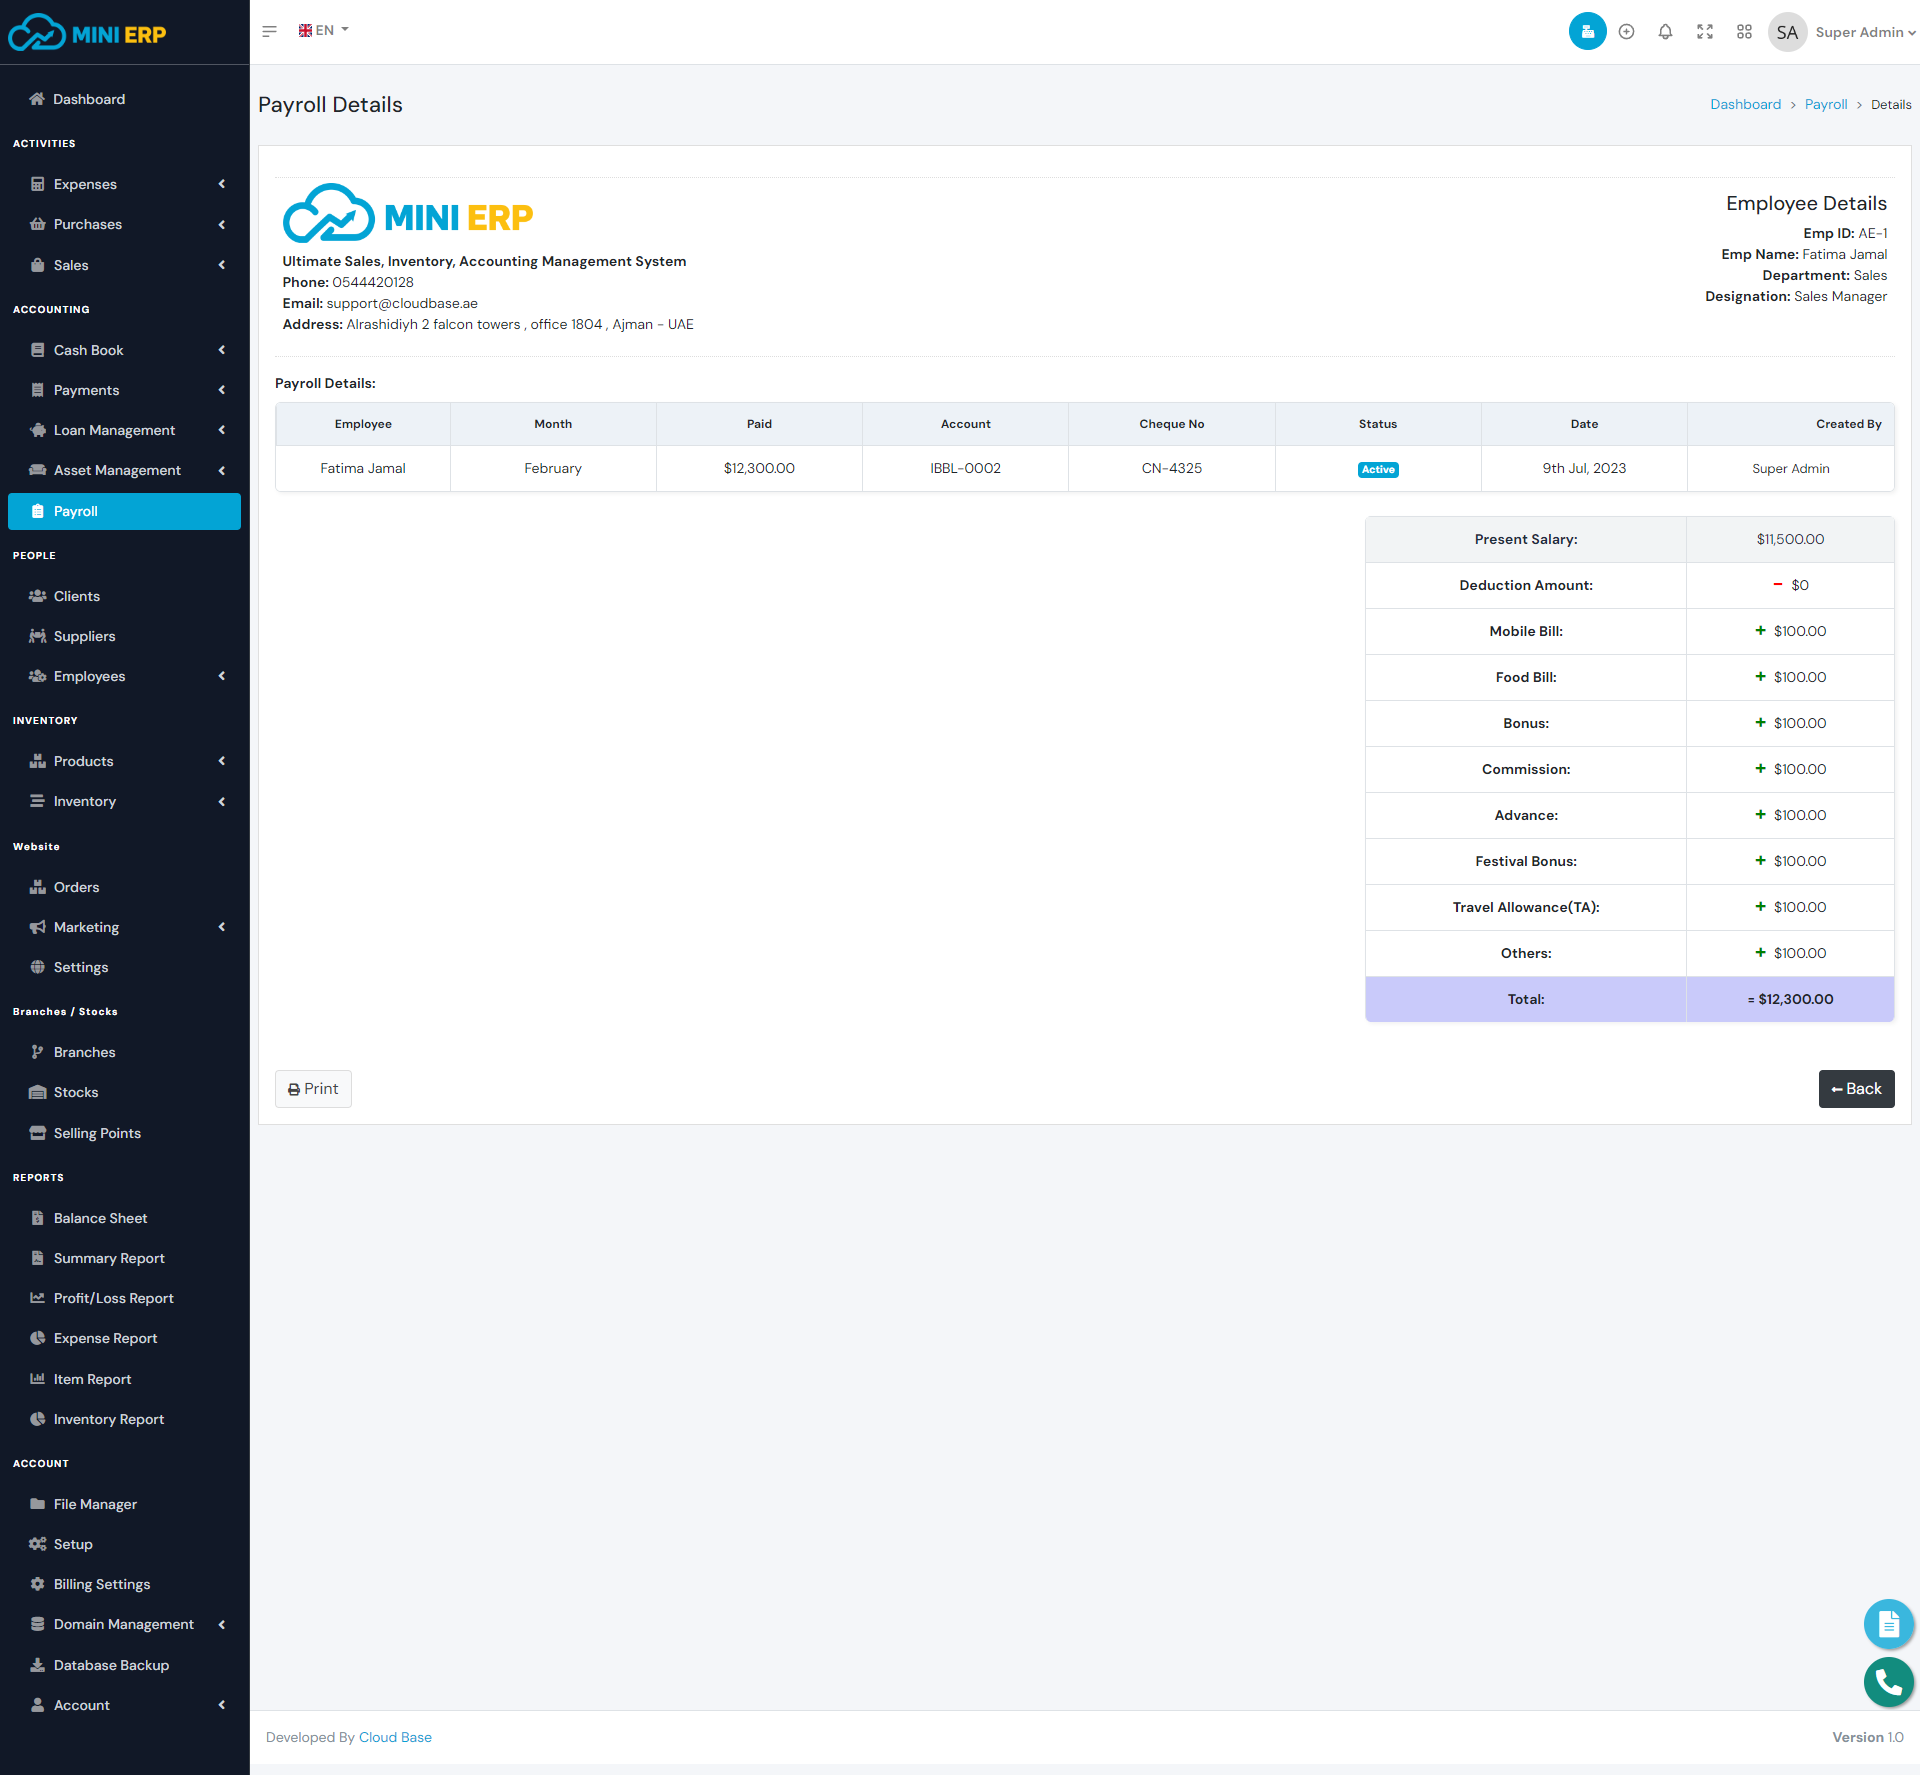
Payroll module helps you manage your employee salaries and other payments. Using the payroll module you can generate monthly salaries for your employees.
| Required fields to create a payroll |
|---|
| Employee => Employee for whom you want to create payroll. Select an employee from the list. |
| Salary Month => Salaray month. Select a month from the list. |
| Account => The paying account. The total amount will be sent from the selected account. Select an account from the list. The available balance must be greater than the total amount. |
Clients
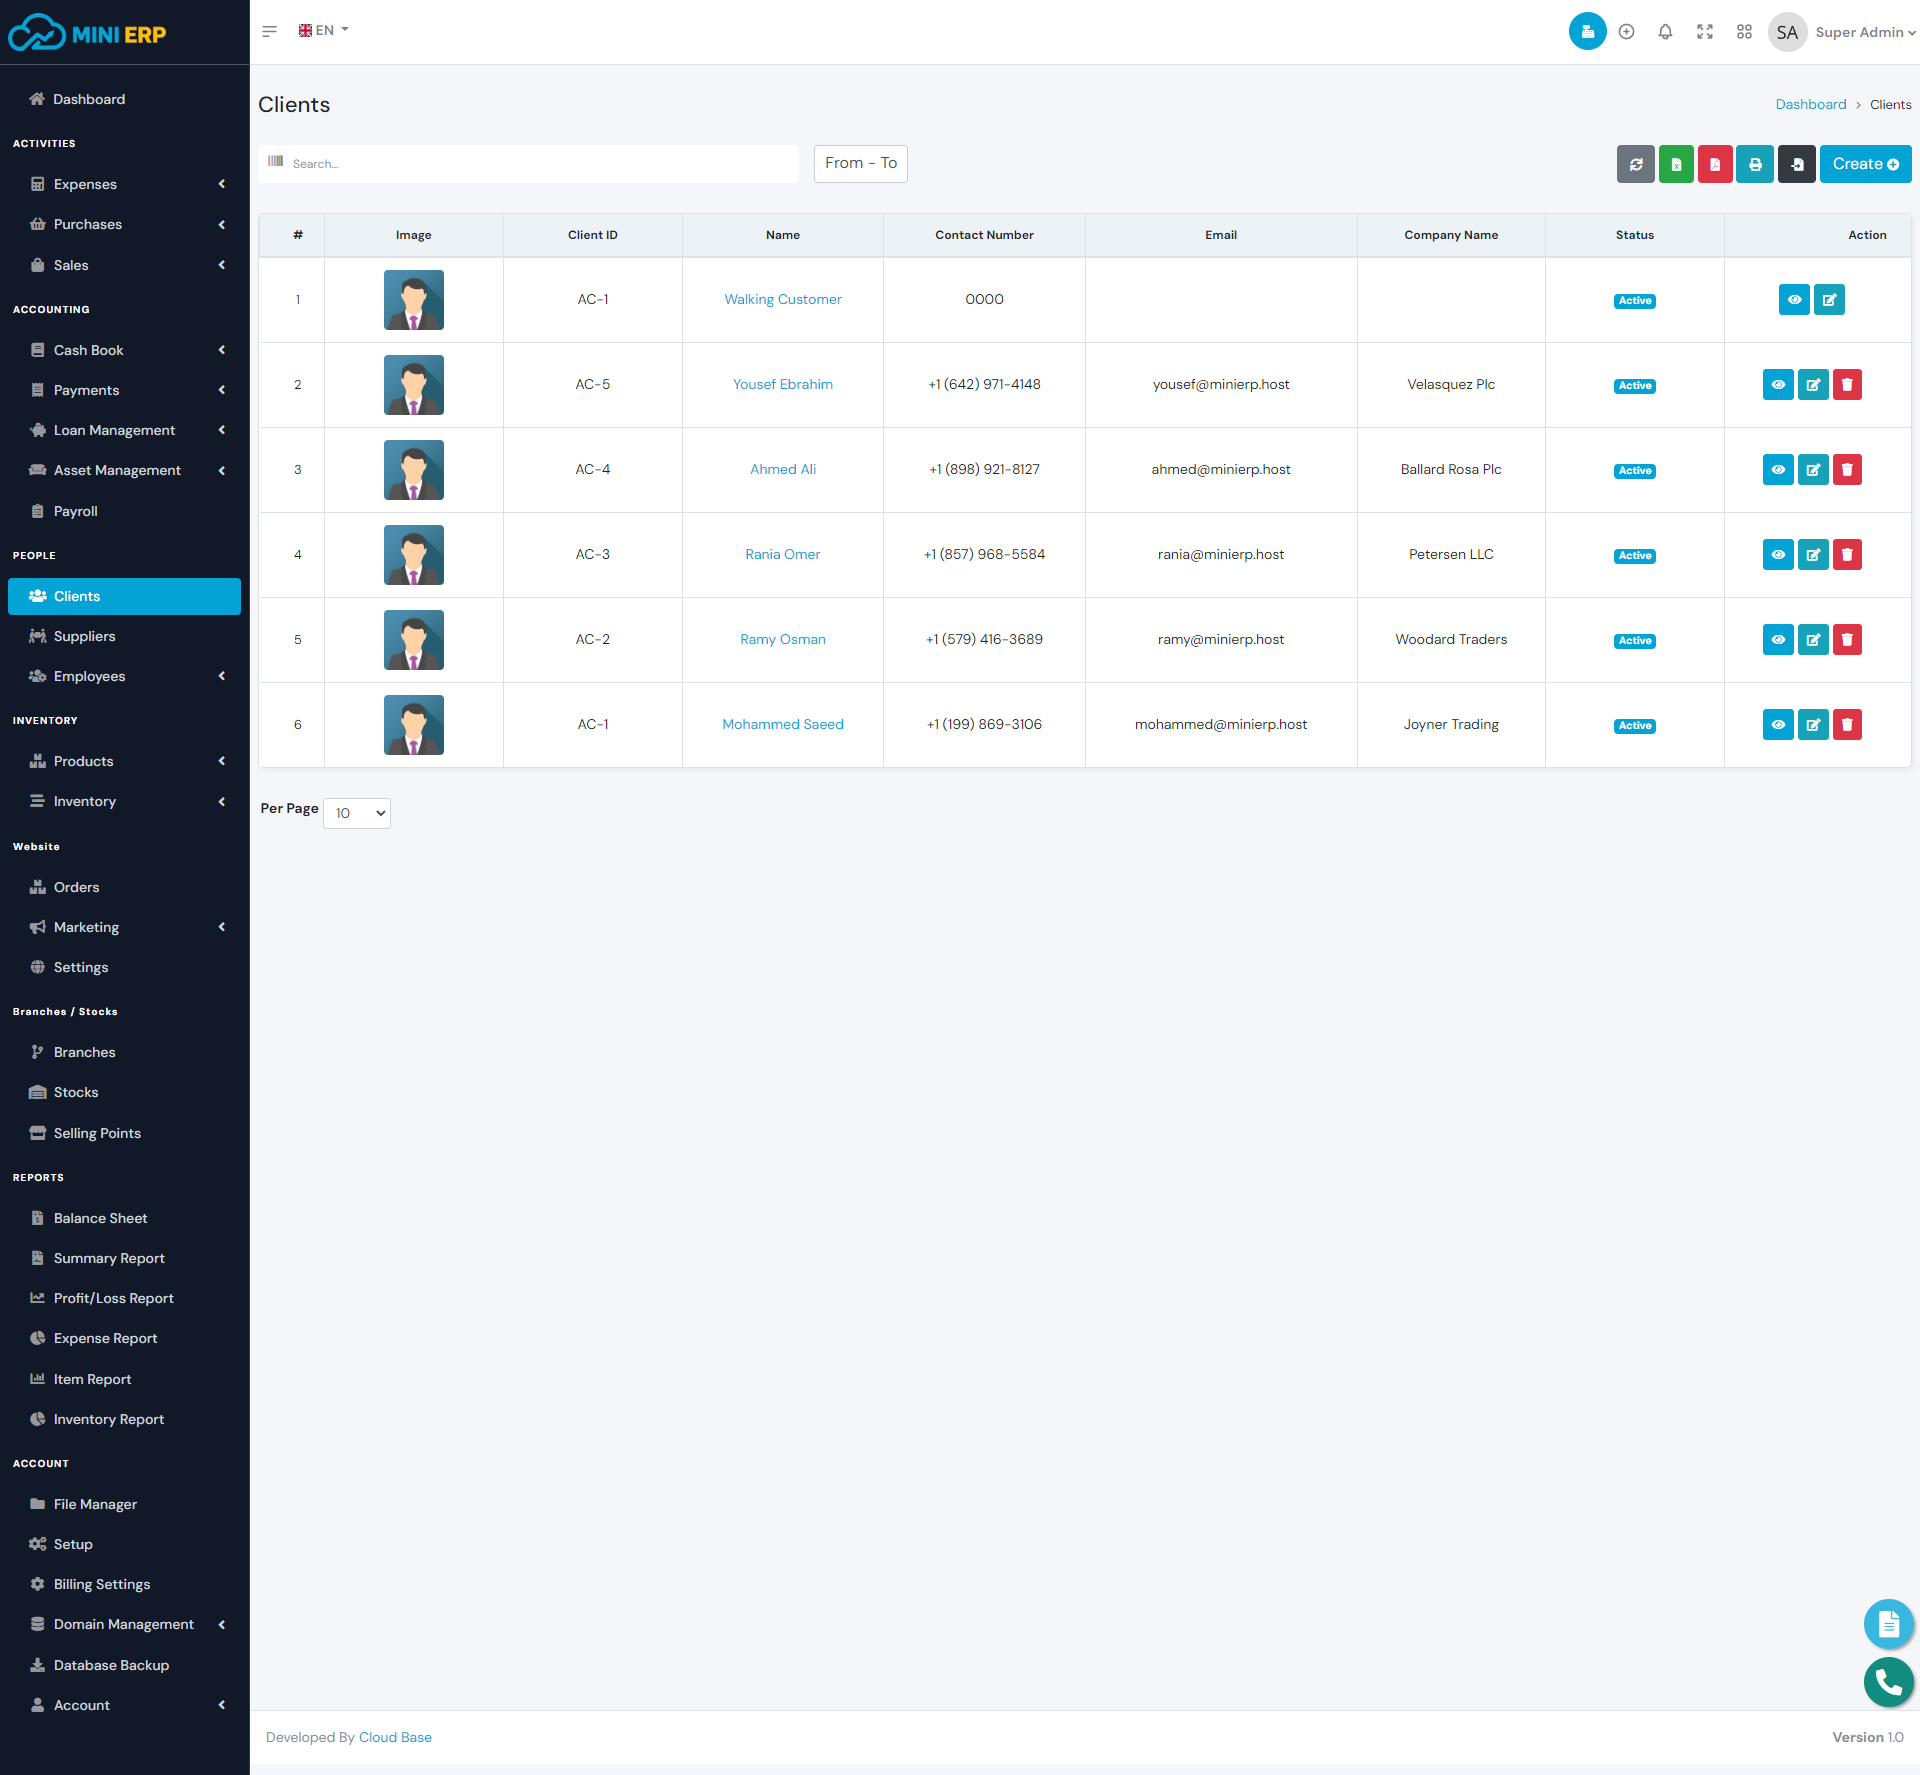
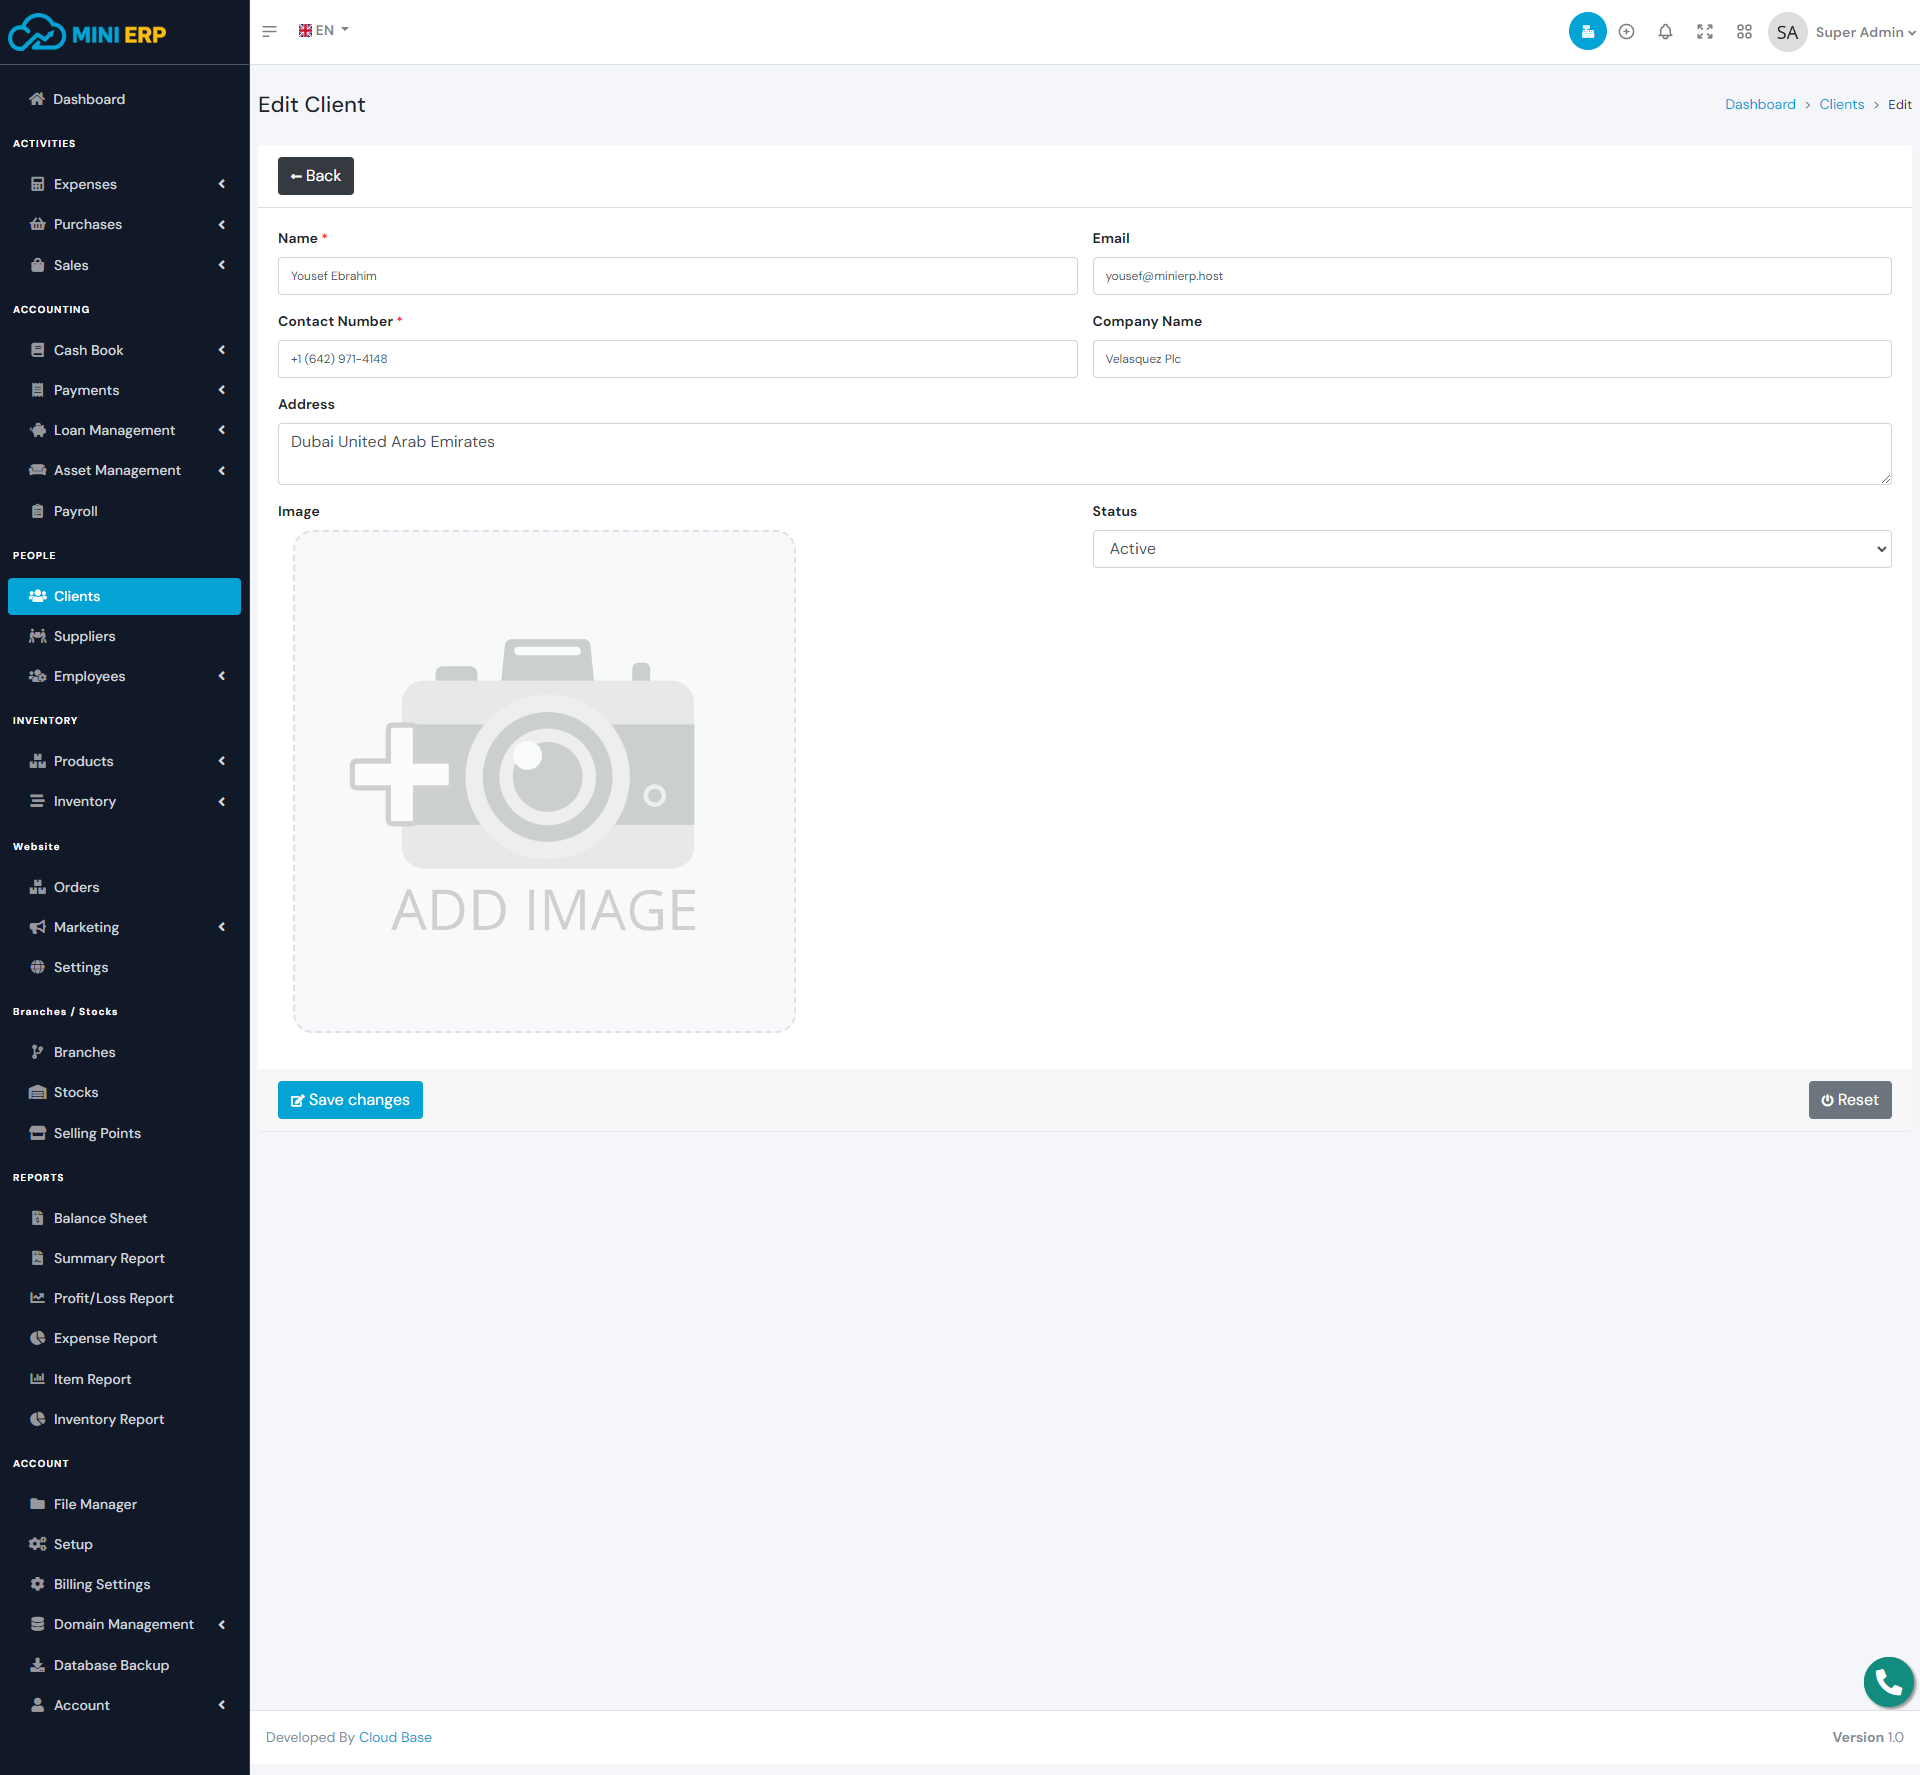
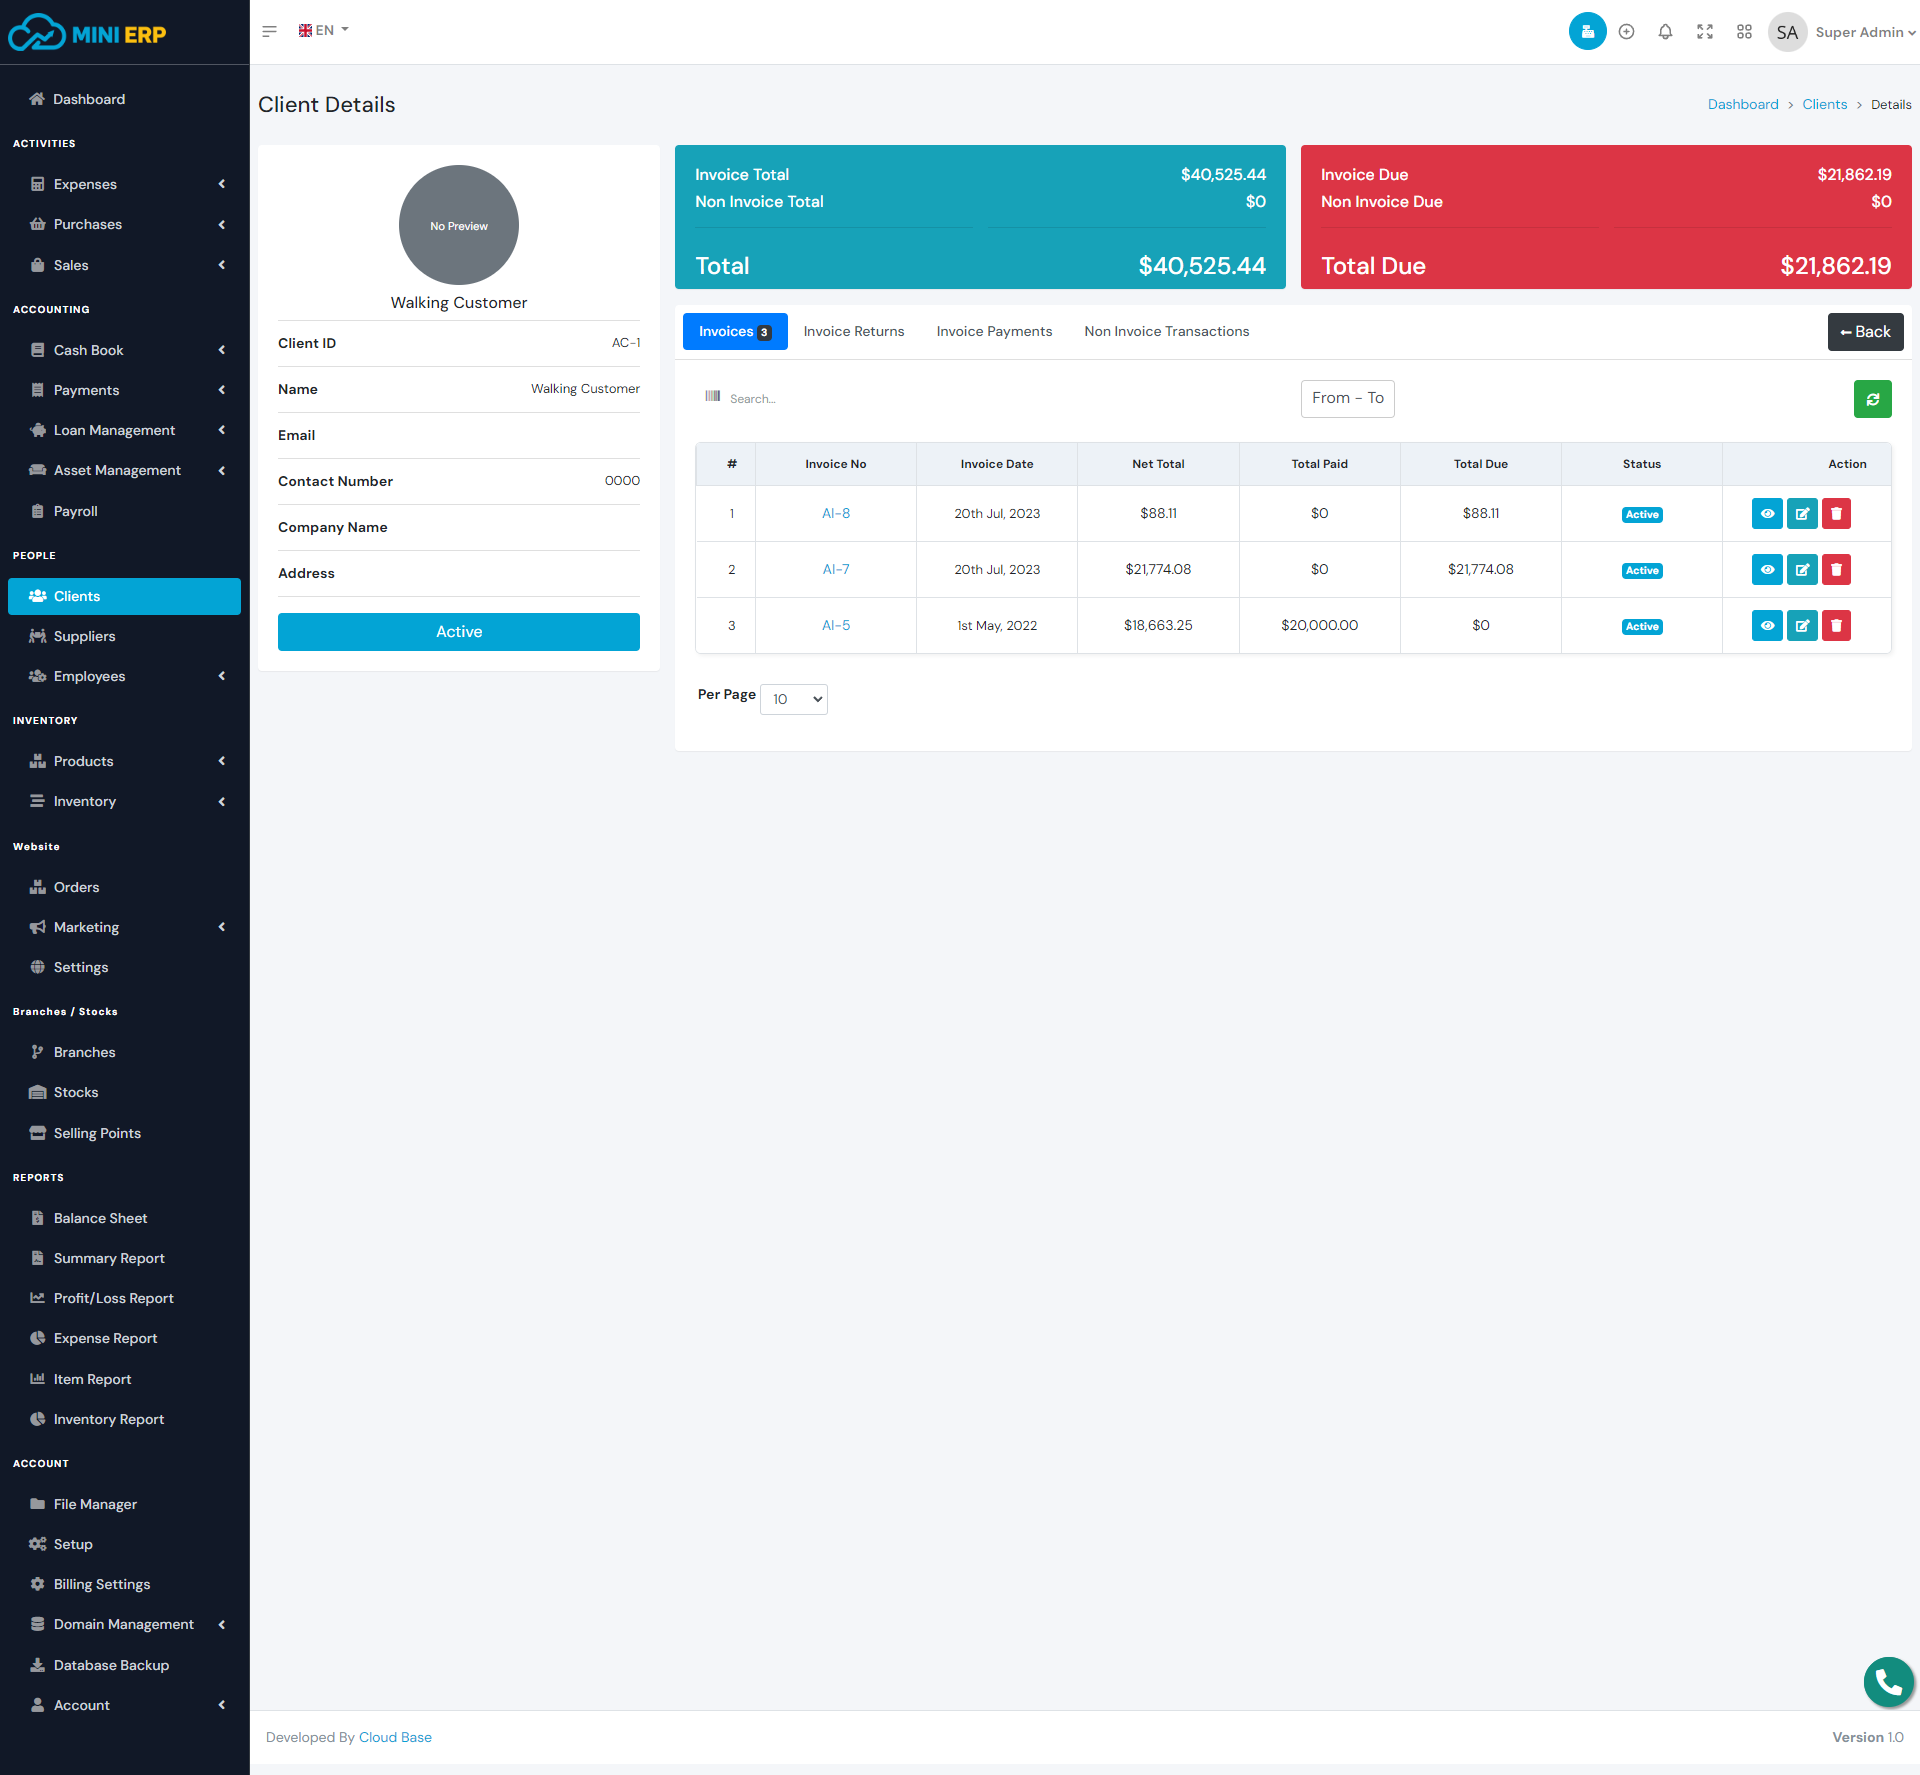
Clients module help you to manage your clients. You can create, edit and delete clients. You can see the client invoices, returns, payments, and non invoice transactions from the client view page.
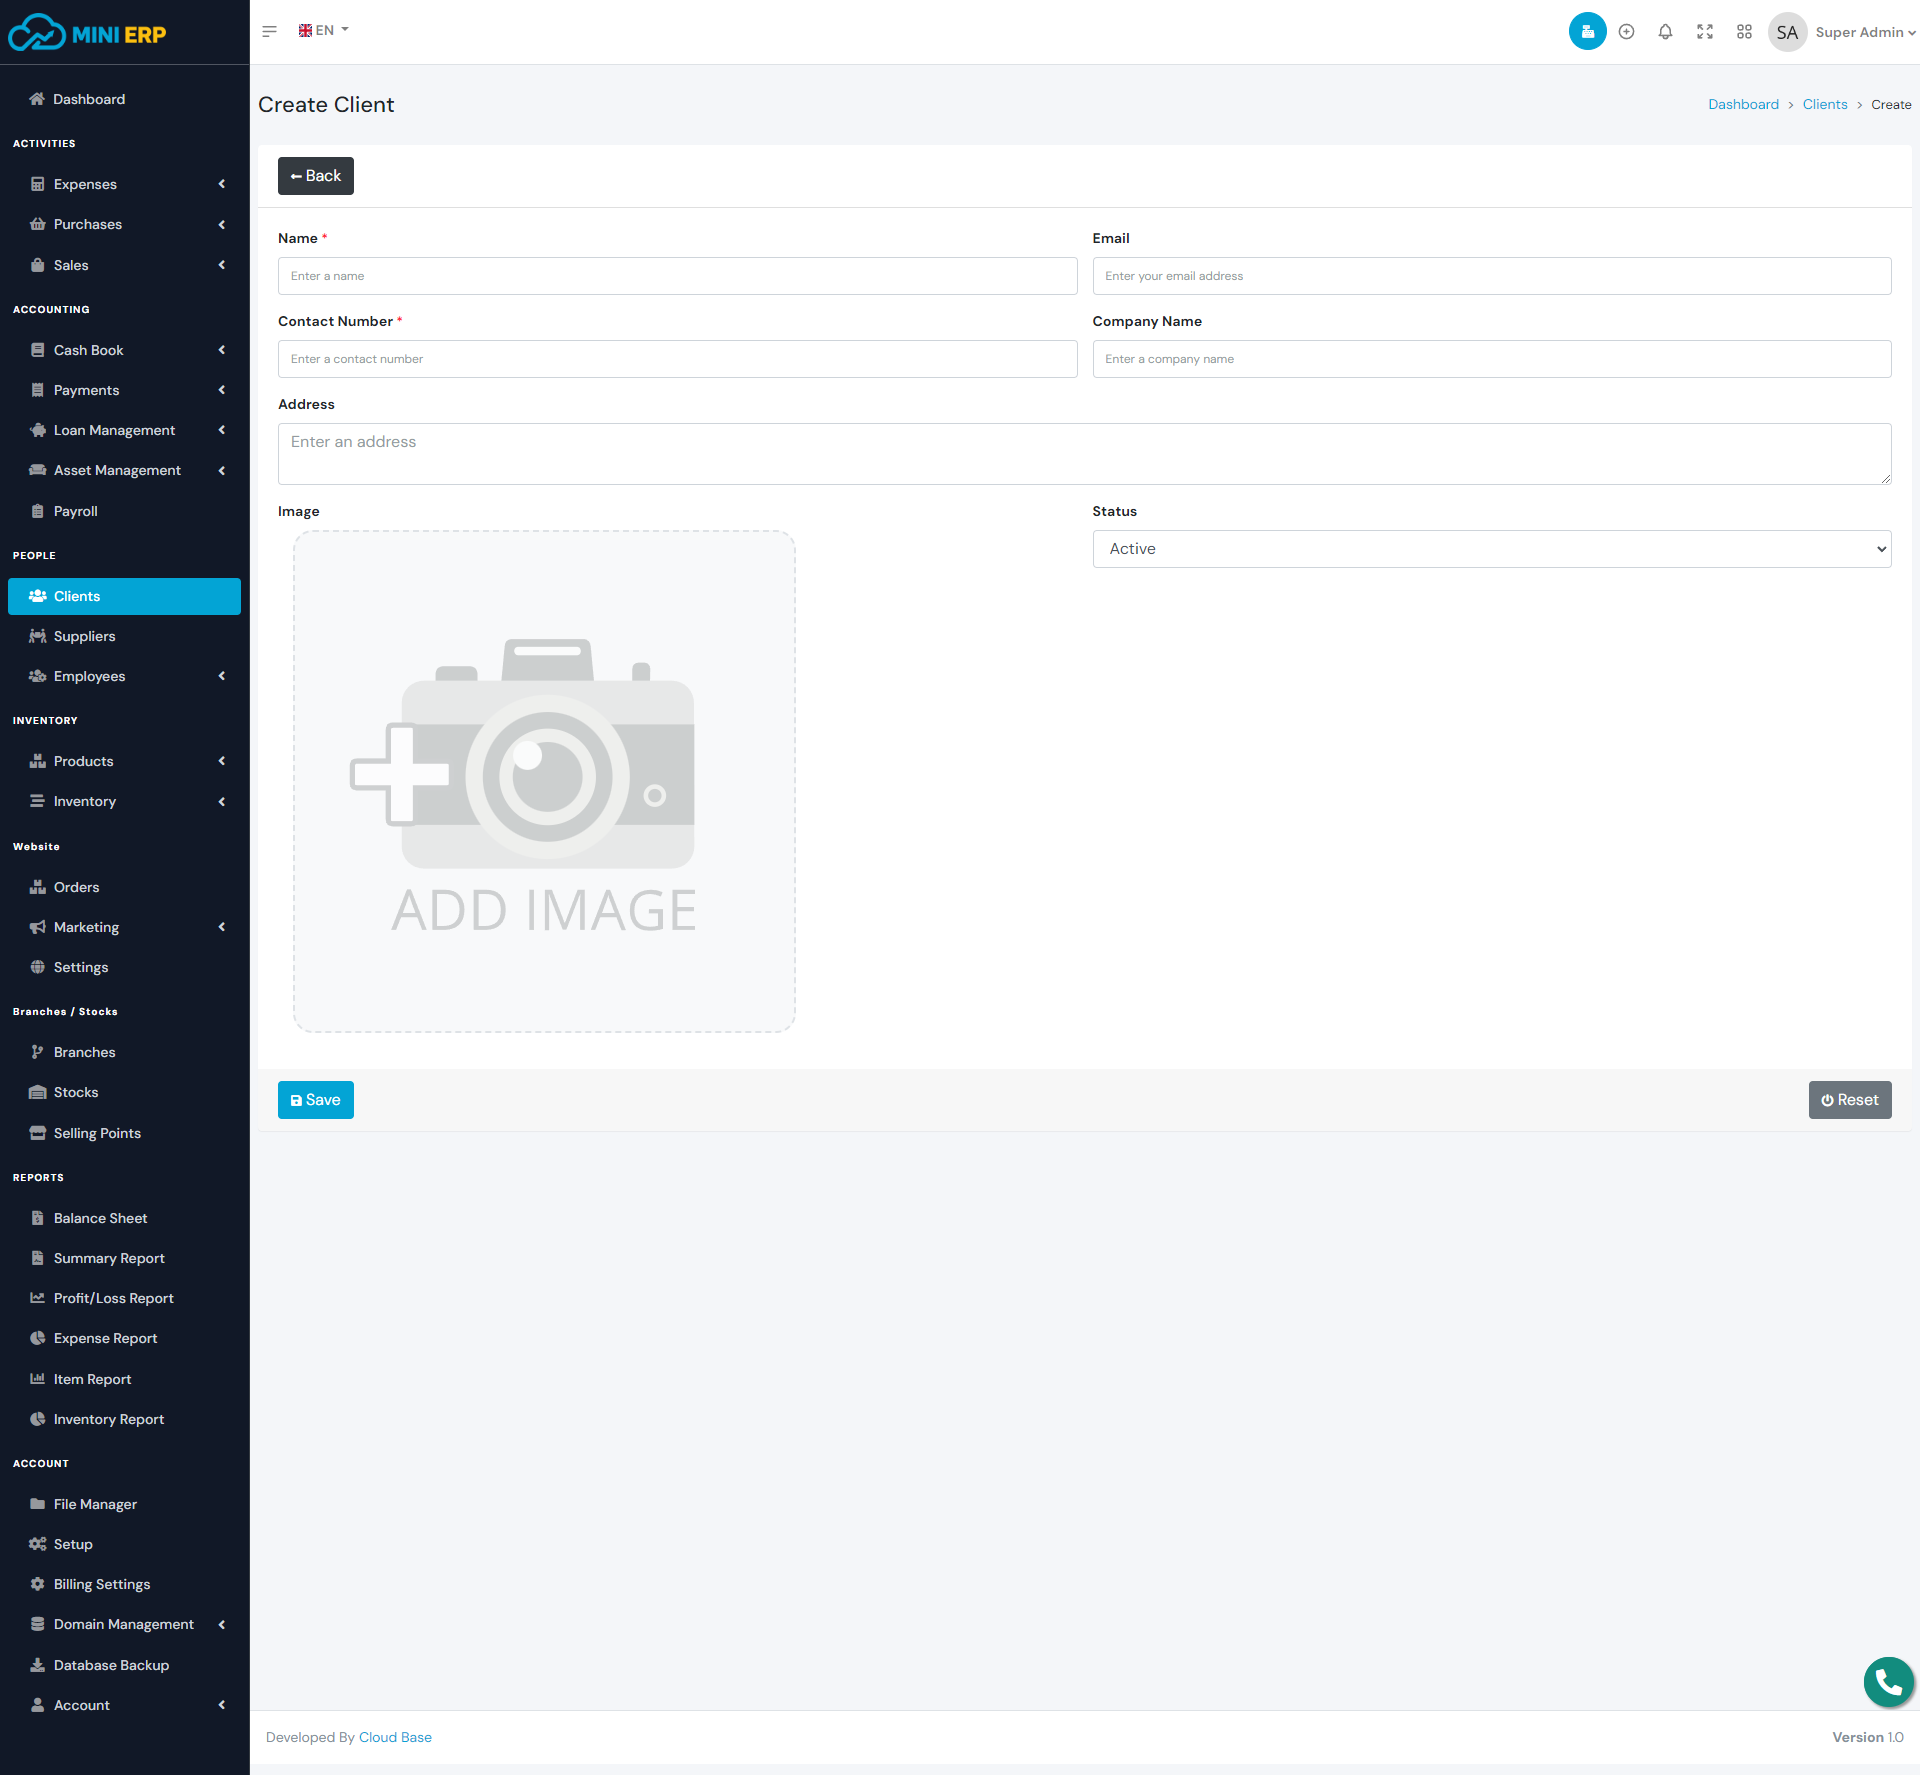
| Required fields to create a client |
|---|
| Name => Name of the client. You can enter any name. |
| Contact Number => Client contact number. |
Suppliers
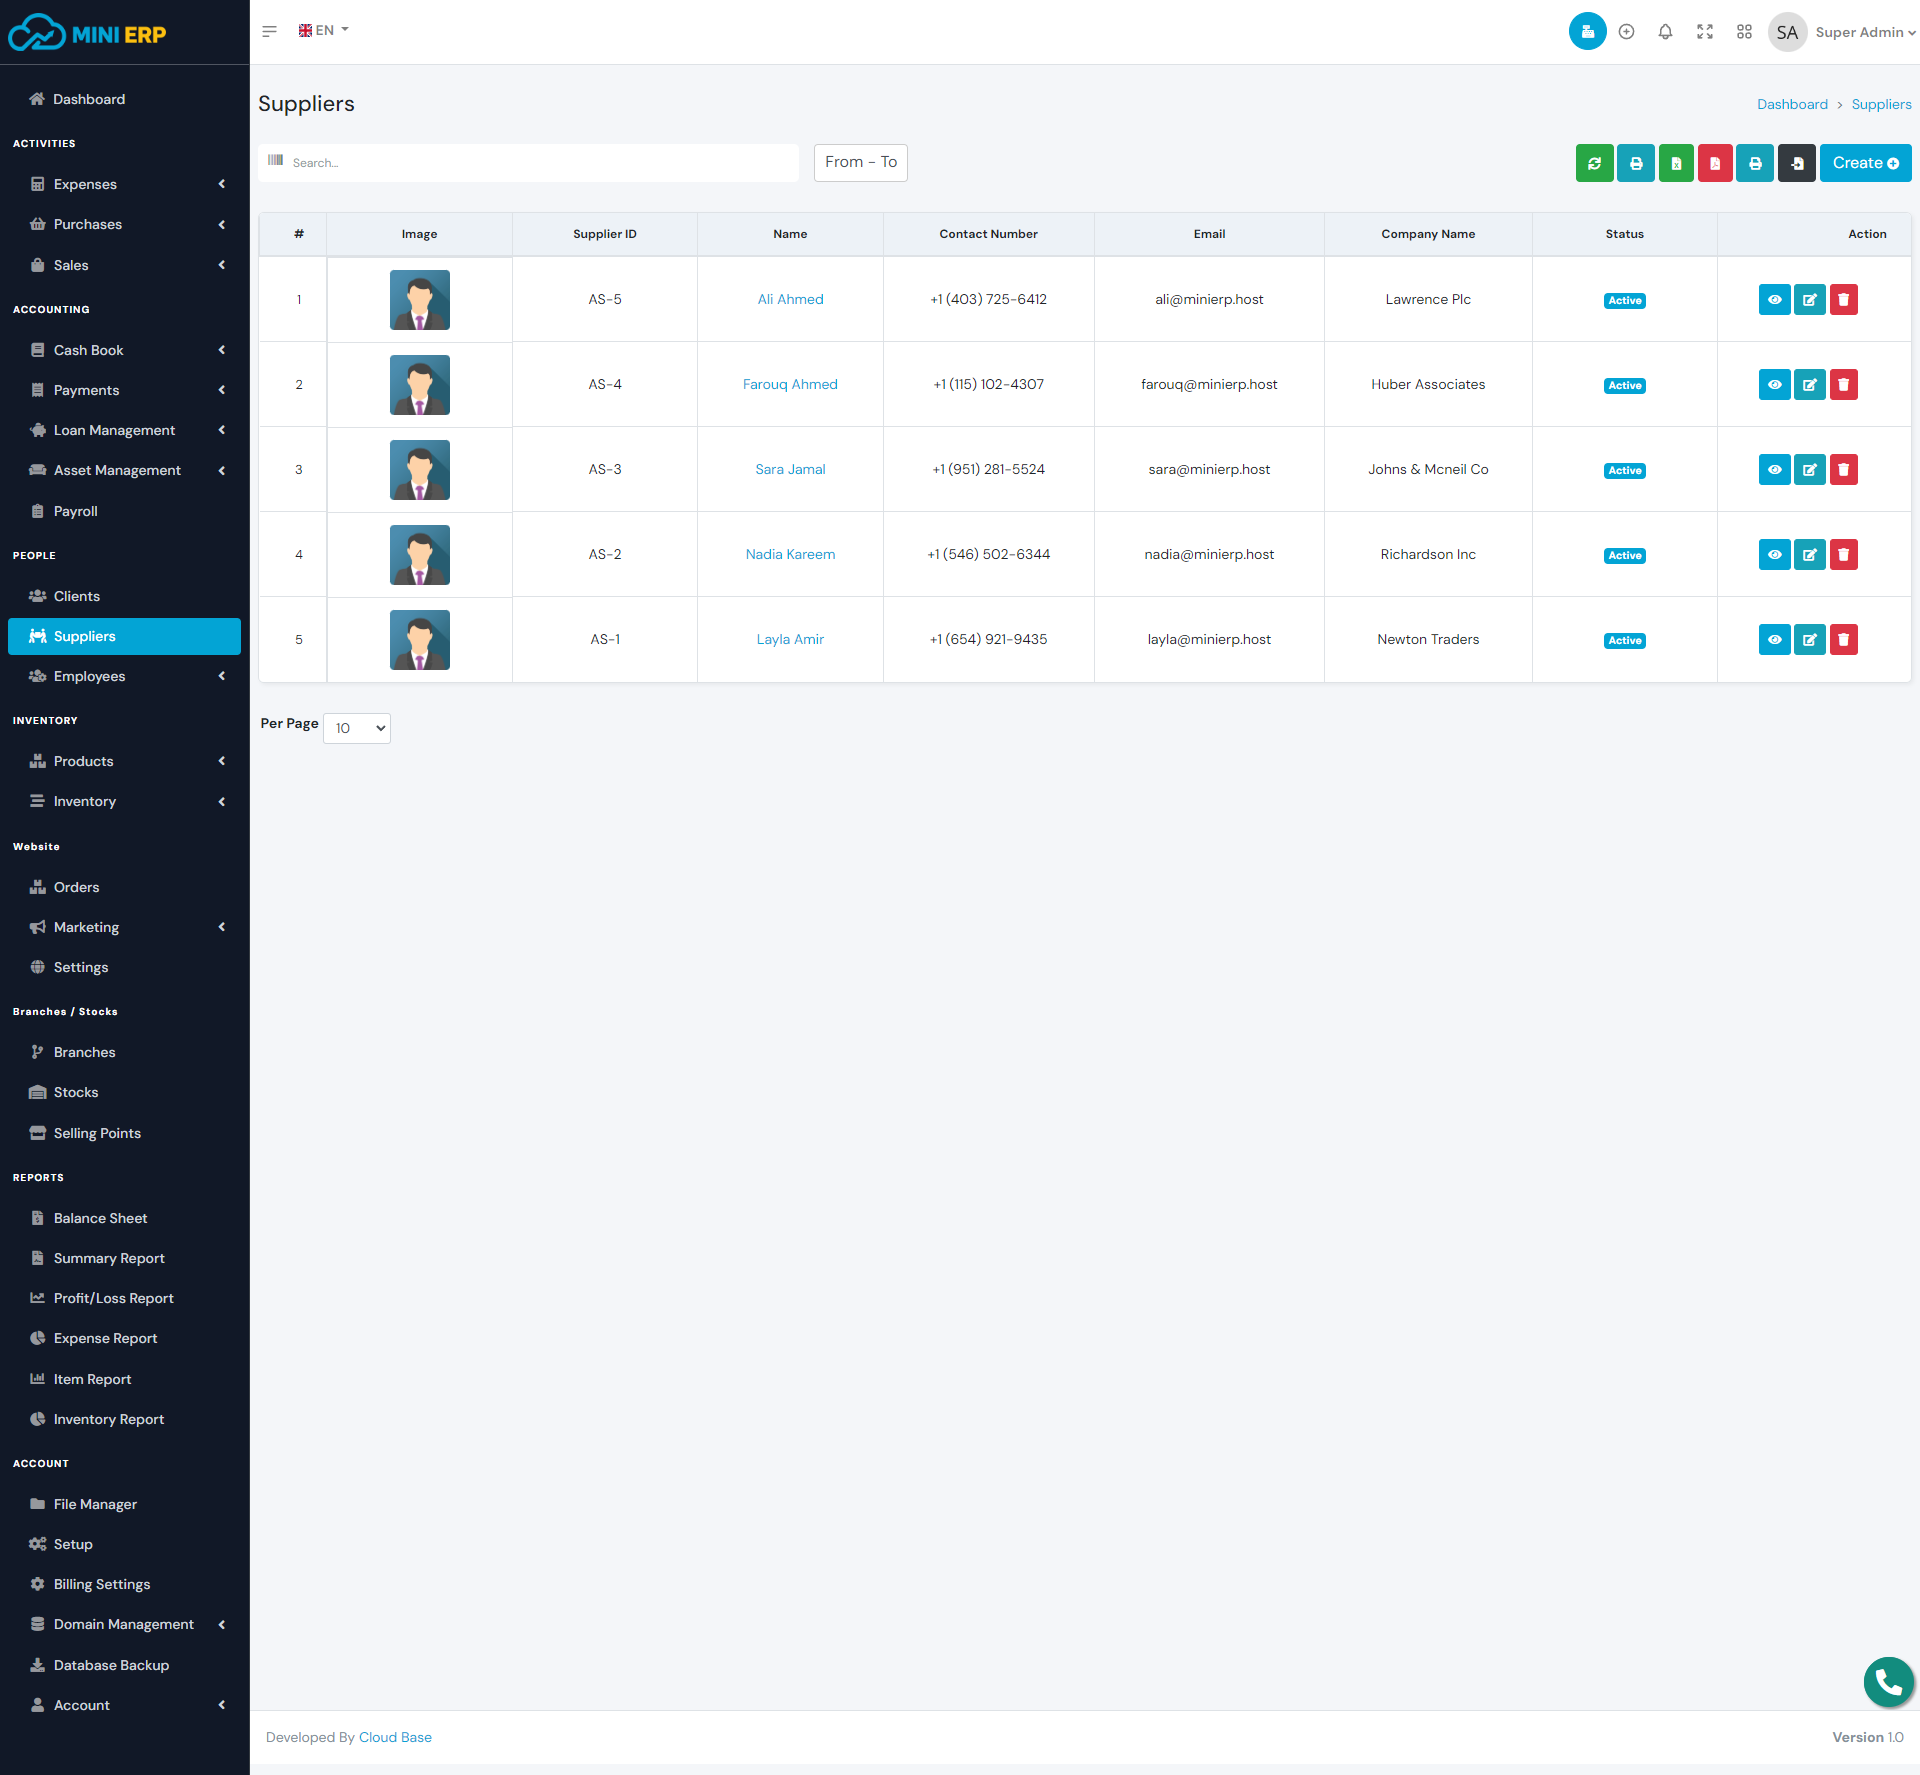
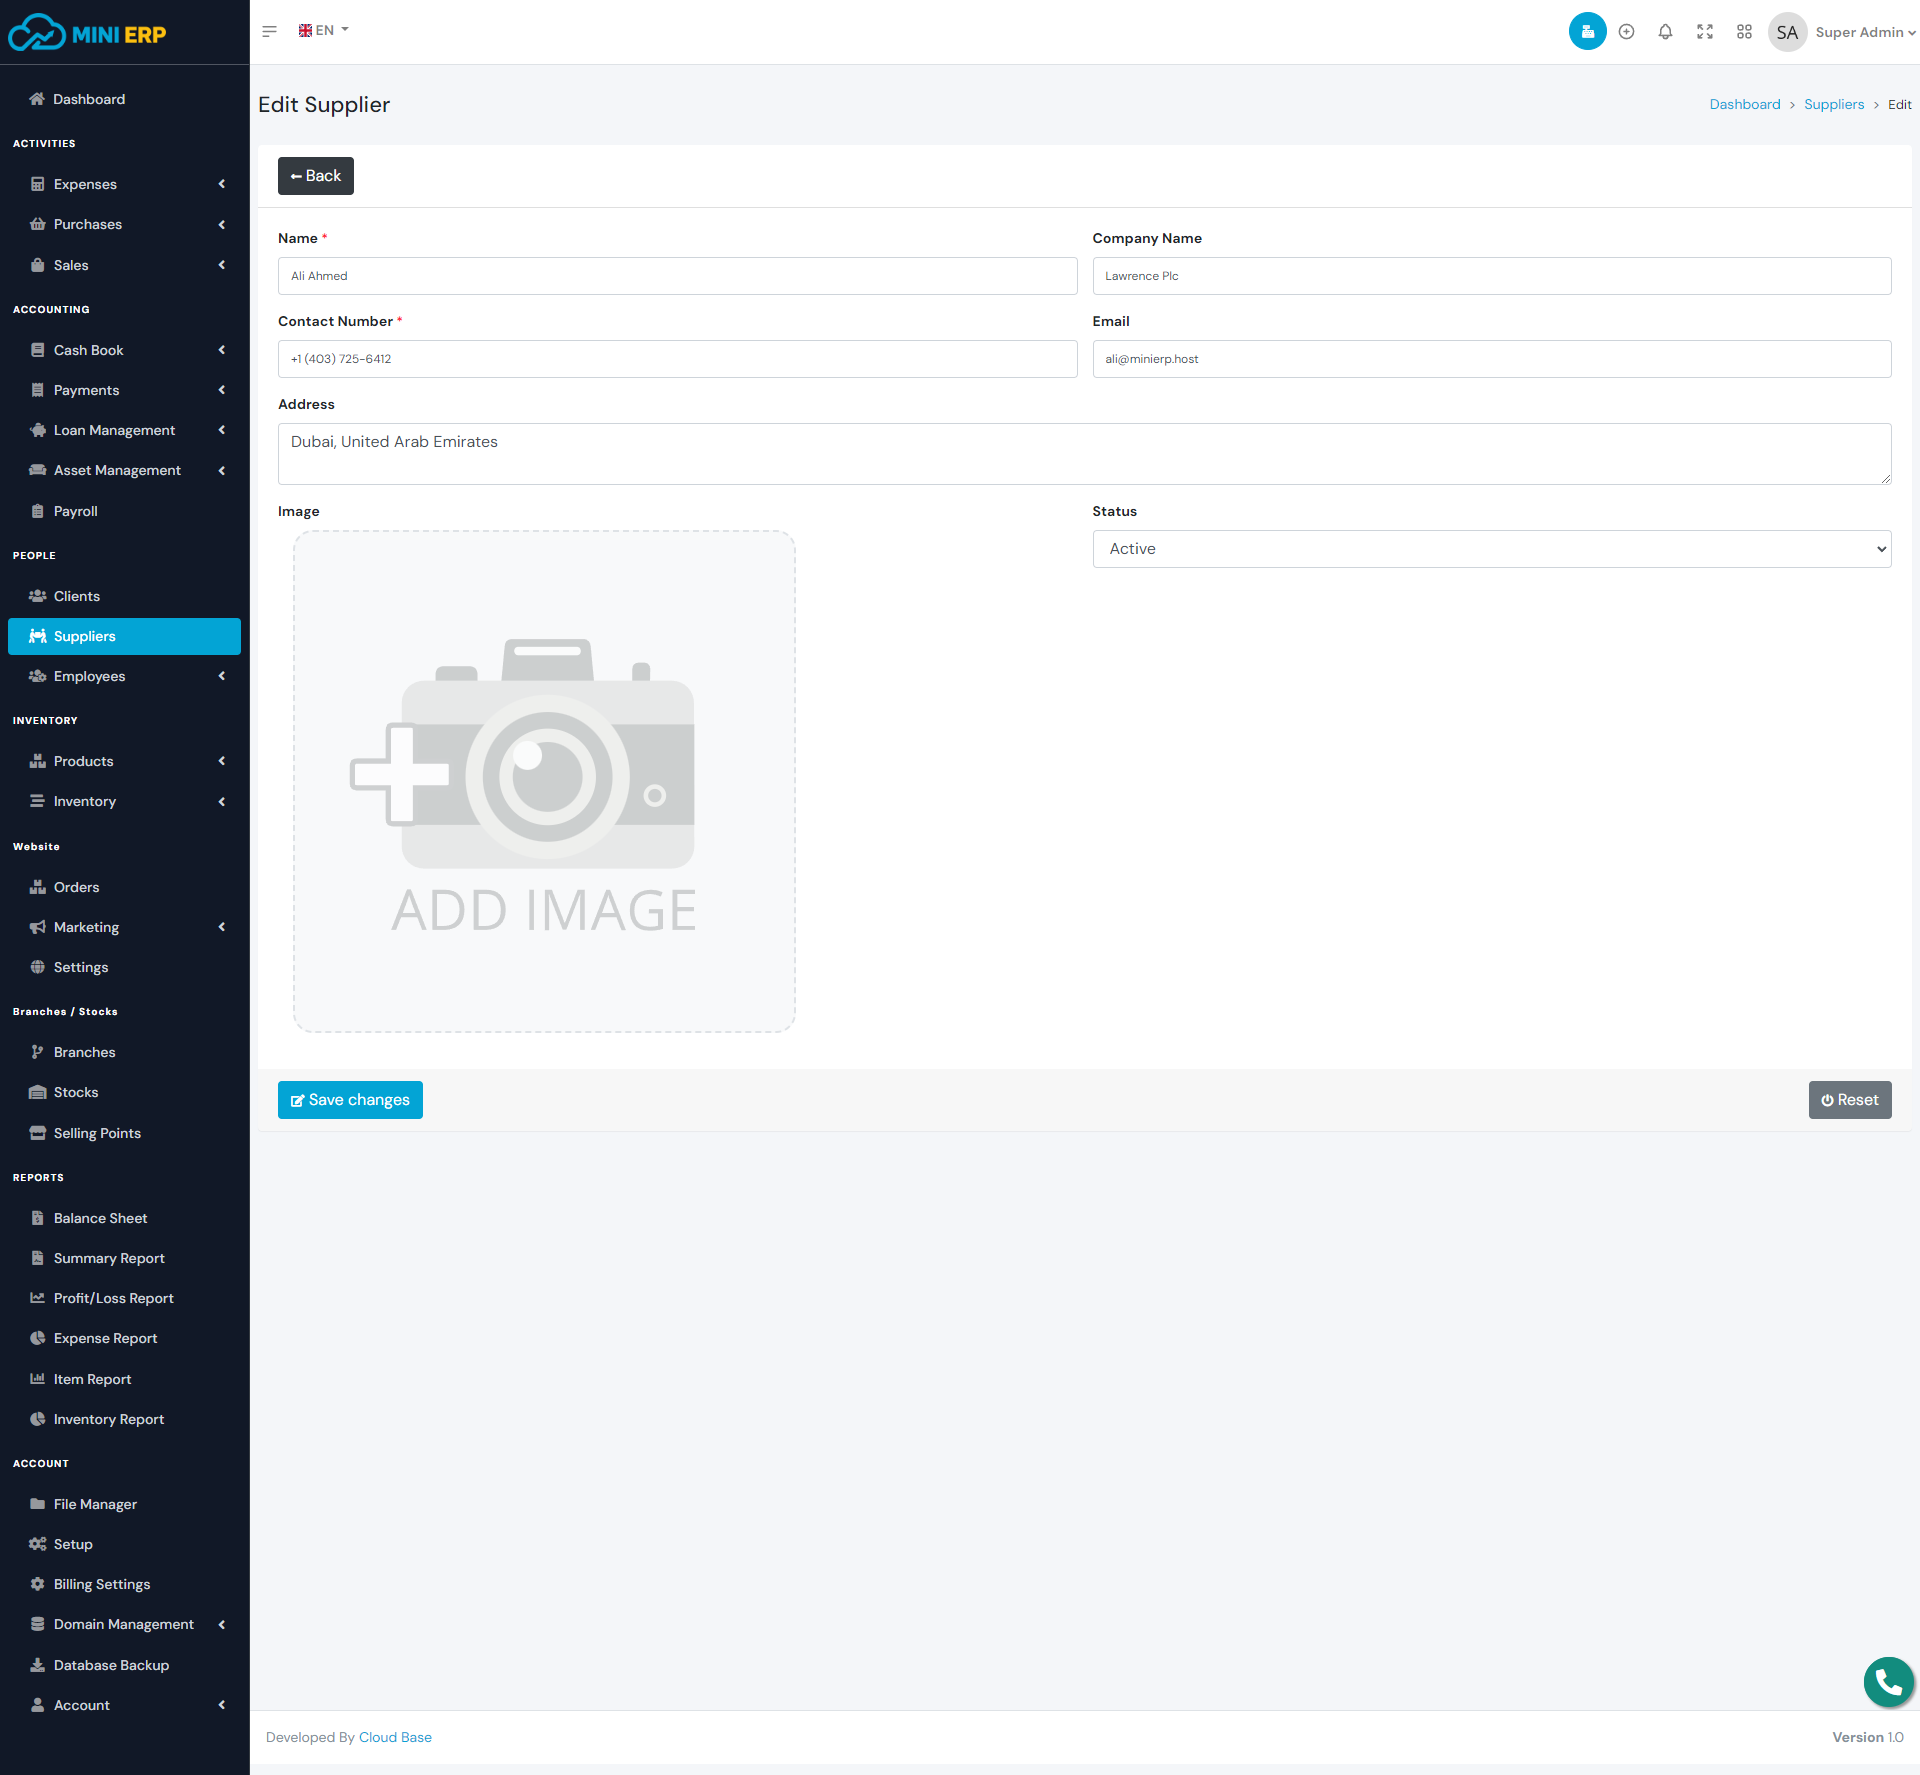
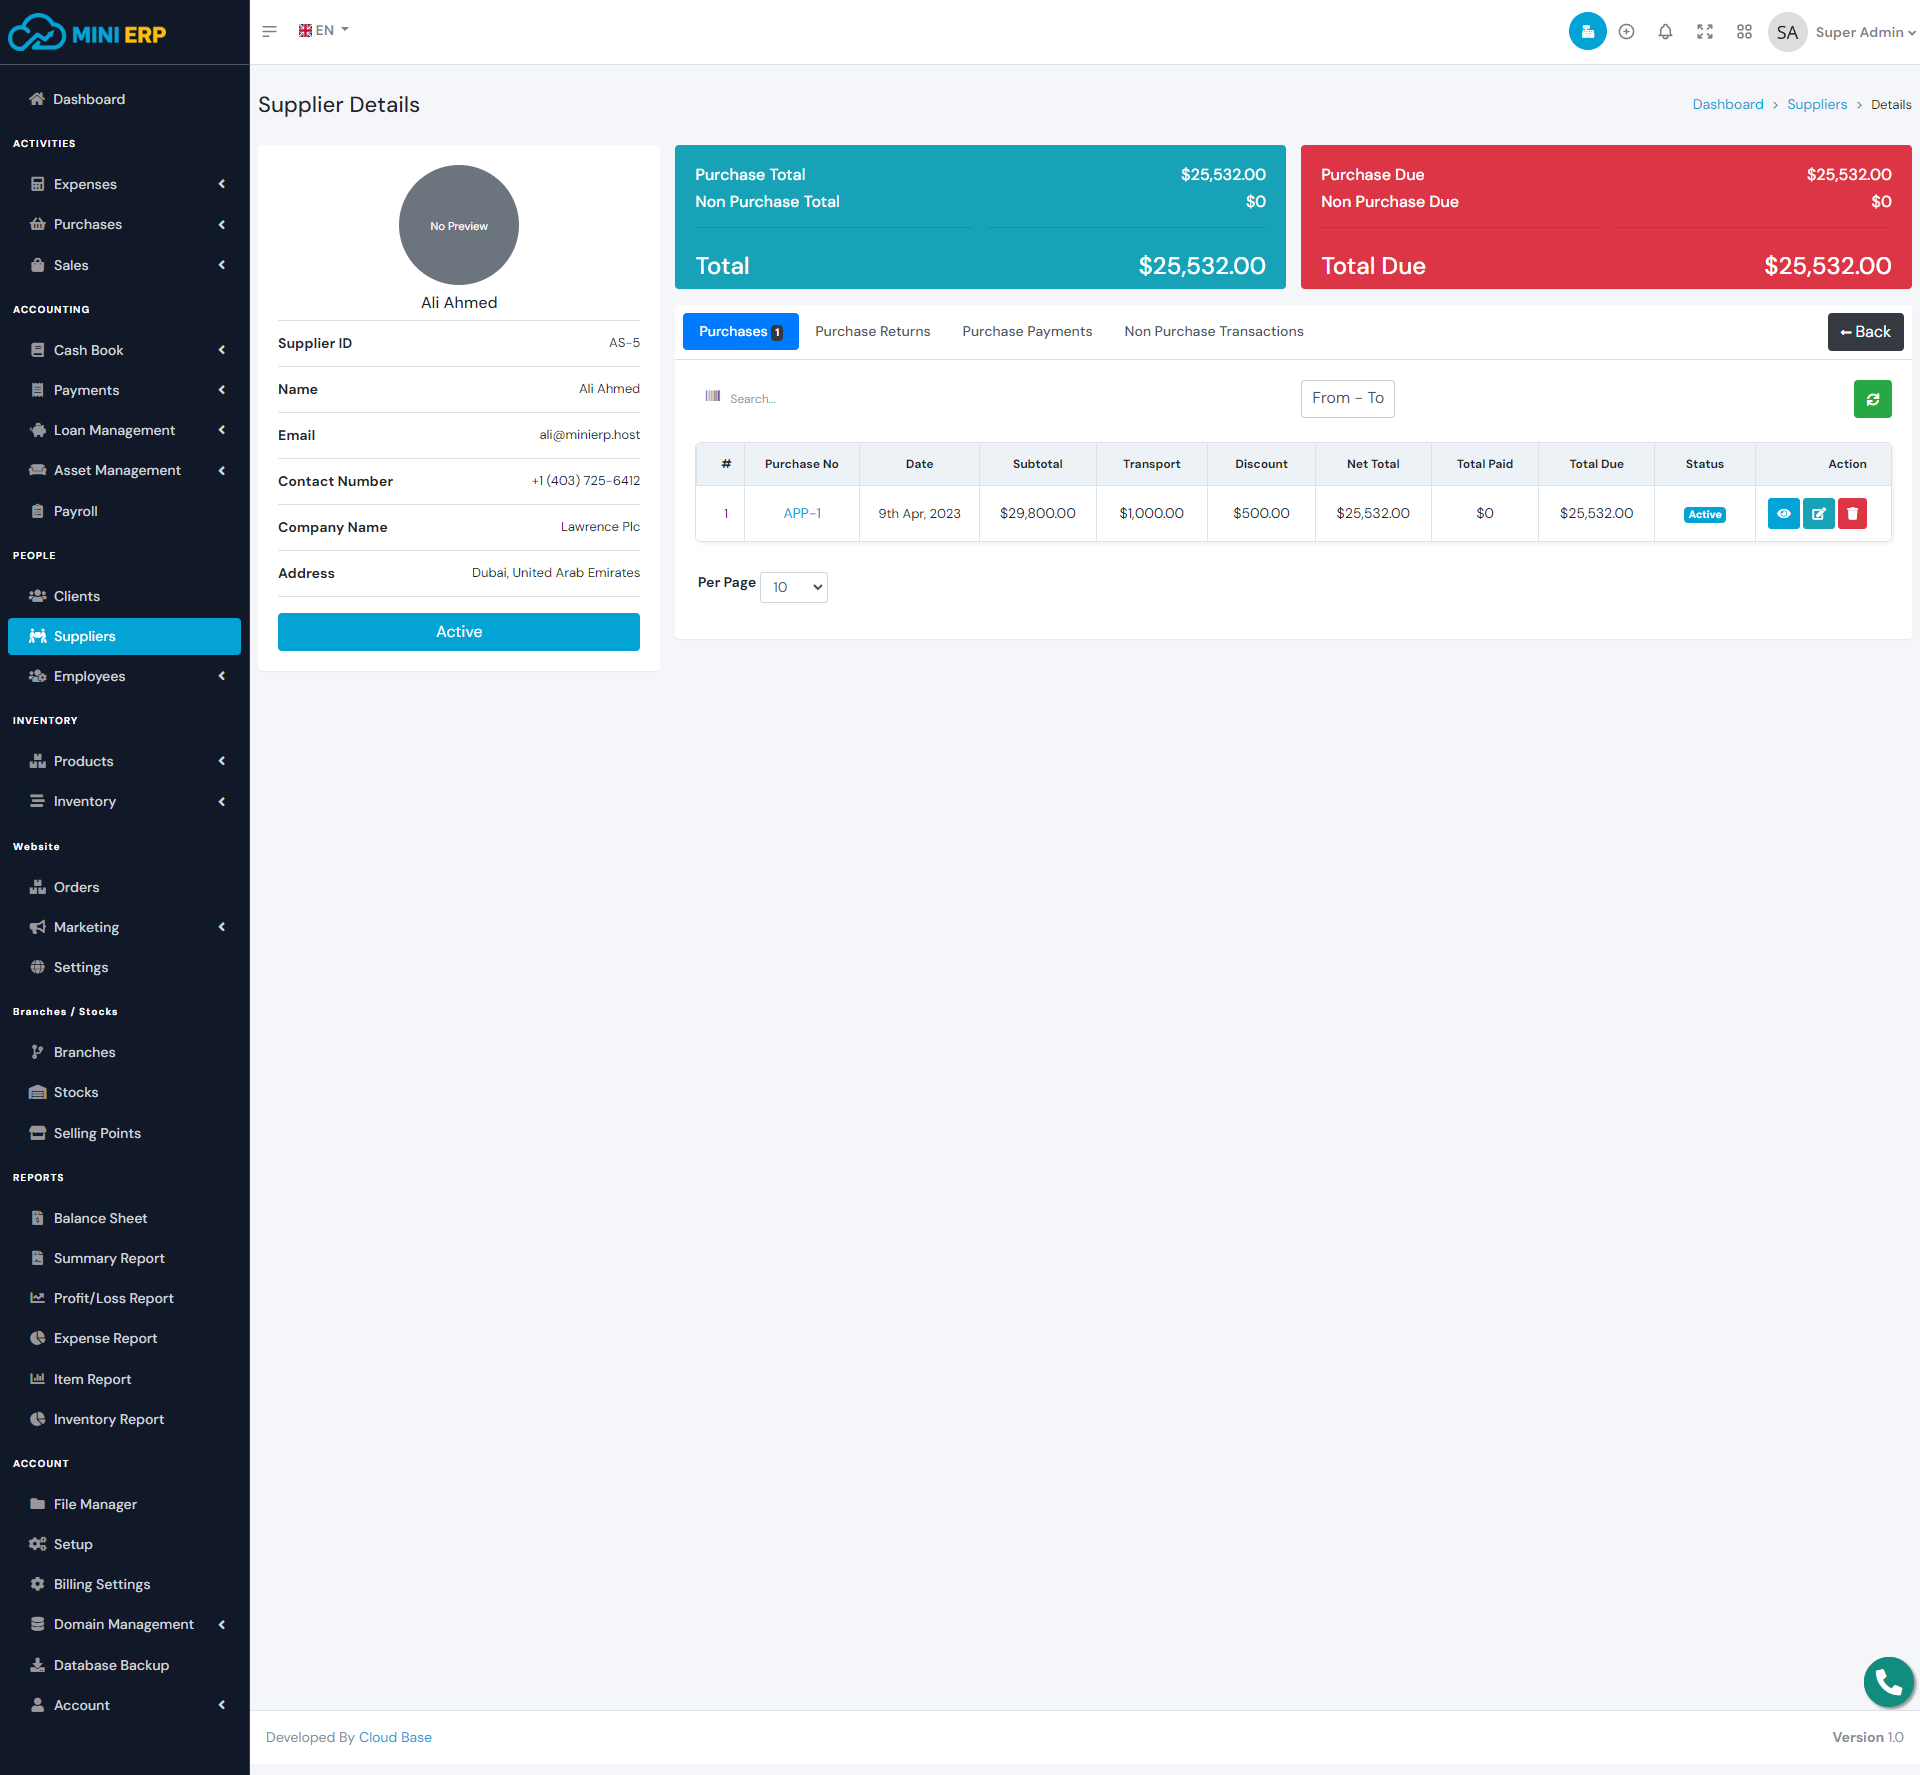
Suppliers module help you to manage your suppliers. You can create, edit and delete suppliers. You can see the supplier purchases, returns, payments, and non invoice transactions from the supplier view page.
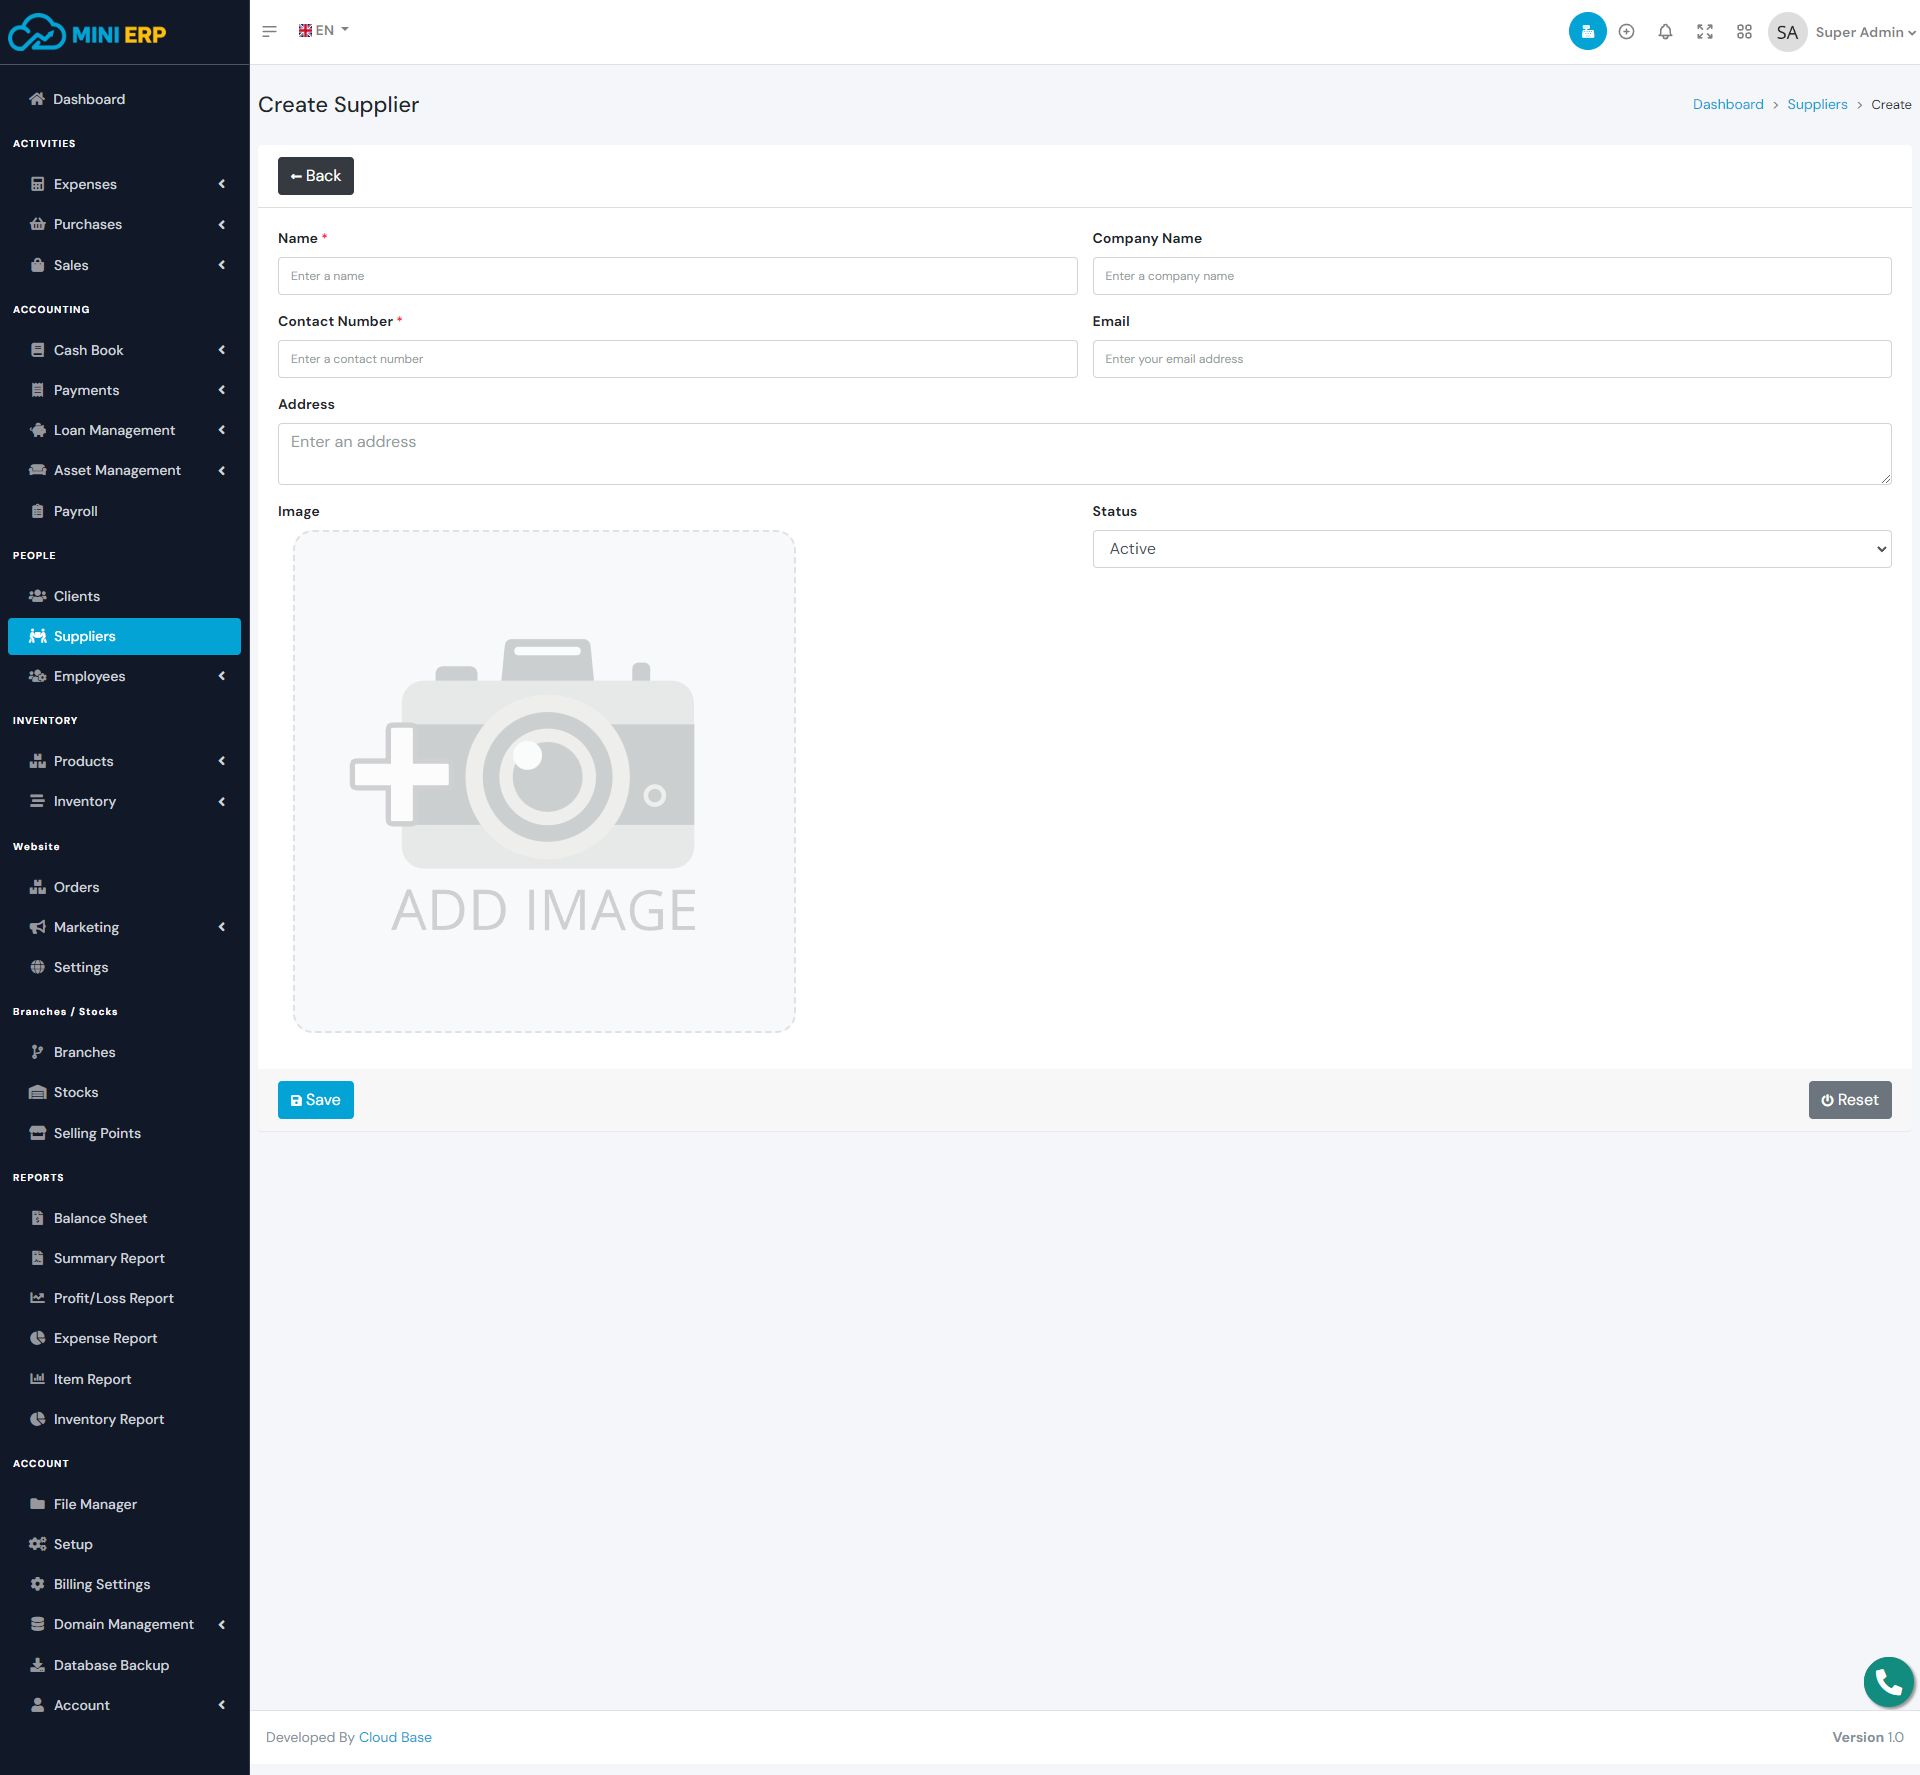
| Required fields to create a supplier |
|---|
| Name => Name of the supplier. You can enter any name. |
| Contact Number => Supplier contact number. |
Employees
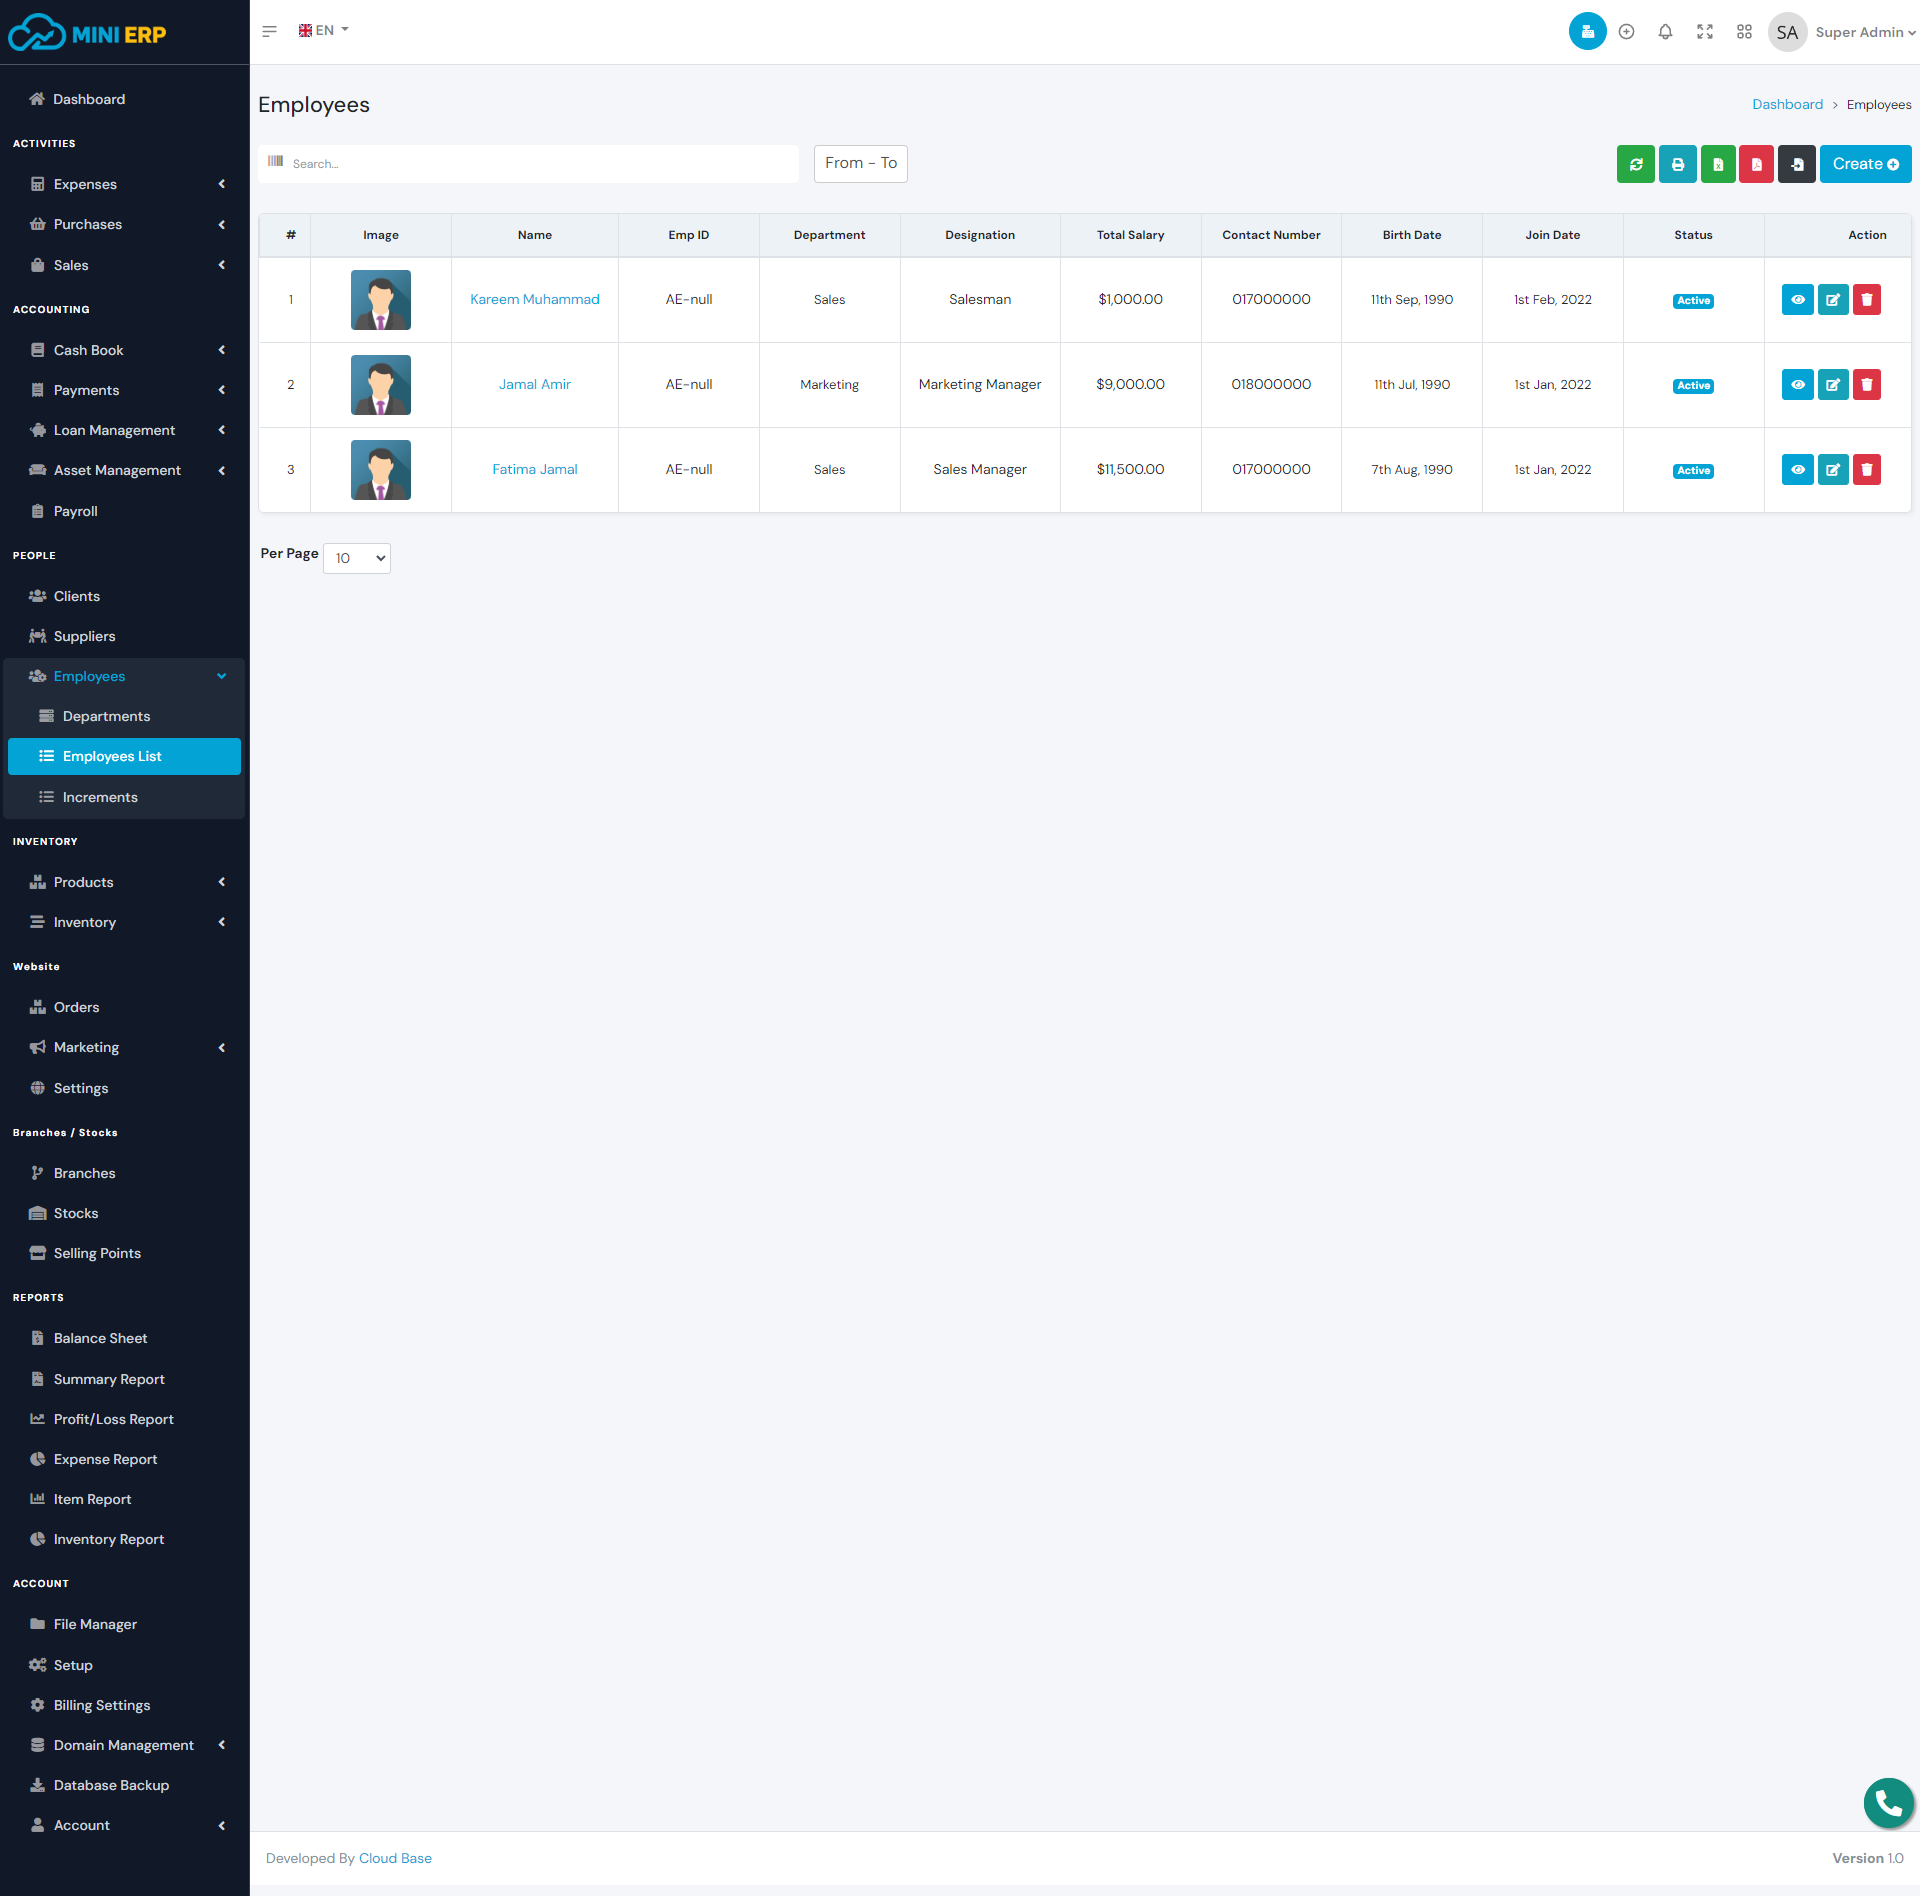
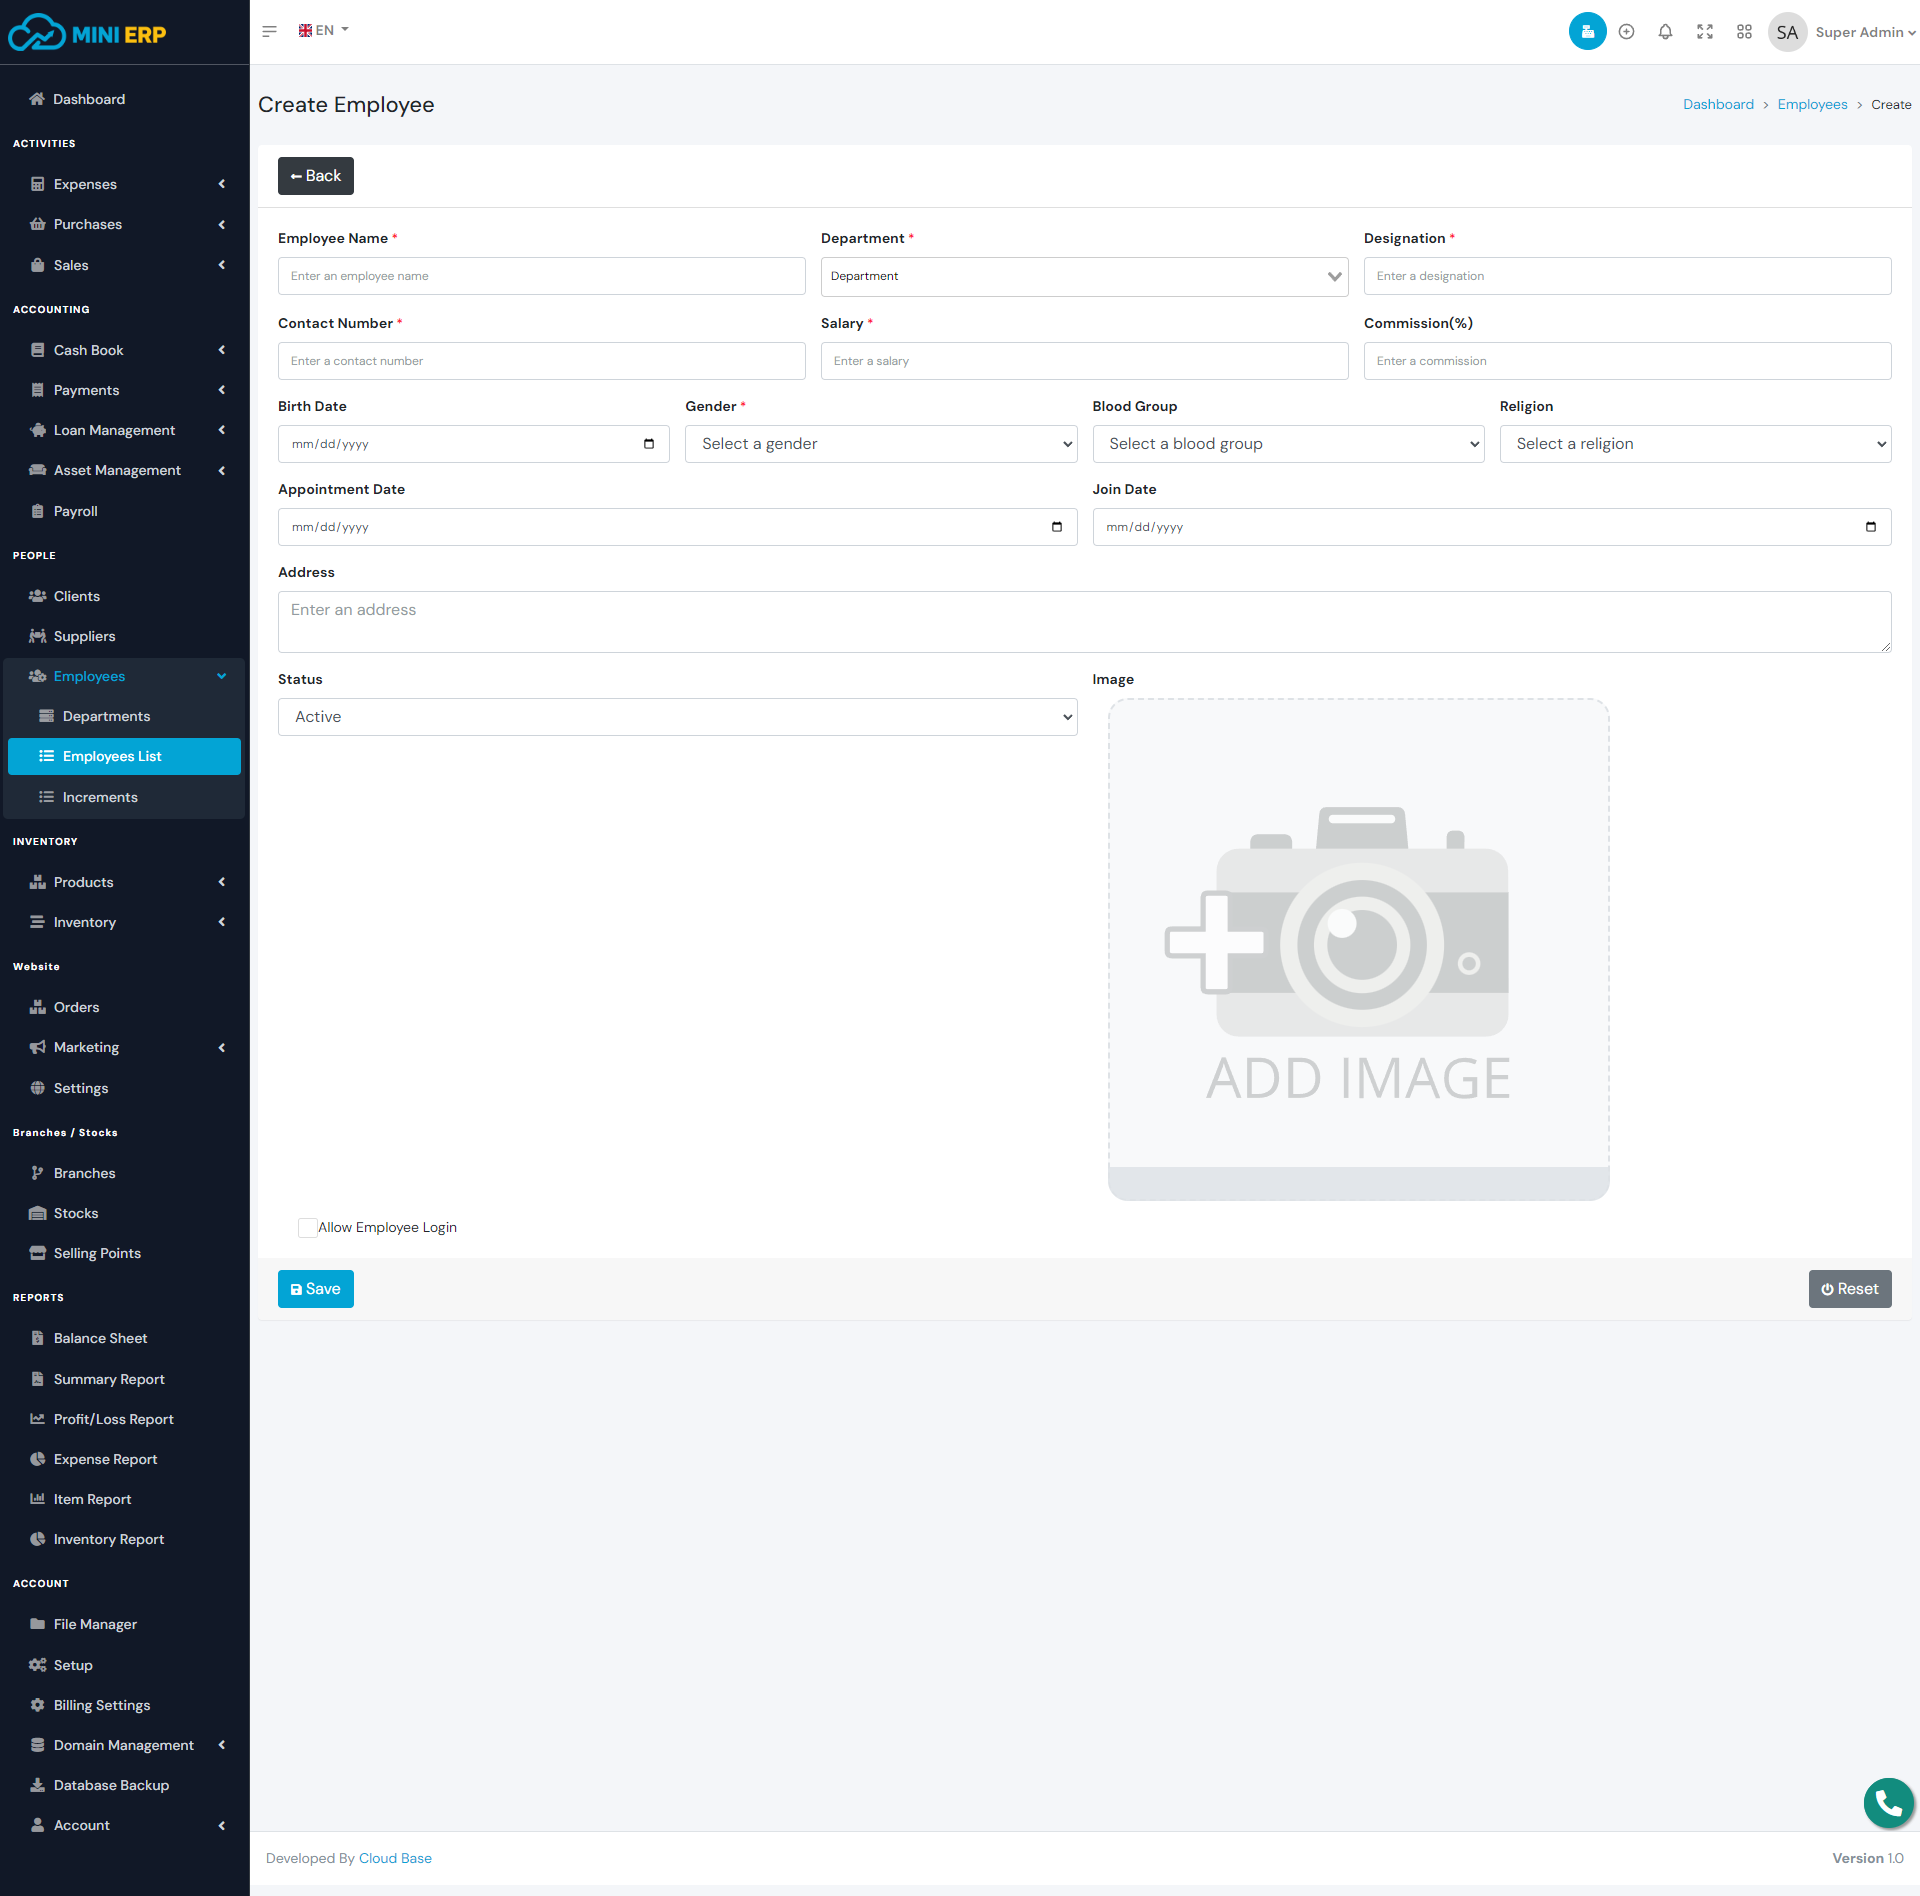
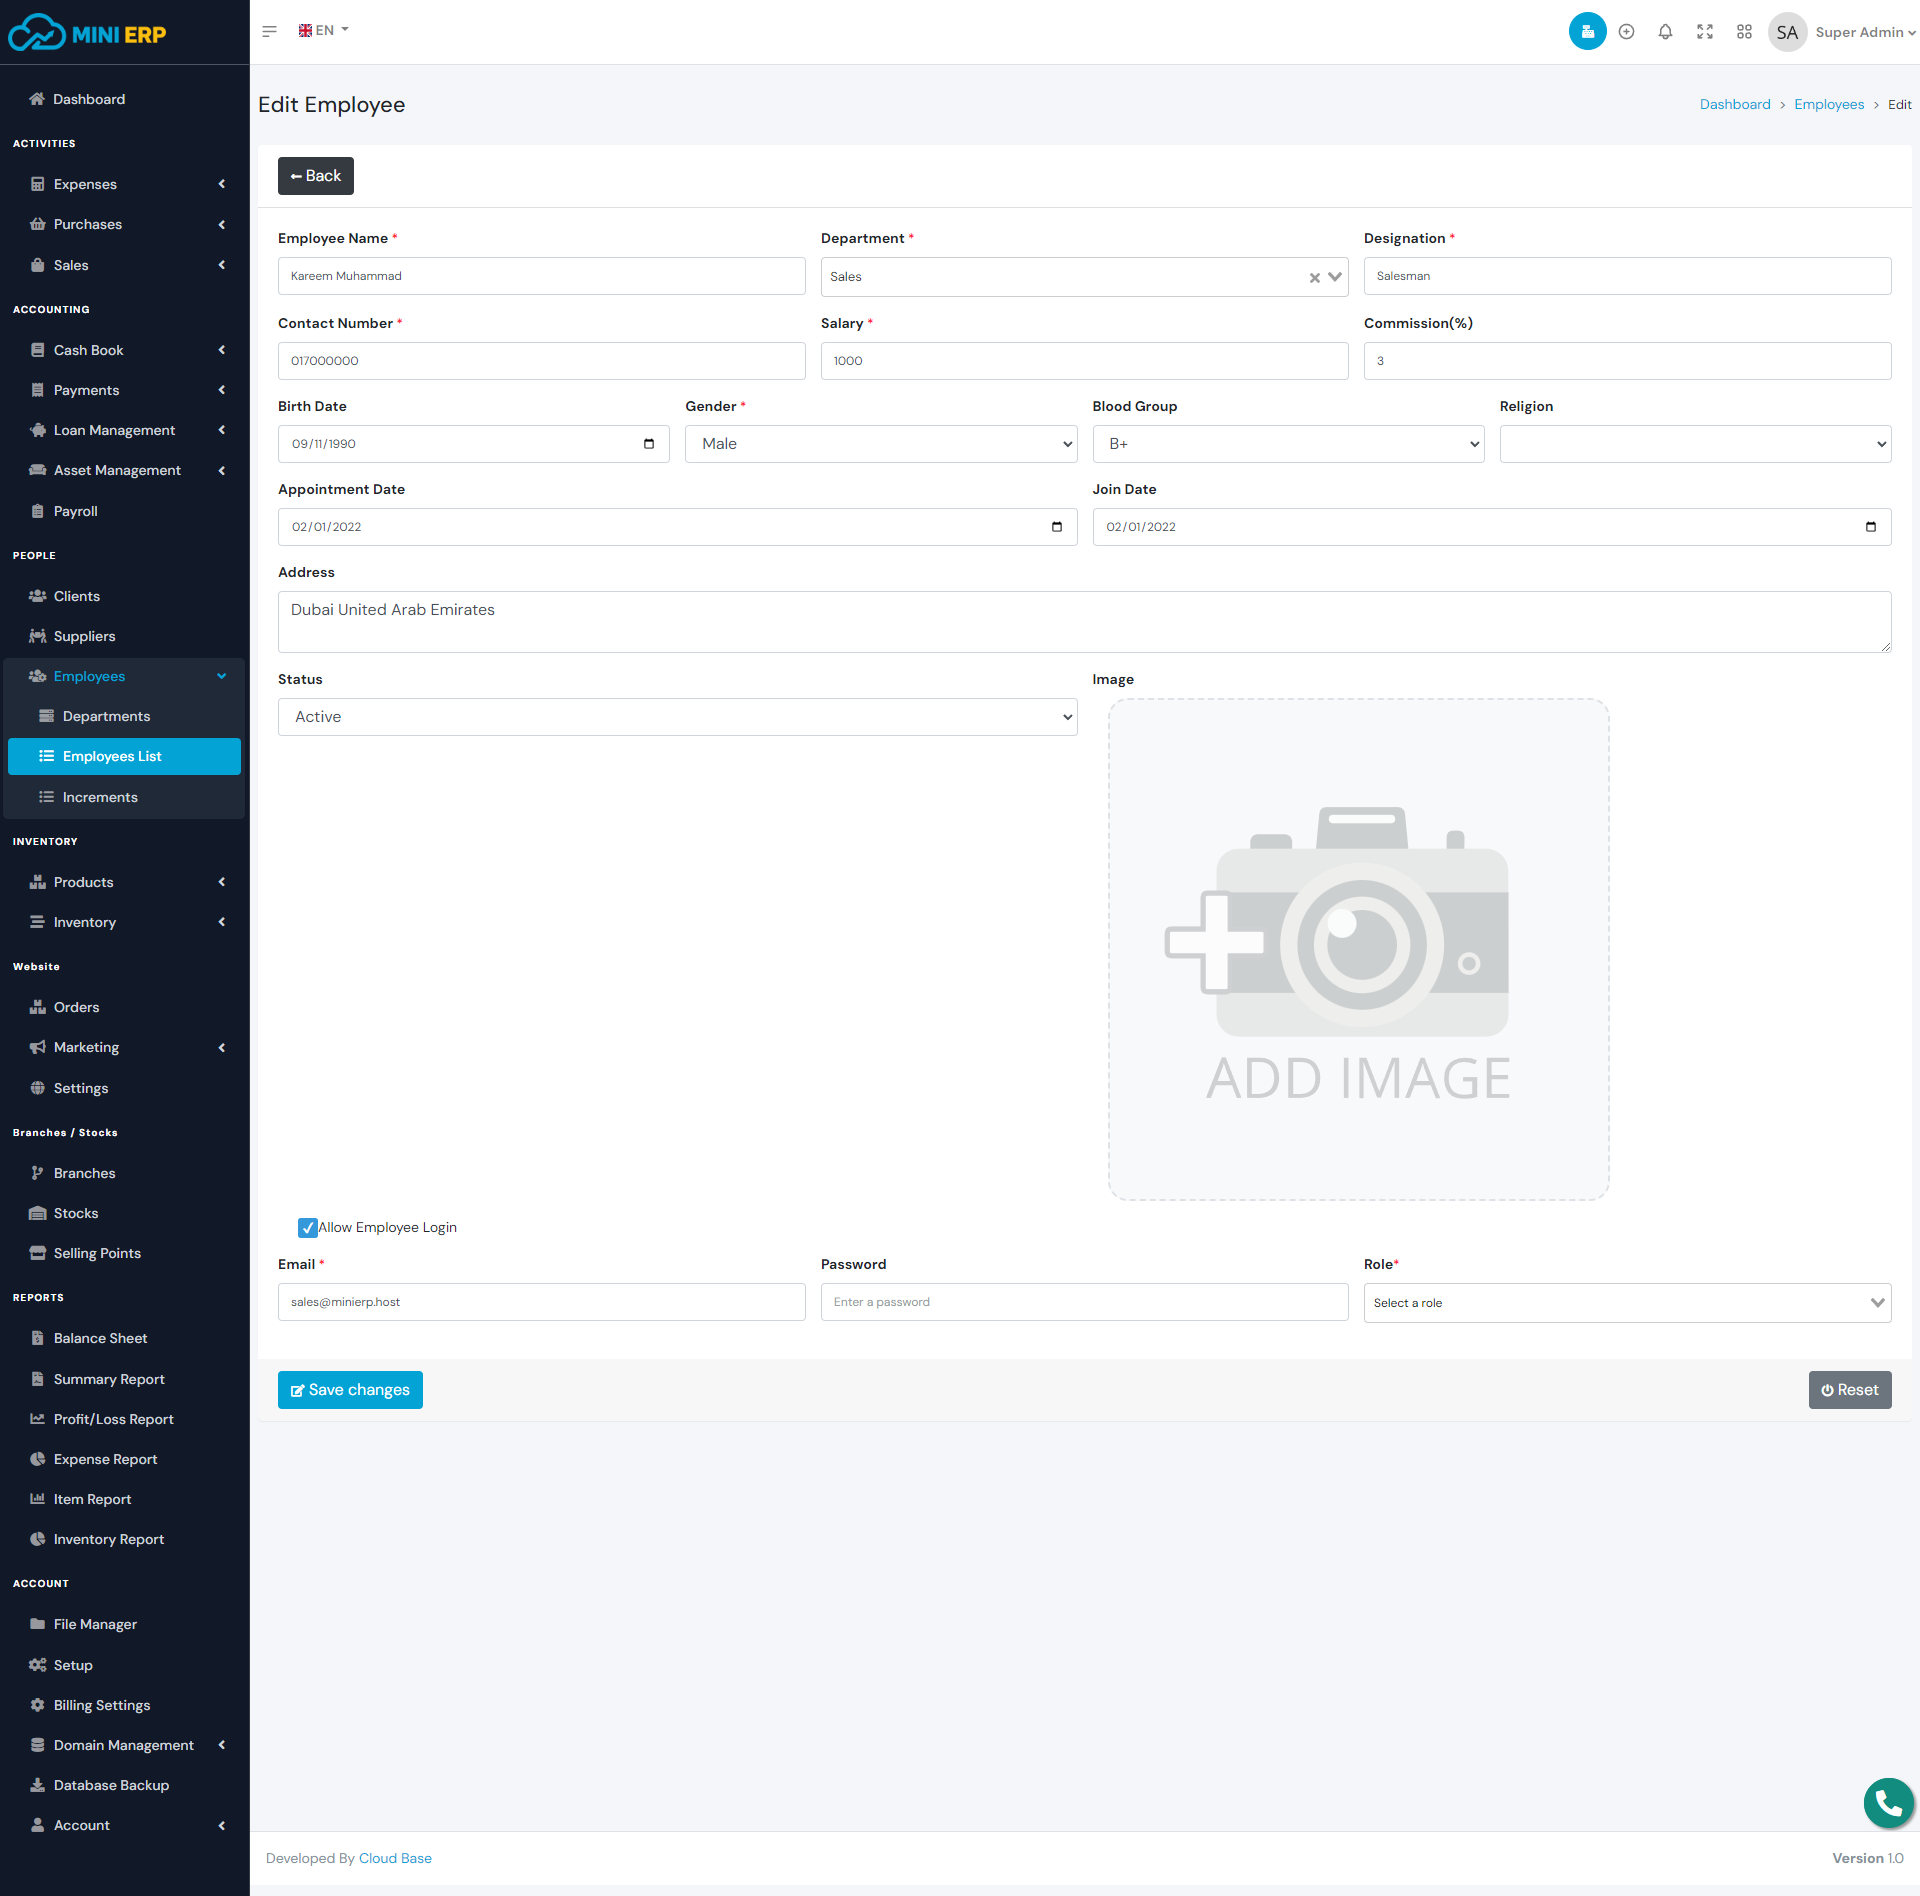
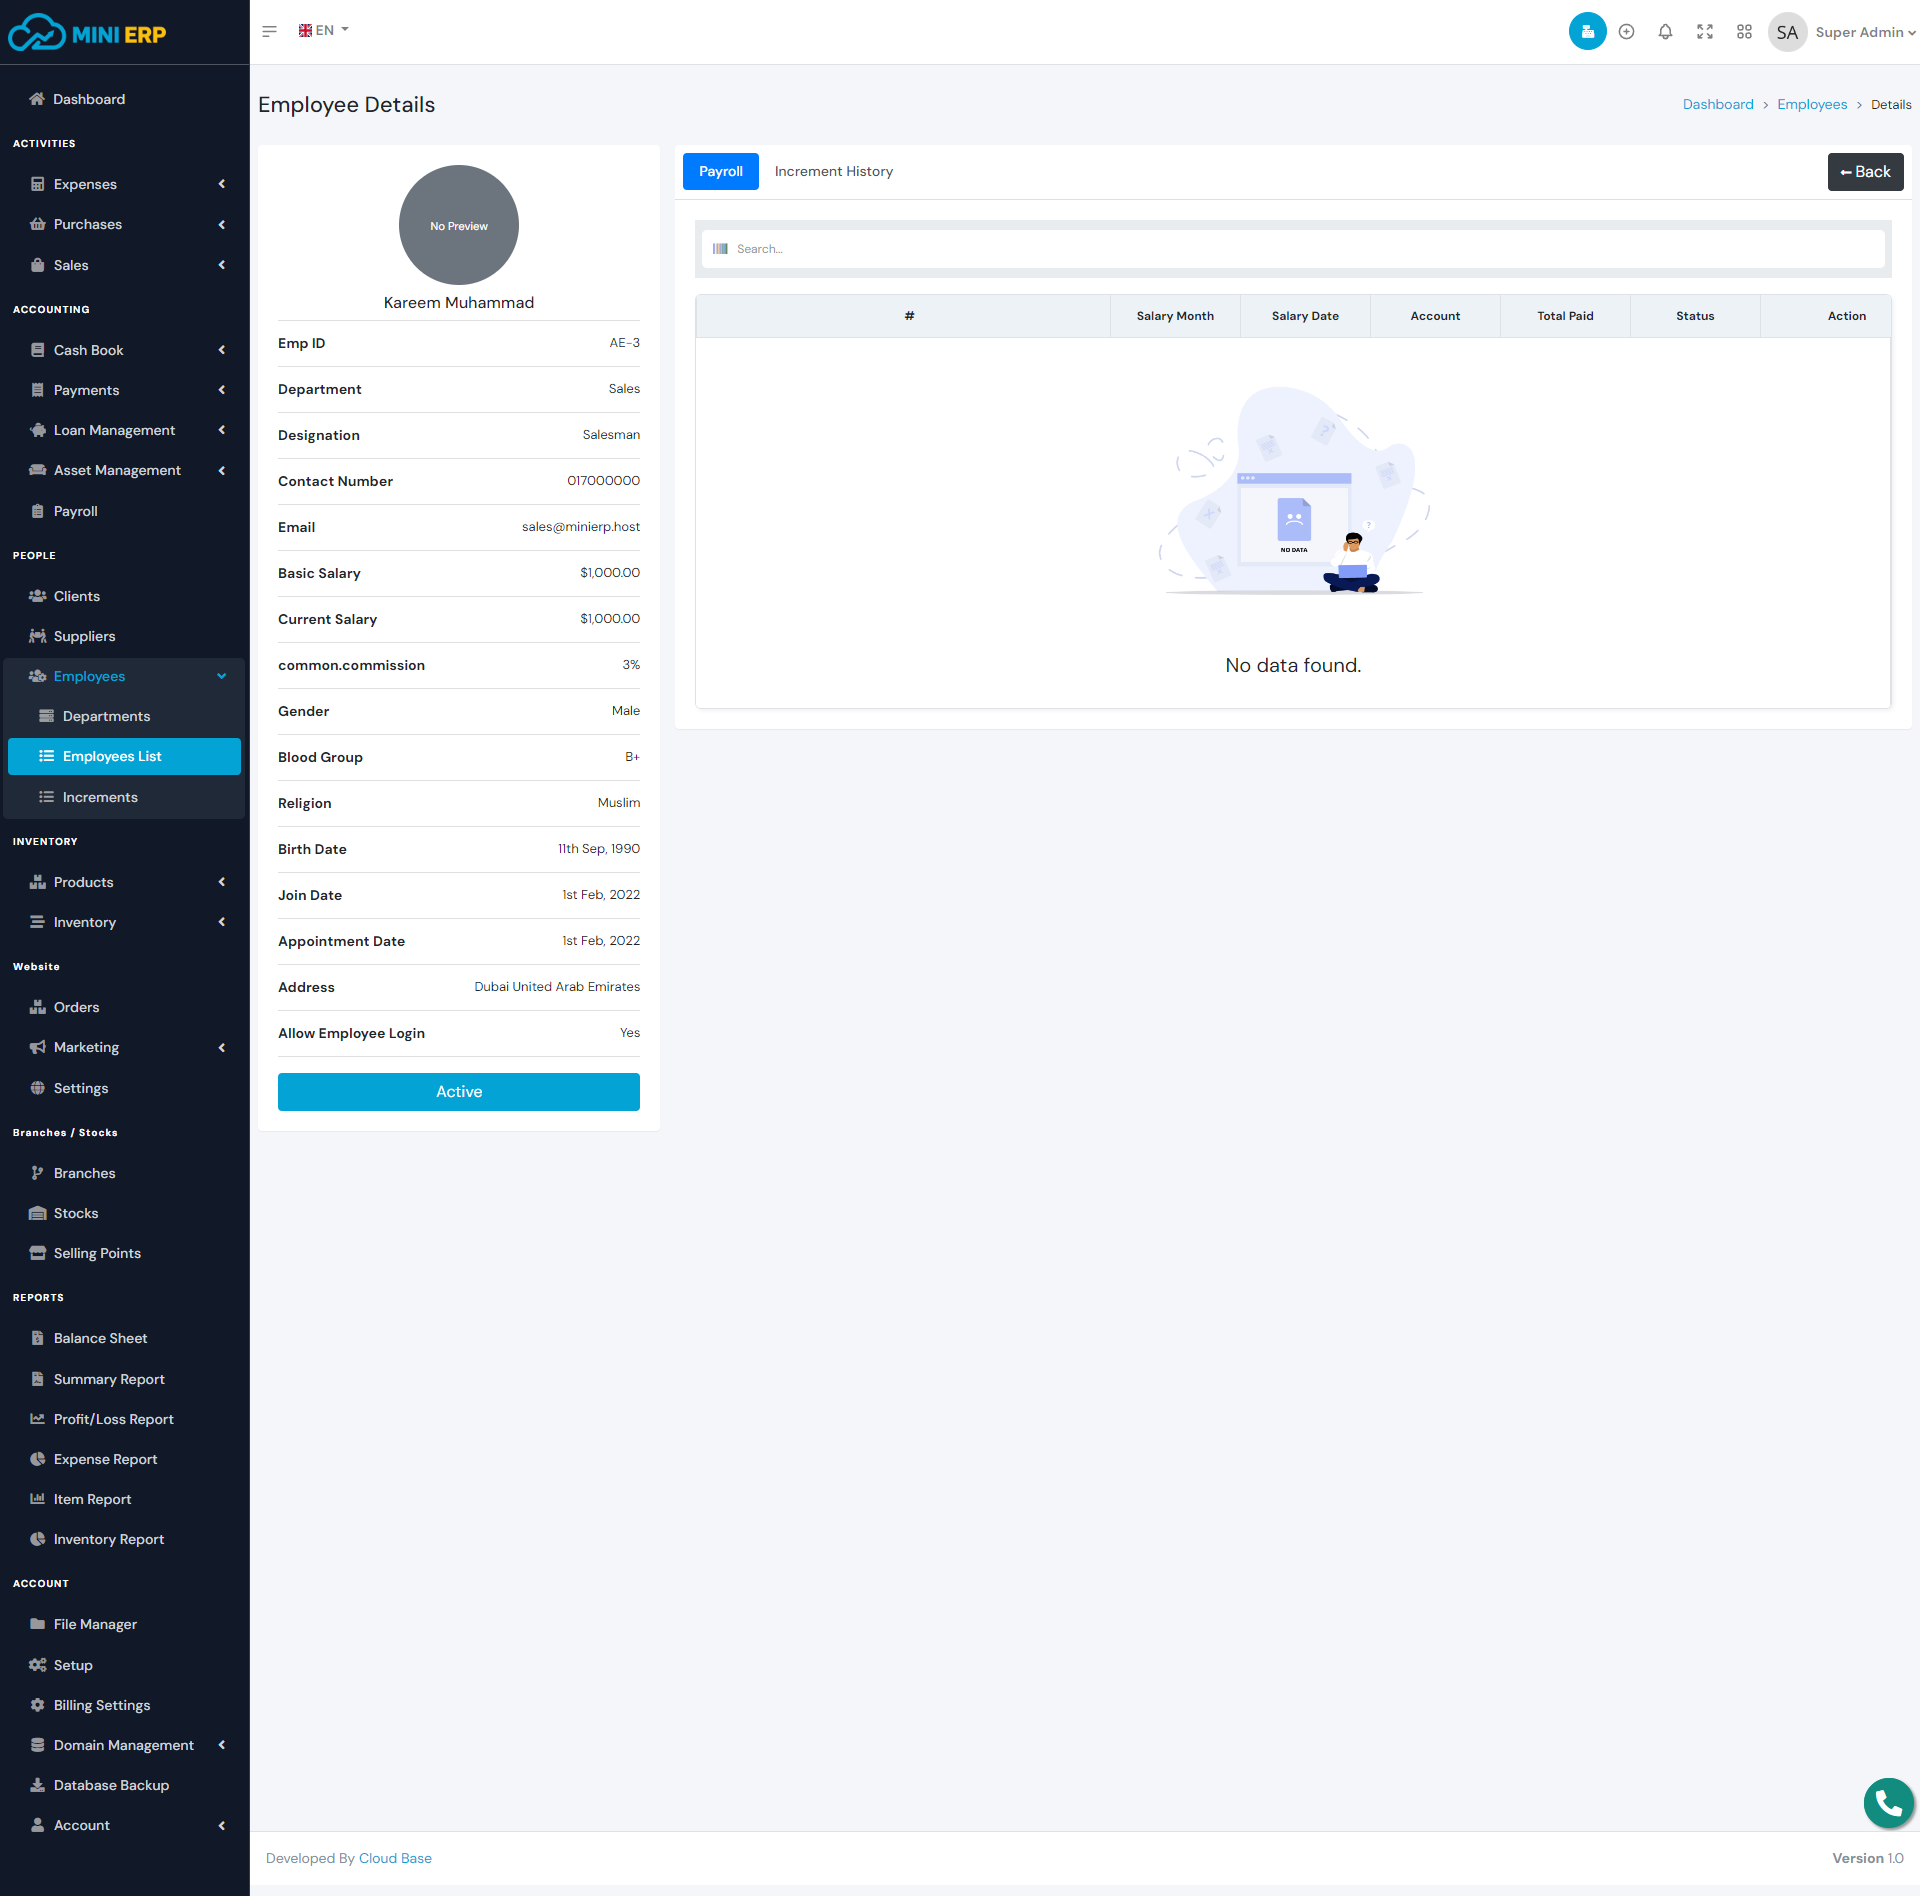
Employees module helps you to manage your employees. You can create, edit and delete employees. You can see the employee payroll and increment history from the employee view page. You can also create also salary increments for the employees. In order to create an employee, you must create a department first. While creating an employee you can allow or disallow employee login and assign any role to an employee.
| Required fields to create an employee |
|---|
| Employee Name => Name of the employee. You can enter any name. |
| Department => Department of this employee. Select a department from the list. |
| Designation => Designation of this employee. Enter any designation. |
| Contact Number => Employee contact number. |
| Salary => Employee current salary. |
| Gender => Select a gender from the list. |
| Email(If you want to allow login.) => Email that will be used to login in to the system. If you want to give this employee login access. Please enter a unique emal. |
| Password(If you want to allow login.) => Password that will be used to login in to the system. If you want to give this employee login access. Please enter a strong password. |
| Role(If you want to allow login.) => Select a role for this employee. The emplyee will get access to the moduels based on the role and permisions. |
Products
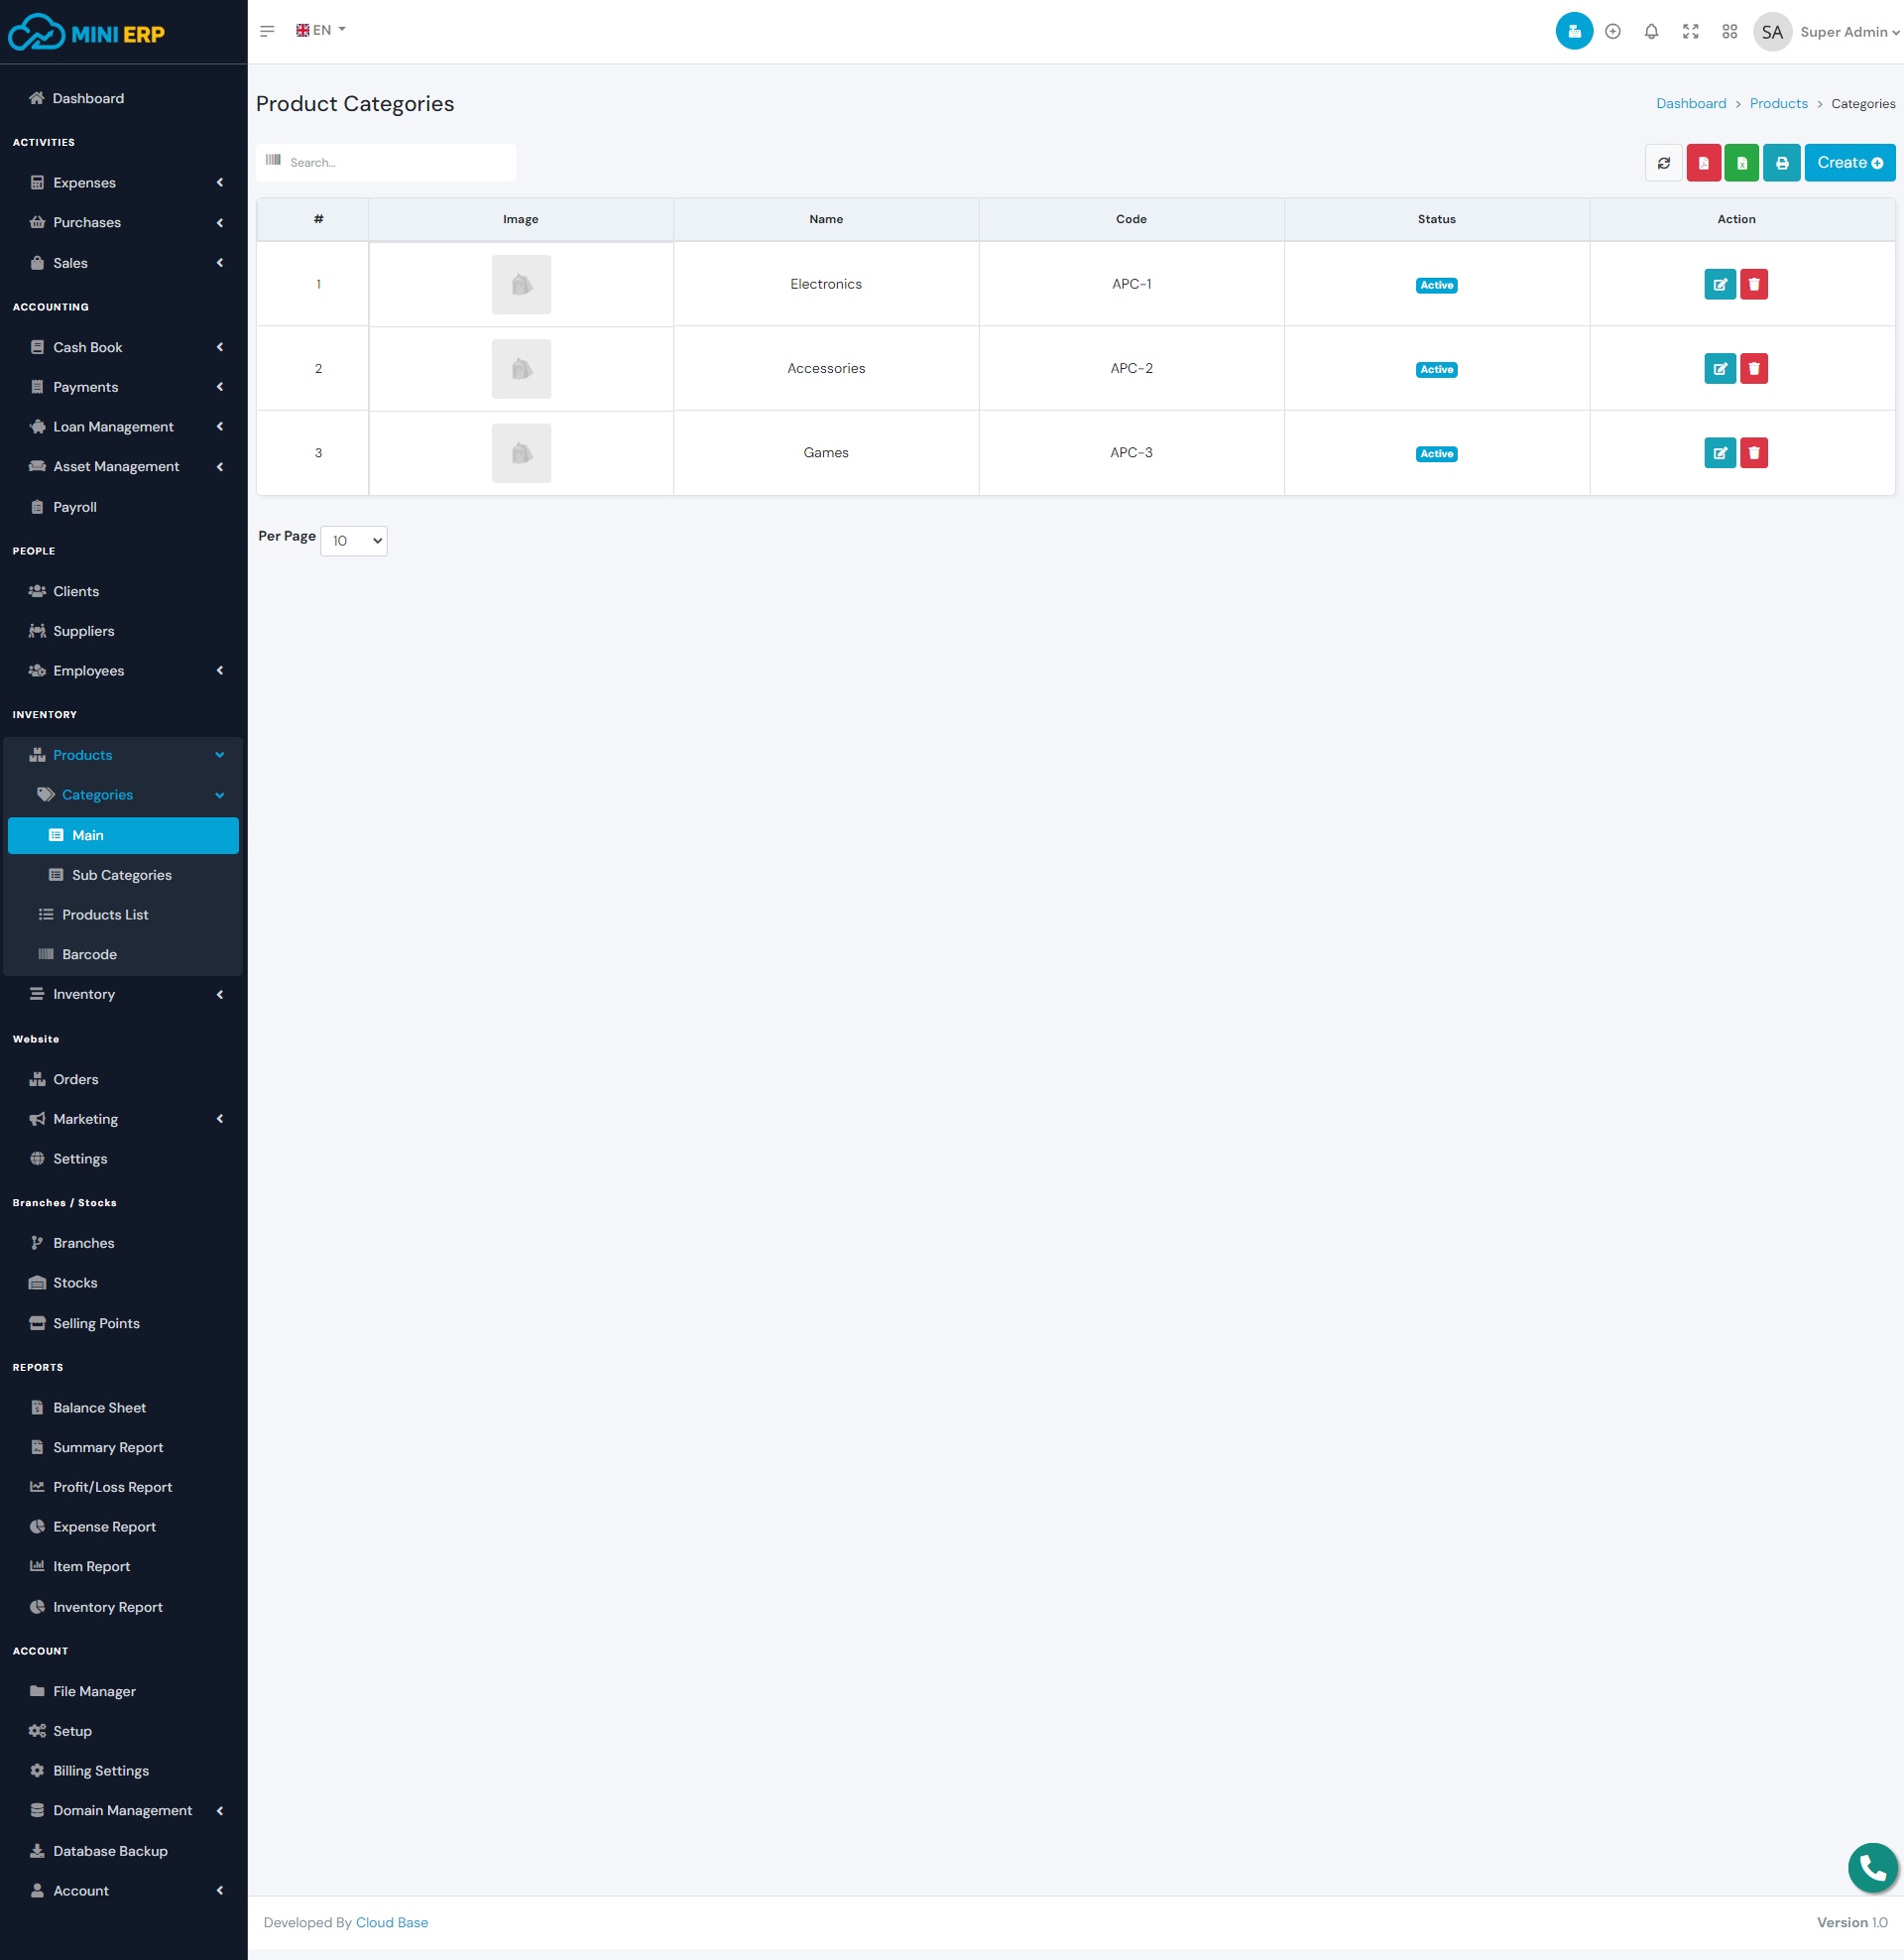
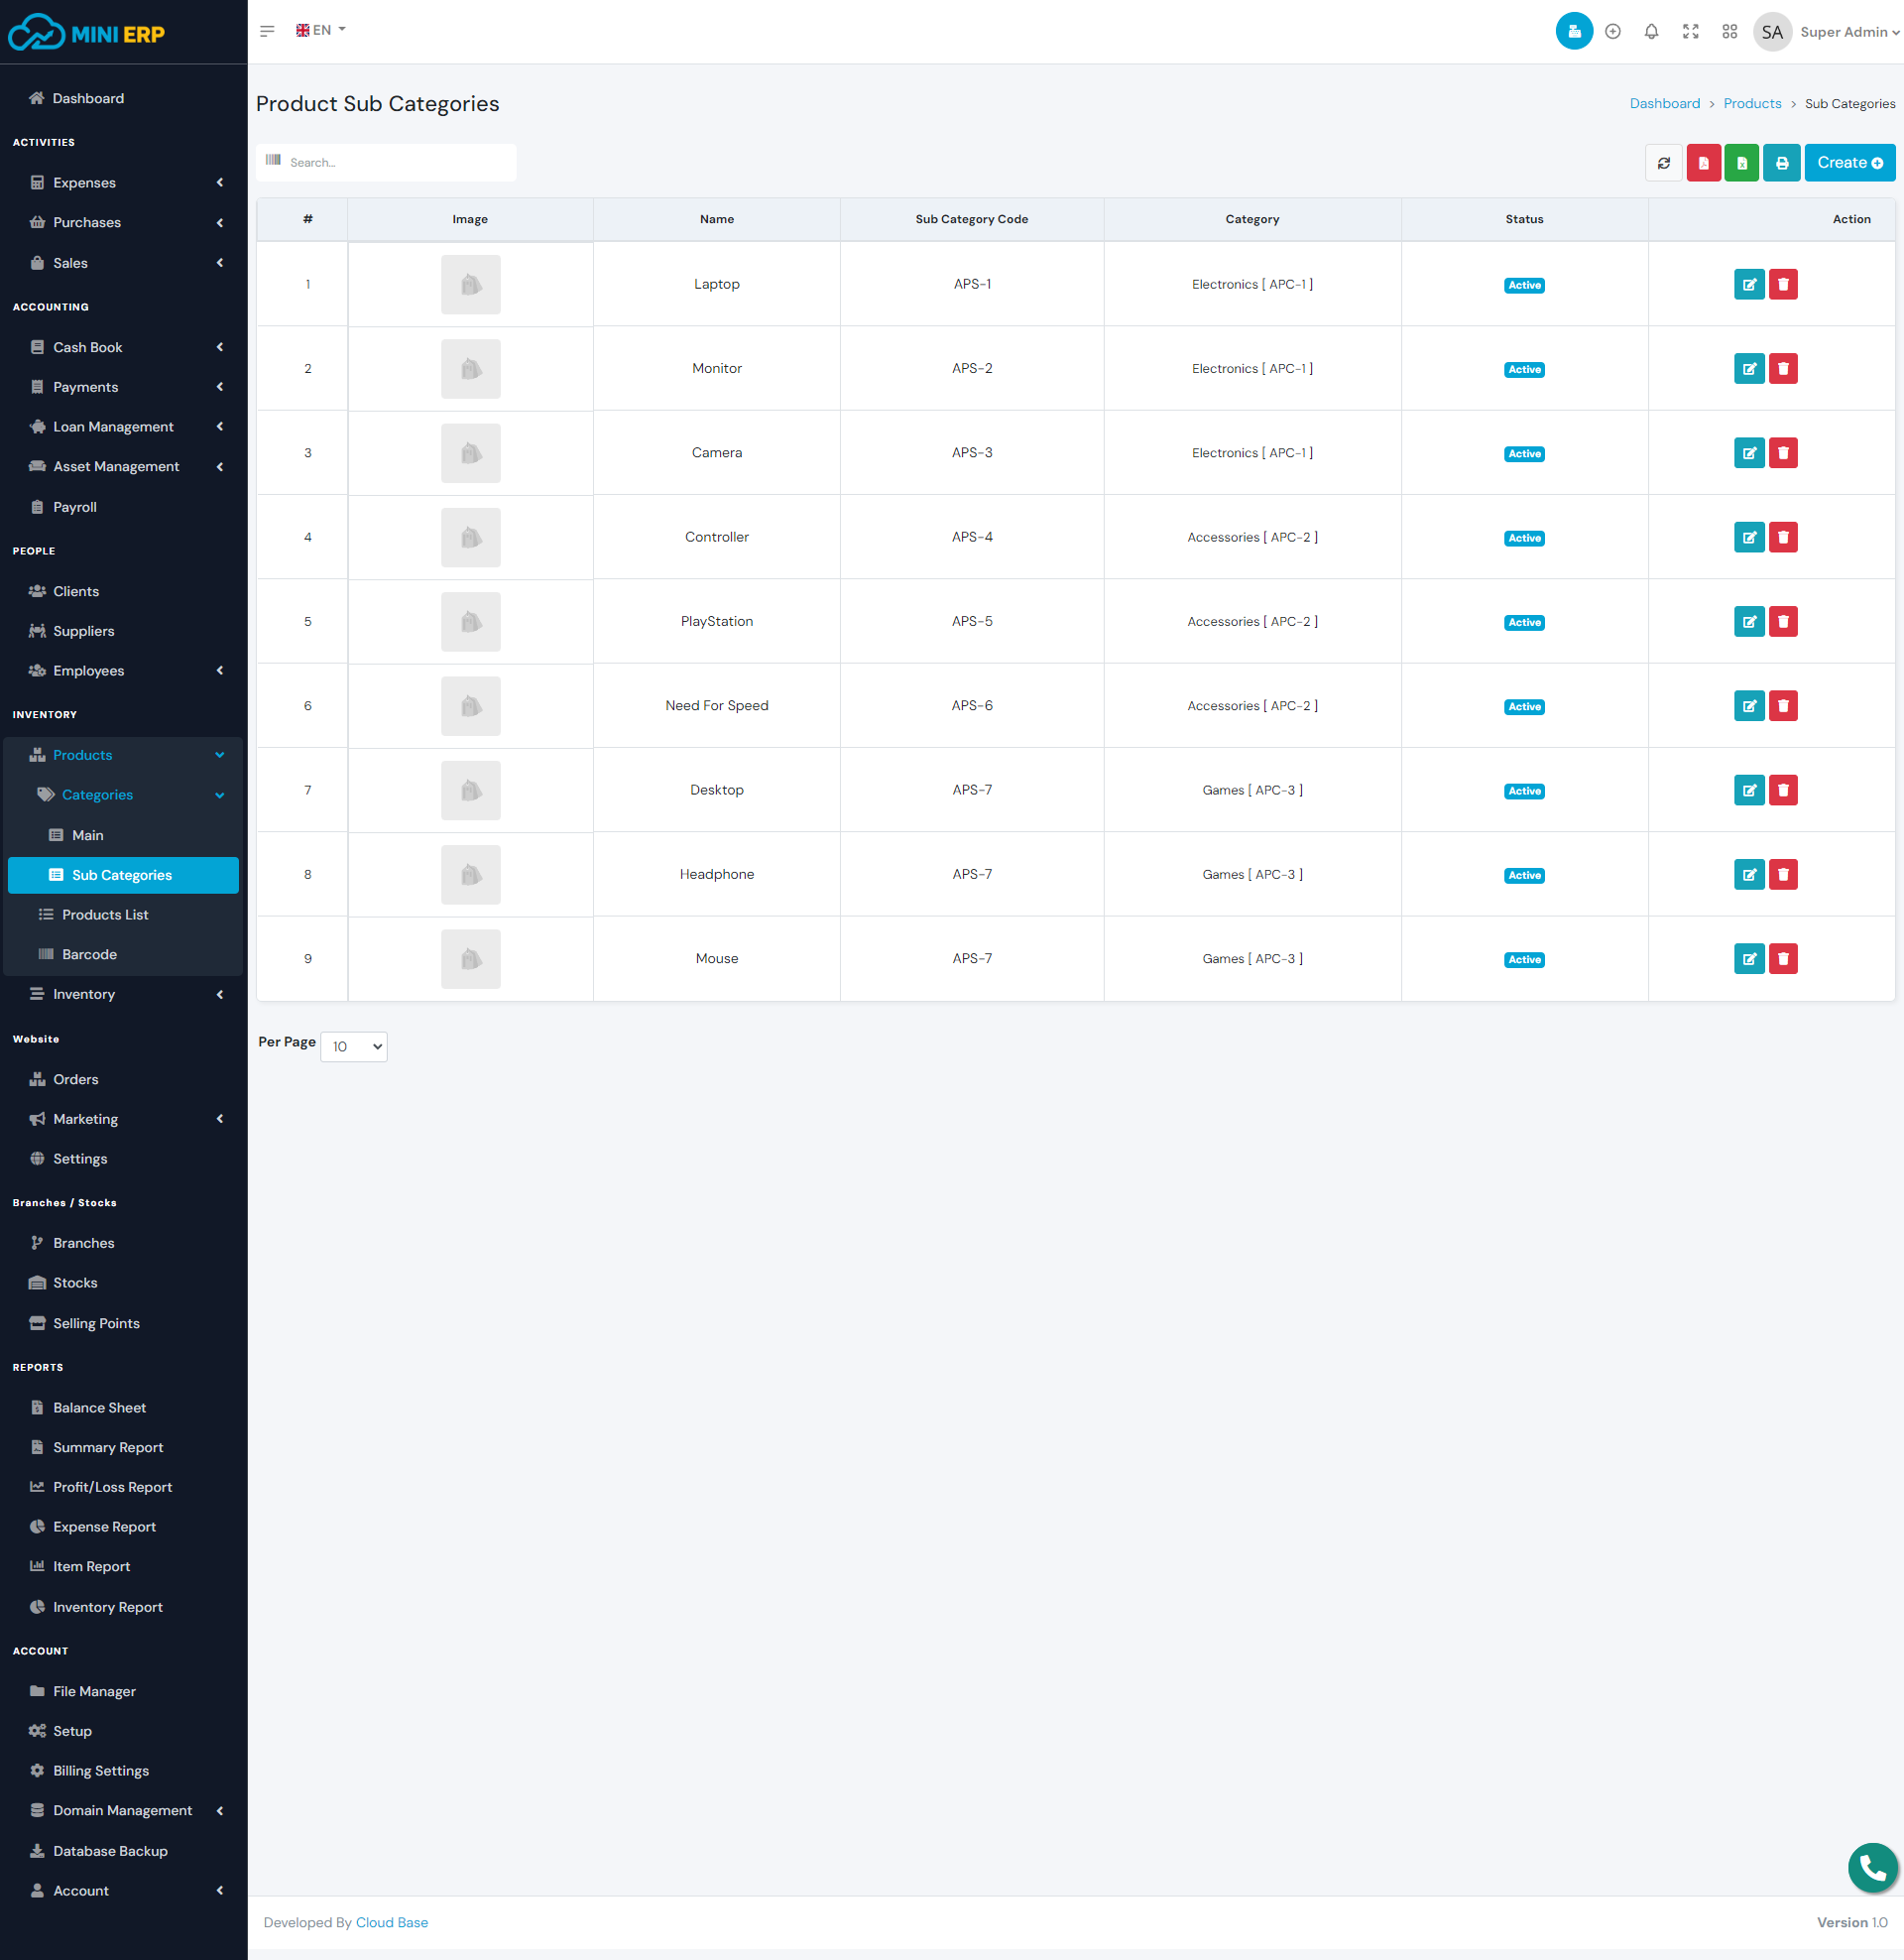
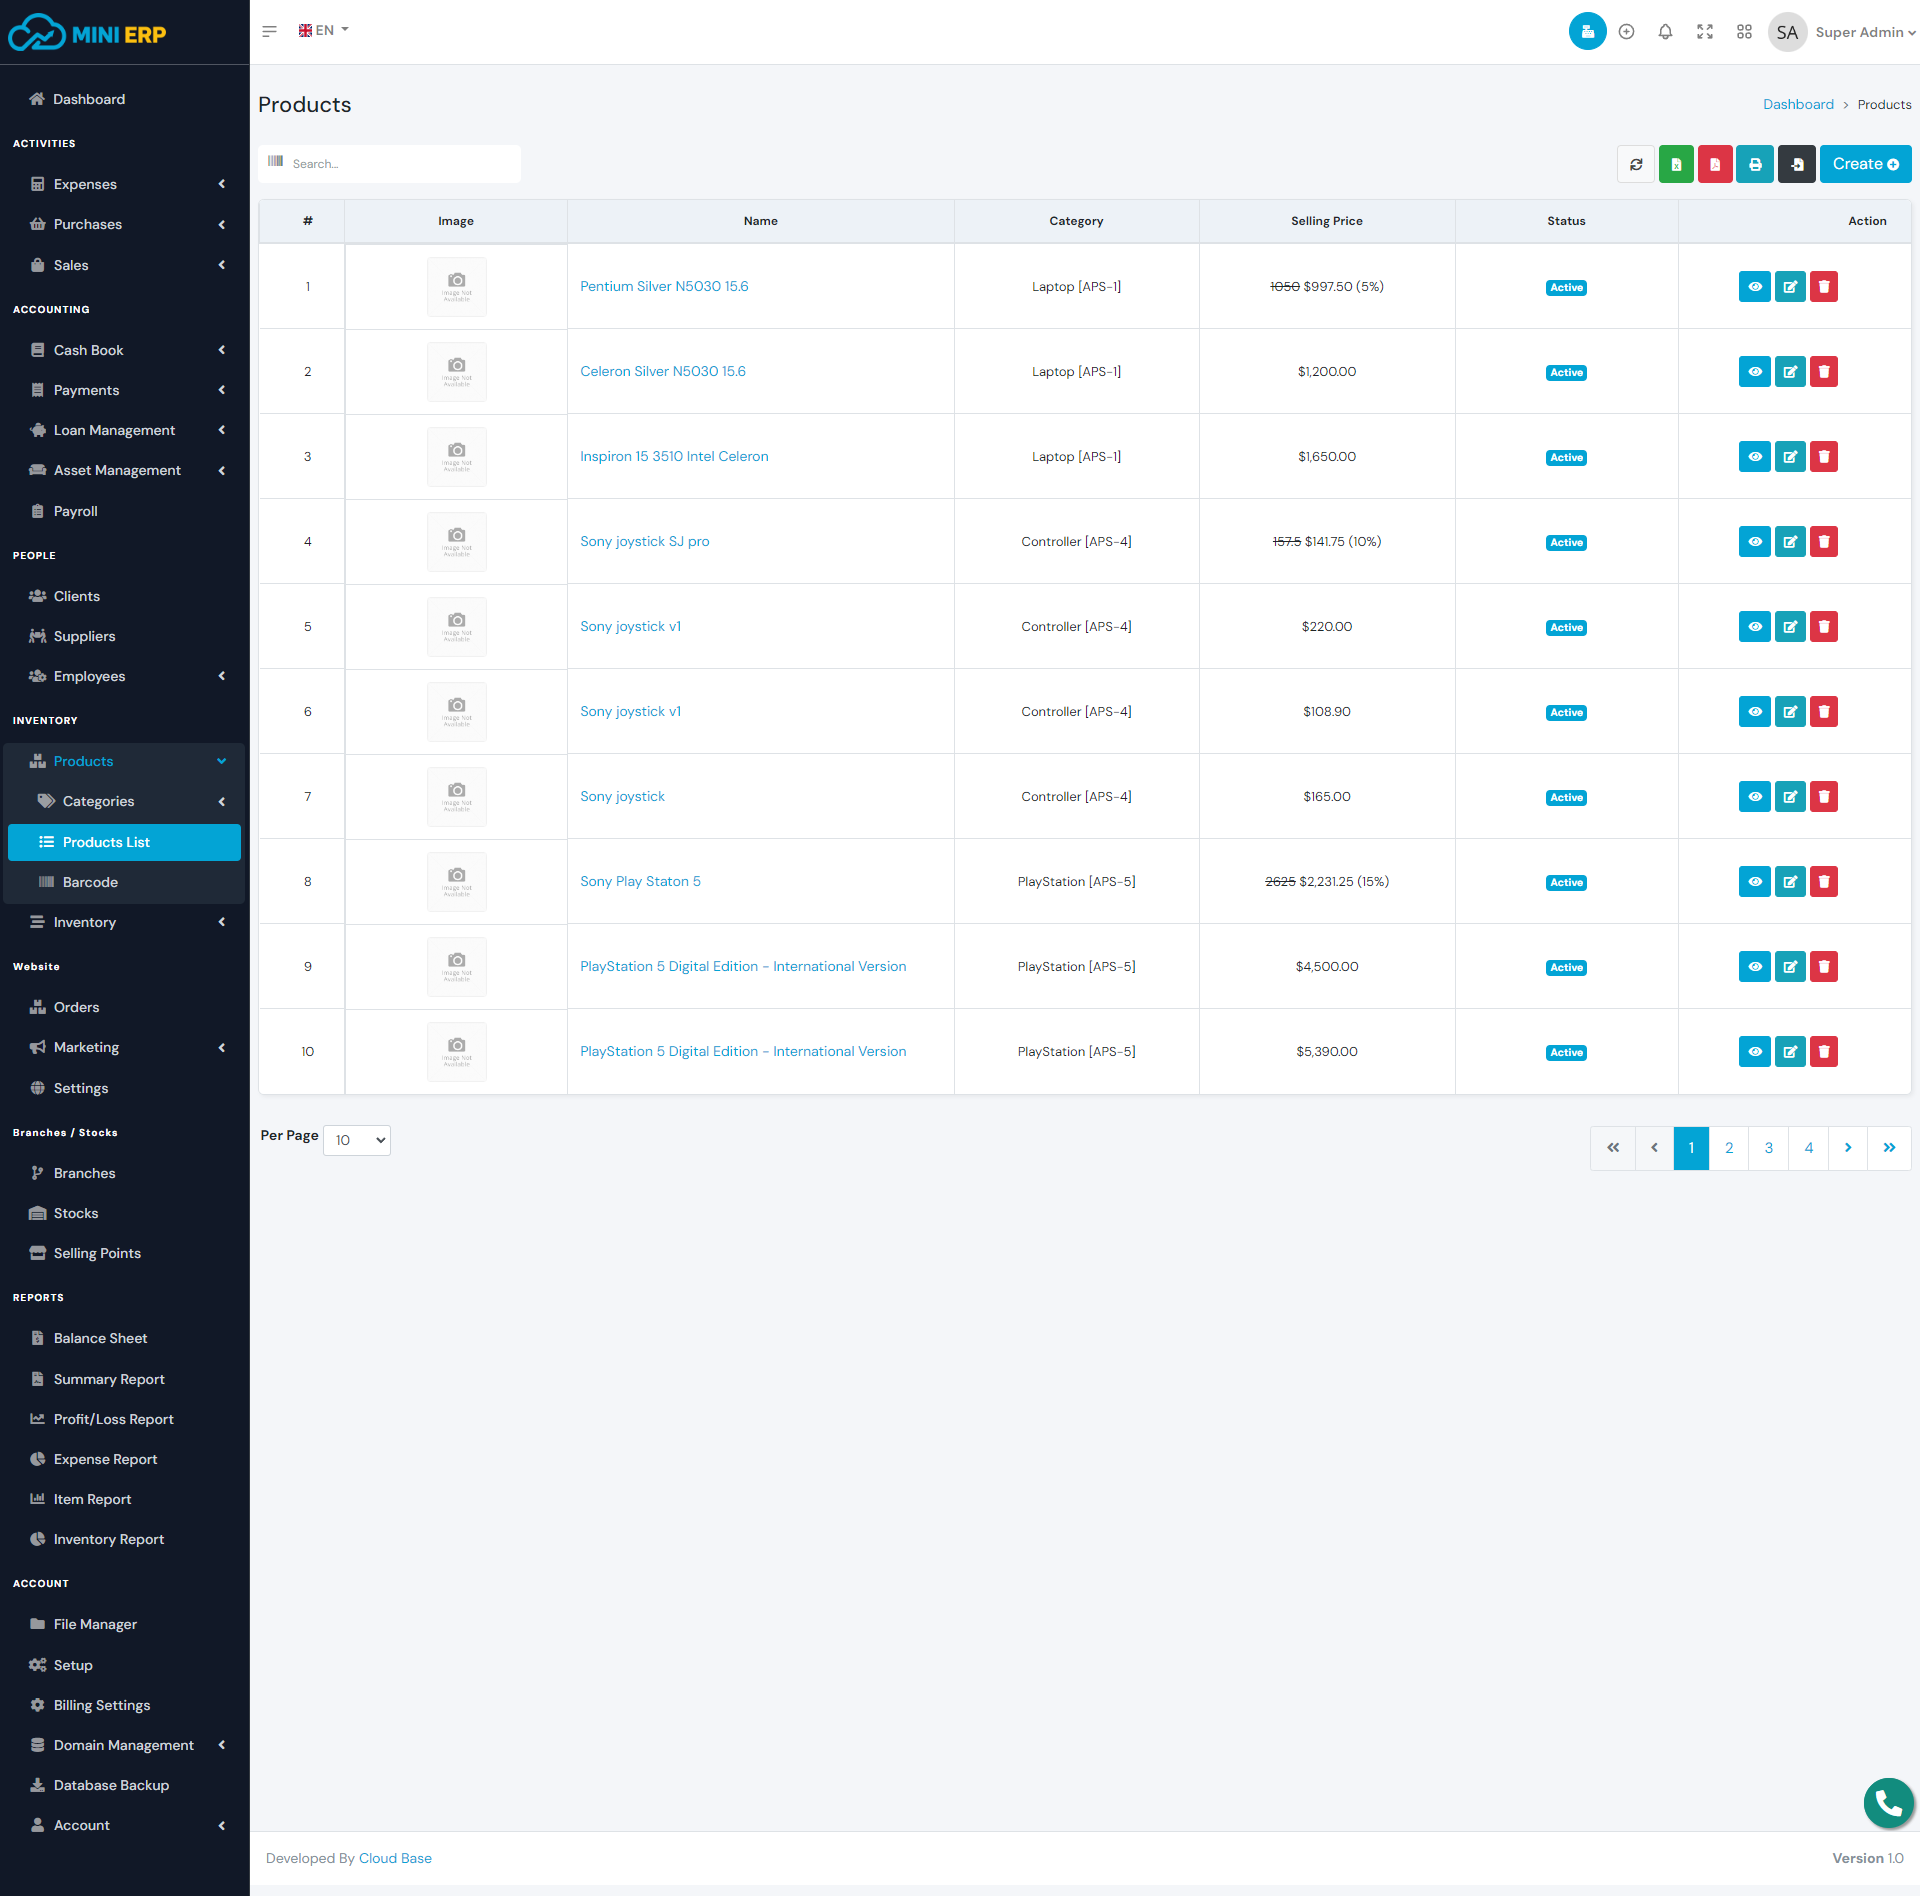
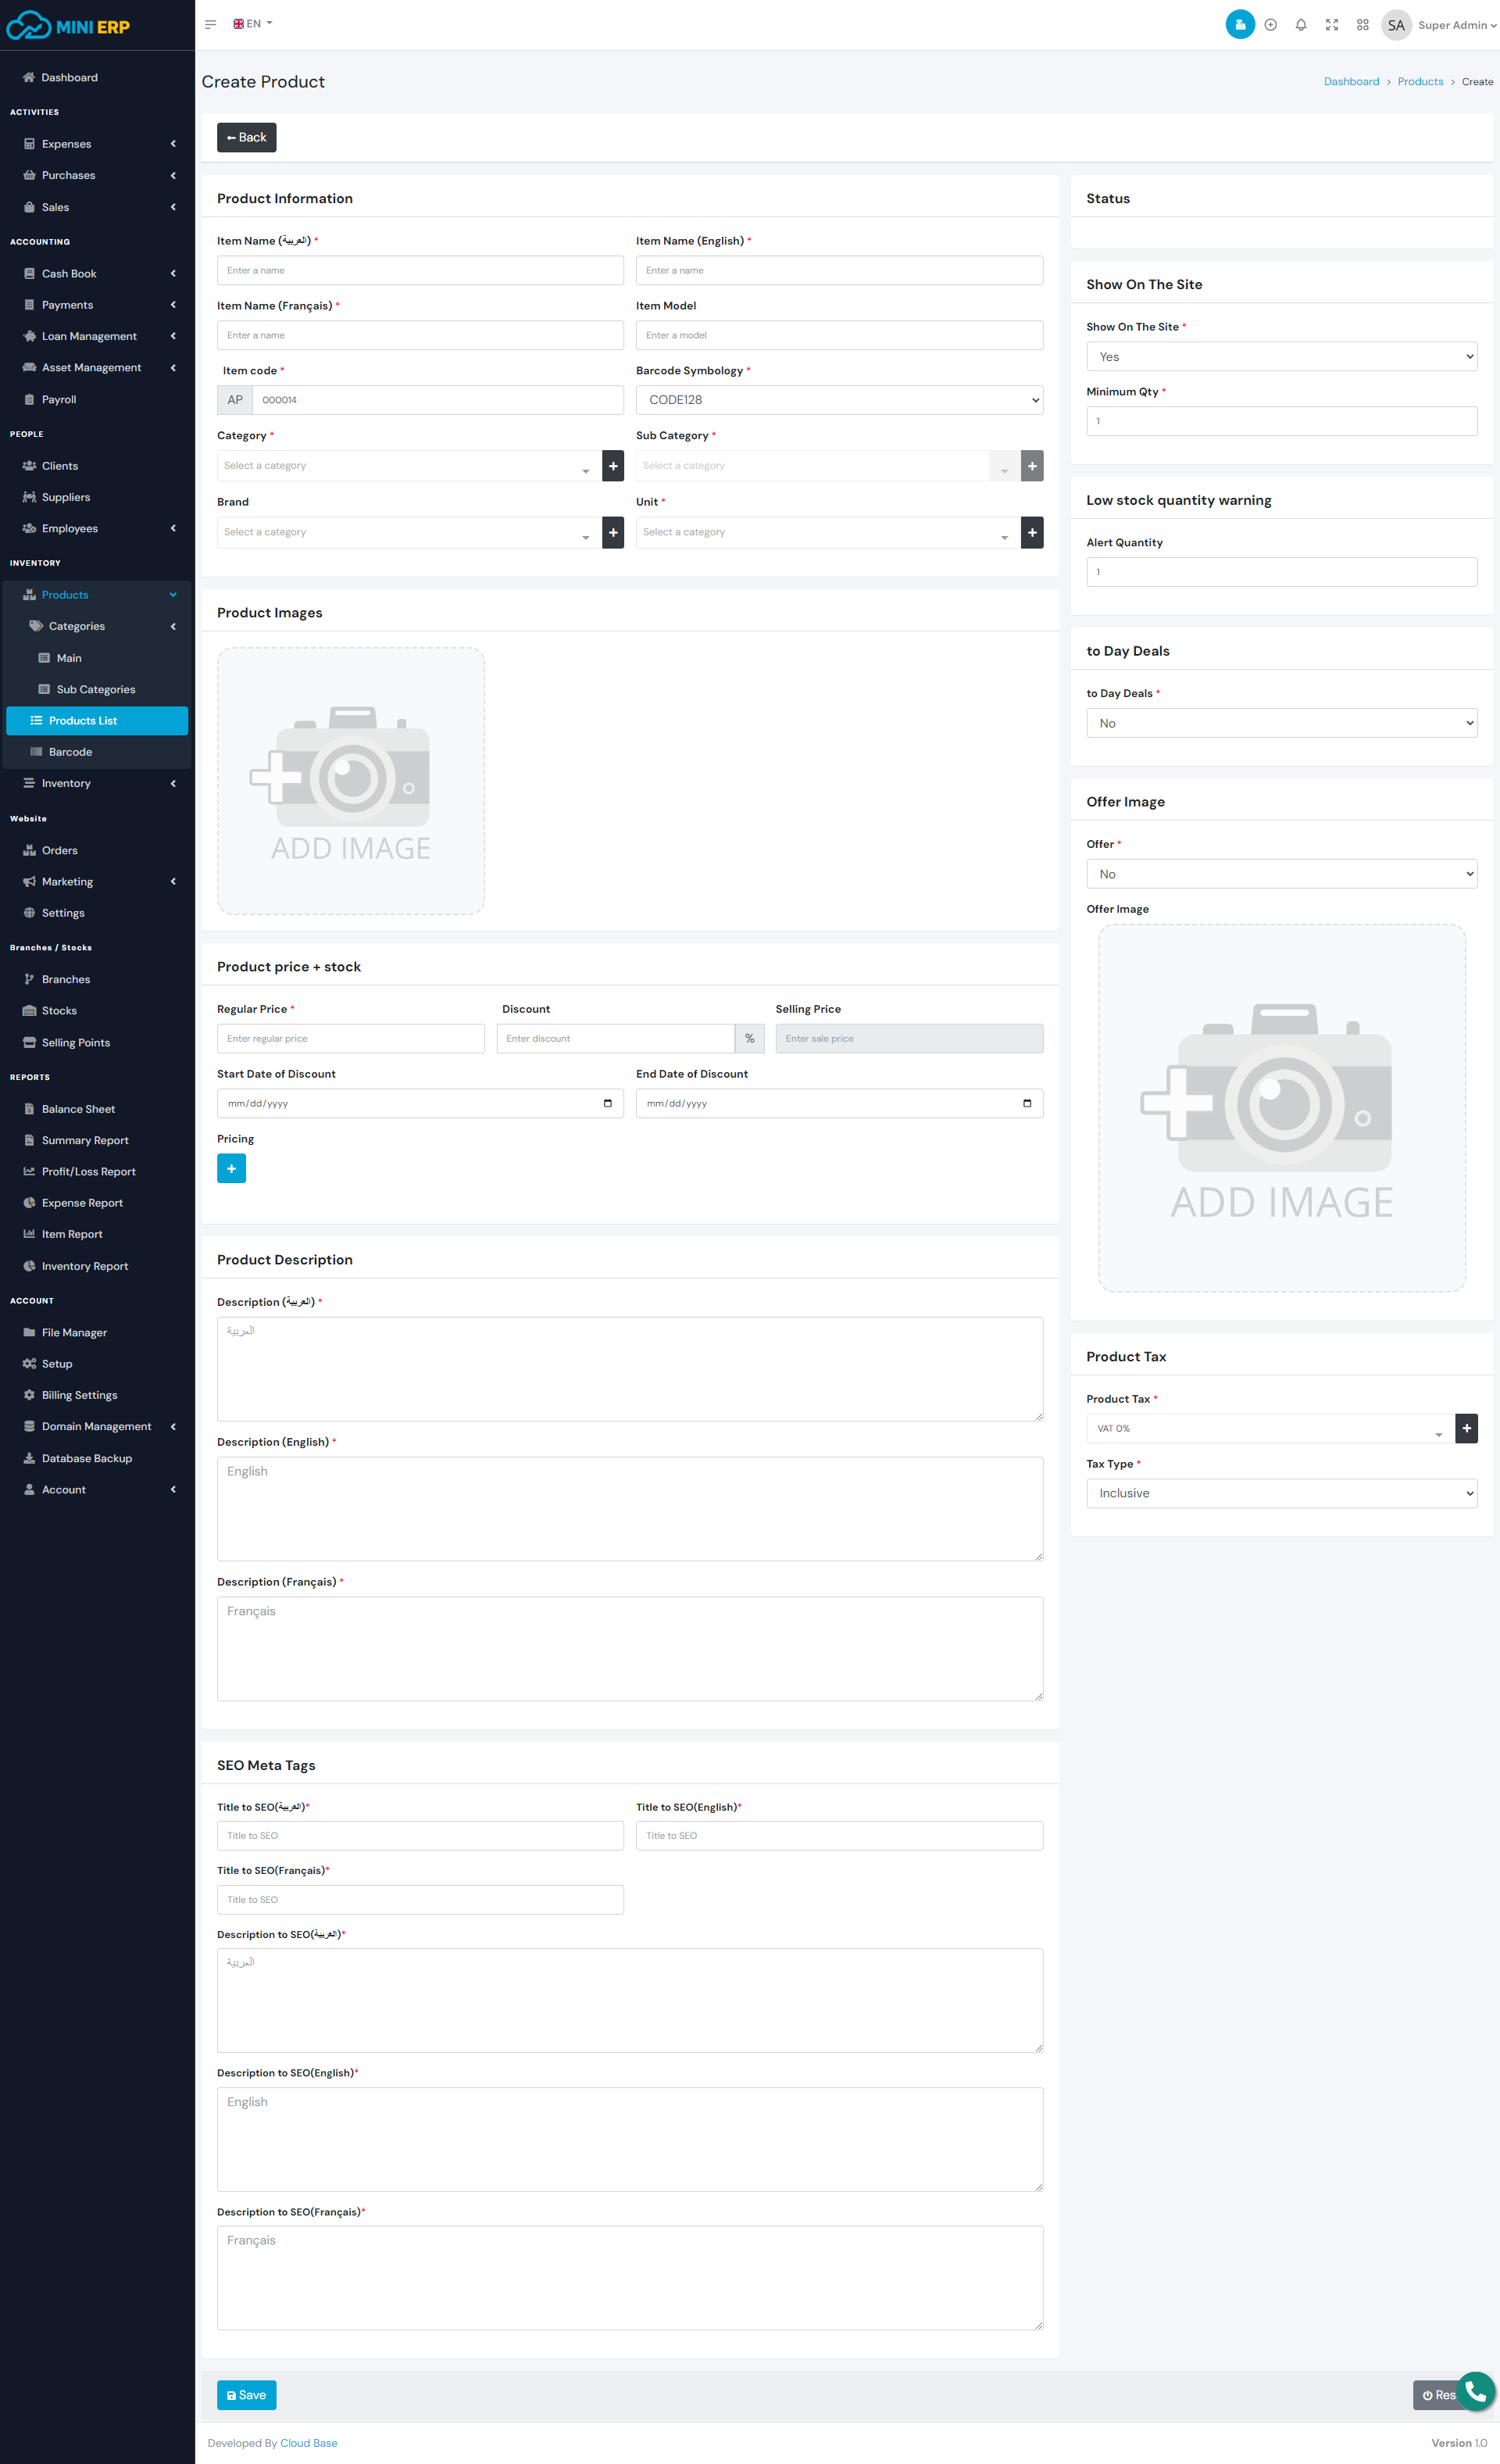
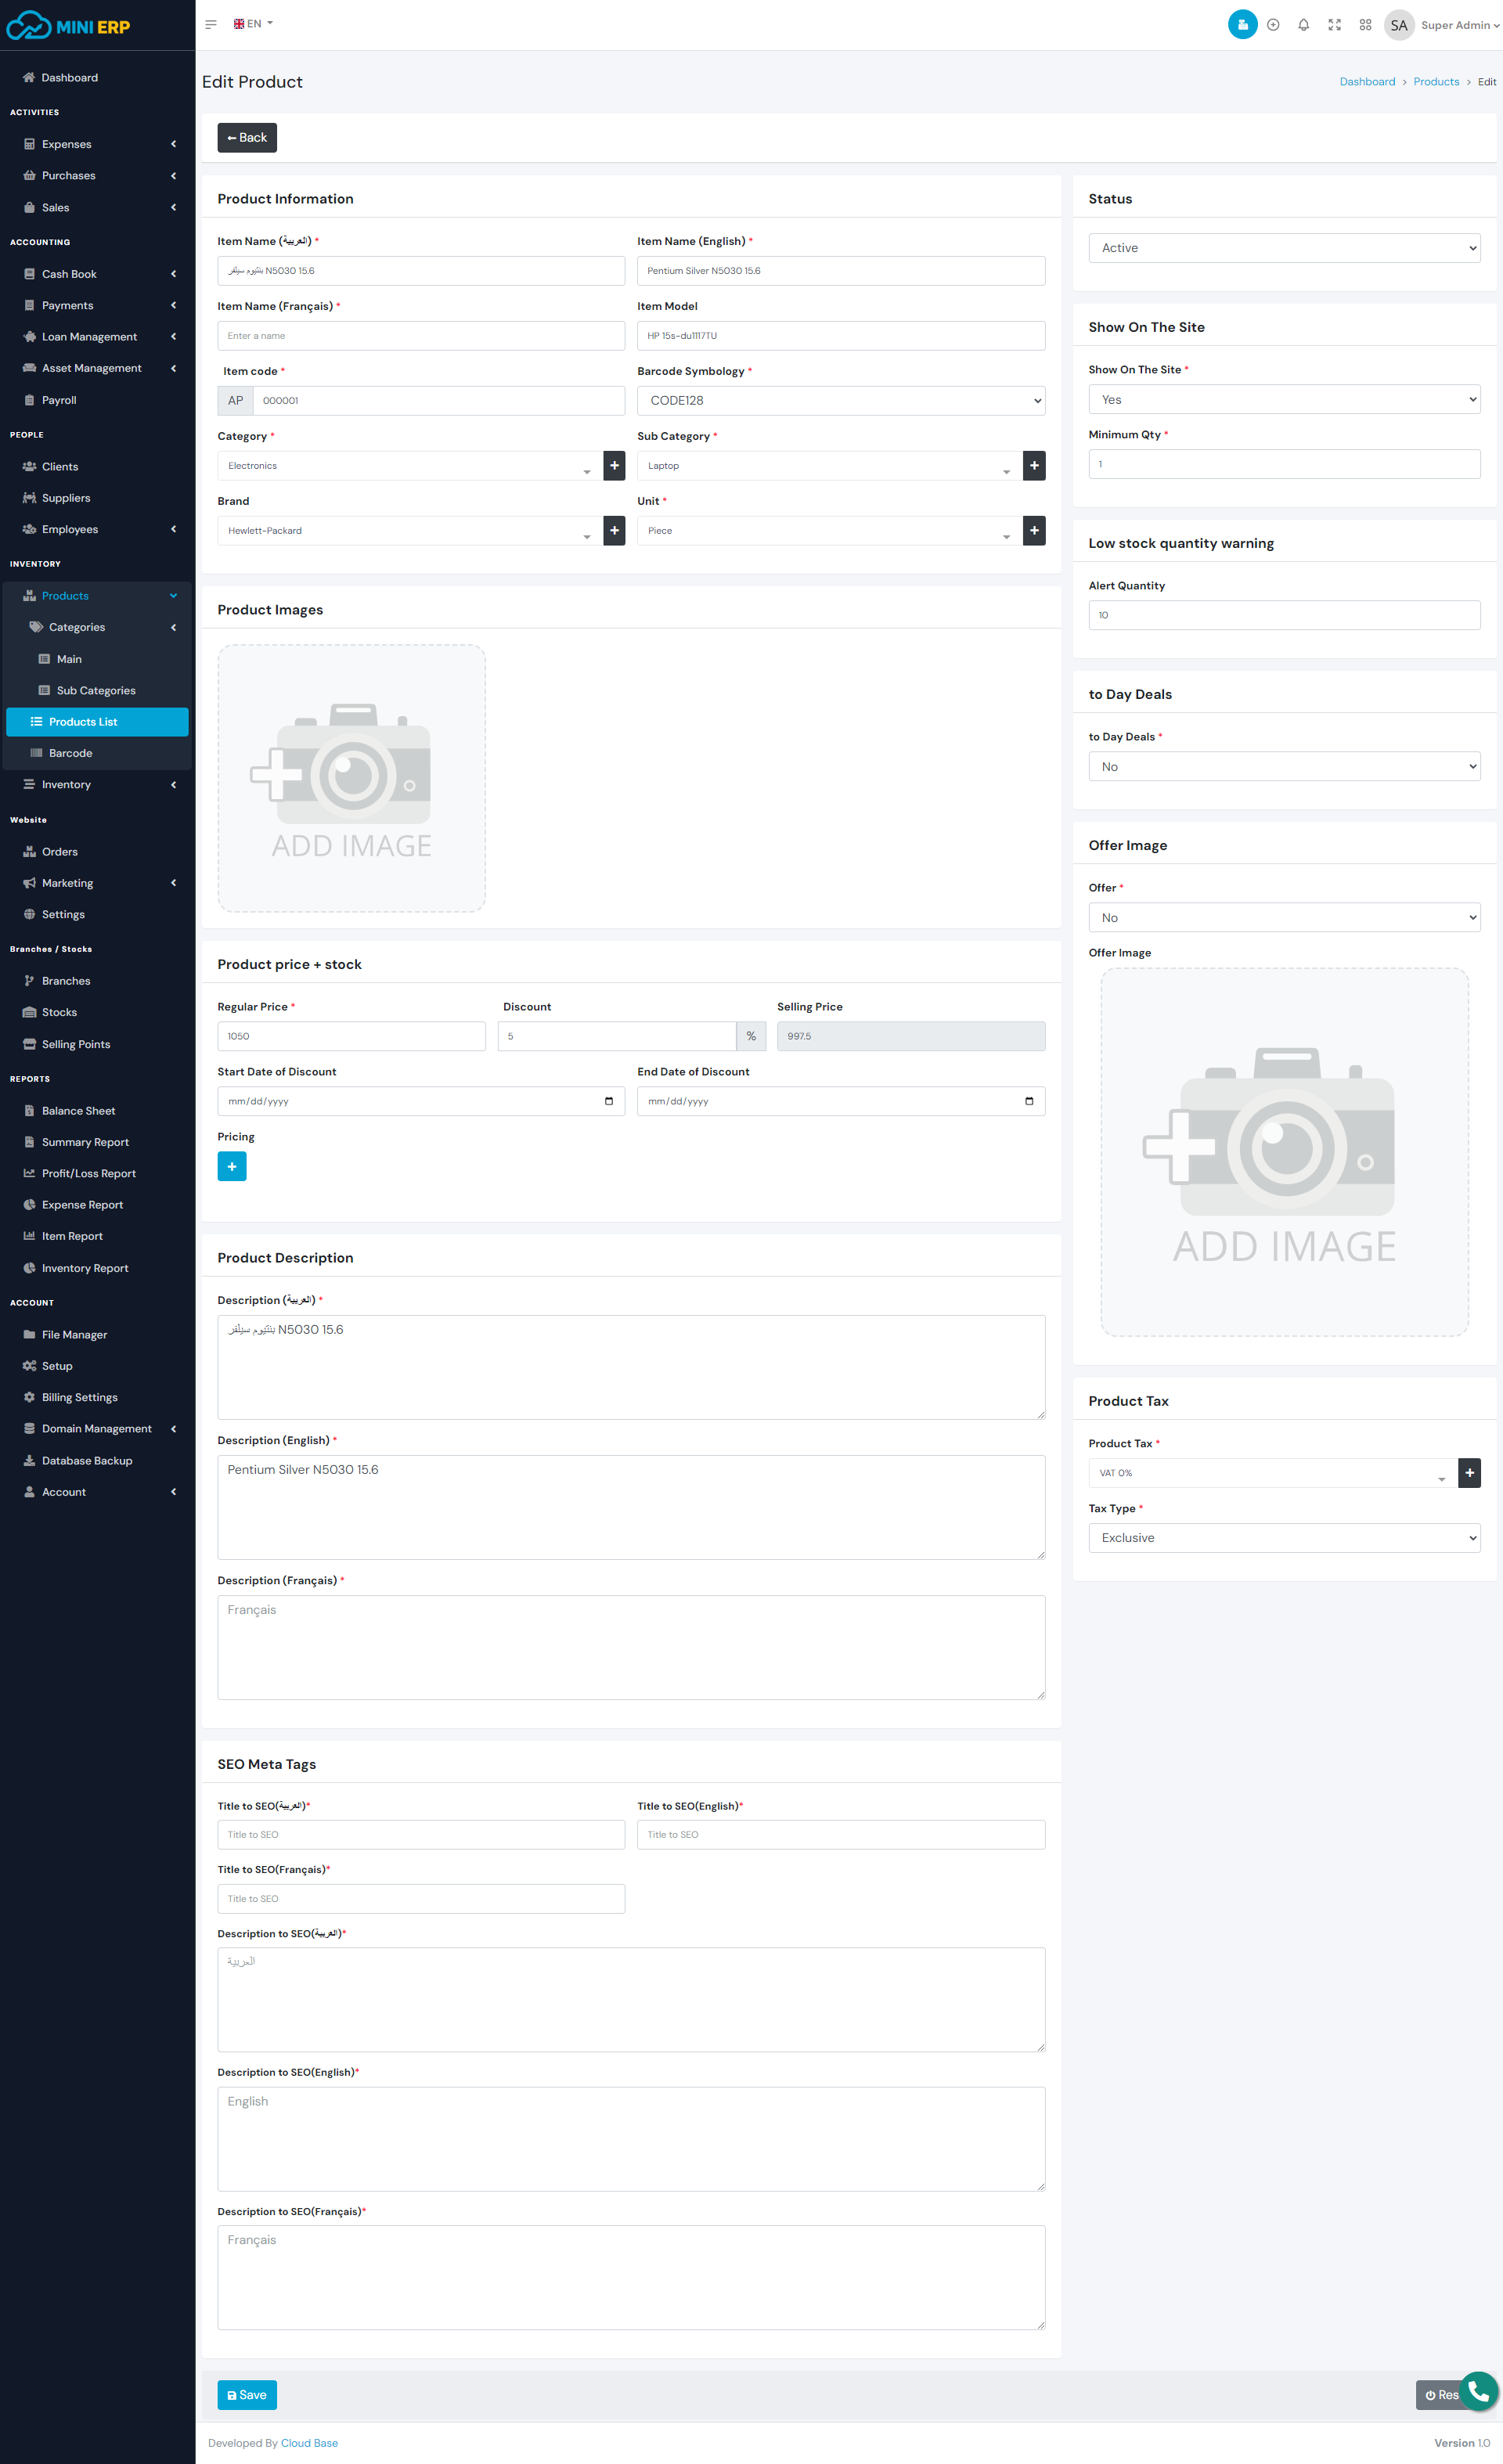
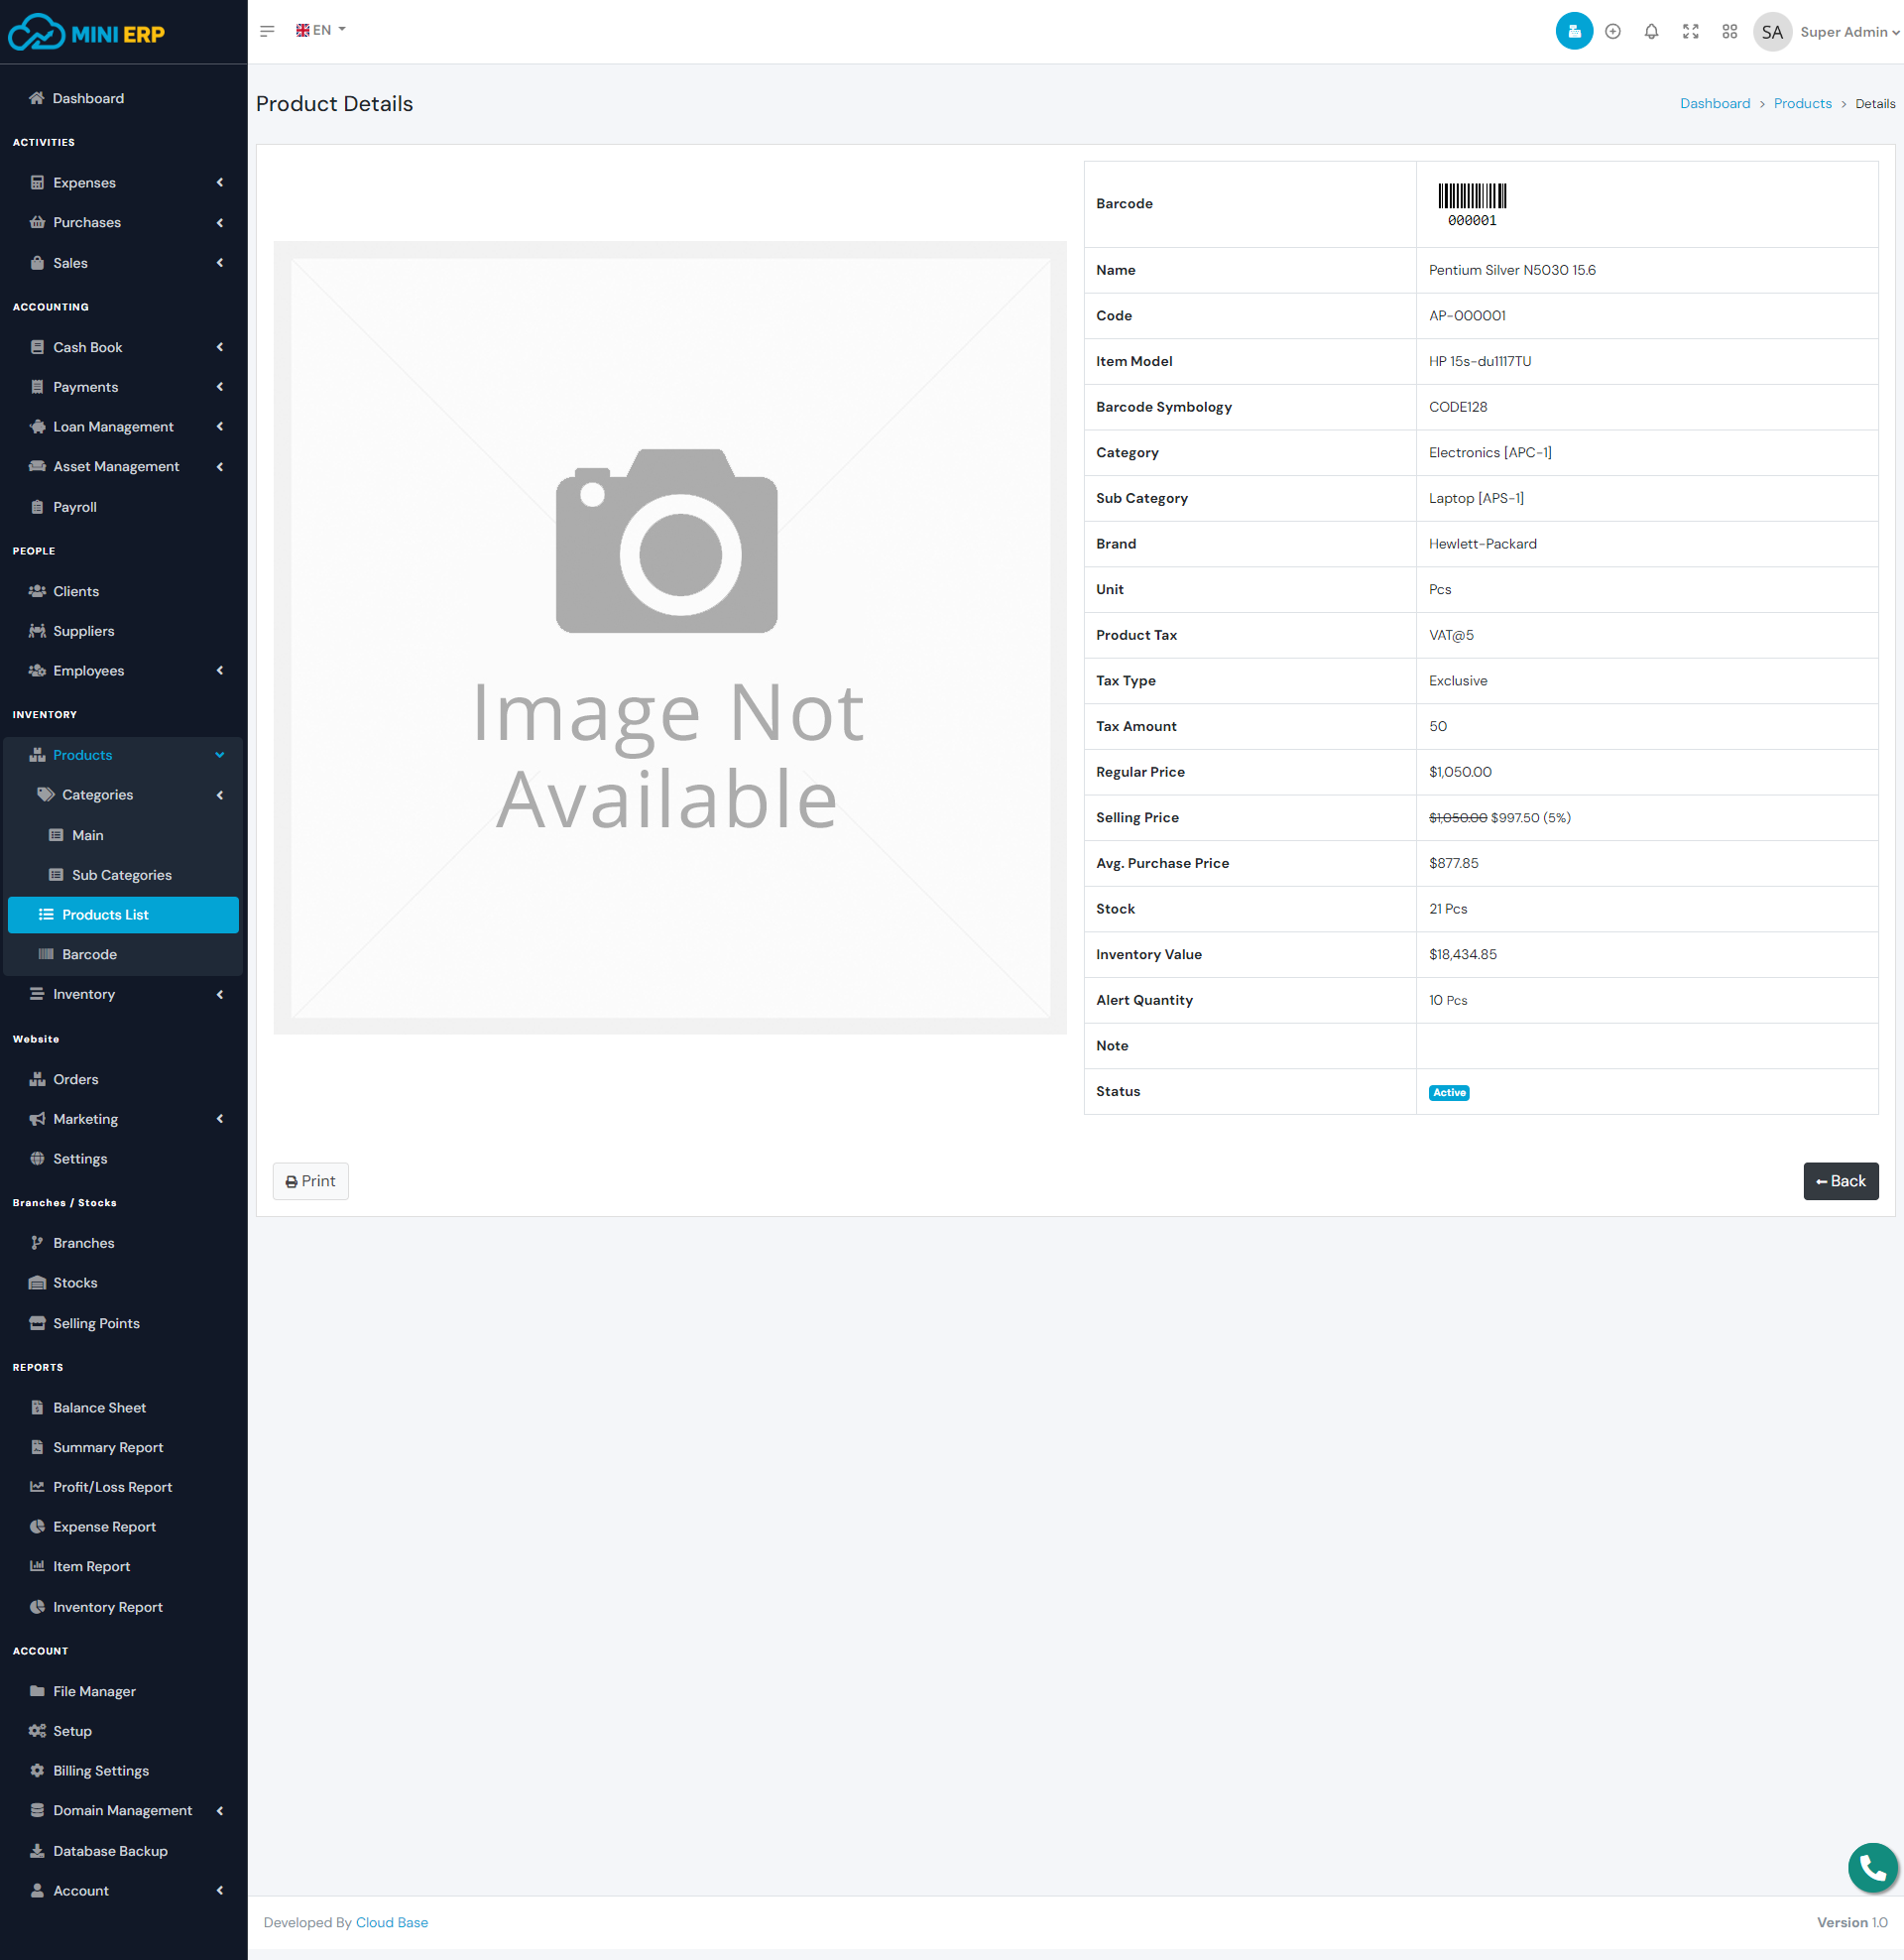
Products are the most important elements of the system. After completing your setup you need to create your products. In order to create a product, you must create a category and sub-category first. To add stock you have to purchase that product. The product purchase price will be calculated automatically based on the purchase history.
| Required fields to create a product |
|---|
| Item Name => Name of the item. You can enter any name. |
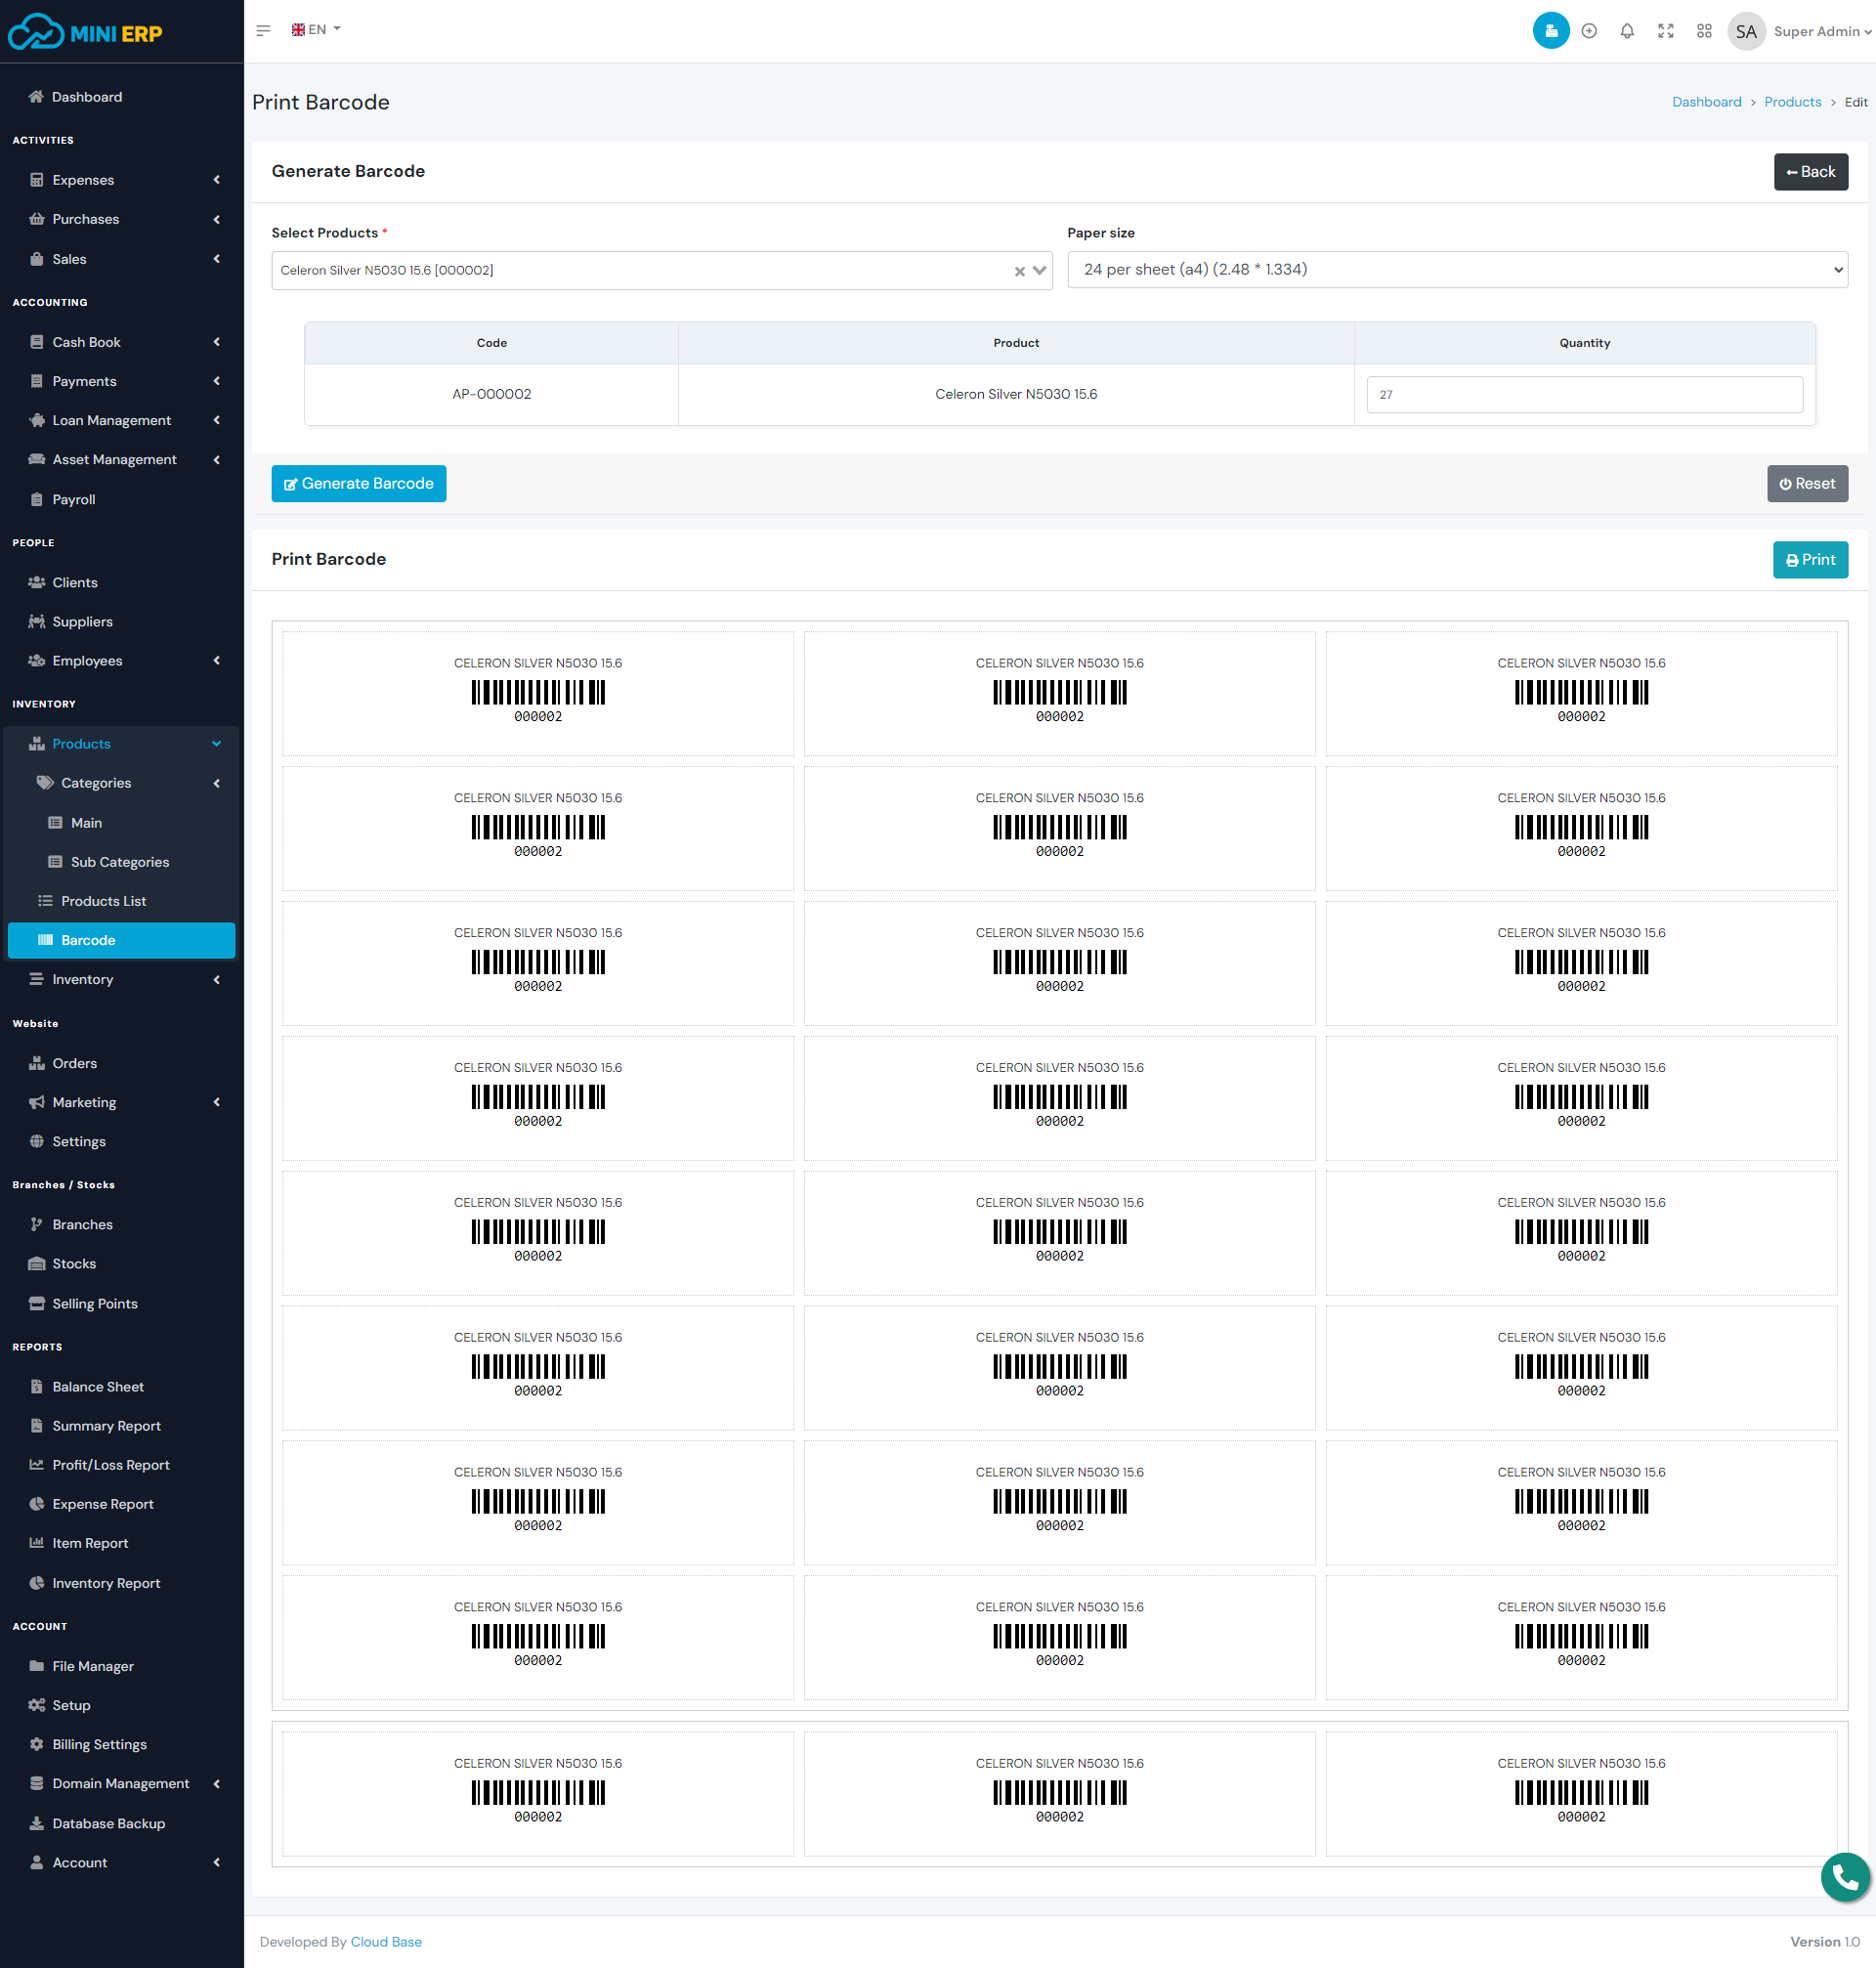
| Item code => Item code that will be used for the barcode. The code will be generated automatically. But if you want you can use your own code. |
| Barcode Symbology => Symbology for the product barcode. Select a Symbology from the list. |
| Unit => Product unit. Select a unit from the list. |
| Product Tax => Tax for this product. If you don't want to use any tax then create a vat rate with a 0% rate and then select the rate here. |
| Tax Type => Select a tax type. If you select inclusive then the selling price will be the same as the regular price and the Tax will be included within the price. But if you select exclusive then tax will be added with the regular price so the selling price will increase. |
| Regular Price => Your product price. The selling price will be calculated based on the regular price. |
Inventory
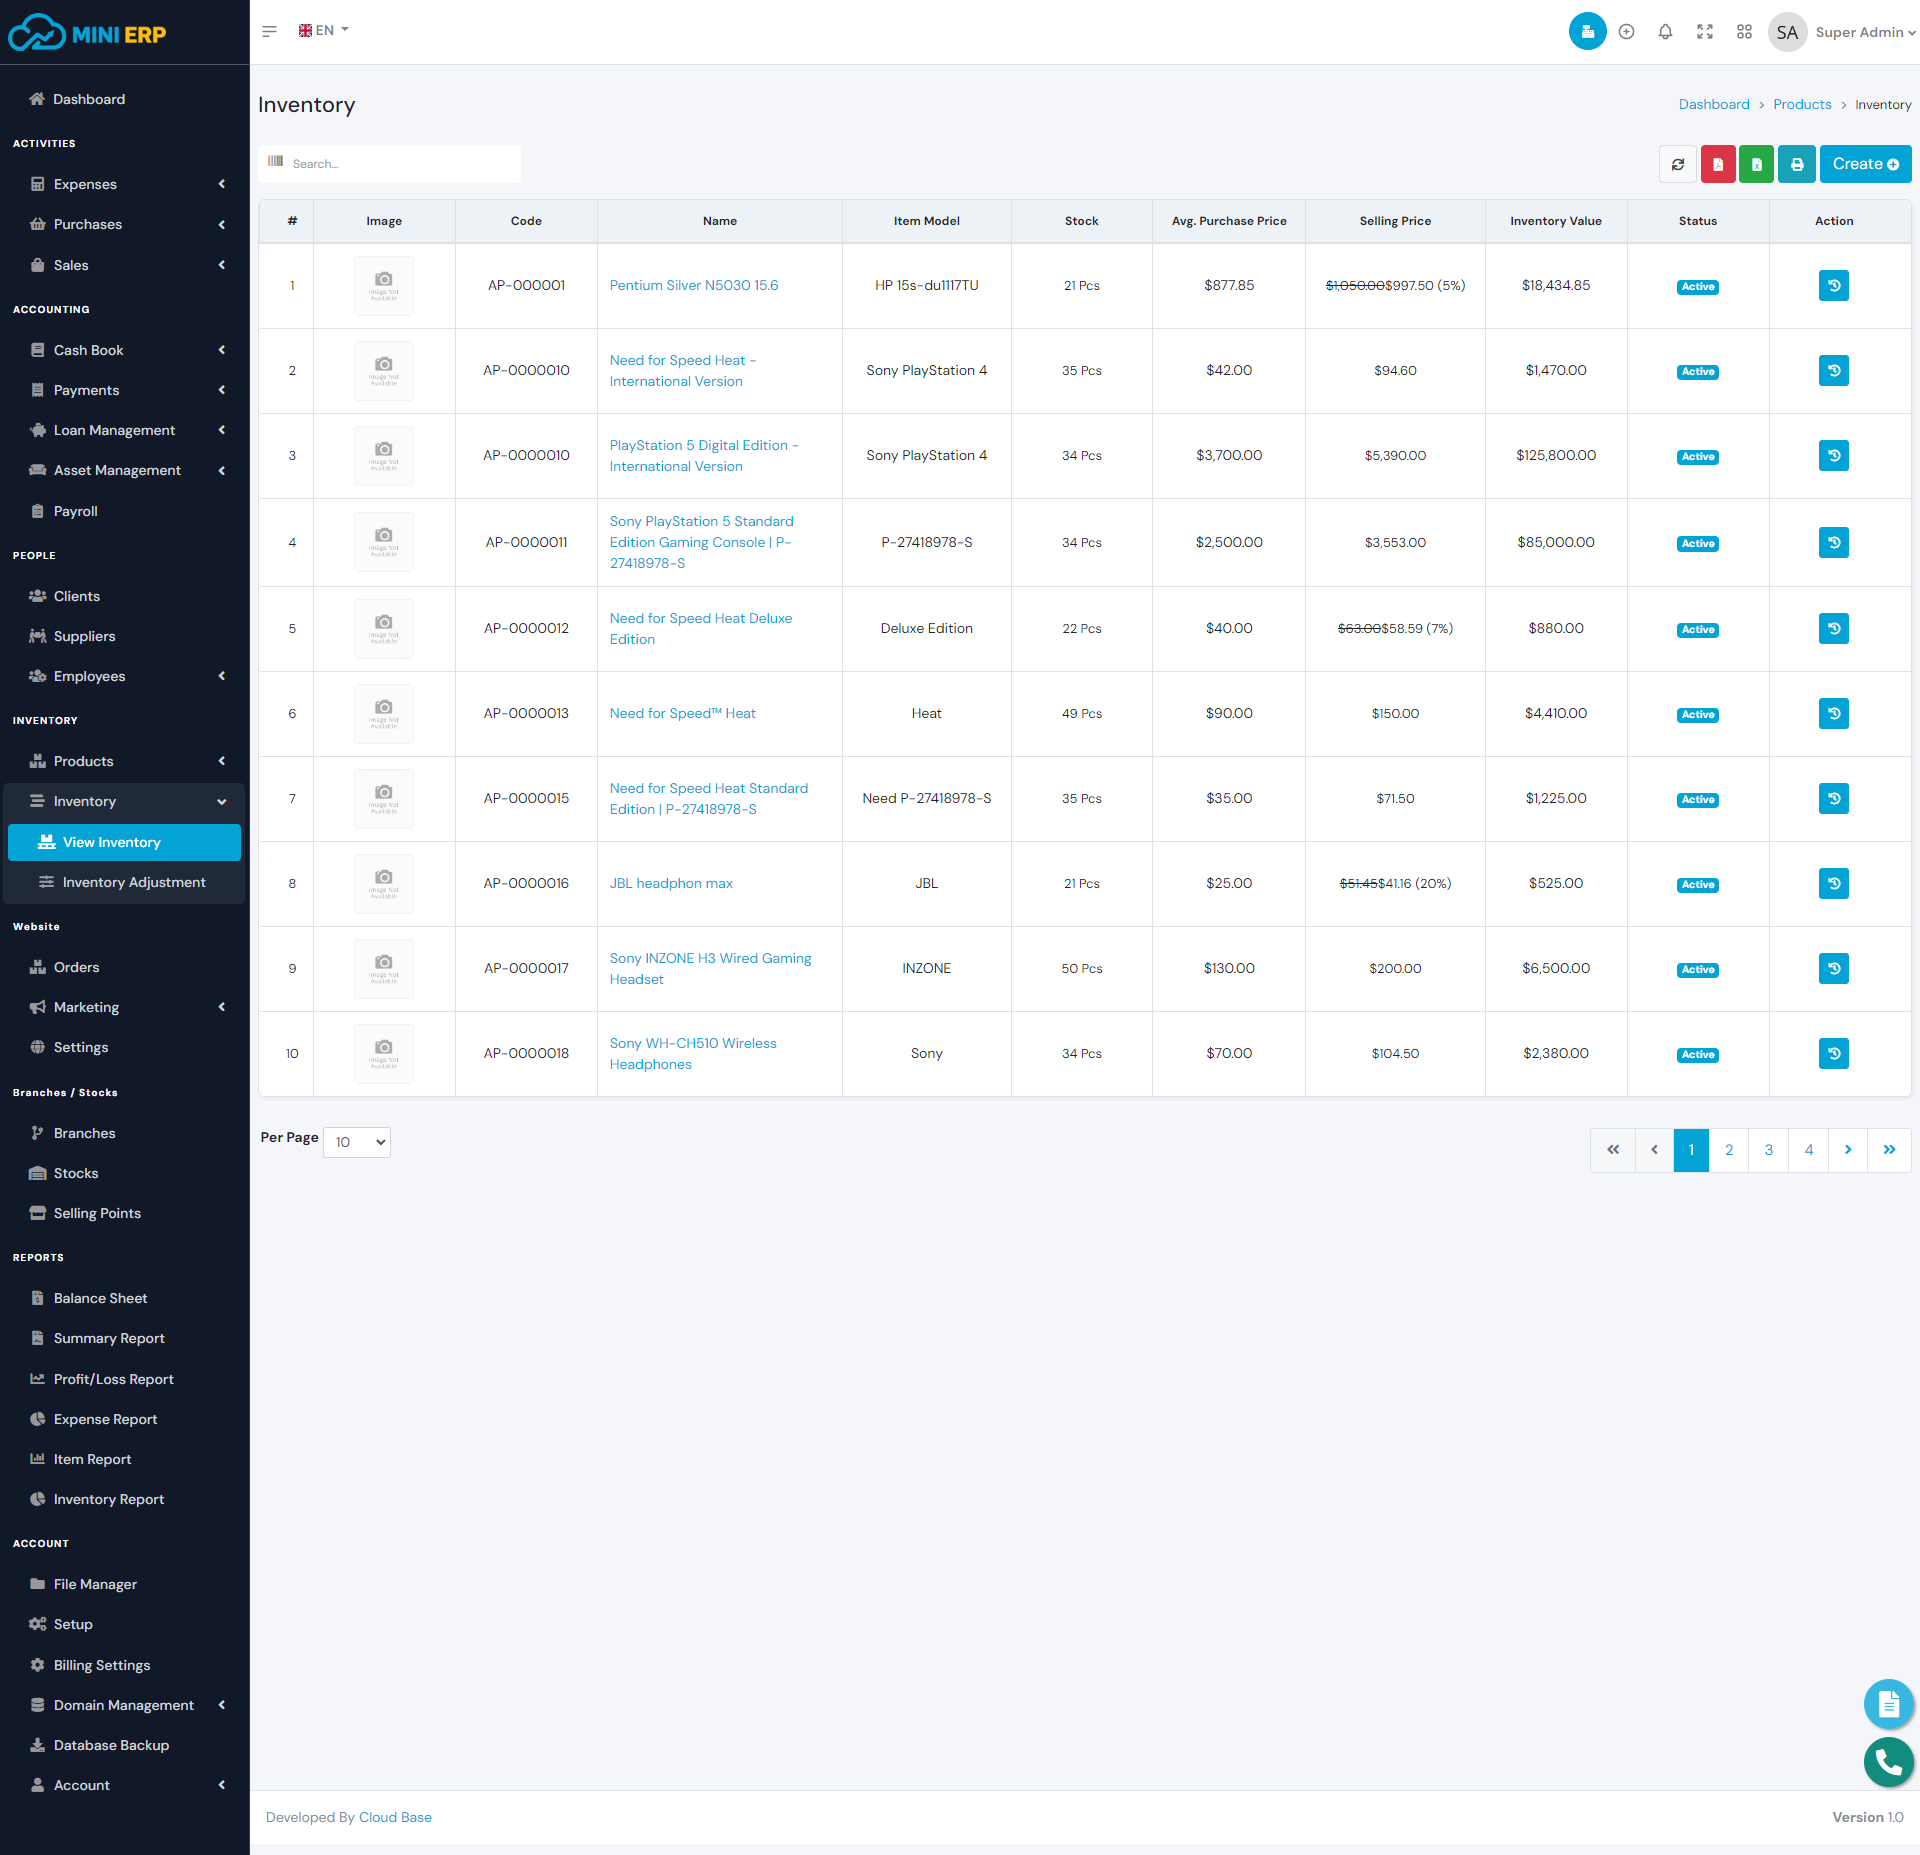
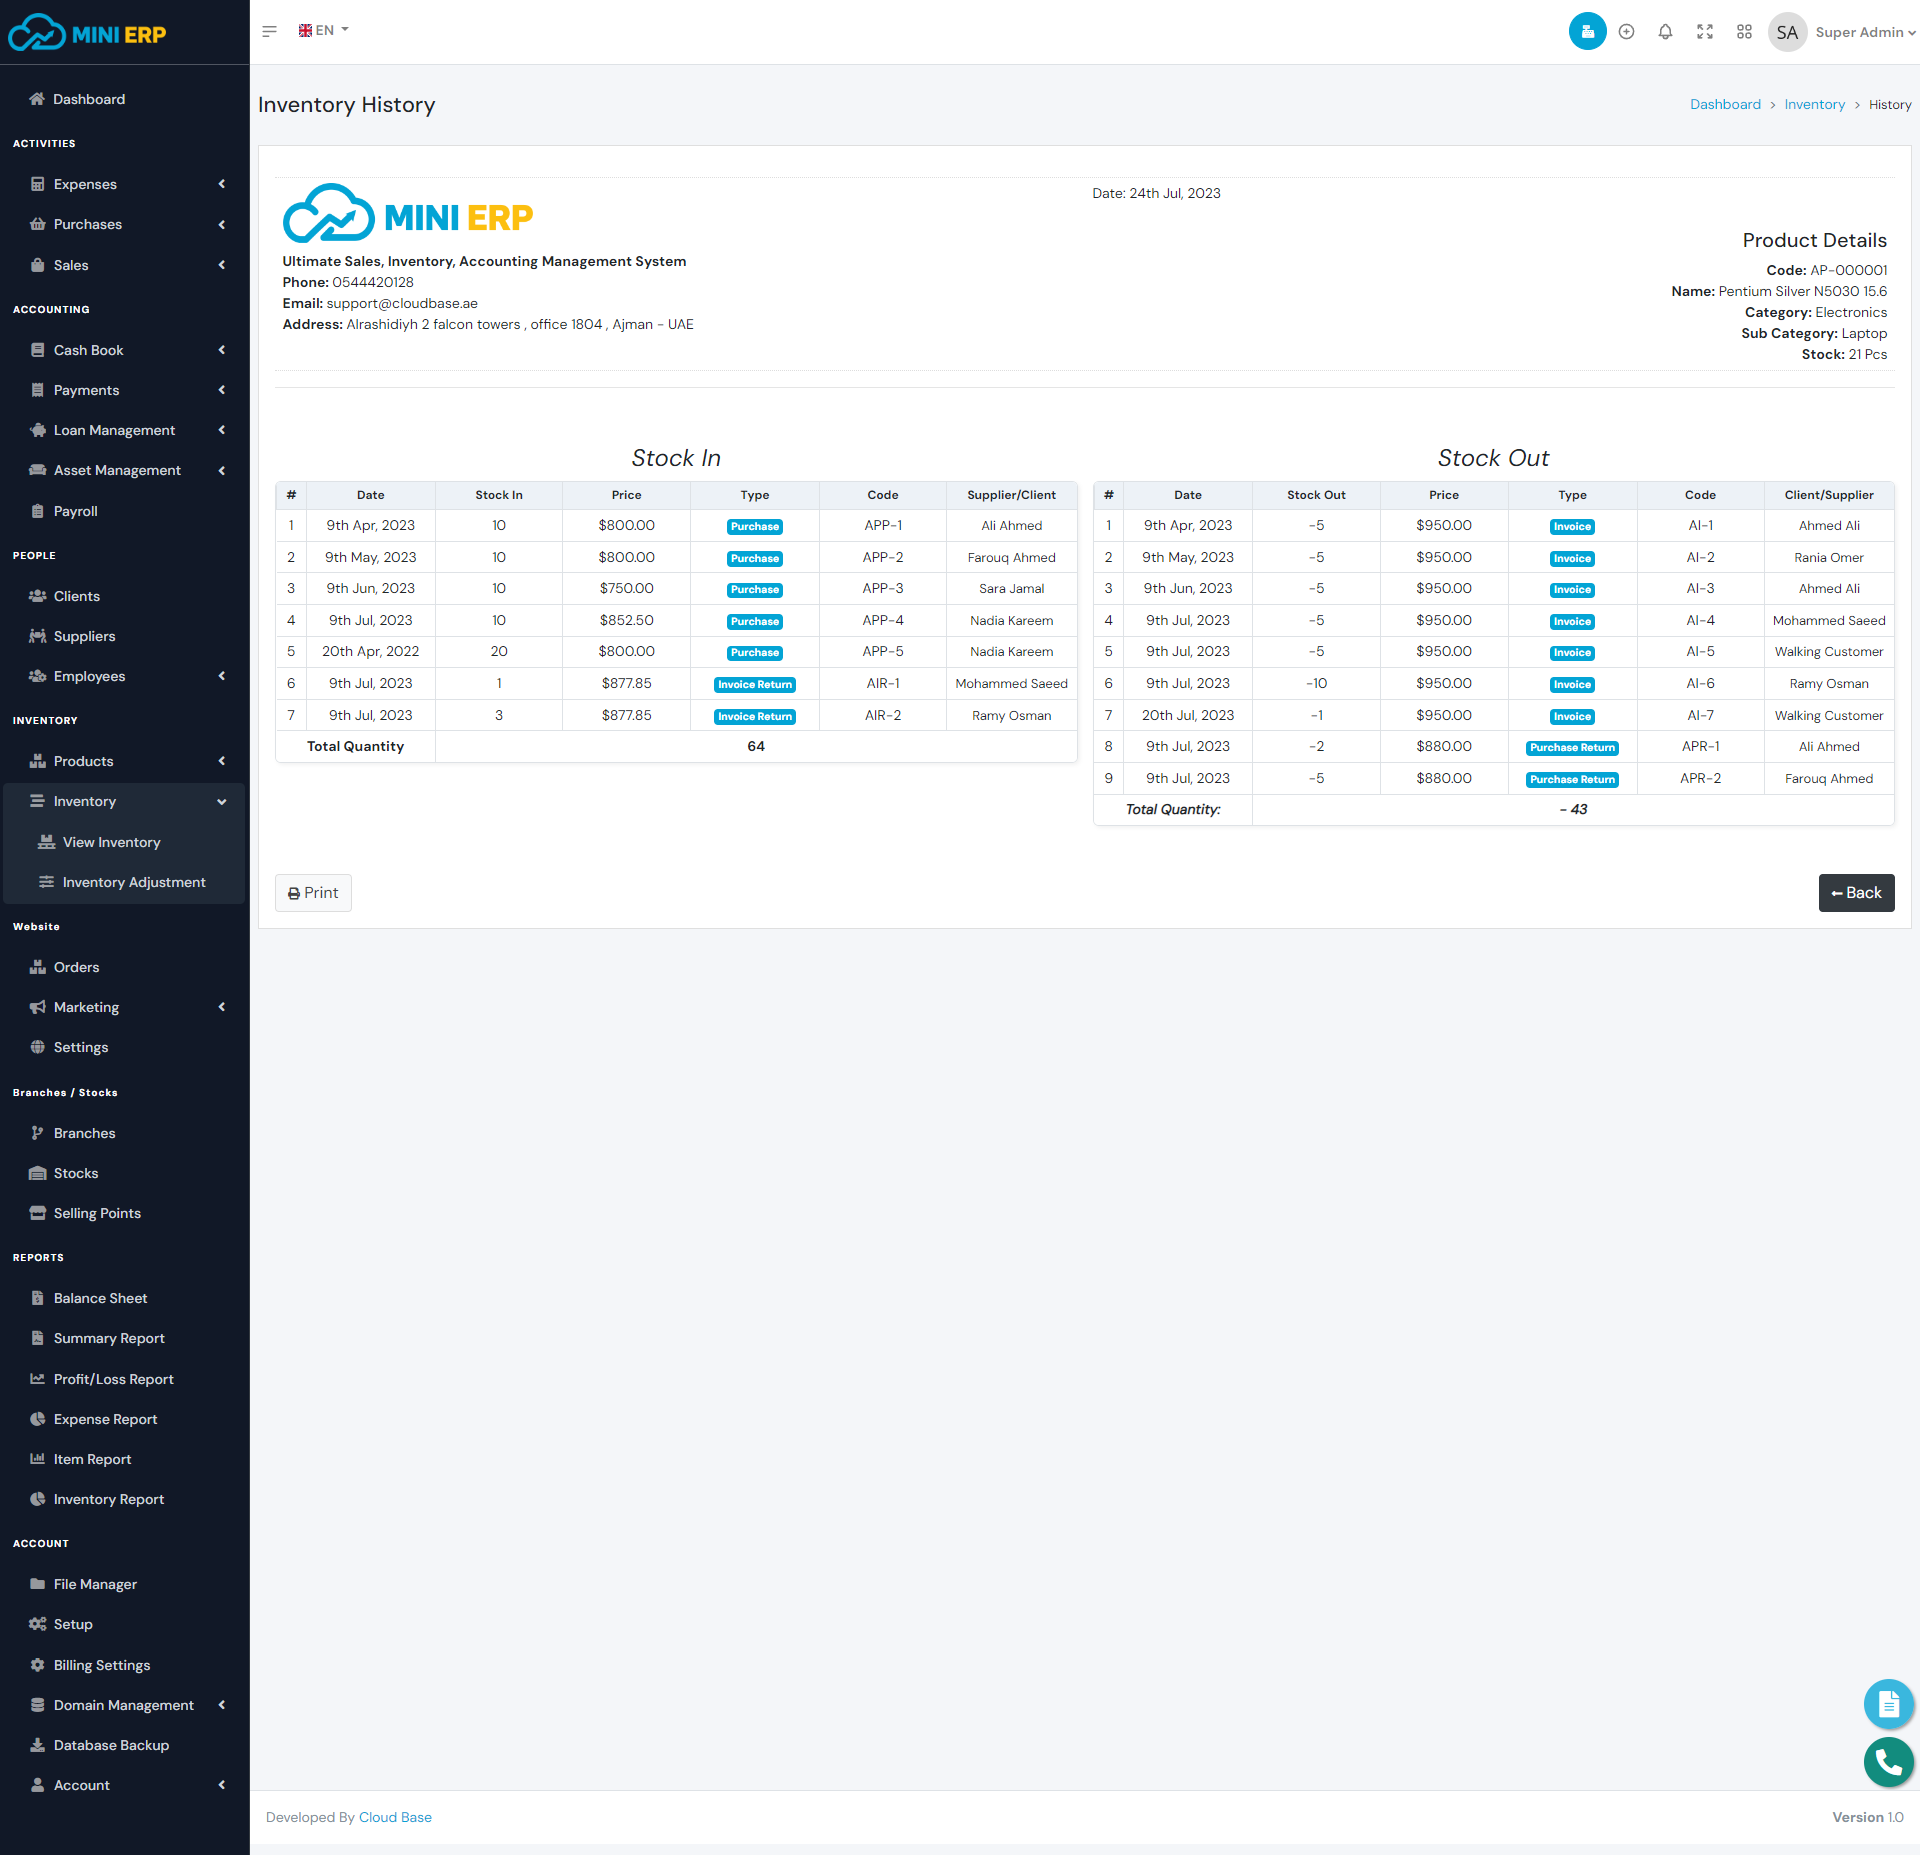
Inventory module helps you keep track of your product stocks. You can see the average purchase price, selling price, current stock, and inventory value. You can also see your inventory history(Stock In and Stock Outs) from this module.
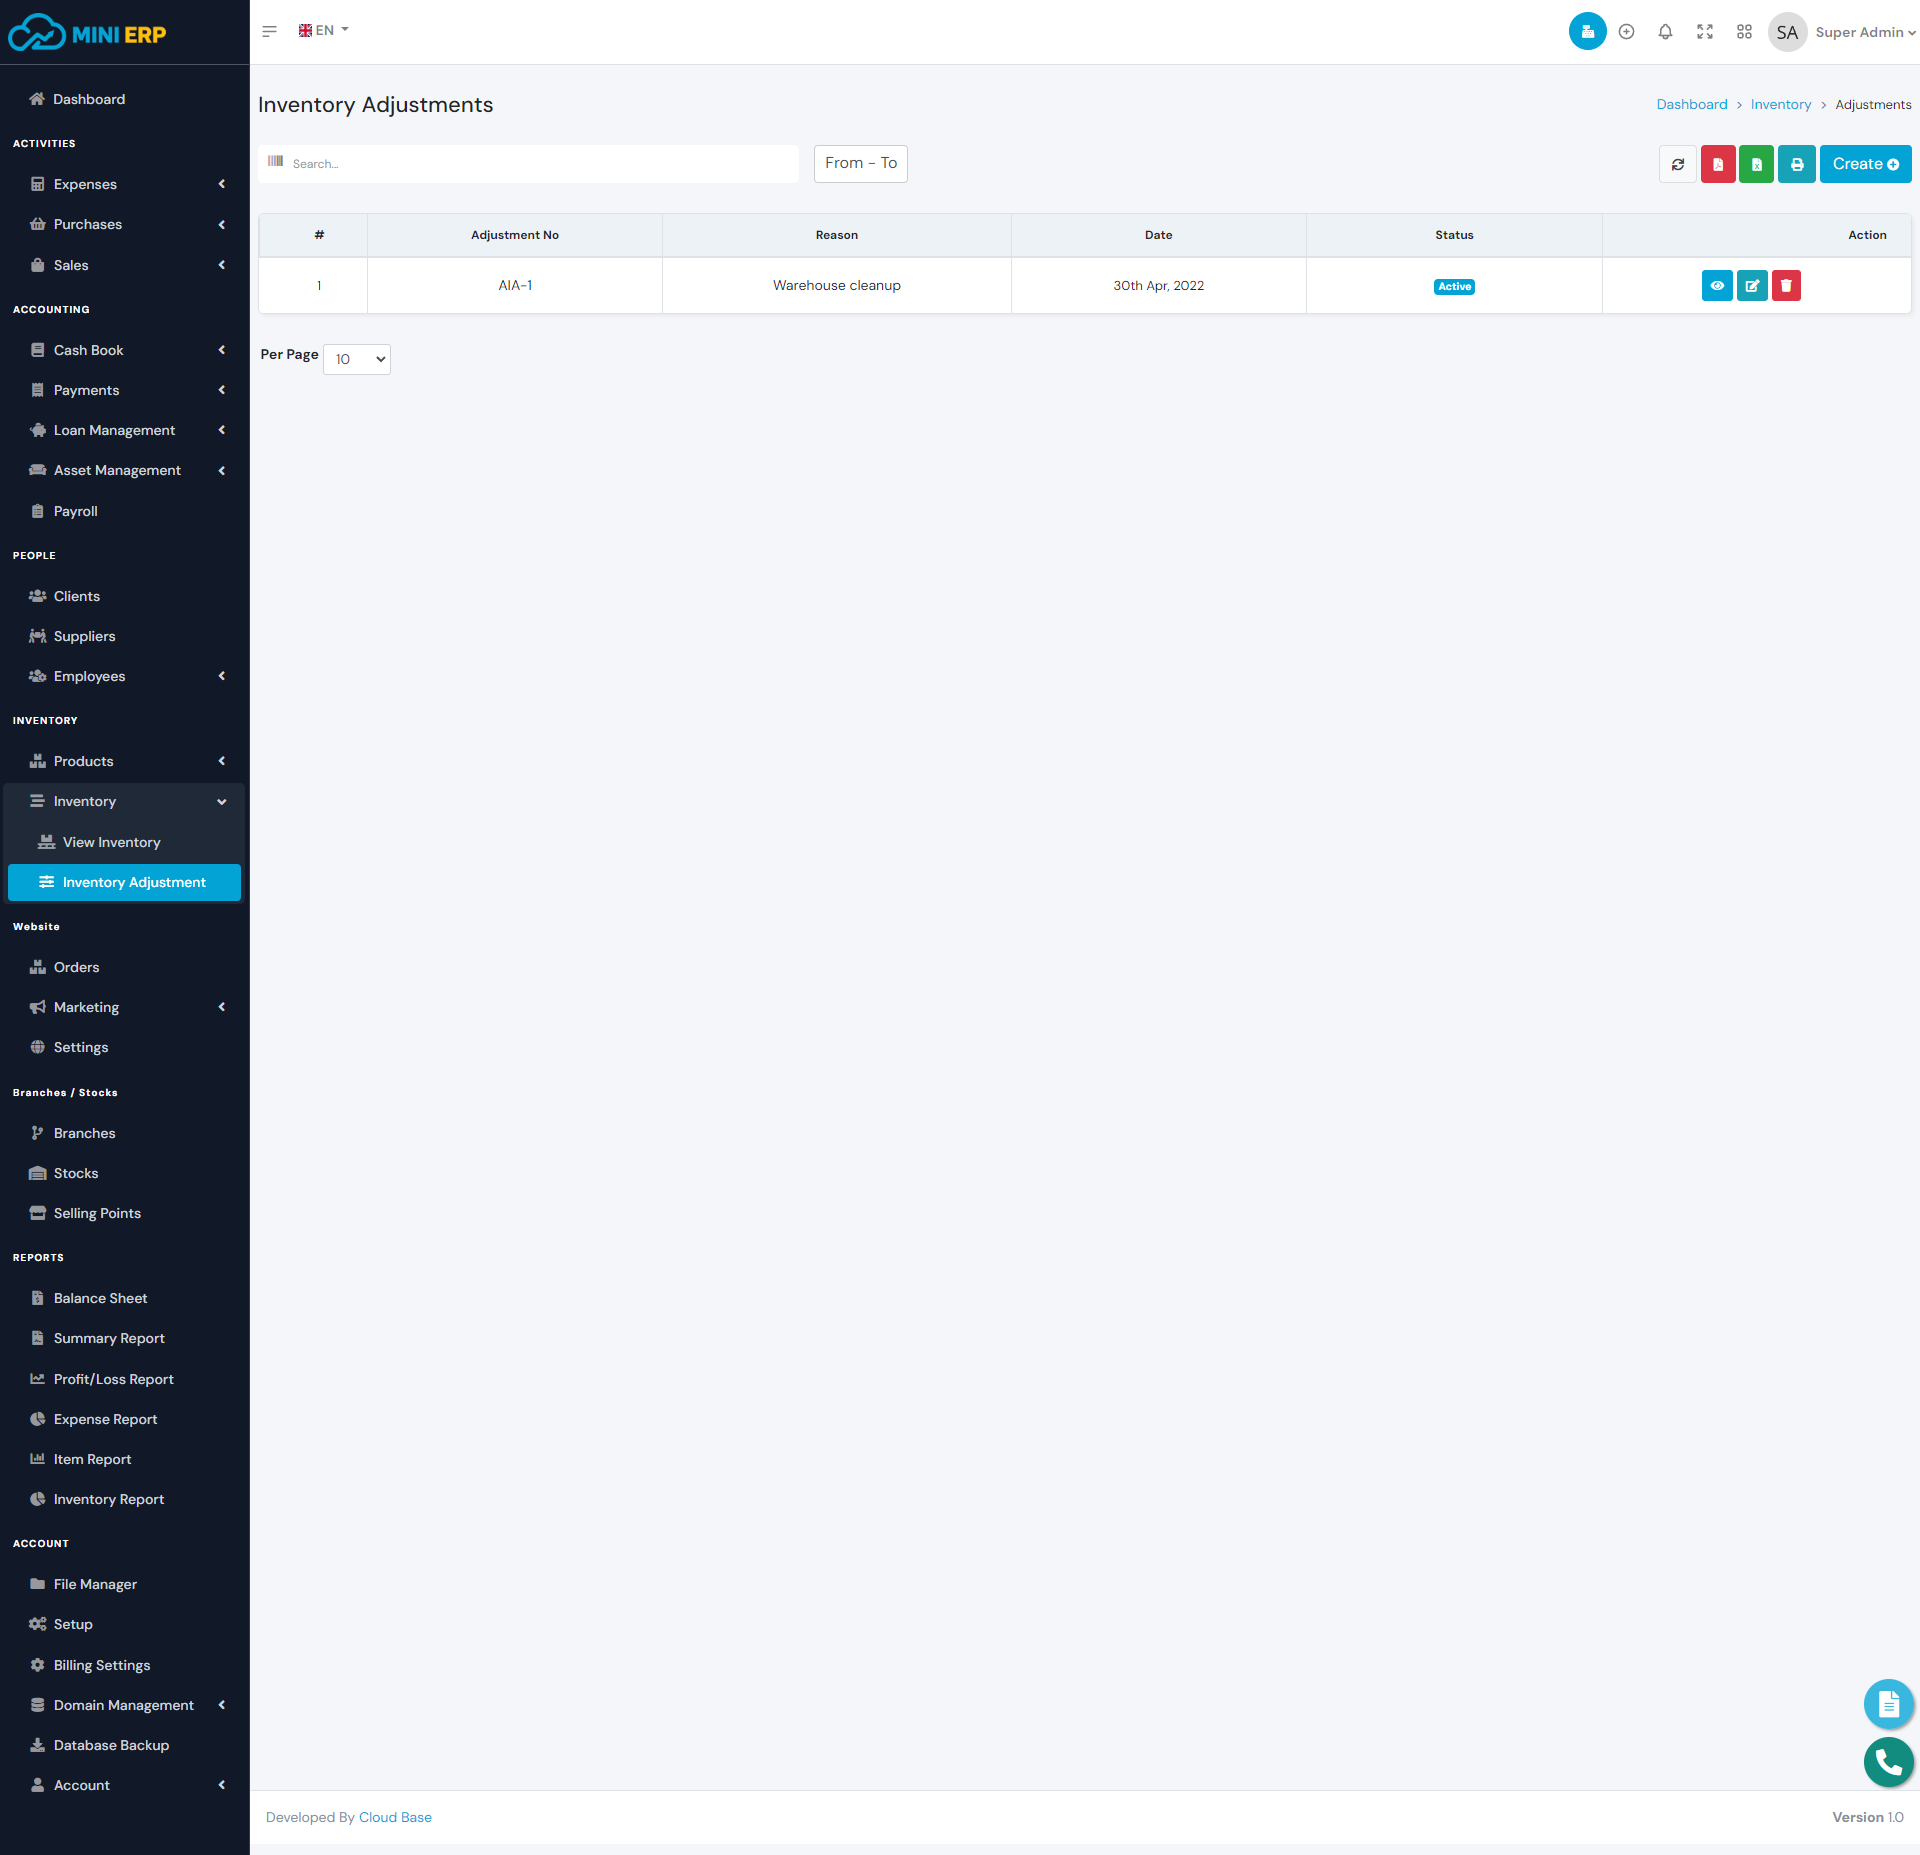
Inventory Adjustments
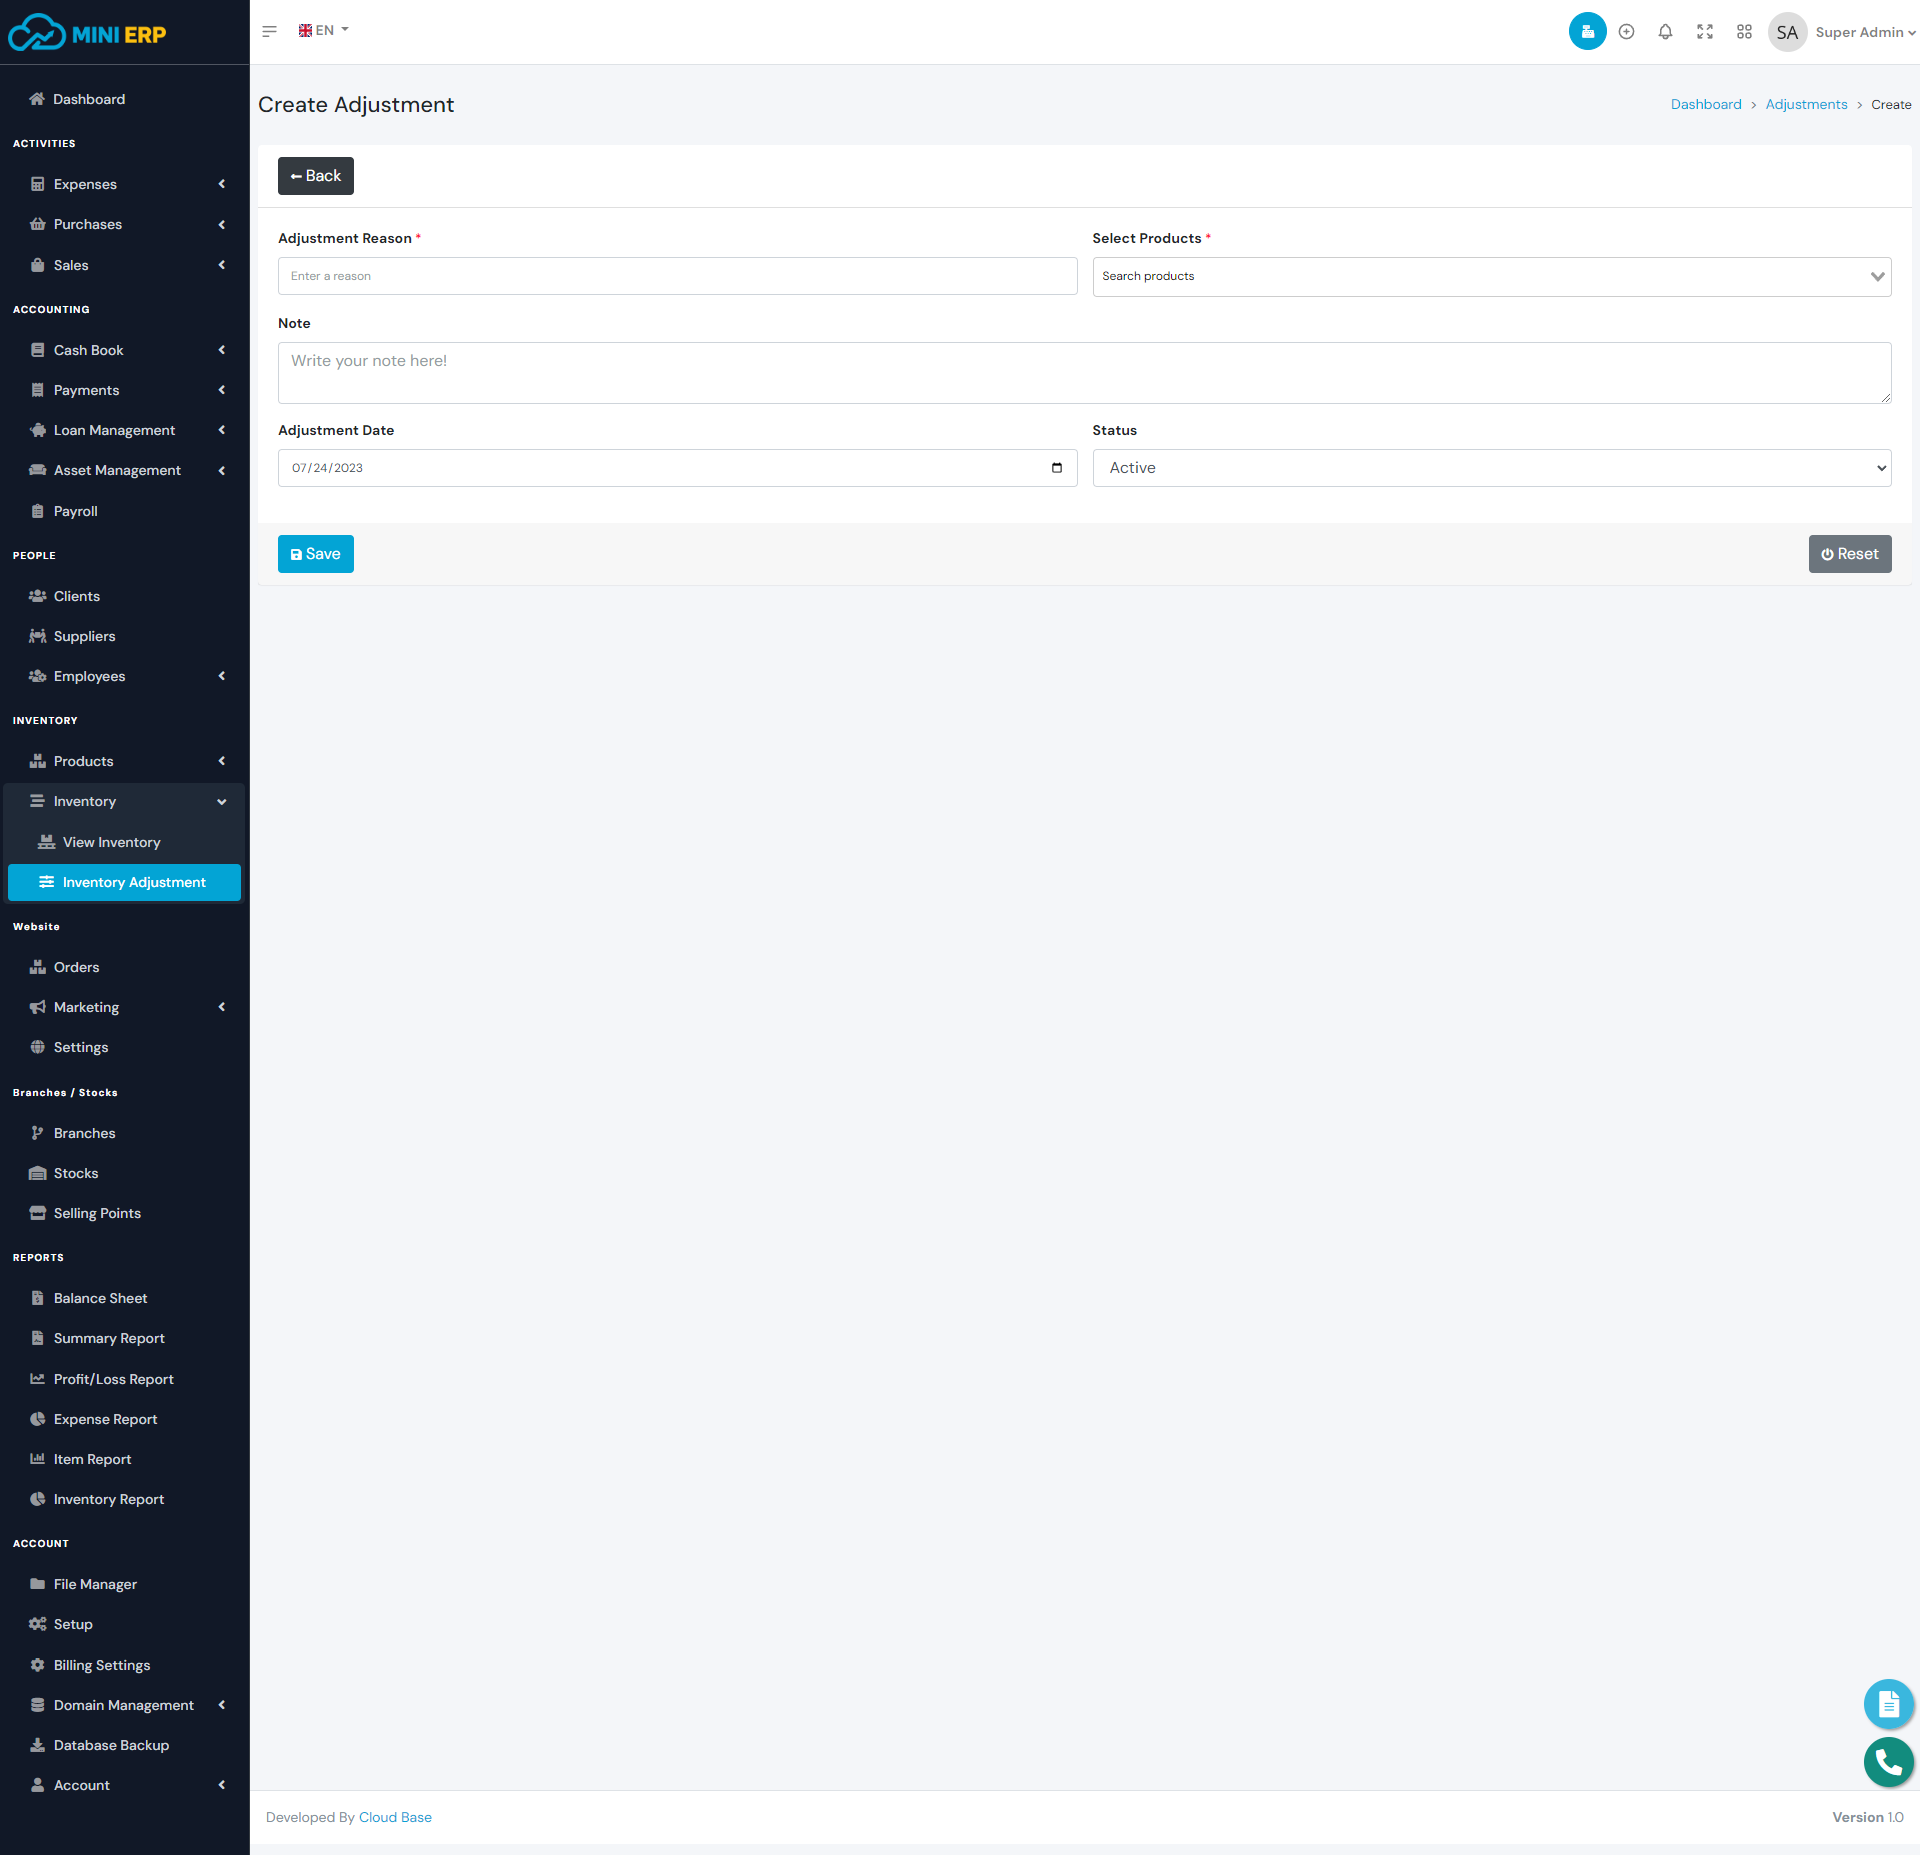
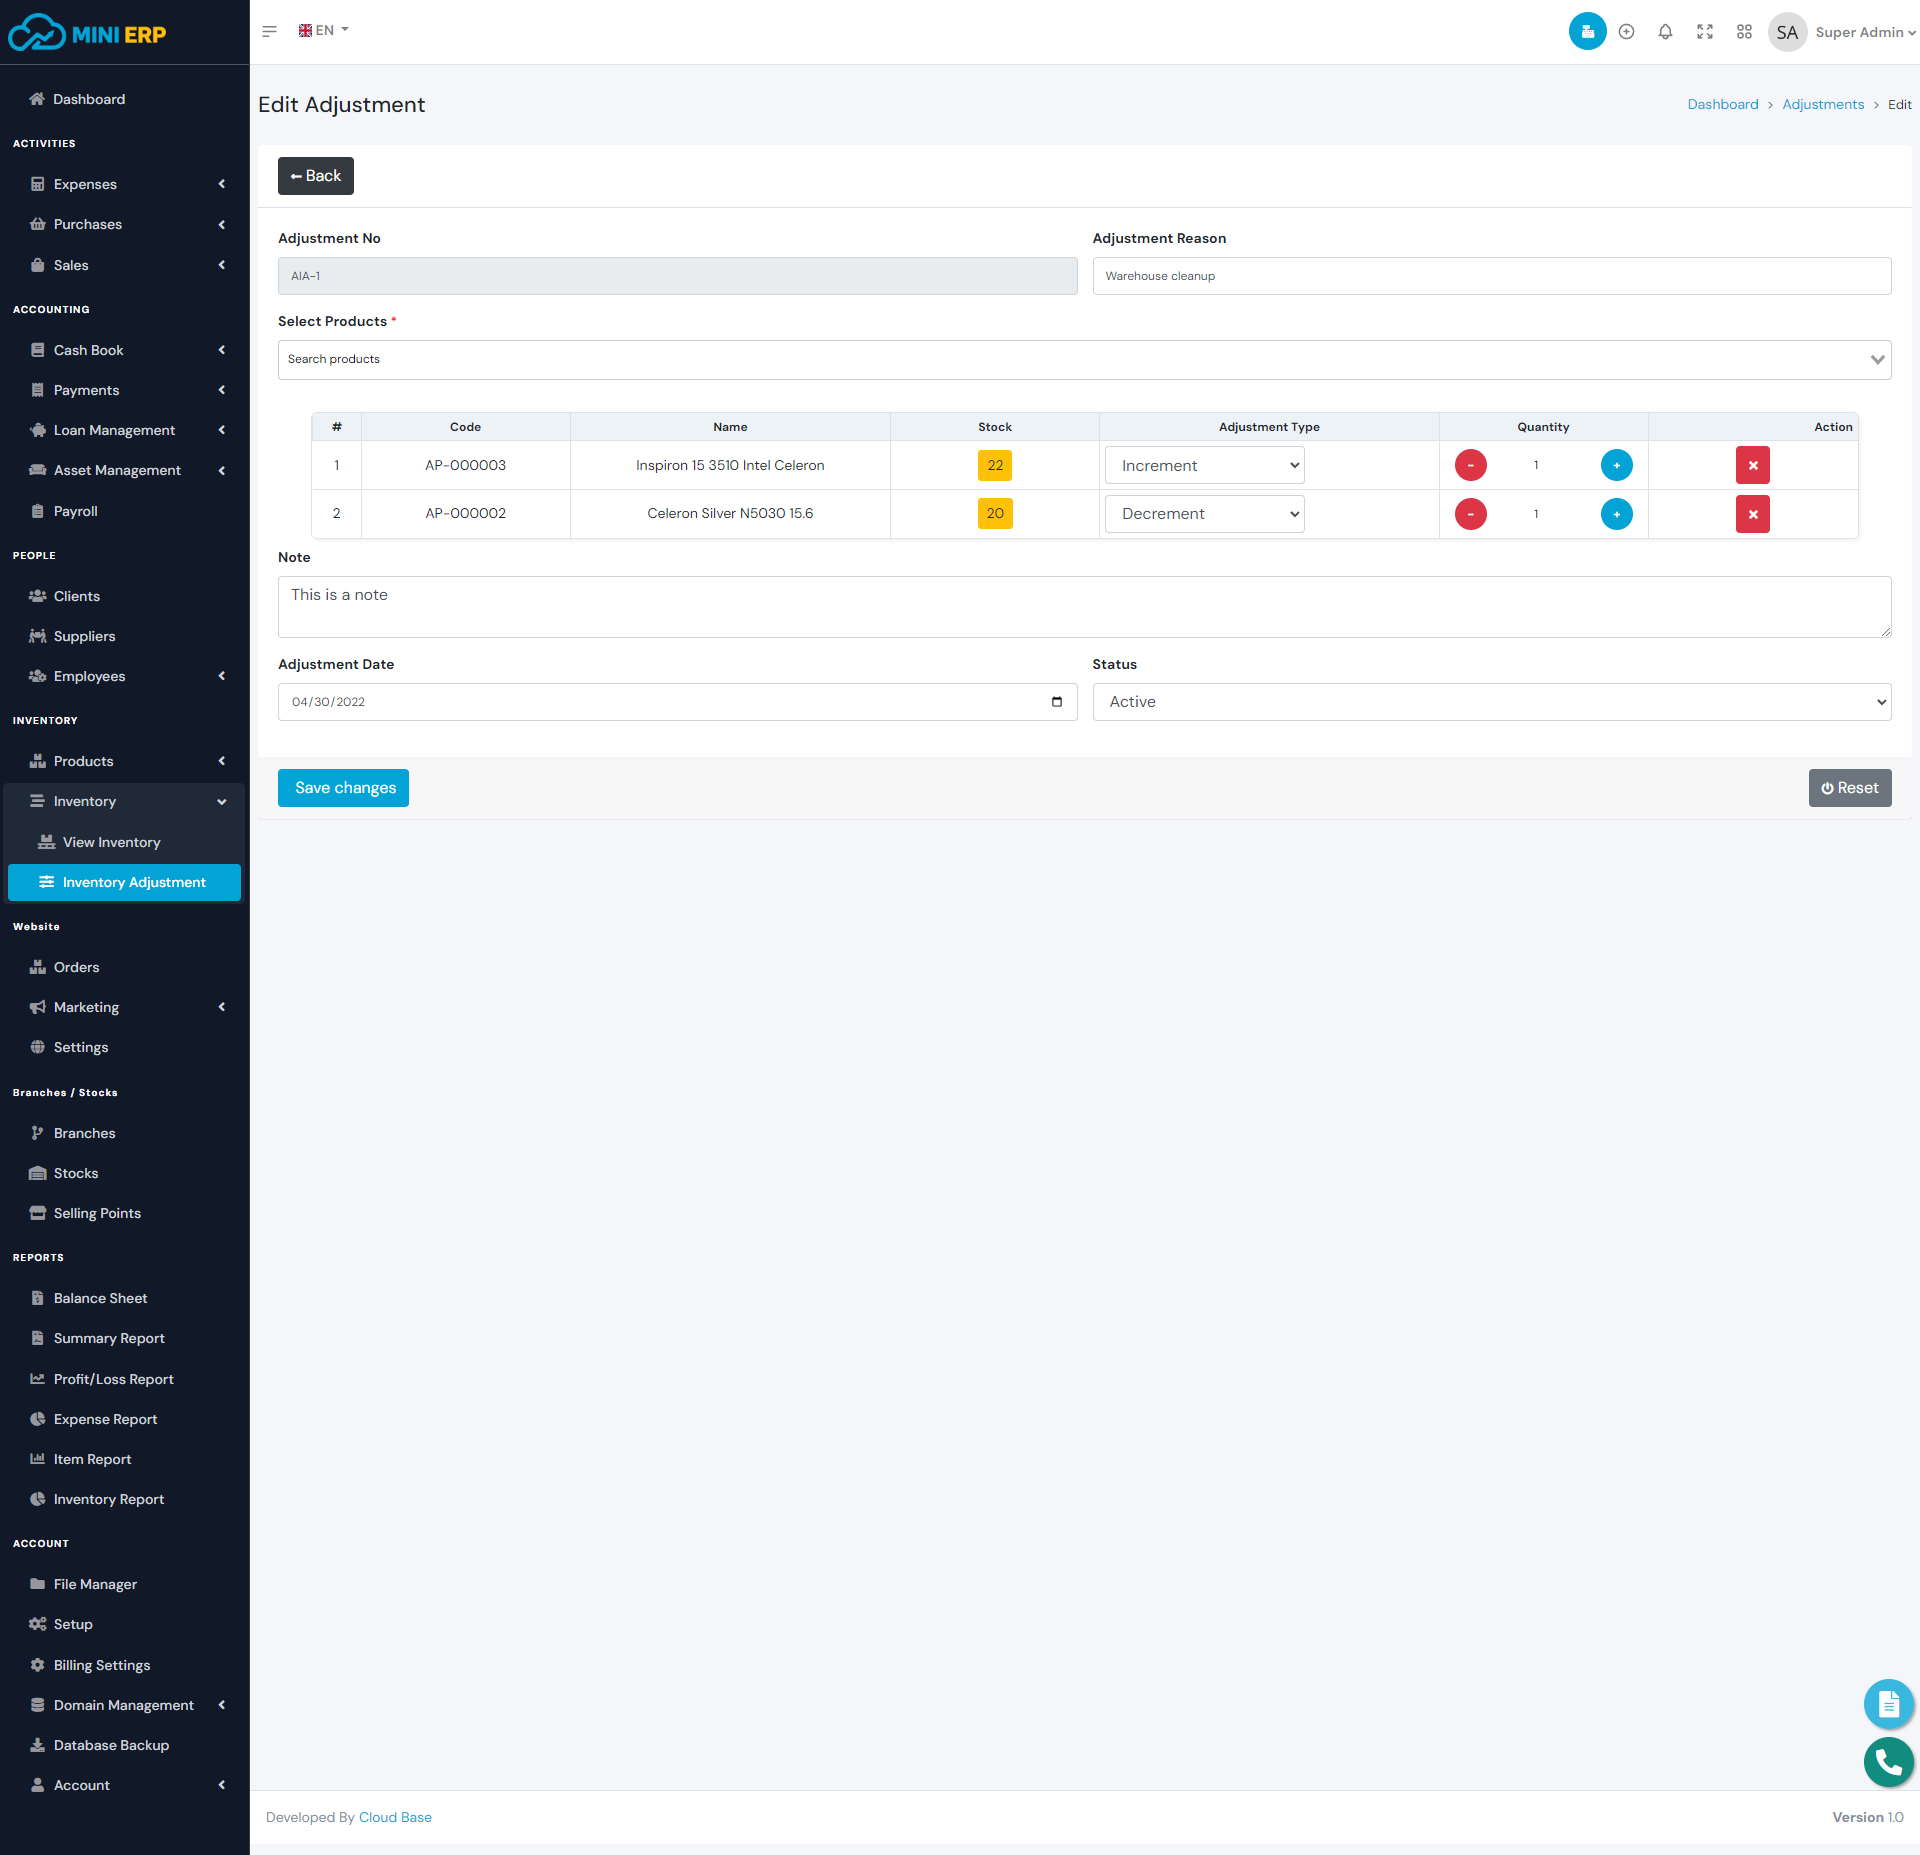
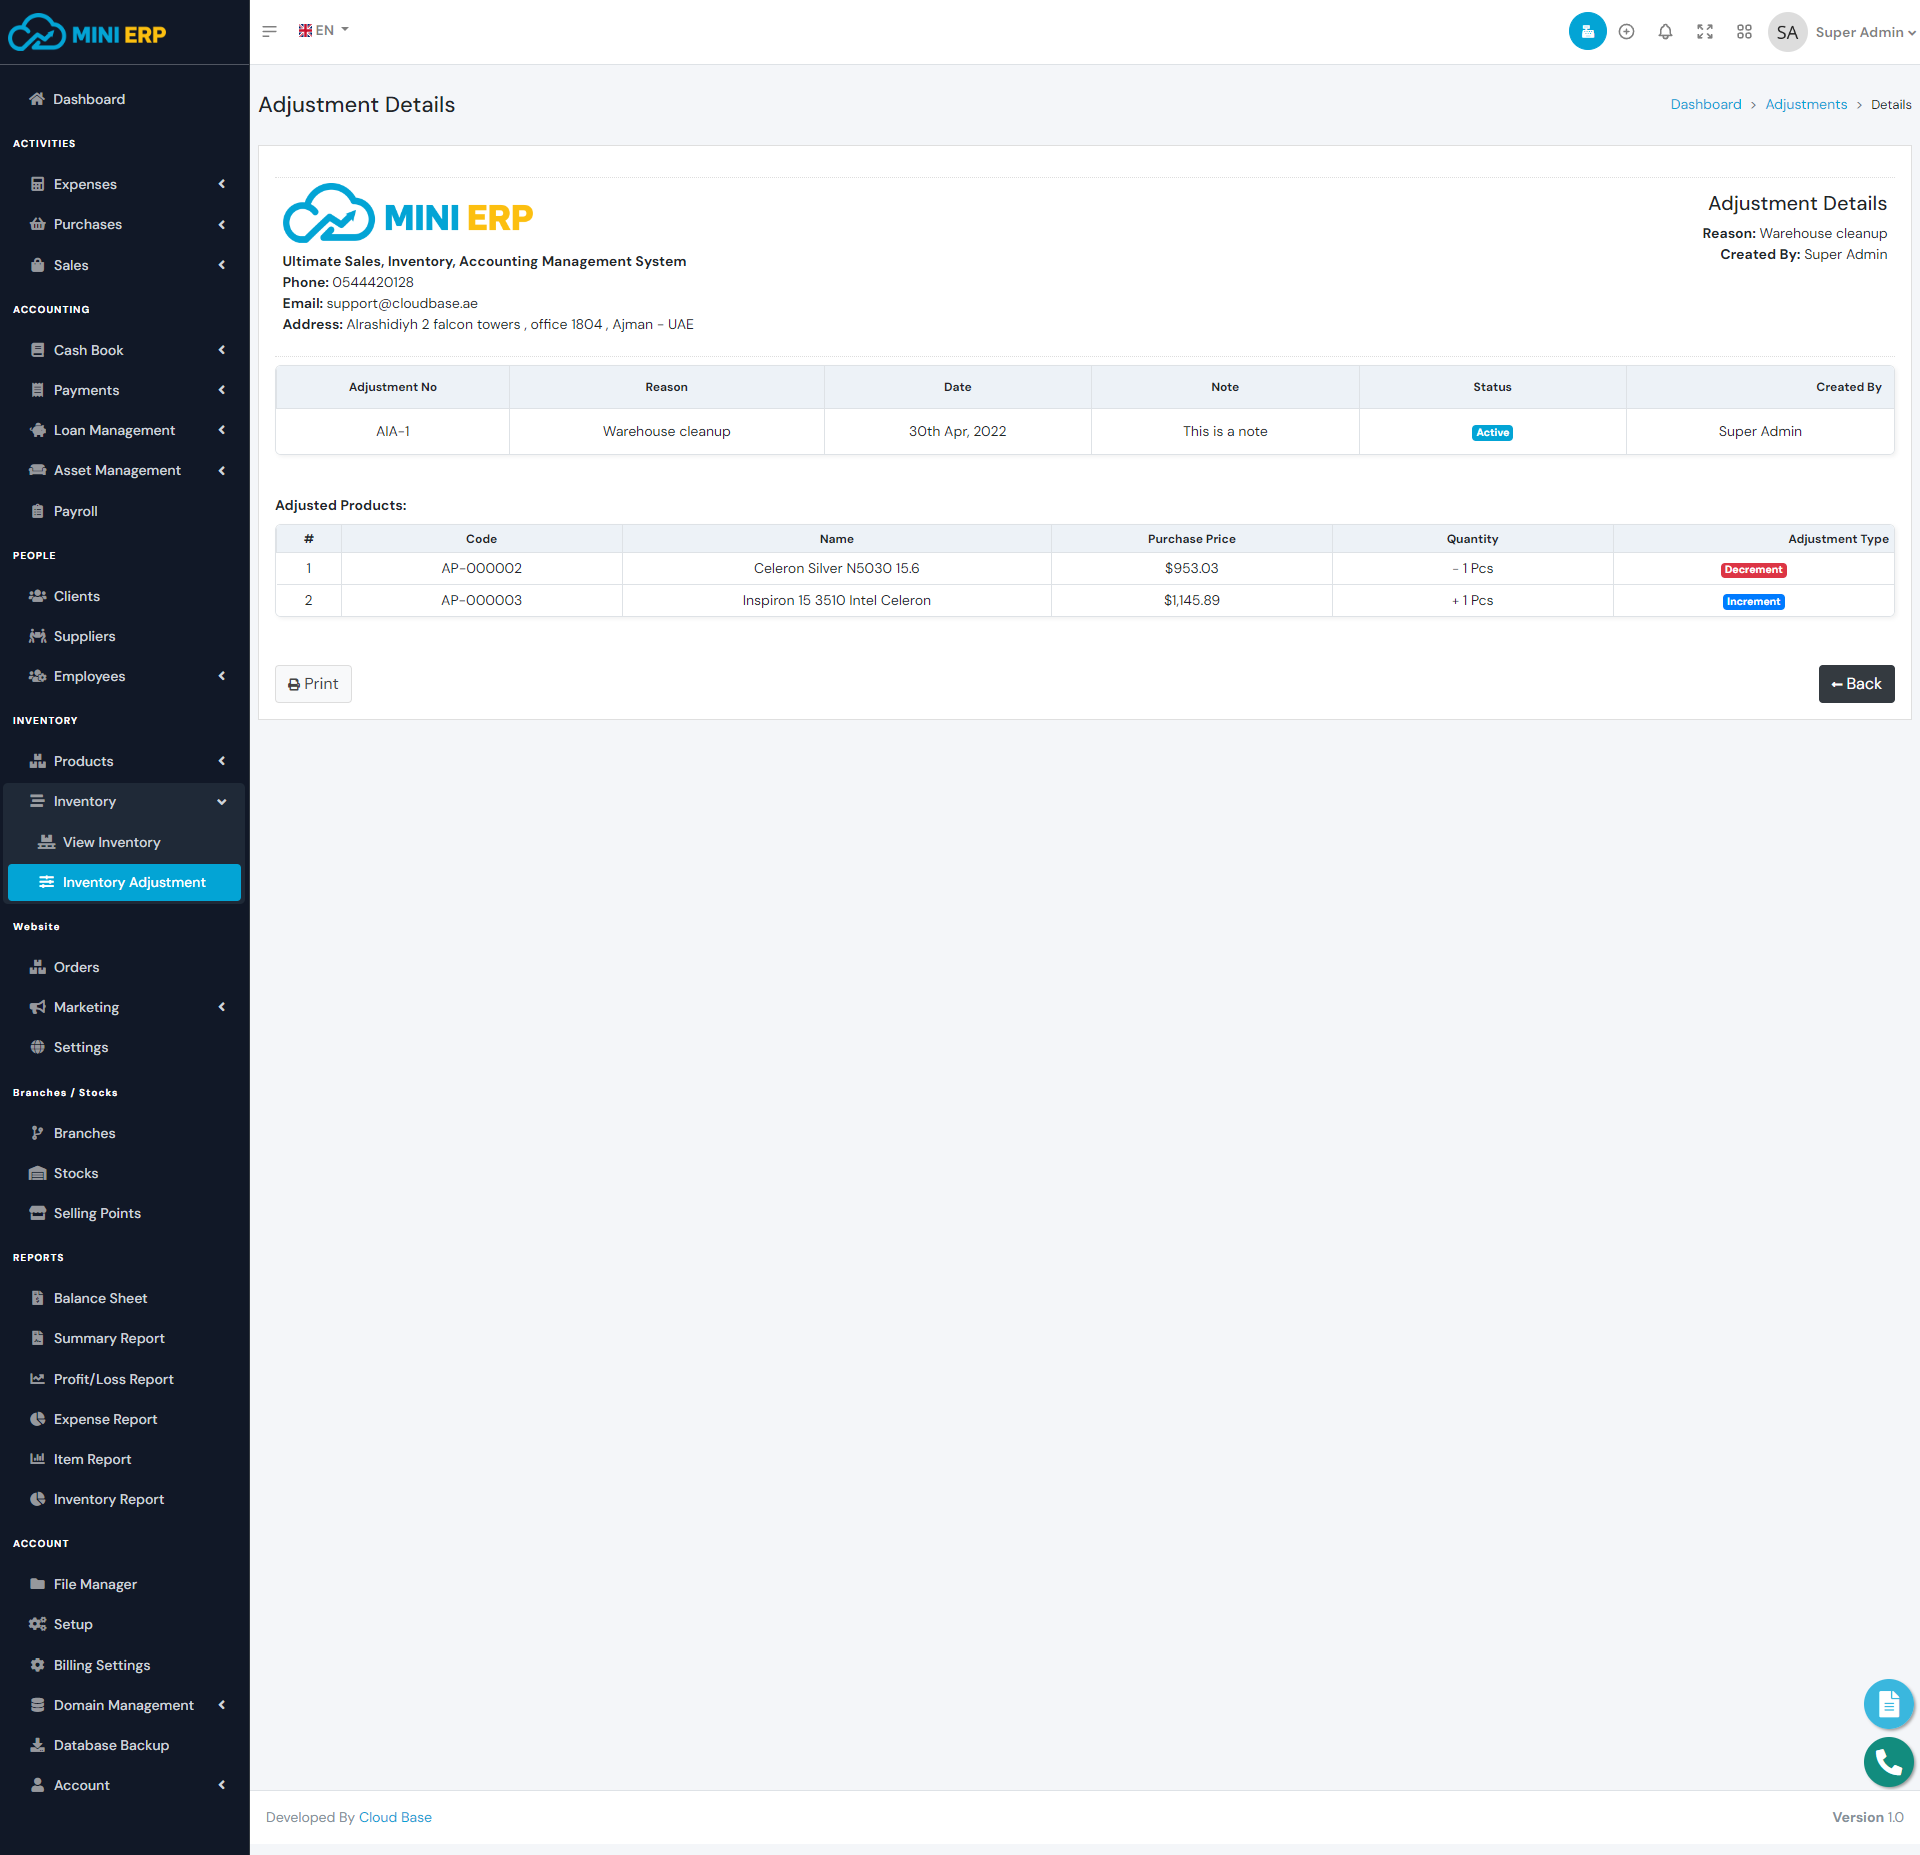
Inventory Adjustments module allows you to adjust your product stock. You can increase or decrease your current stock using this module. While creating an adjustment if you select increment the product stock will increase on the other hand if you select decrement then the product stock will decrease.
| Required fields to create an inventory adjustment |
|---|
| Employee => Employee for whom you want to create payroll. Select an employee from the list. |
| Salary Month => Salaray month. Select a month from the list. |
| Account => The paying account. The total amount will be sent from the selected account. Select an account from the list. The available balance must be greater than the total amount. |
Website Orders
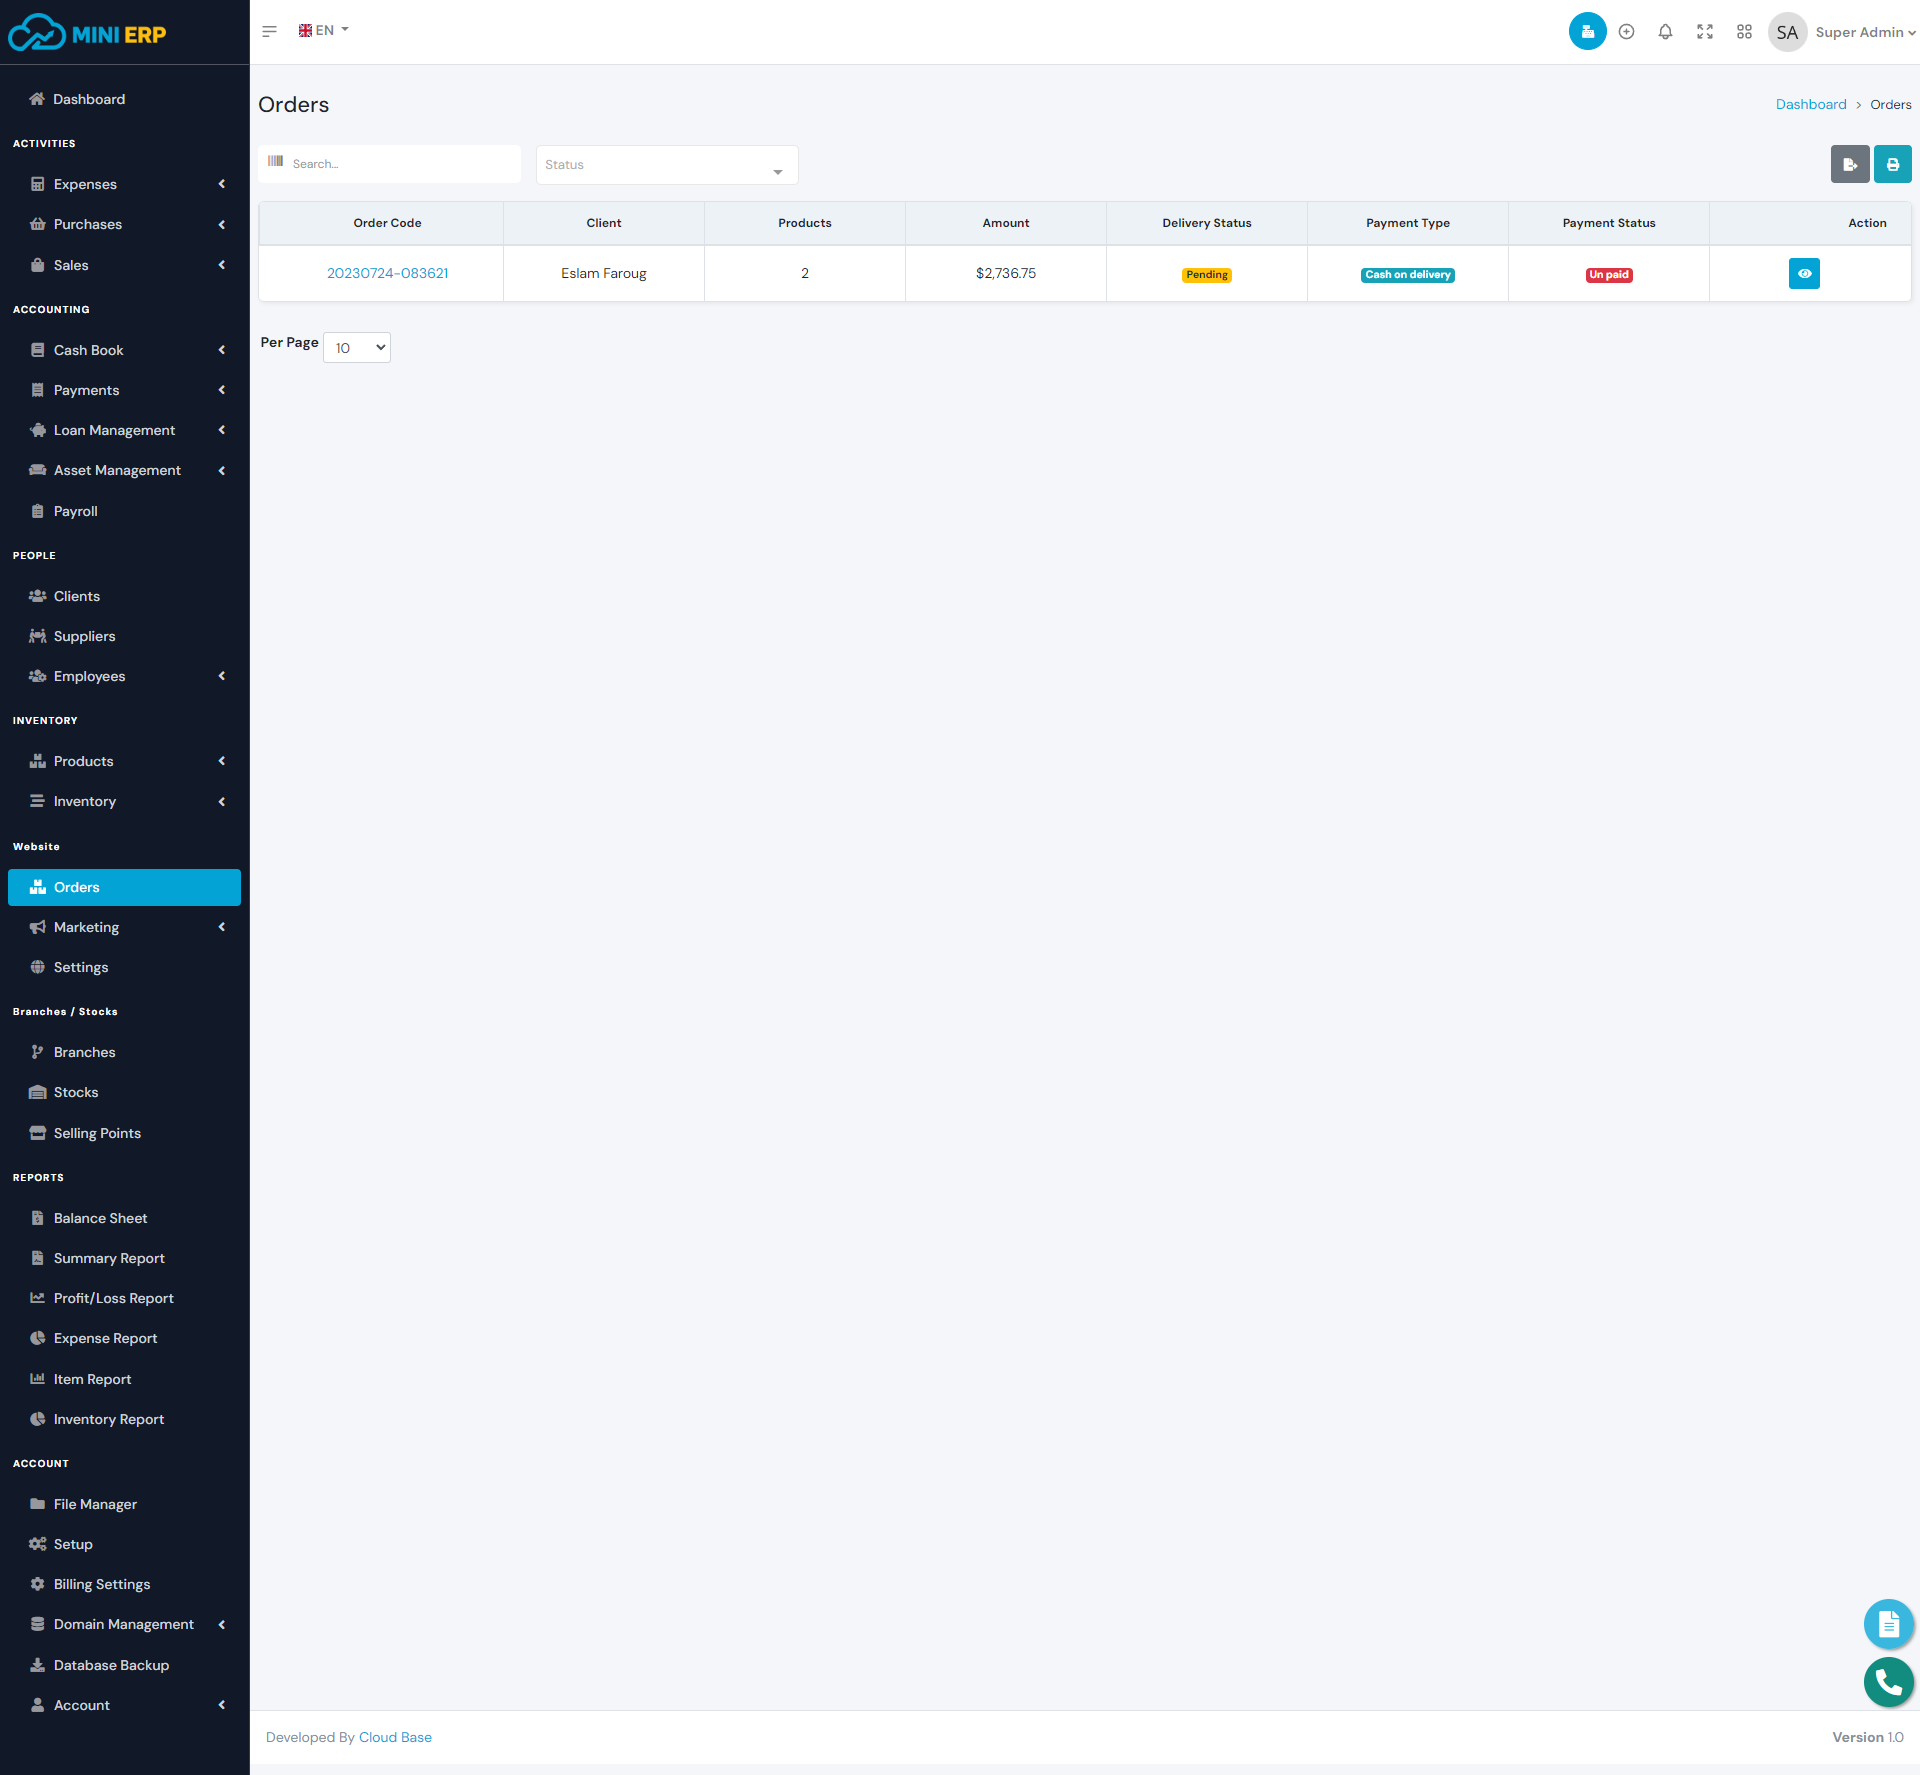
Website Orders refer to the incoming orders placed by customers through the company's online platform. Customers browse products or services, add items to their cart, and proceed to checkout on the website. Once an order is received, the system generates a notification, prompting the relevant team to process the order. This process involves managing inventory, fulfilling orders, and processing payments. By streamlining Website Orders, businesses can enhance the customer experience, expand their reach, and gain valuable insights for data-driven decision-making.
Website Products Collections
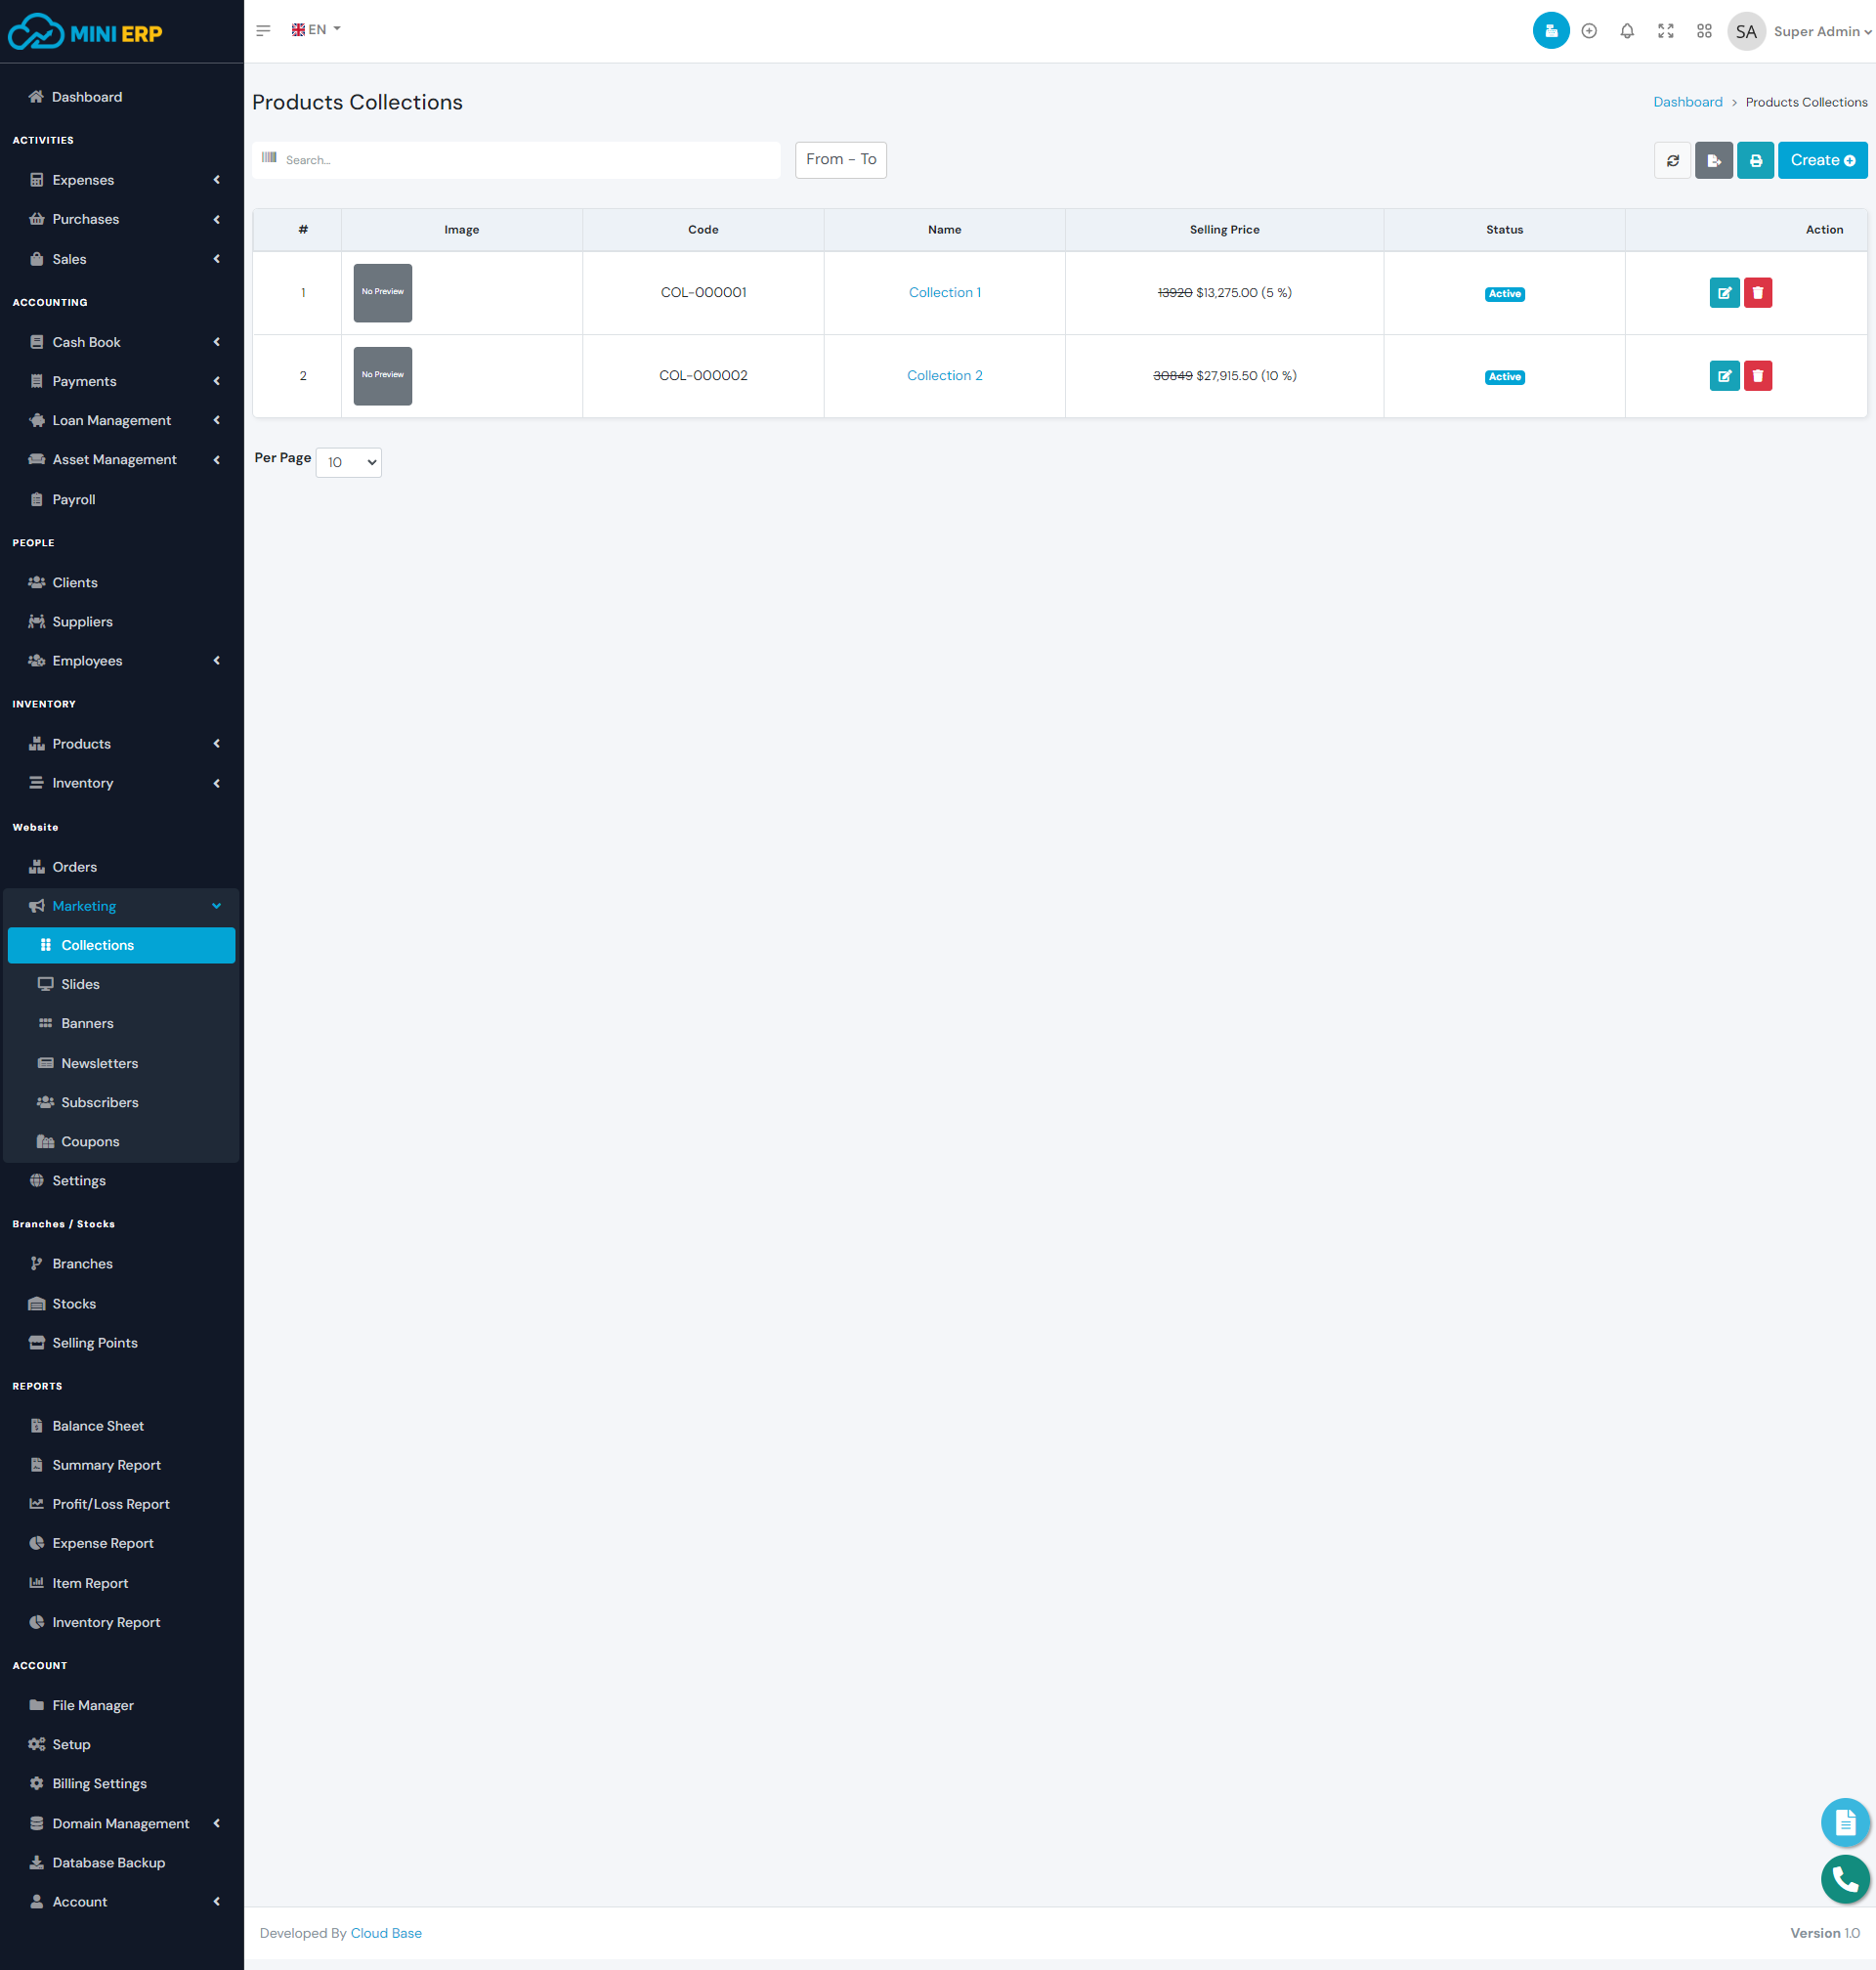
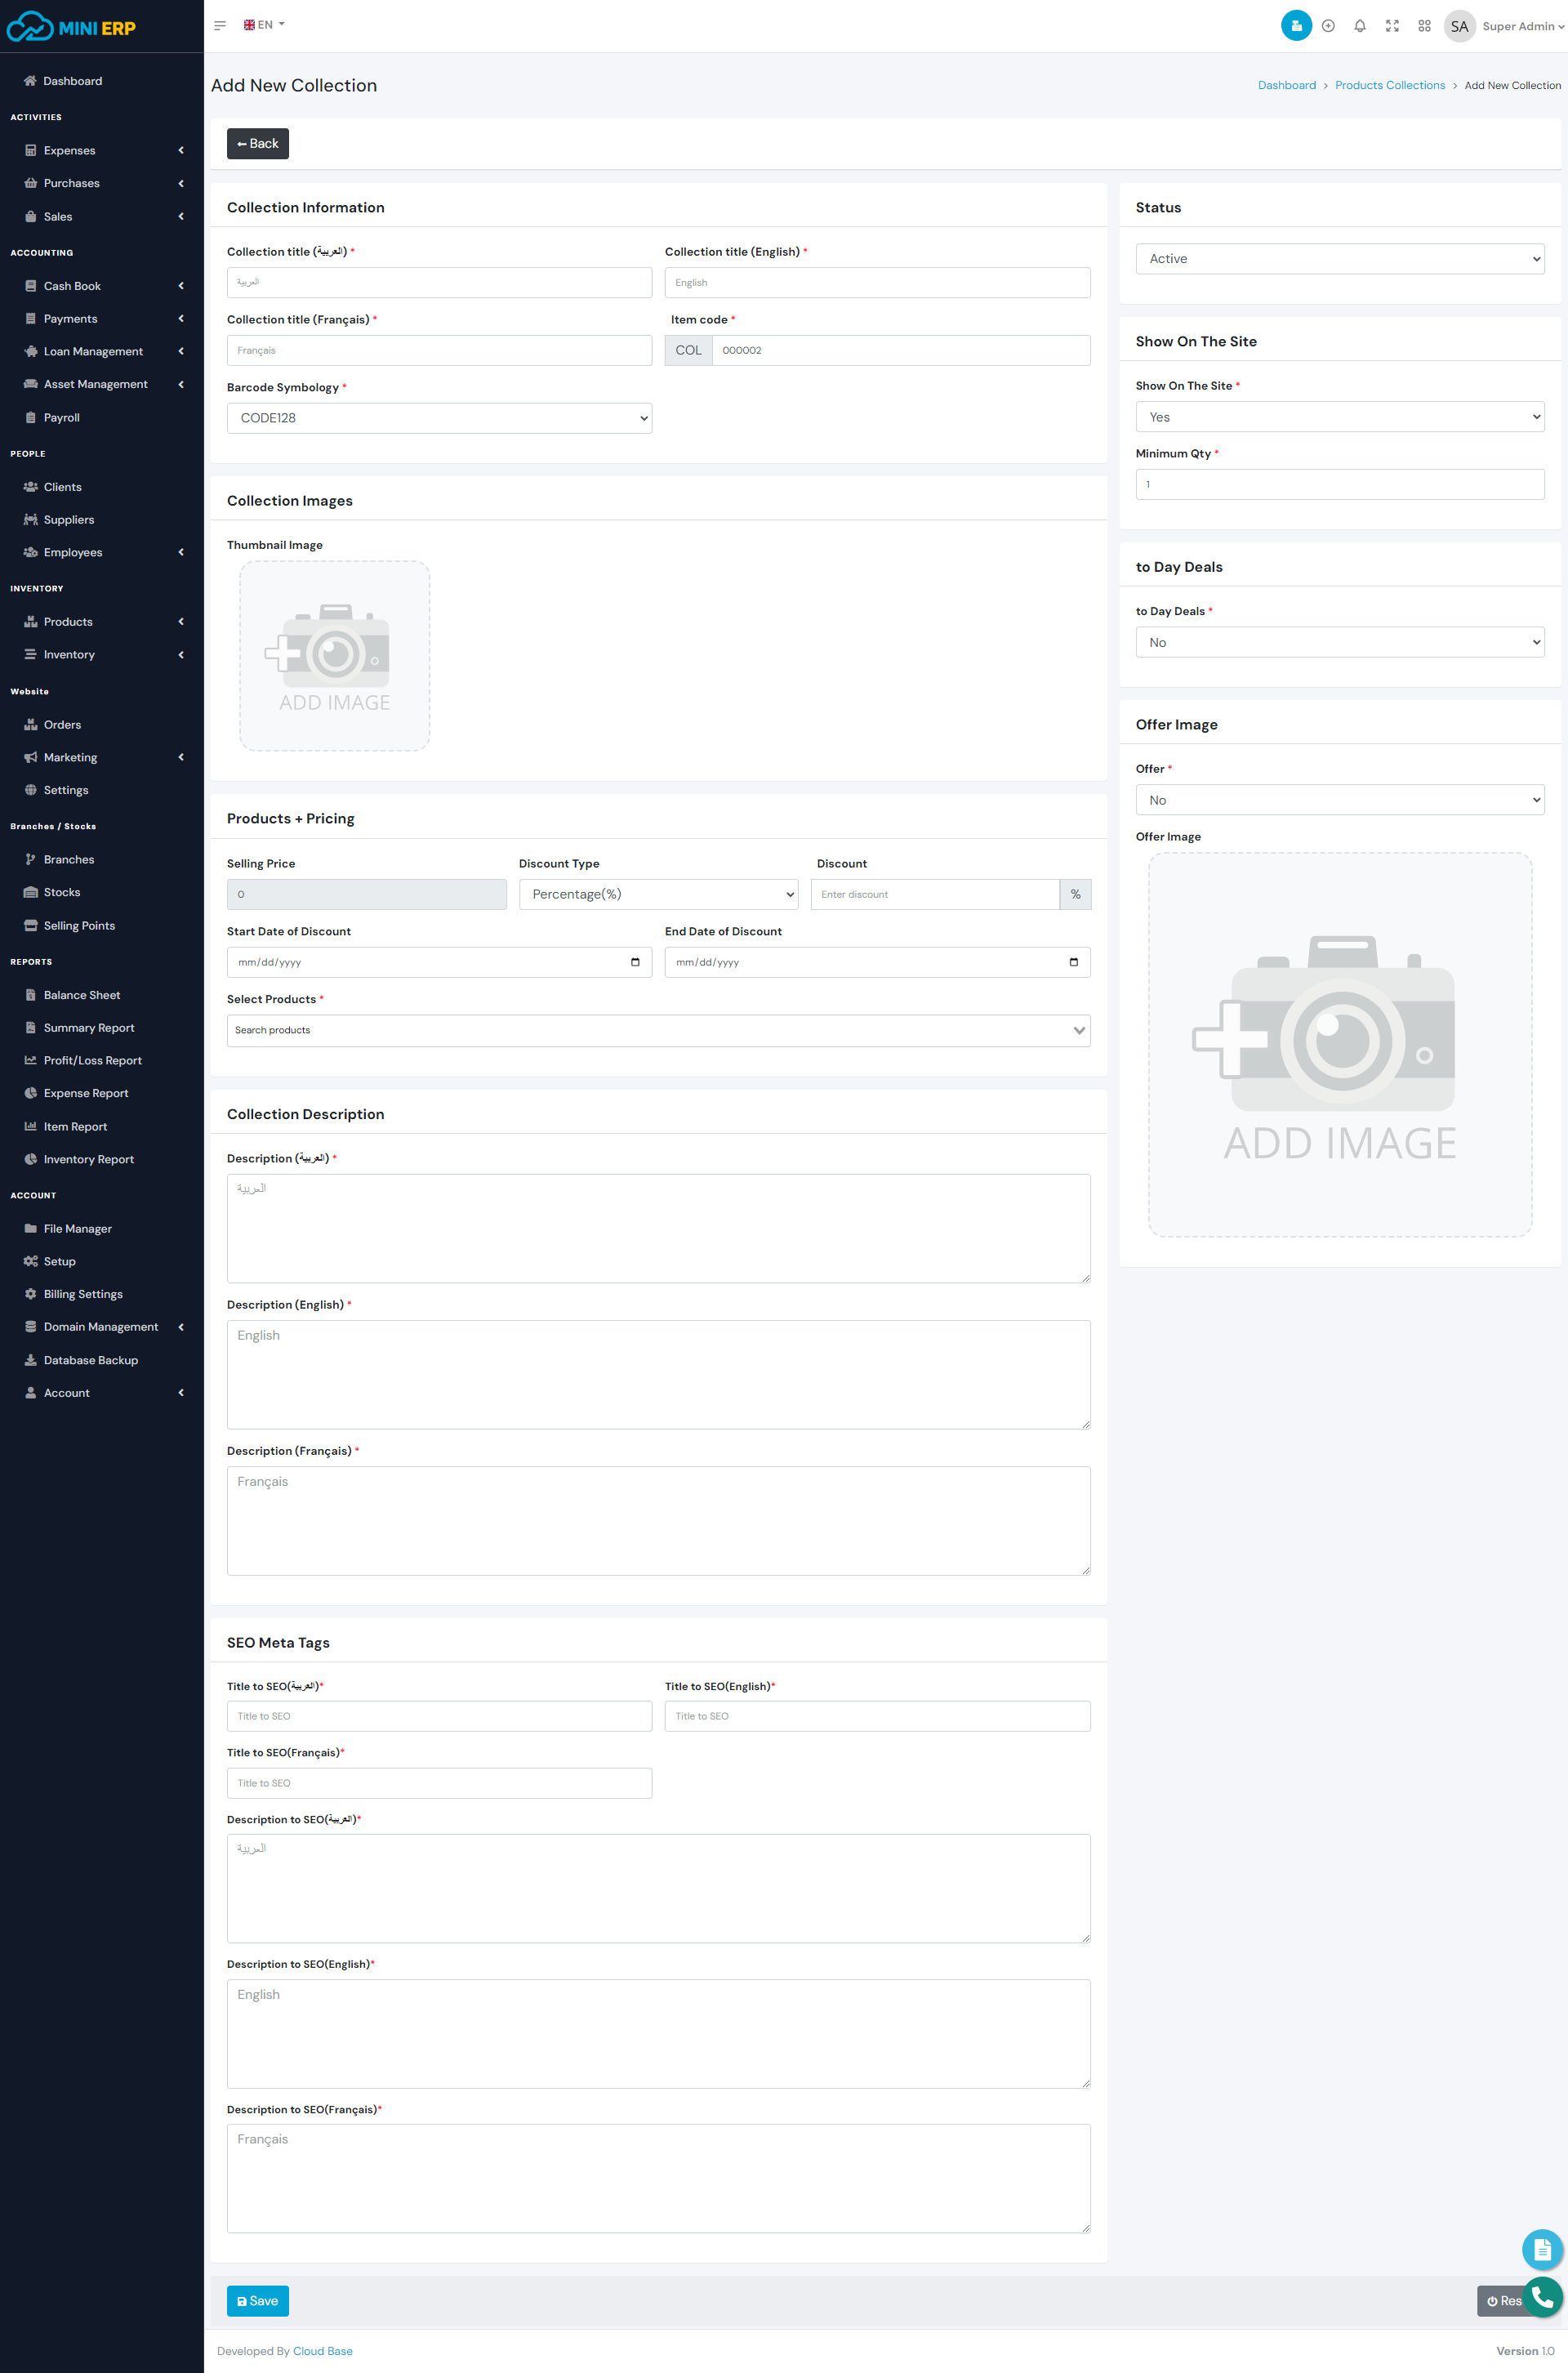
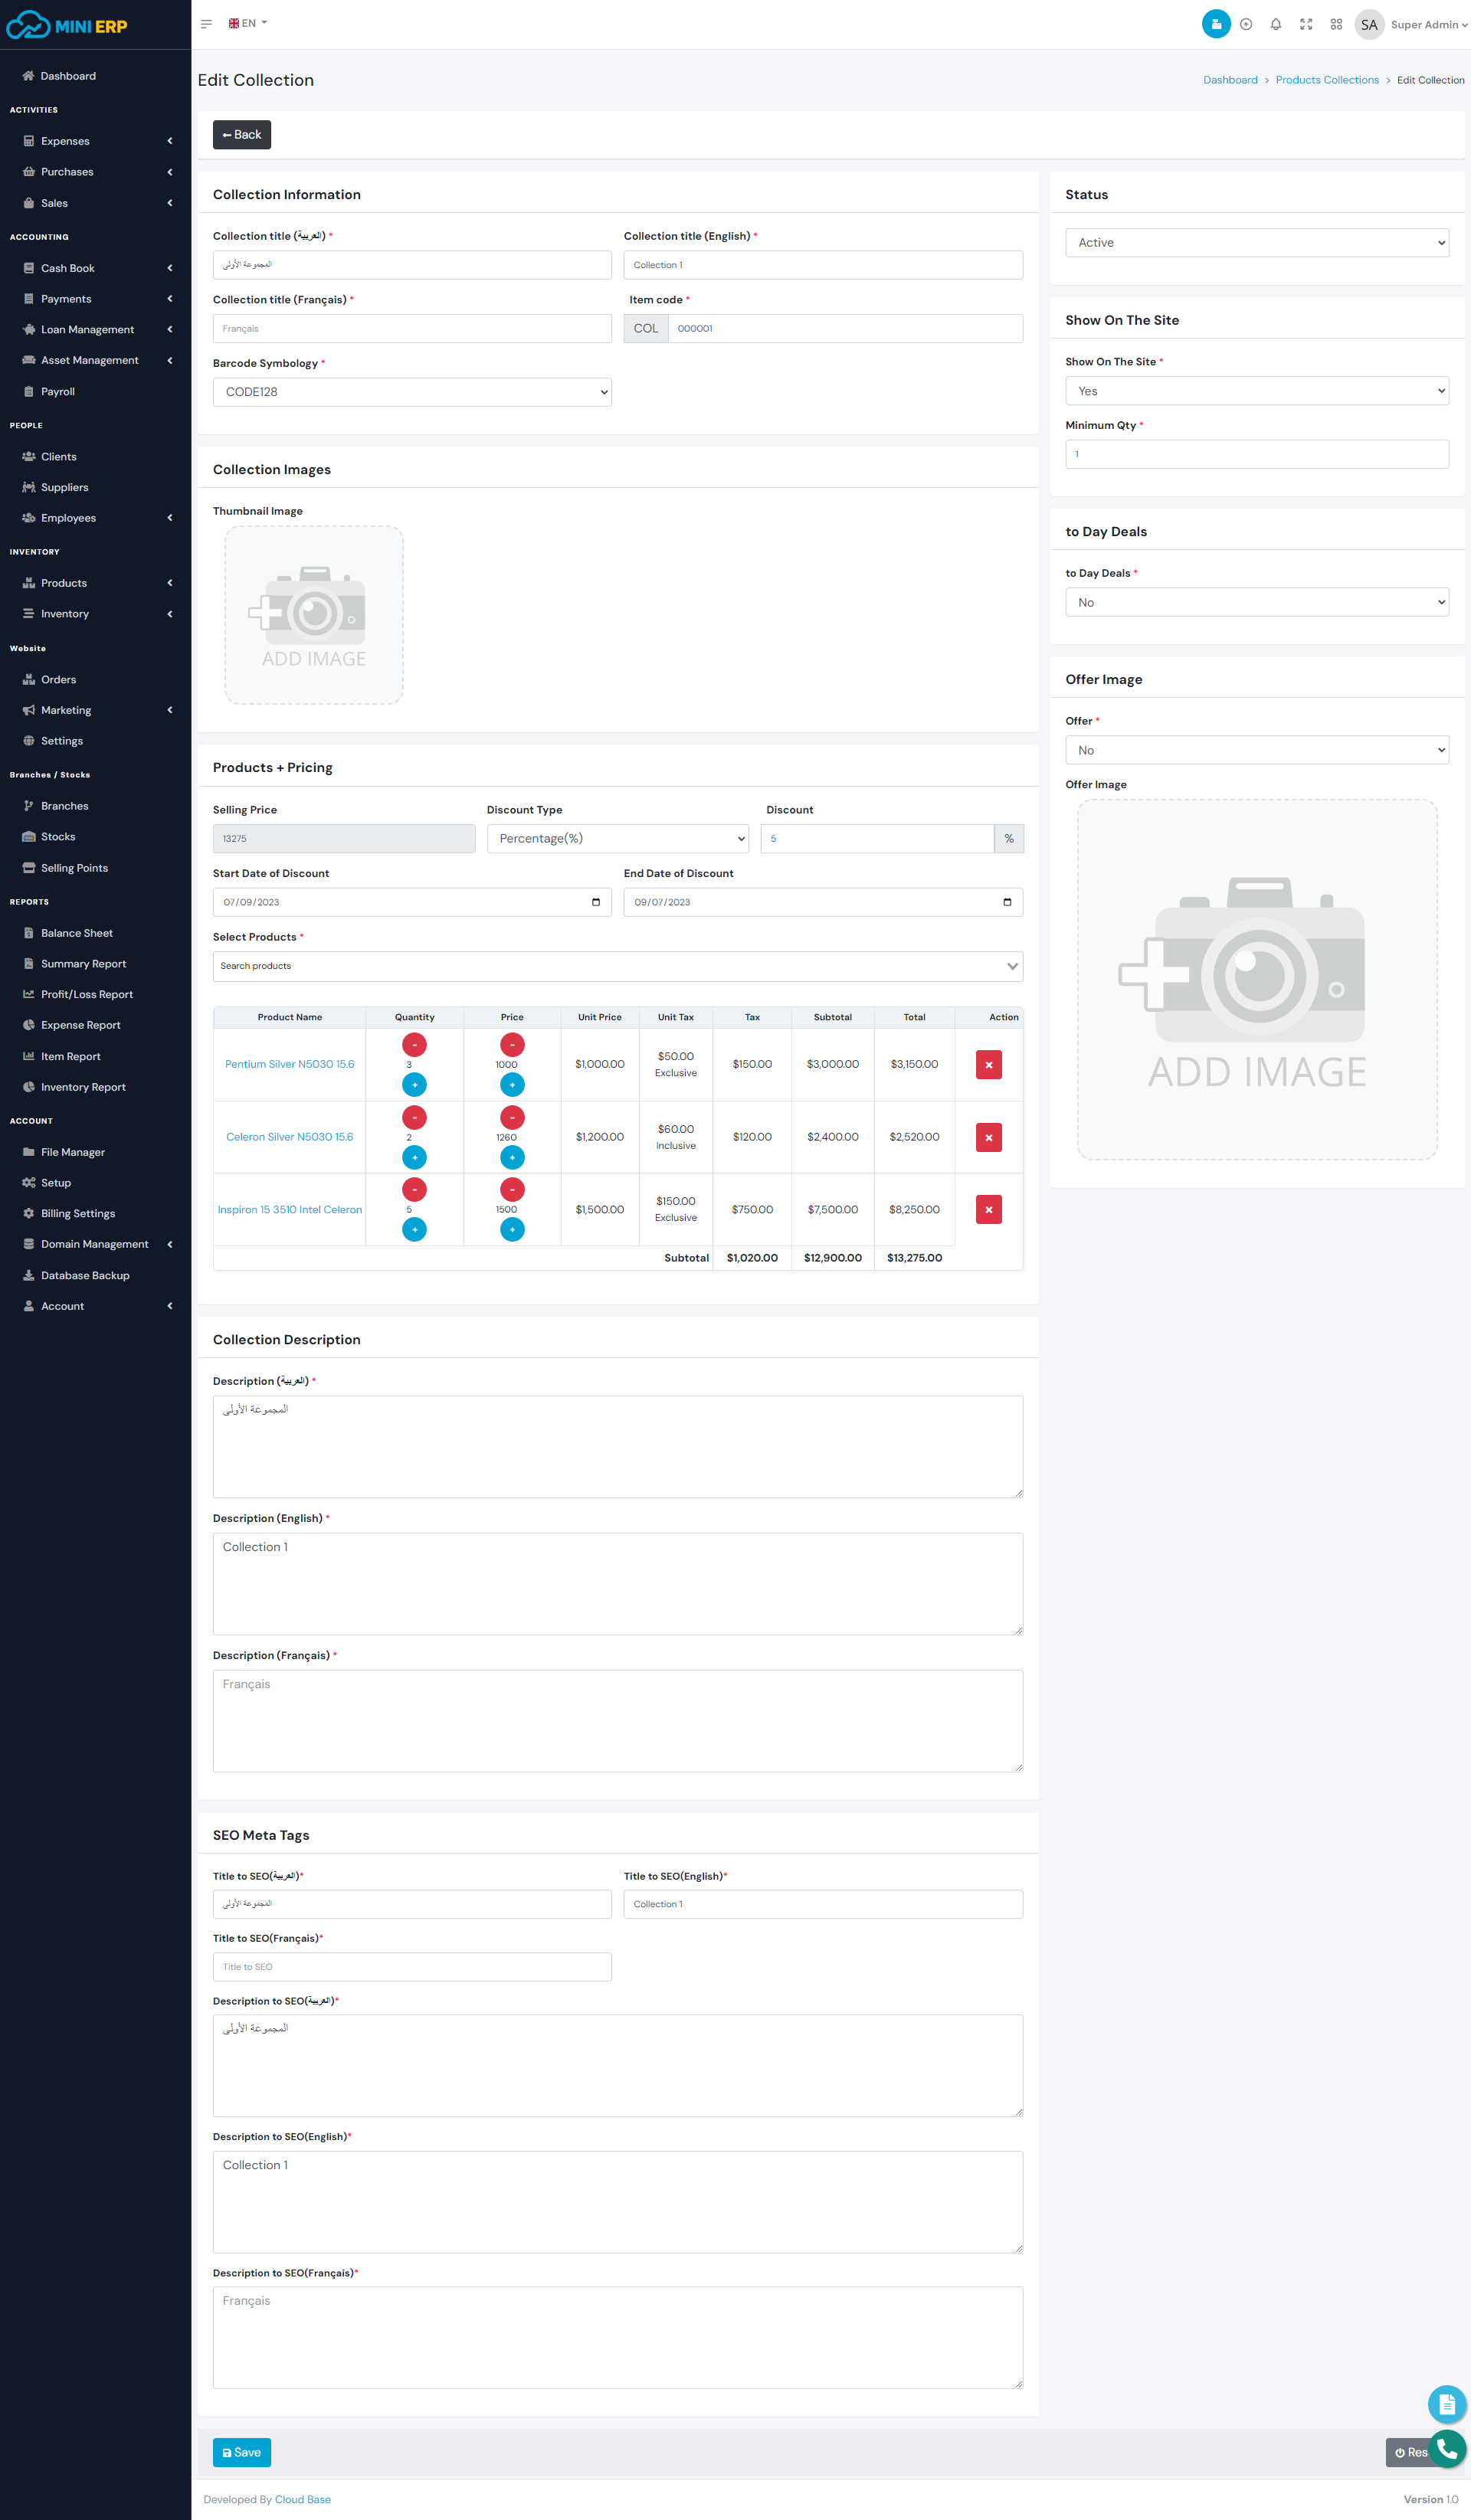
Products Collections, also known as product groupings or assortments, are curated selections of related items offered by a business or online store. These collections are created to help customers easily discover products aligned with specific themes, categories, or occasions, enhancing the shopping experience. By organizing products into collections, businesses can encourage cross-selling, upselling, and gain valuable insights into customer preferences and trends, ultimately driving sales and showcasing their product offerings strategically.
| Required fields to create products collections |
|---|
| Collection title => Name of the item. You can enter any name. |
| Item code => Item code that will be used for the barcode. The code will be generated automatically. But if you want you can use your own code. |
| Barcode Symbology => Symbology for the product barcode. Select a Symbology from the list. |
| Collection Images => Collection Images. Select a Image from the file manager. |
| Select Products => Determine and choose the products that make up the collection. |
| Collection Description => Description of the product collection |
Website slides
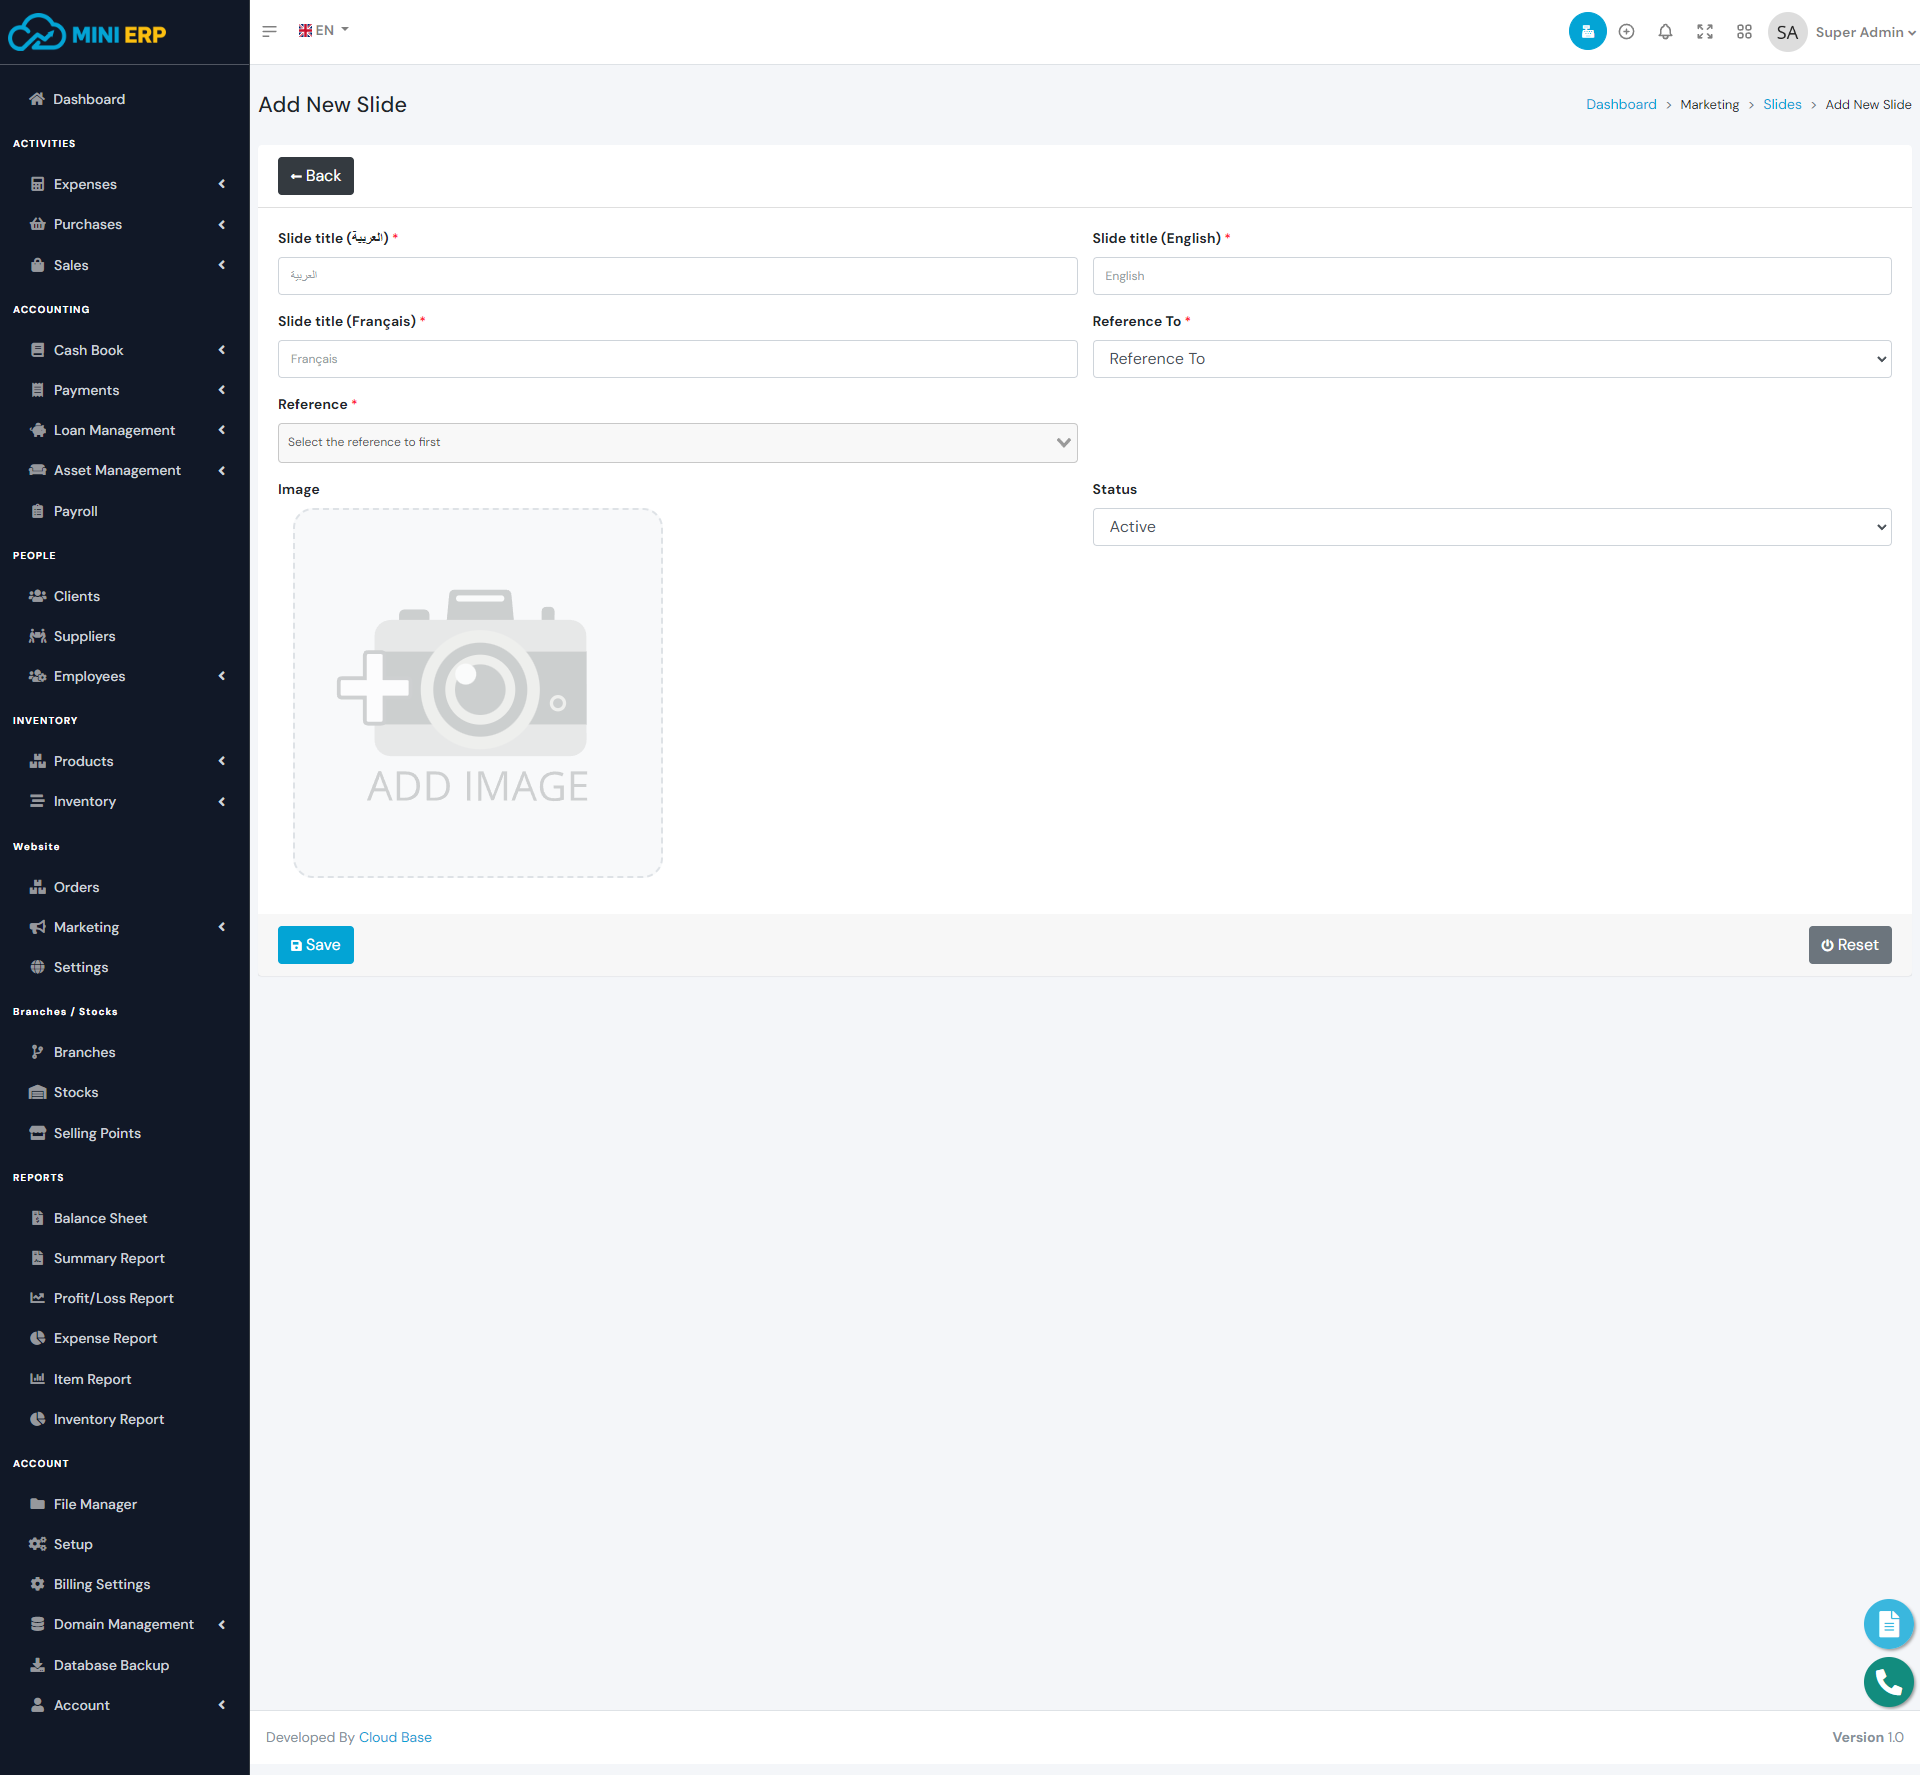
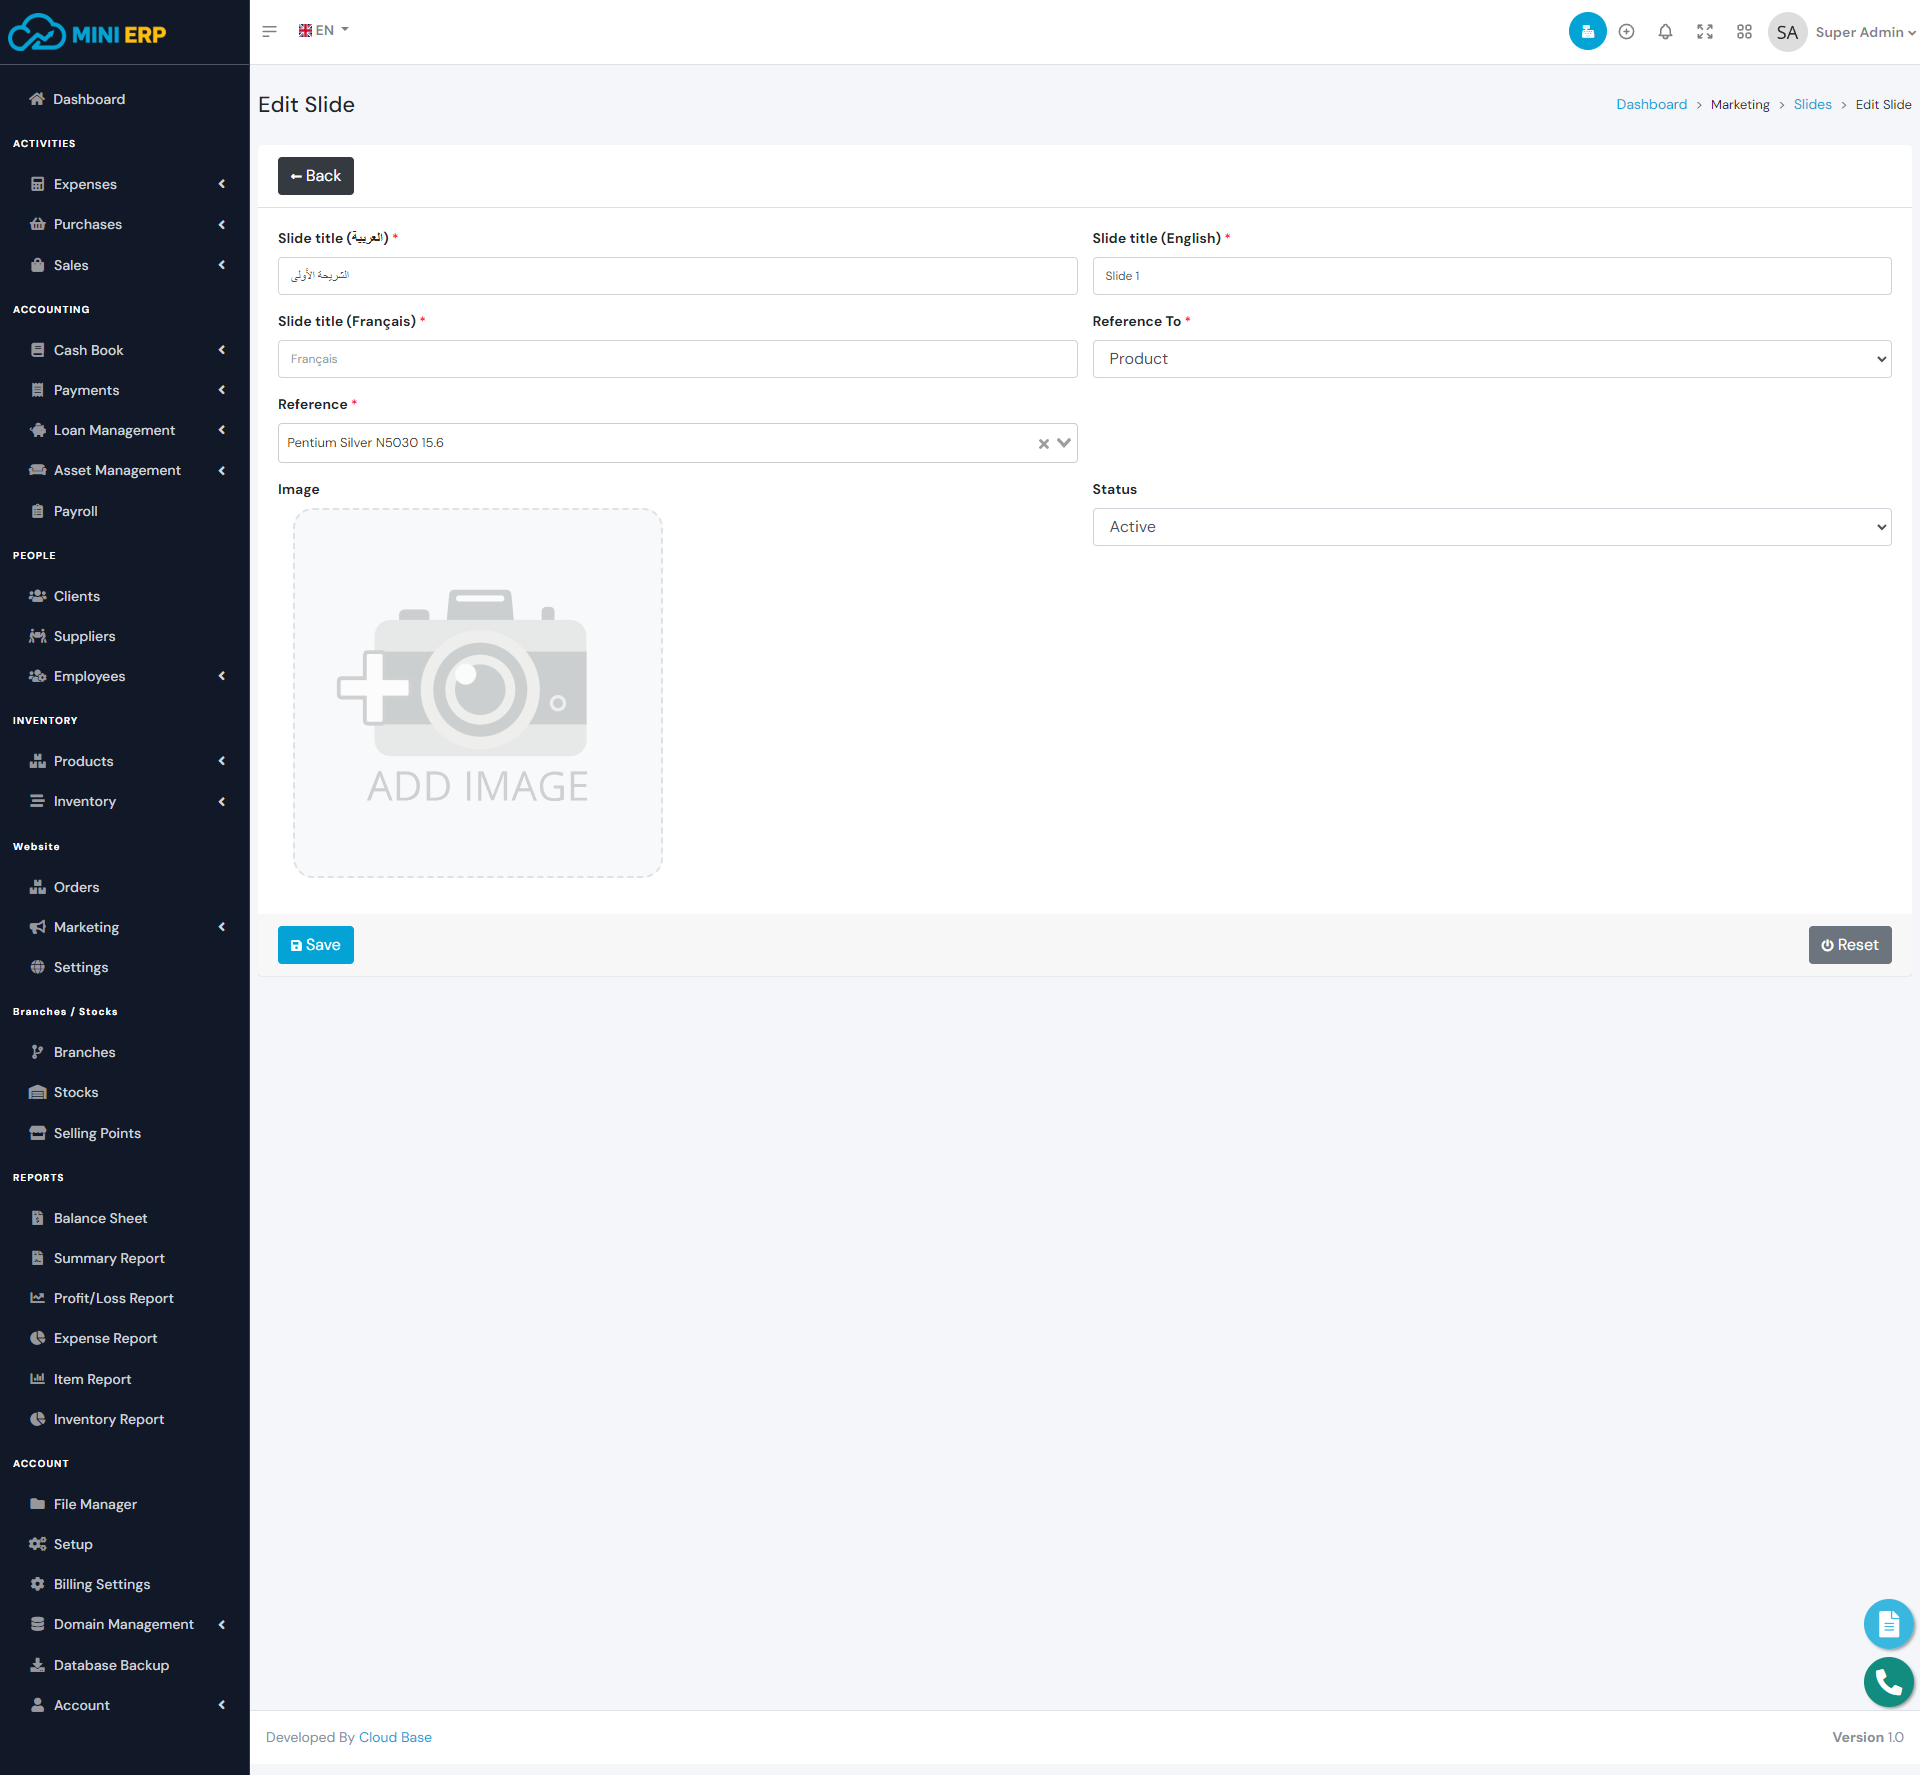
Website slides, also known as image sliders or carousel sliders, are a common design element used on websites to display a series of images or content in a rotating format. They serve as an effective way to showcase key messages, products, promotions, or important information on a website's homepage or landing page. Website slides engage visitors with visually appealing content and calls-to-action, encouraging further exploration. However, it's crucial to use them thoughtfully to avoid overwhelming users and ensure proper navigation and responsiveness for a positive user experience.
| Required fields to create a slide |
|---|
| Slide title => Title of the slide. You can enter any title. |
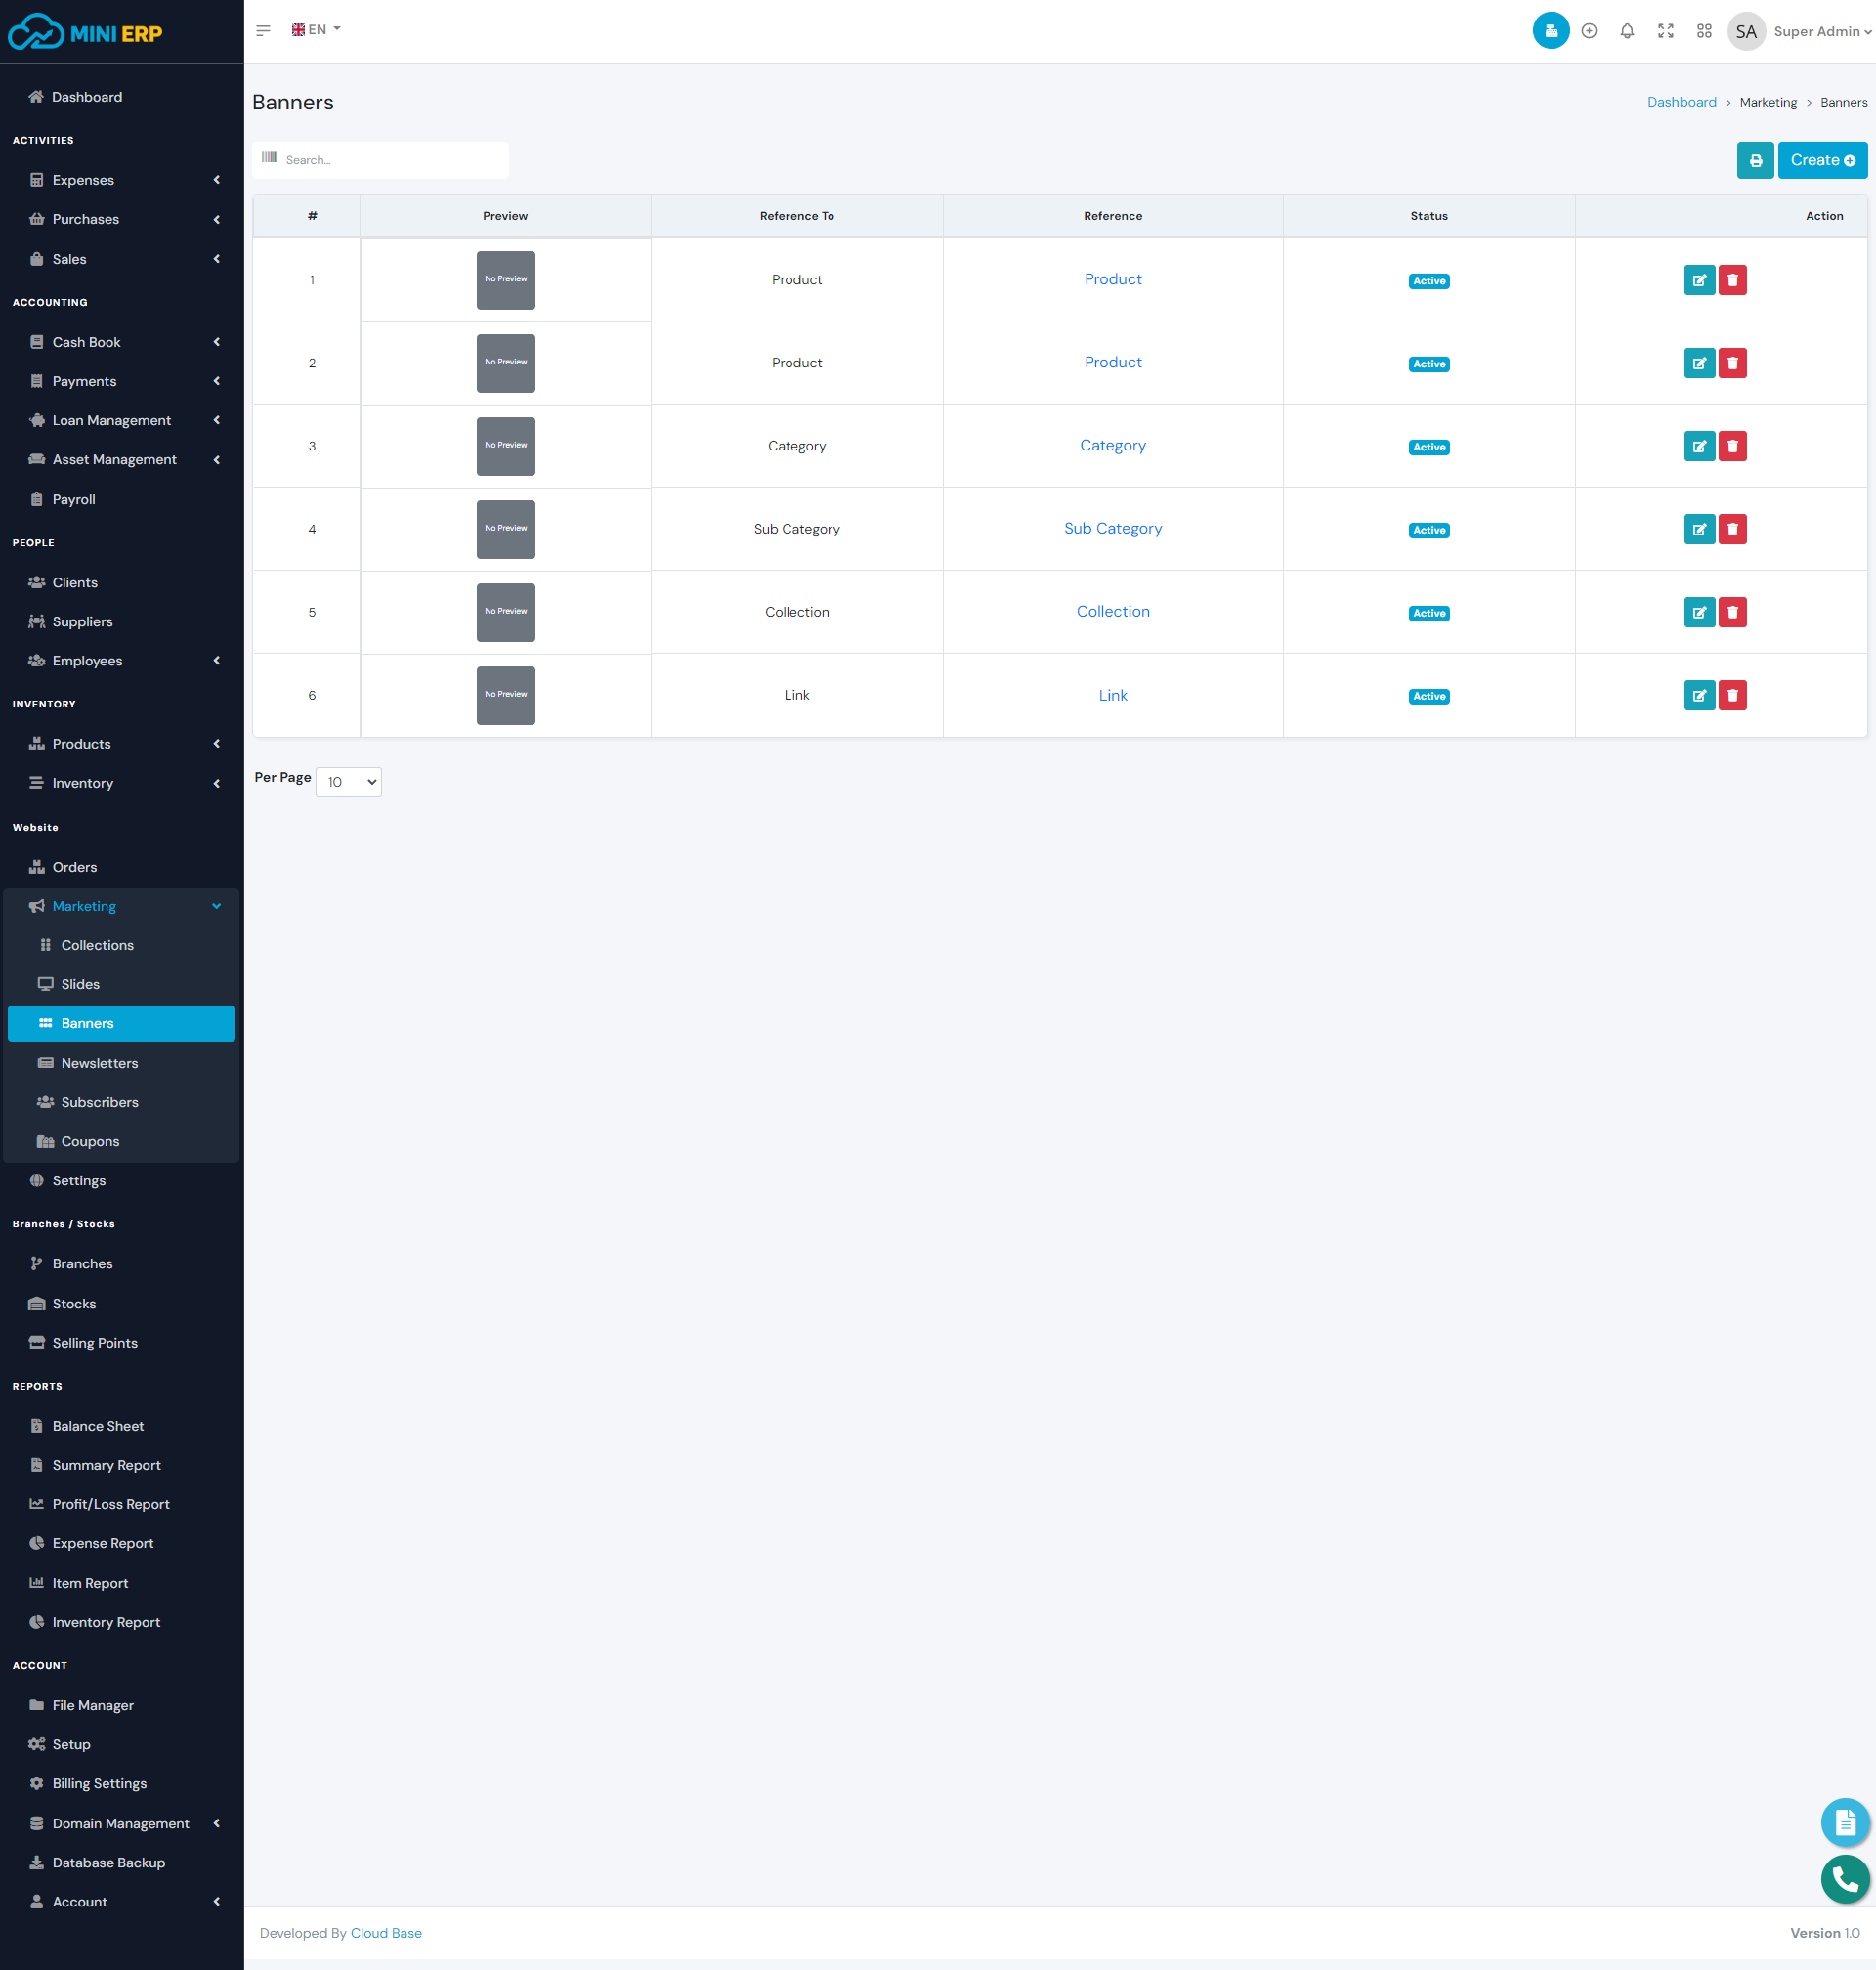
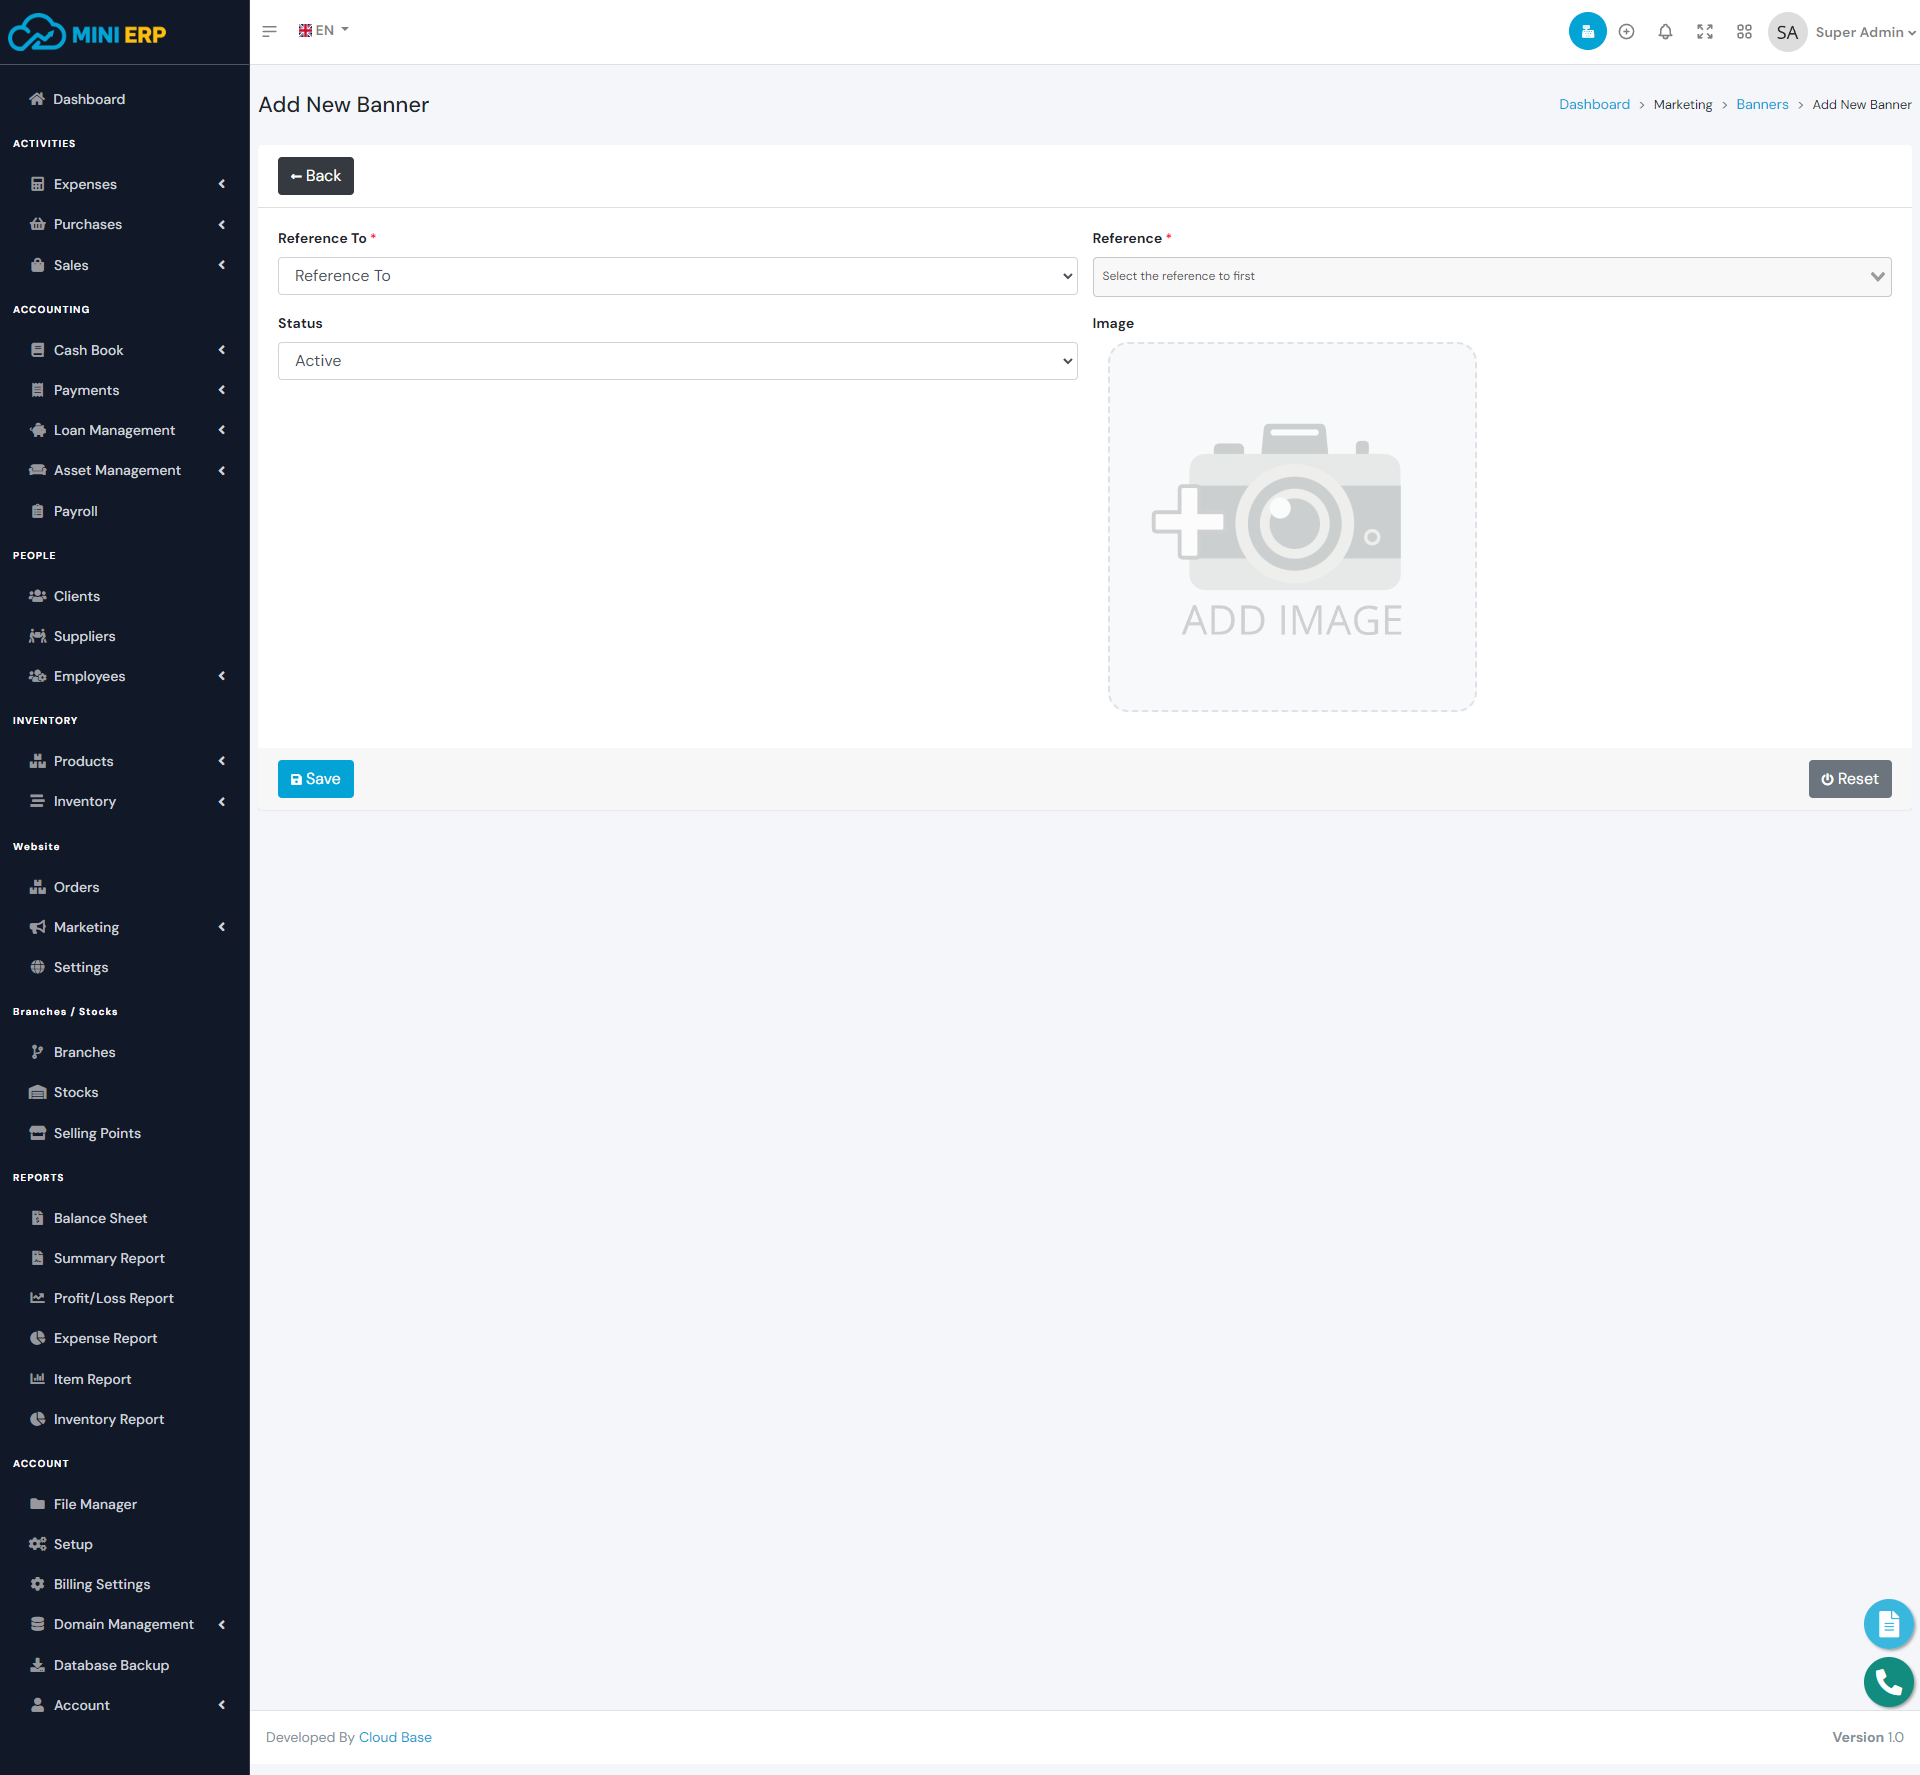
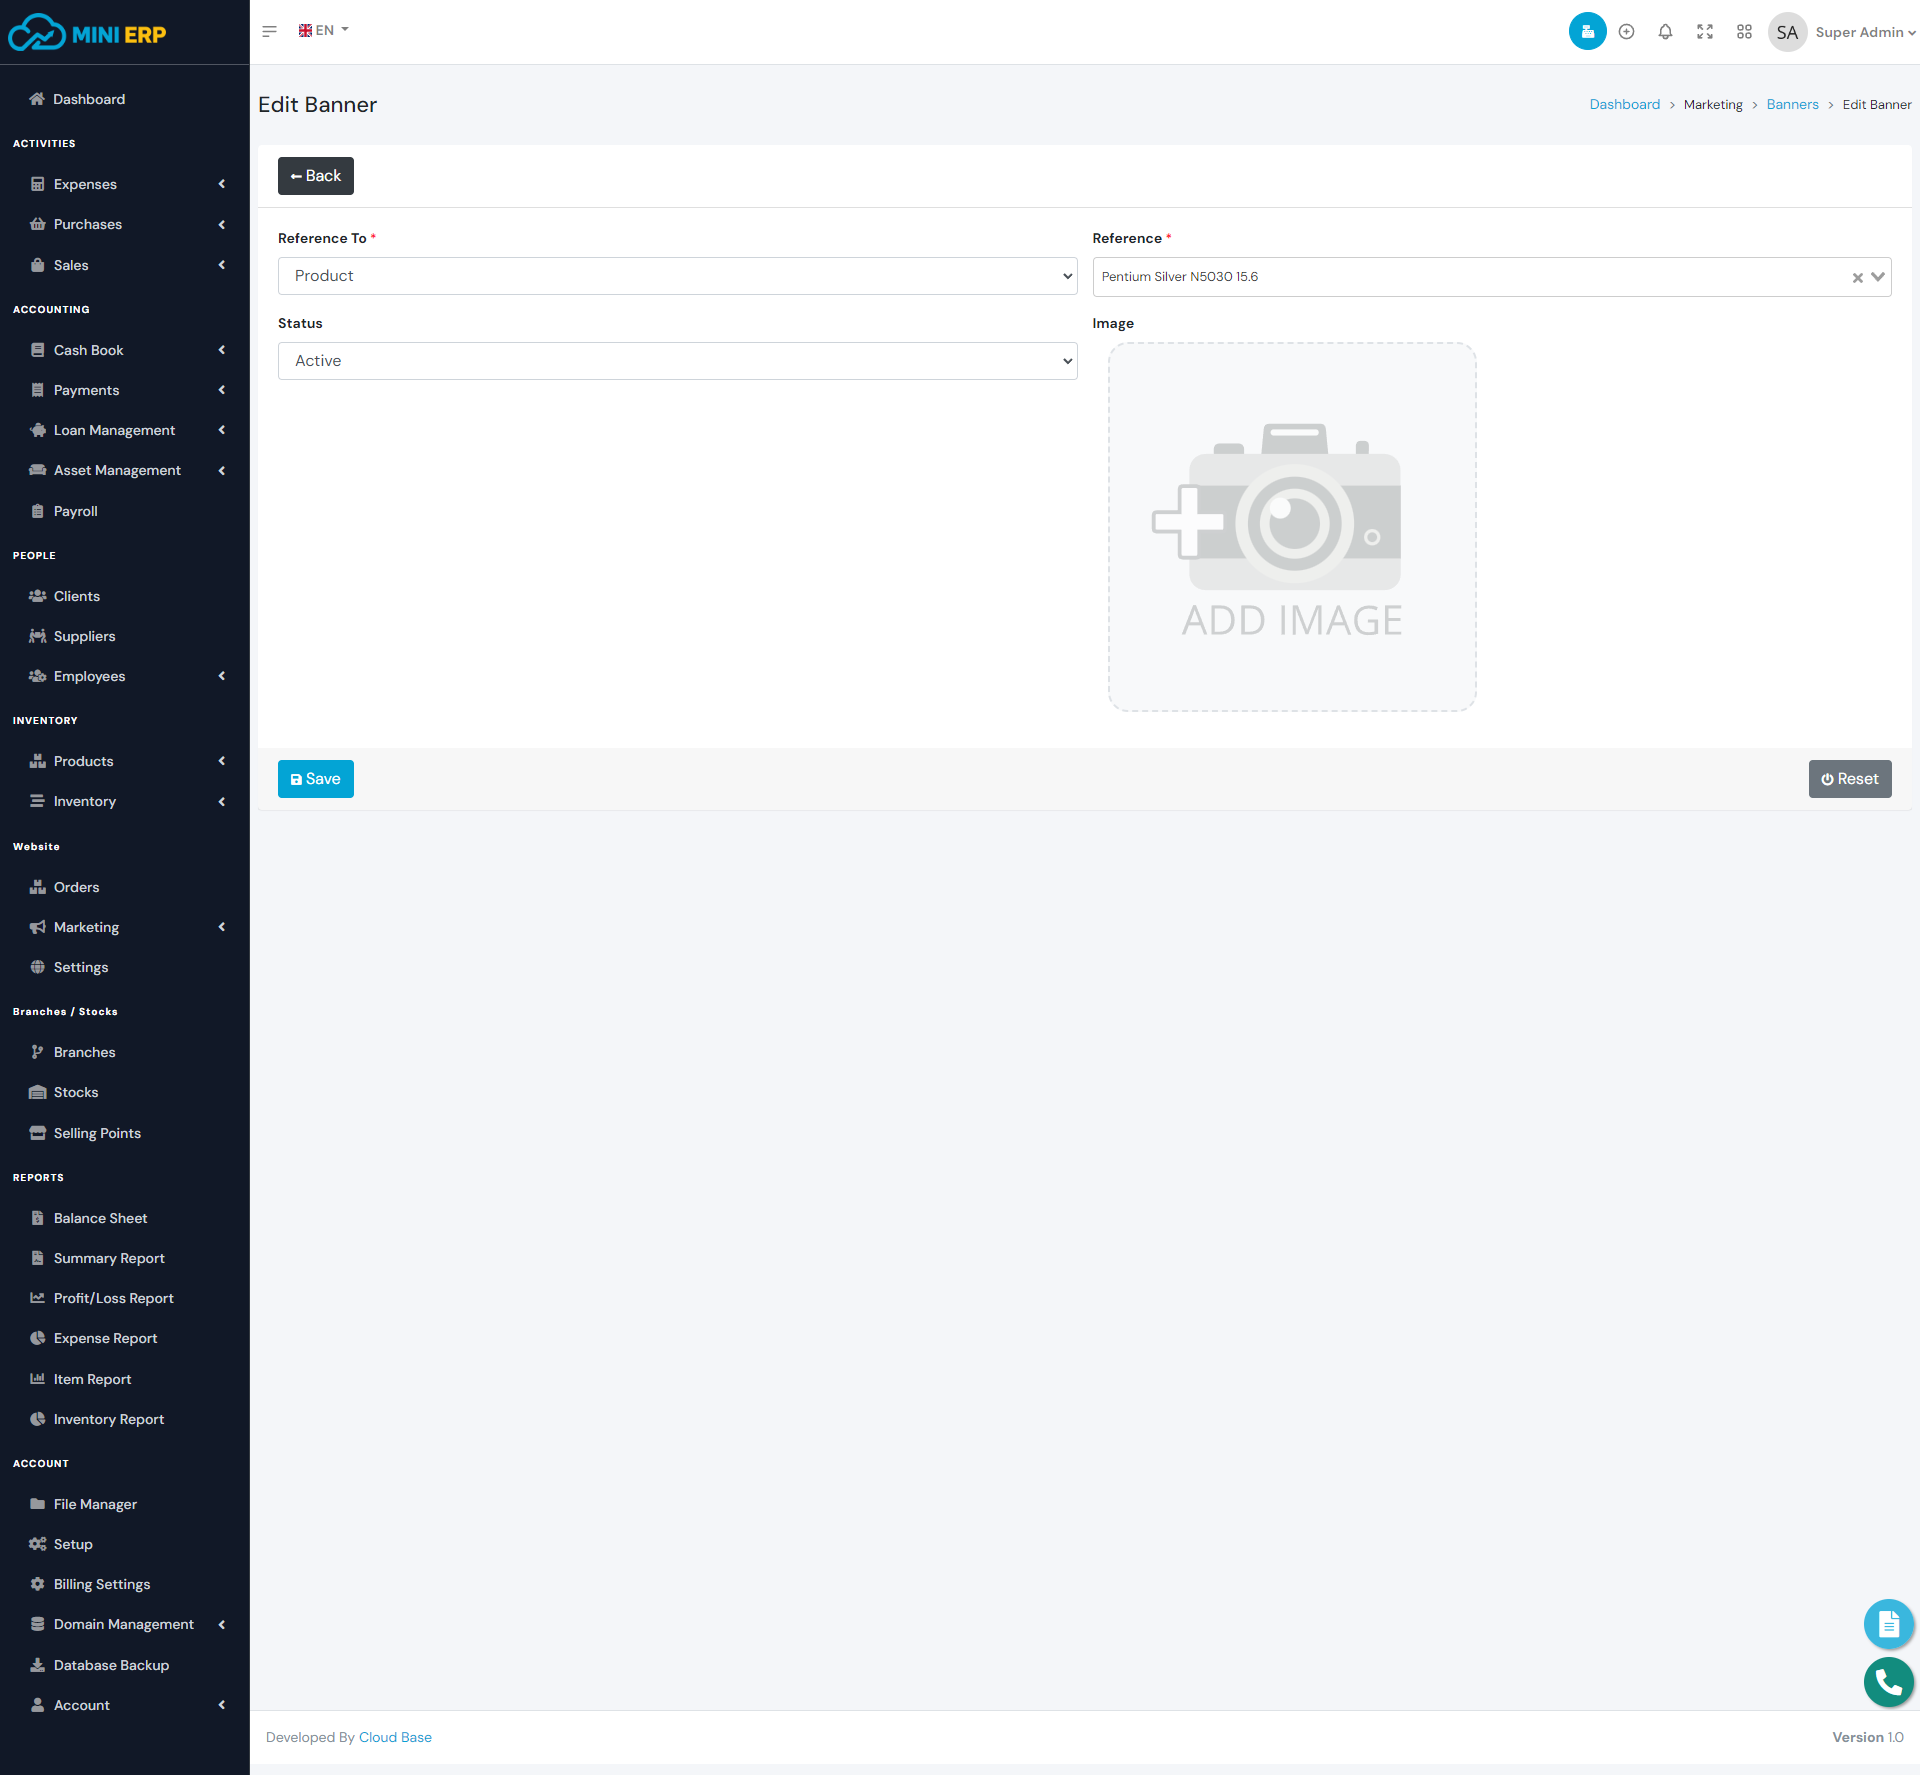
| Reference => Determine what the slide refers to, product, category, collection, link. |
| Image => Slide Image. Select a Image from the file manager. |
Website coupons
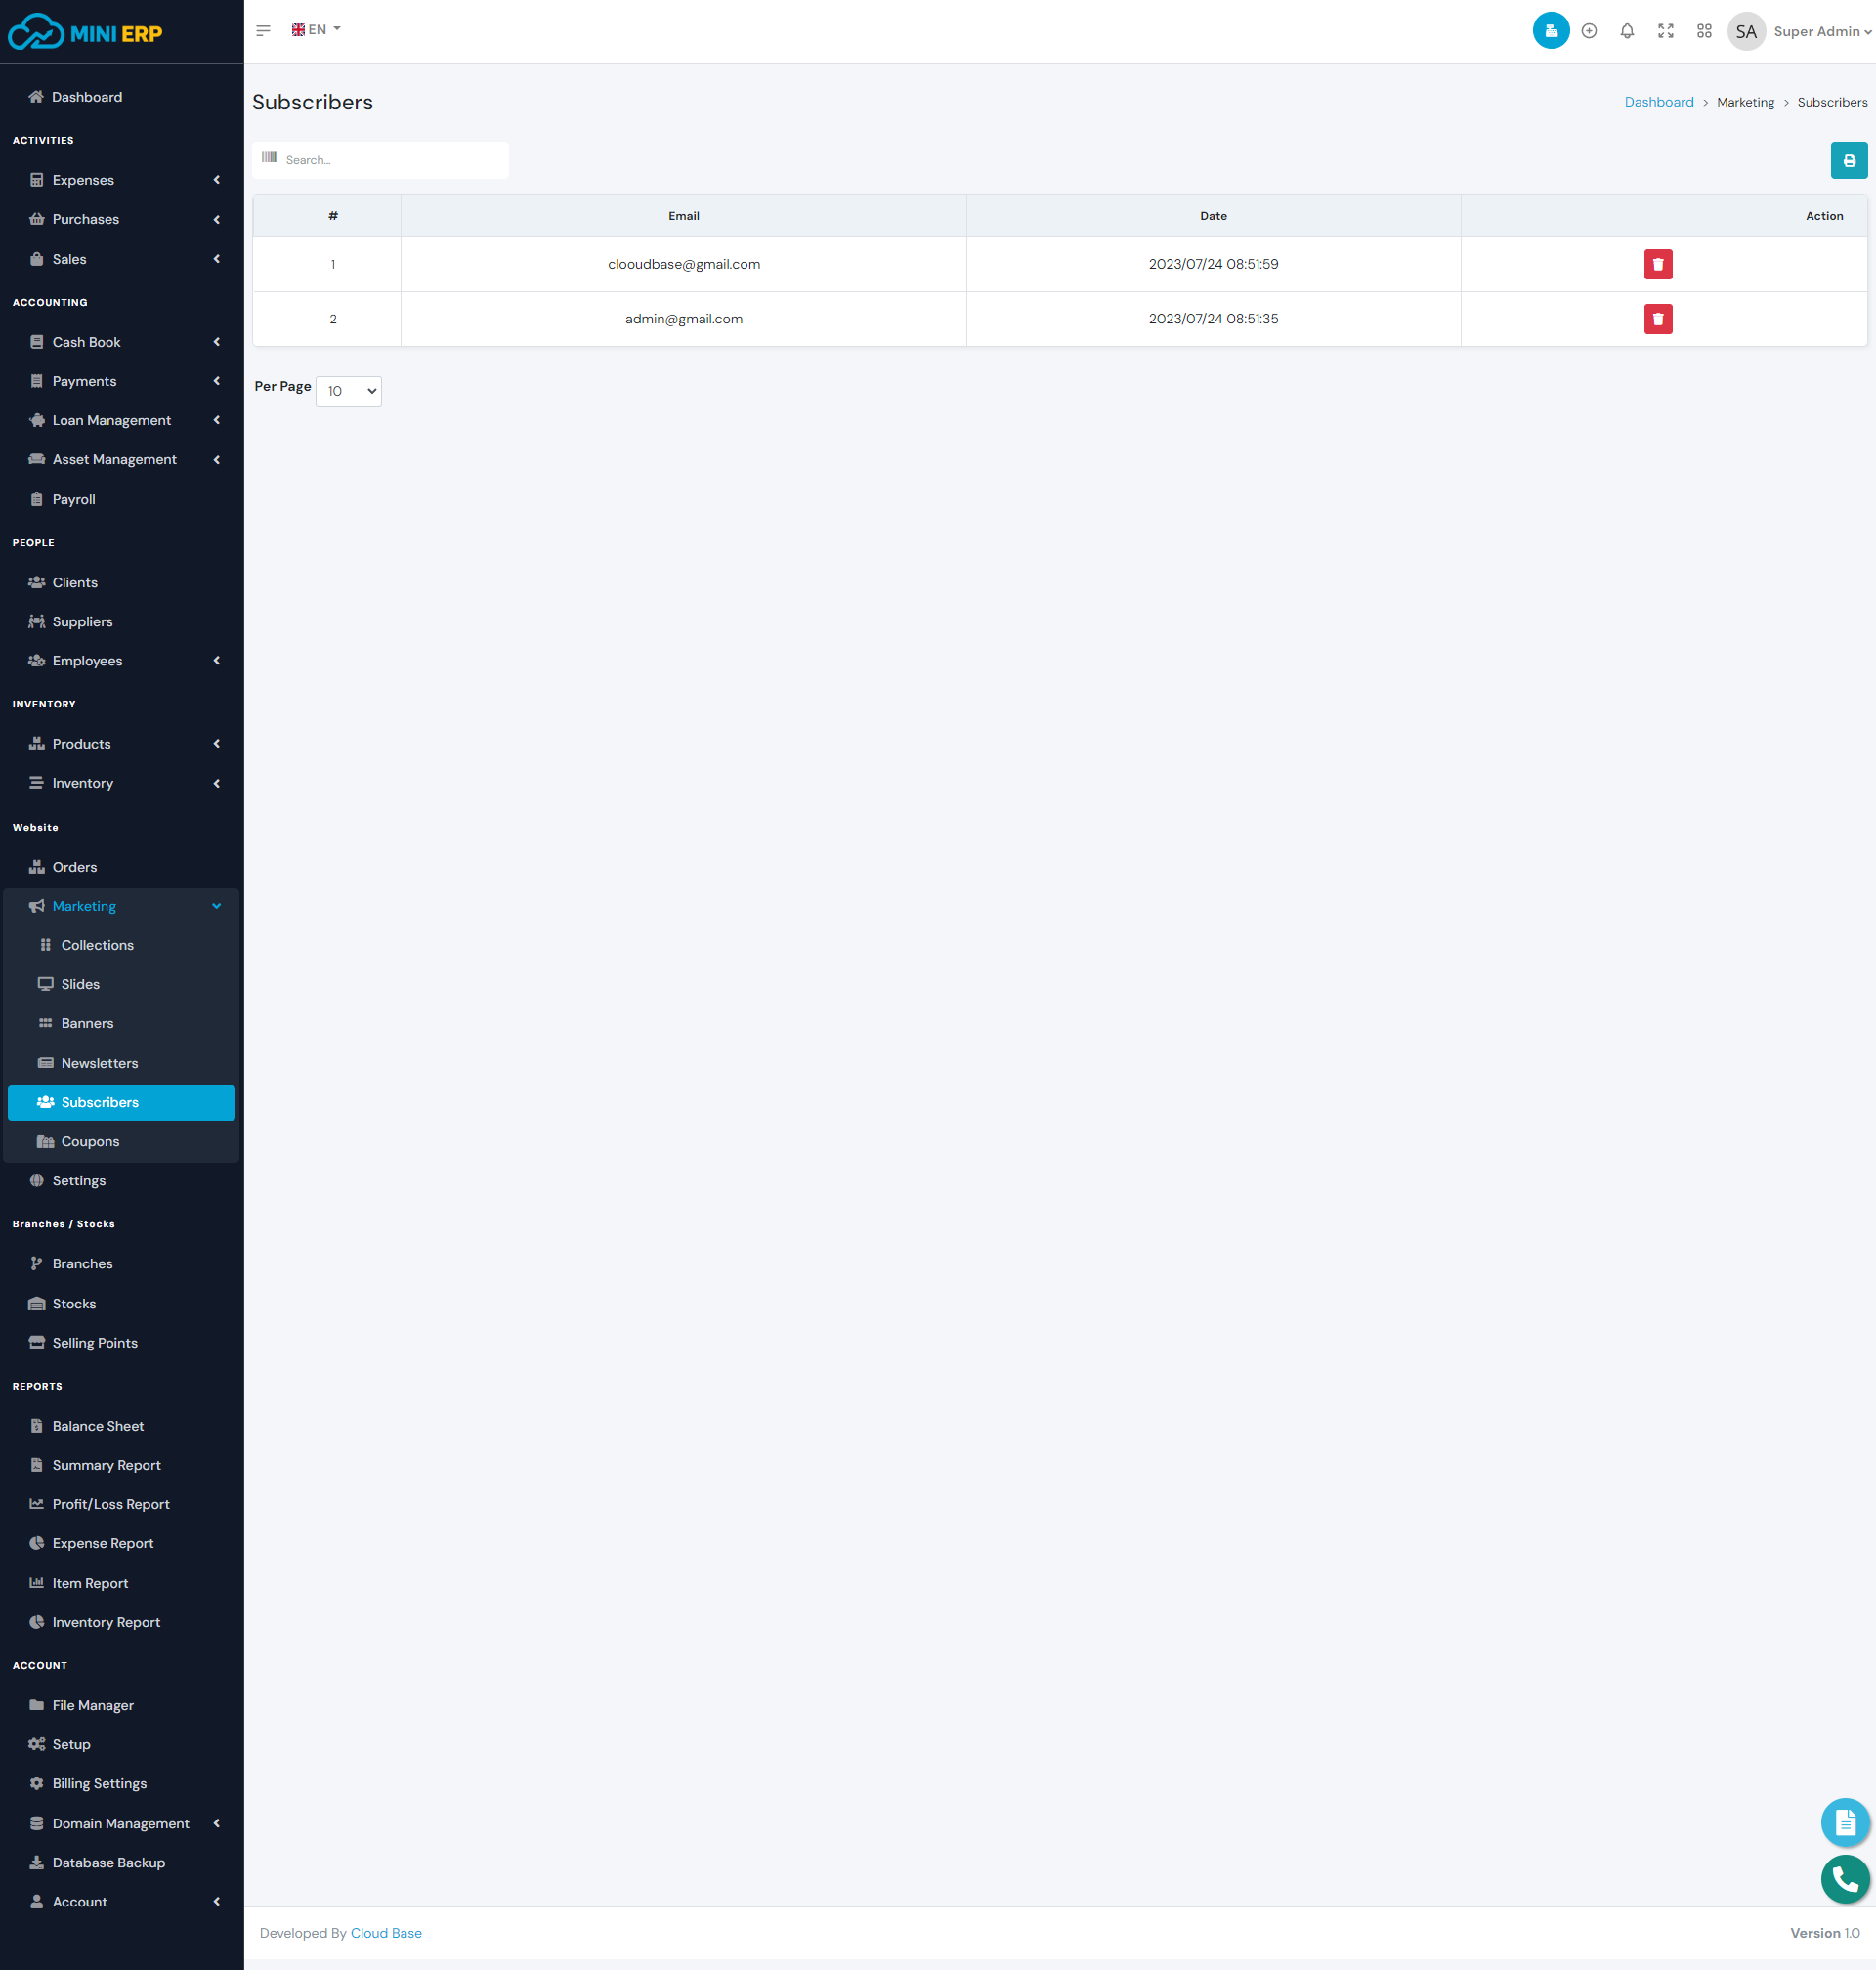
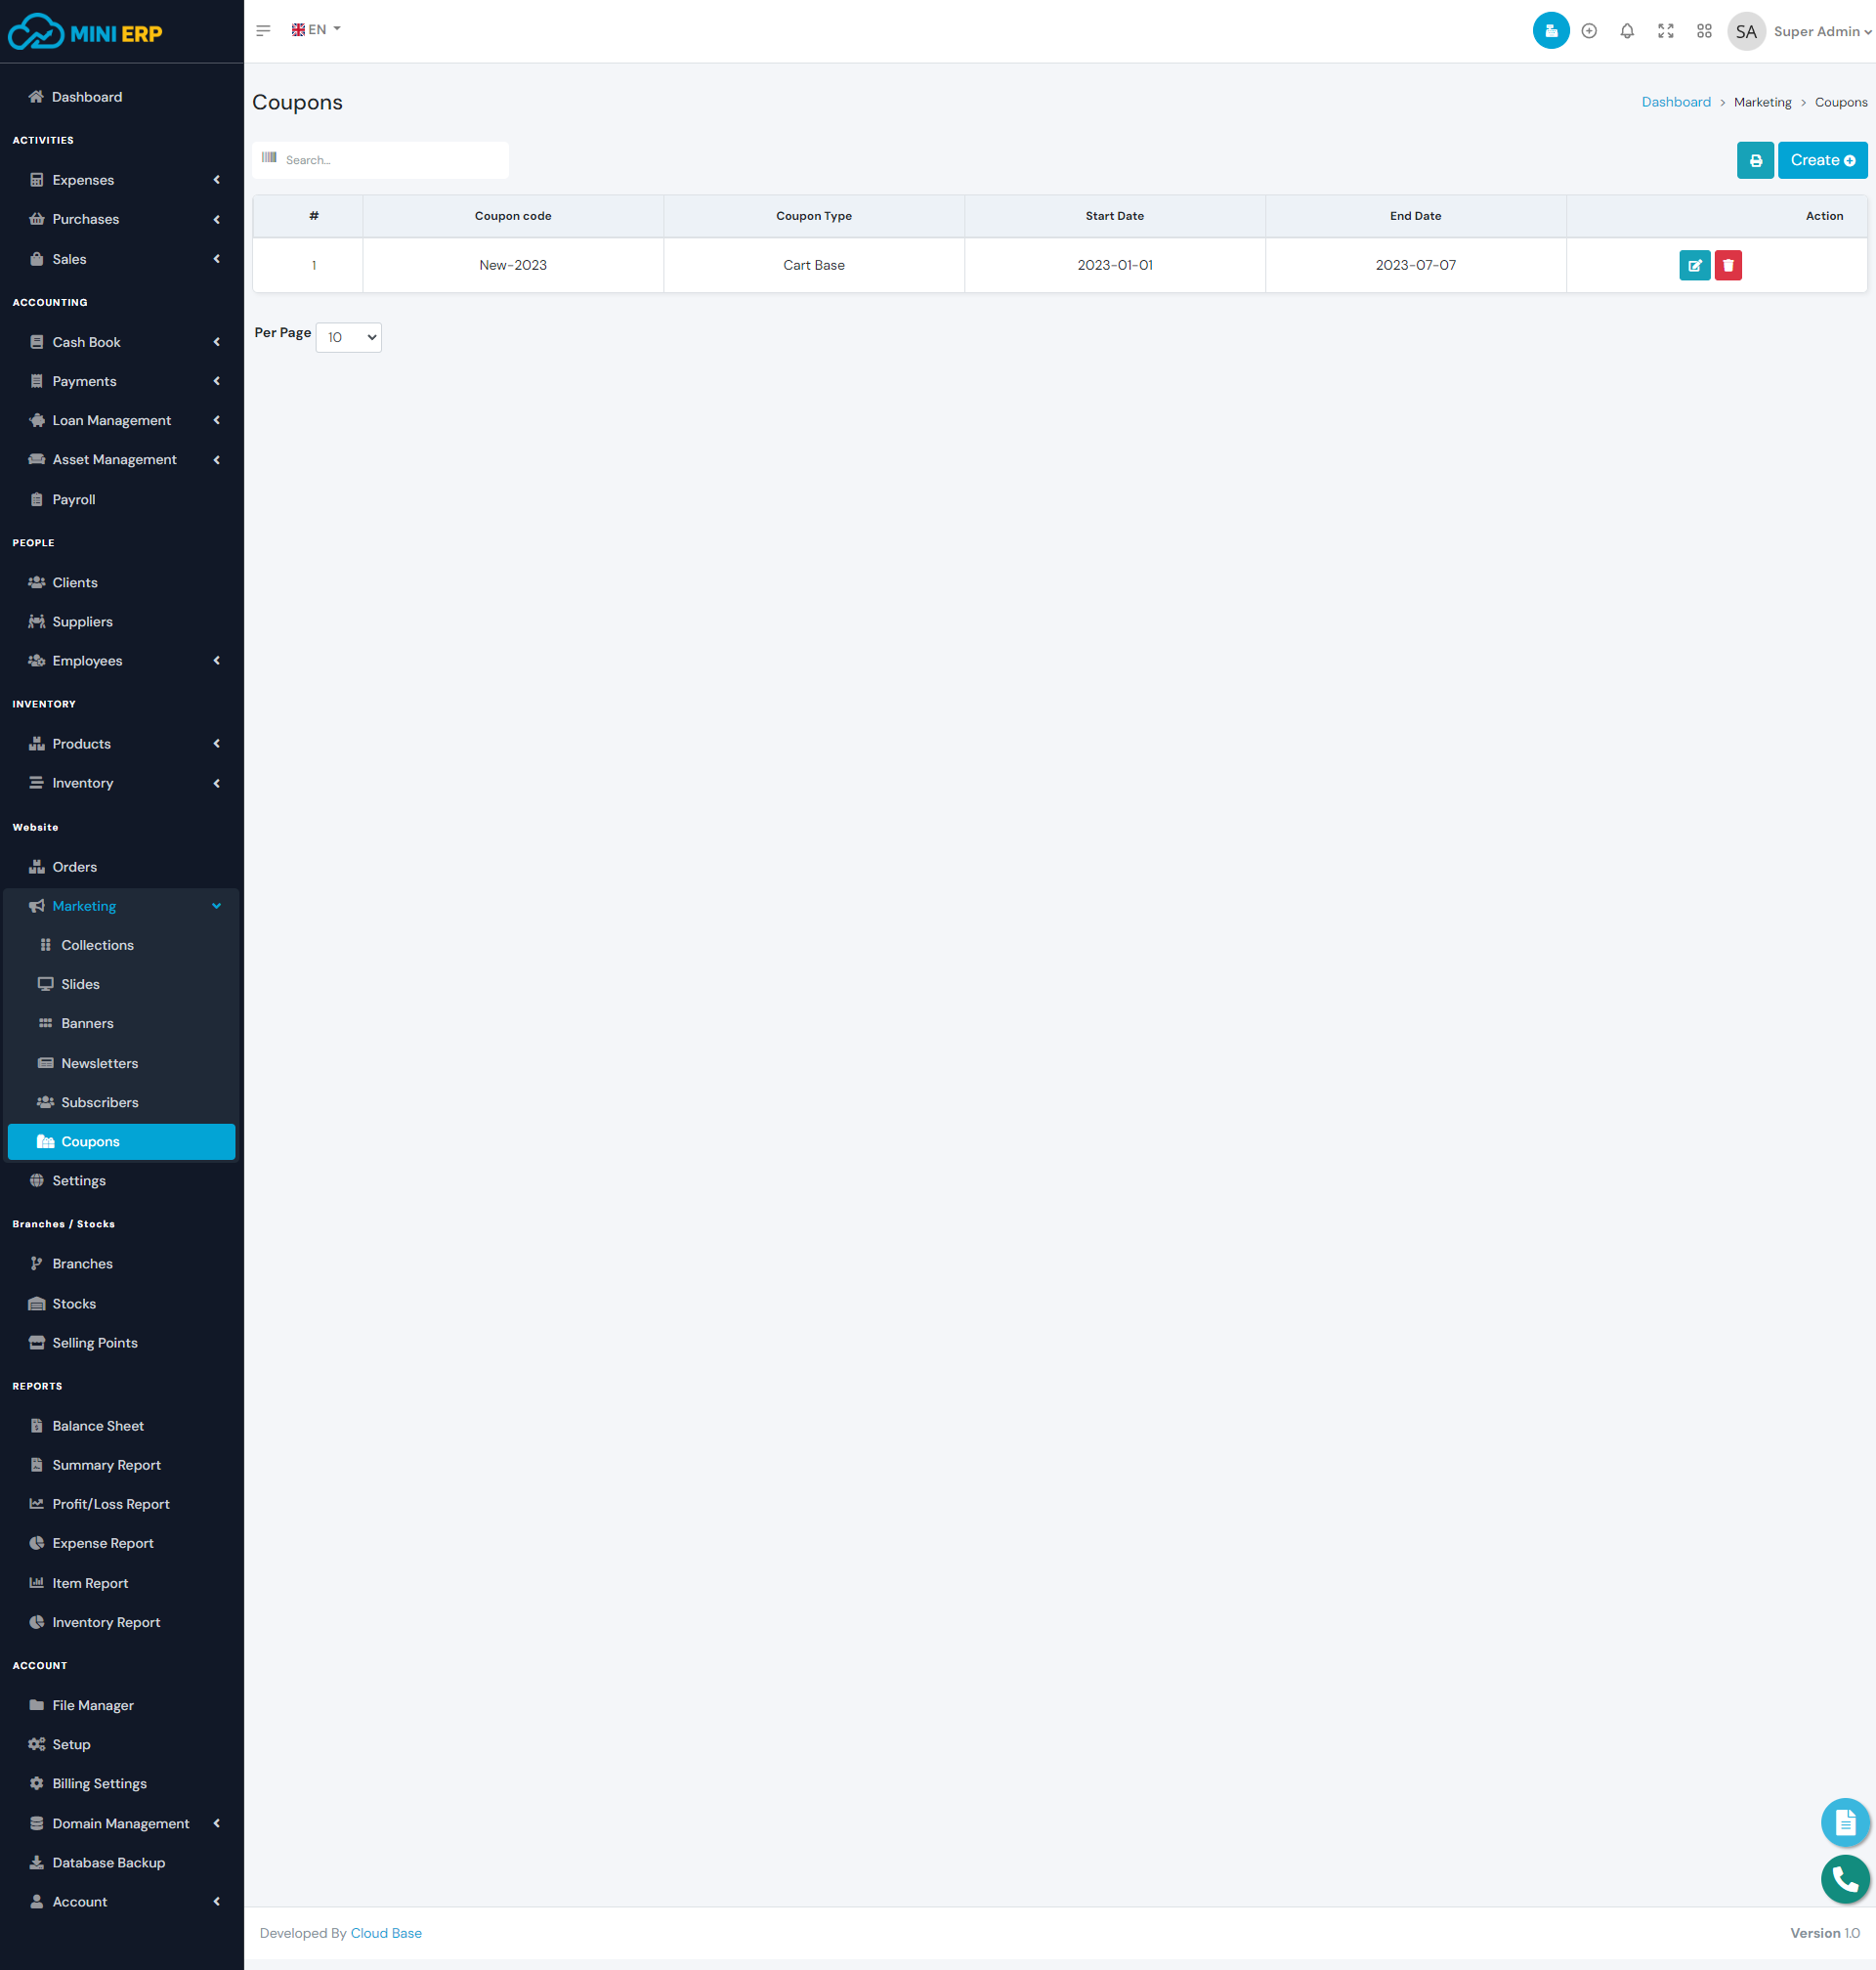
Website coupons are digital or printable vouchers offered by businesses on their websites to entice customers and boost sales. These coupons contain special discount codes or promotions that customers can apply during the checkout process to avail of discounts, free shipping, or other benefits. Website coupons are a powerful marketing strategy used to attract new customers, promote products, and reward loyal shoppers. They are distributed through various channels, such as email campaigns, social media, and affiliate partnerships, and their performance is tracked to analyze their effectiveness. By offering compelling discounts and setting clear terms, businesses can effectively use website coupons to drive customer engagement and increase conversions.
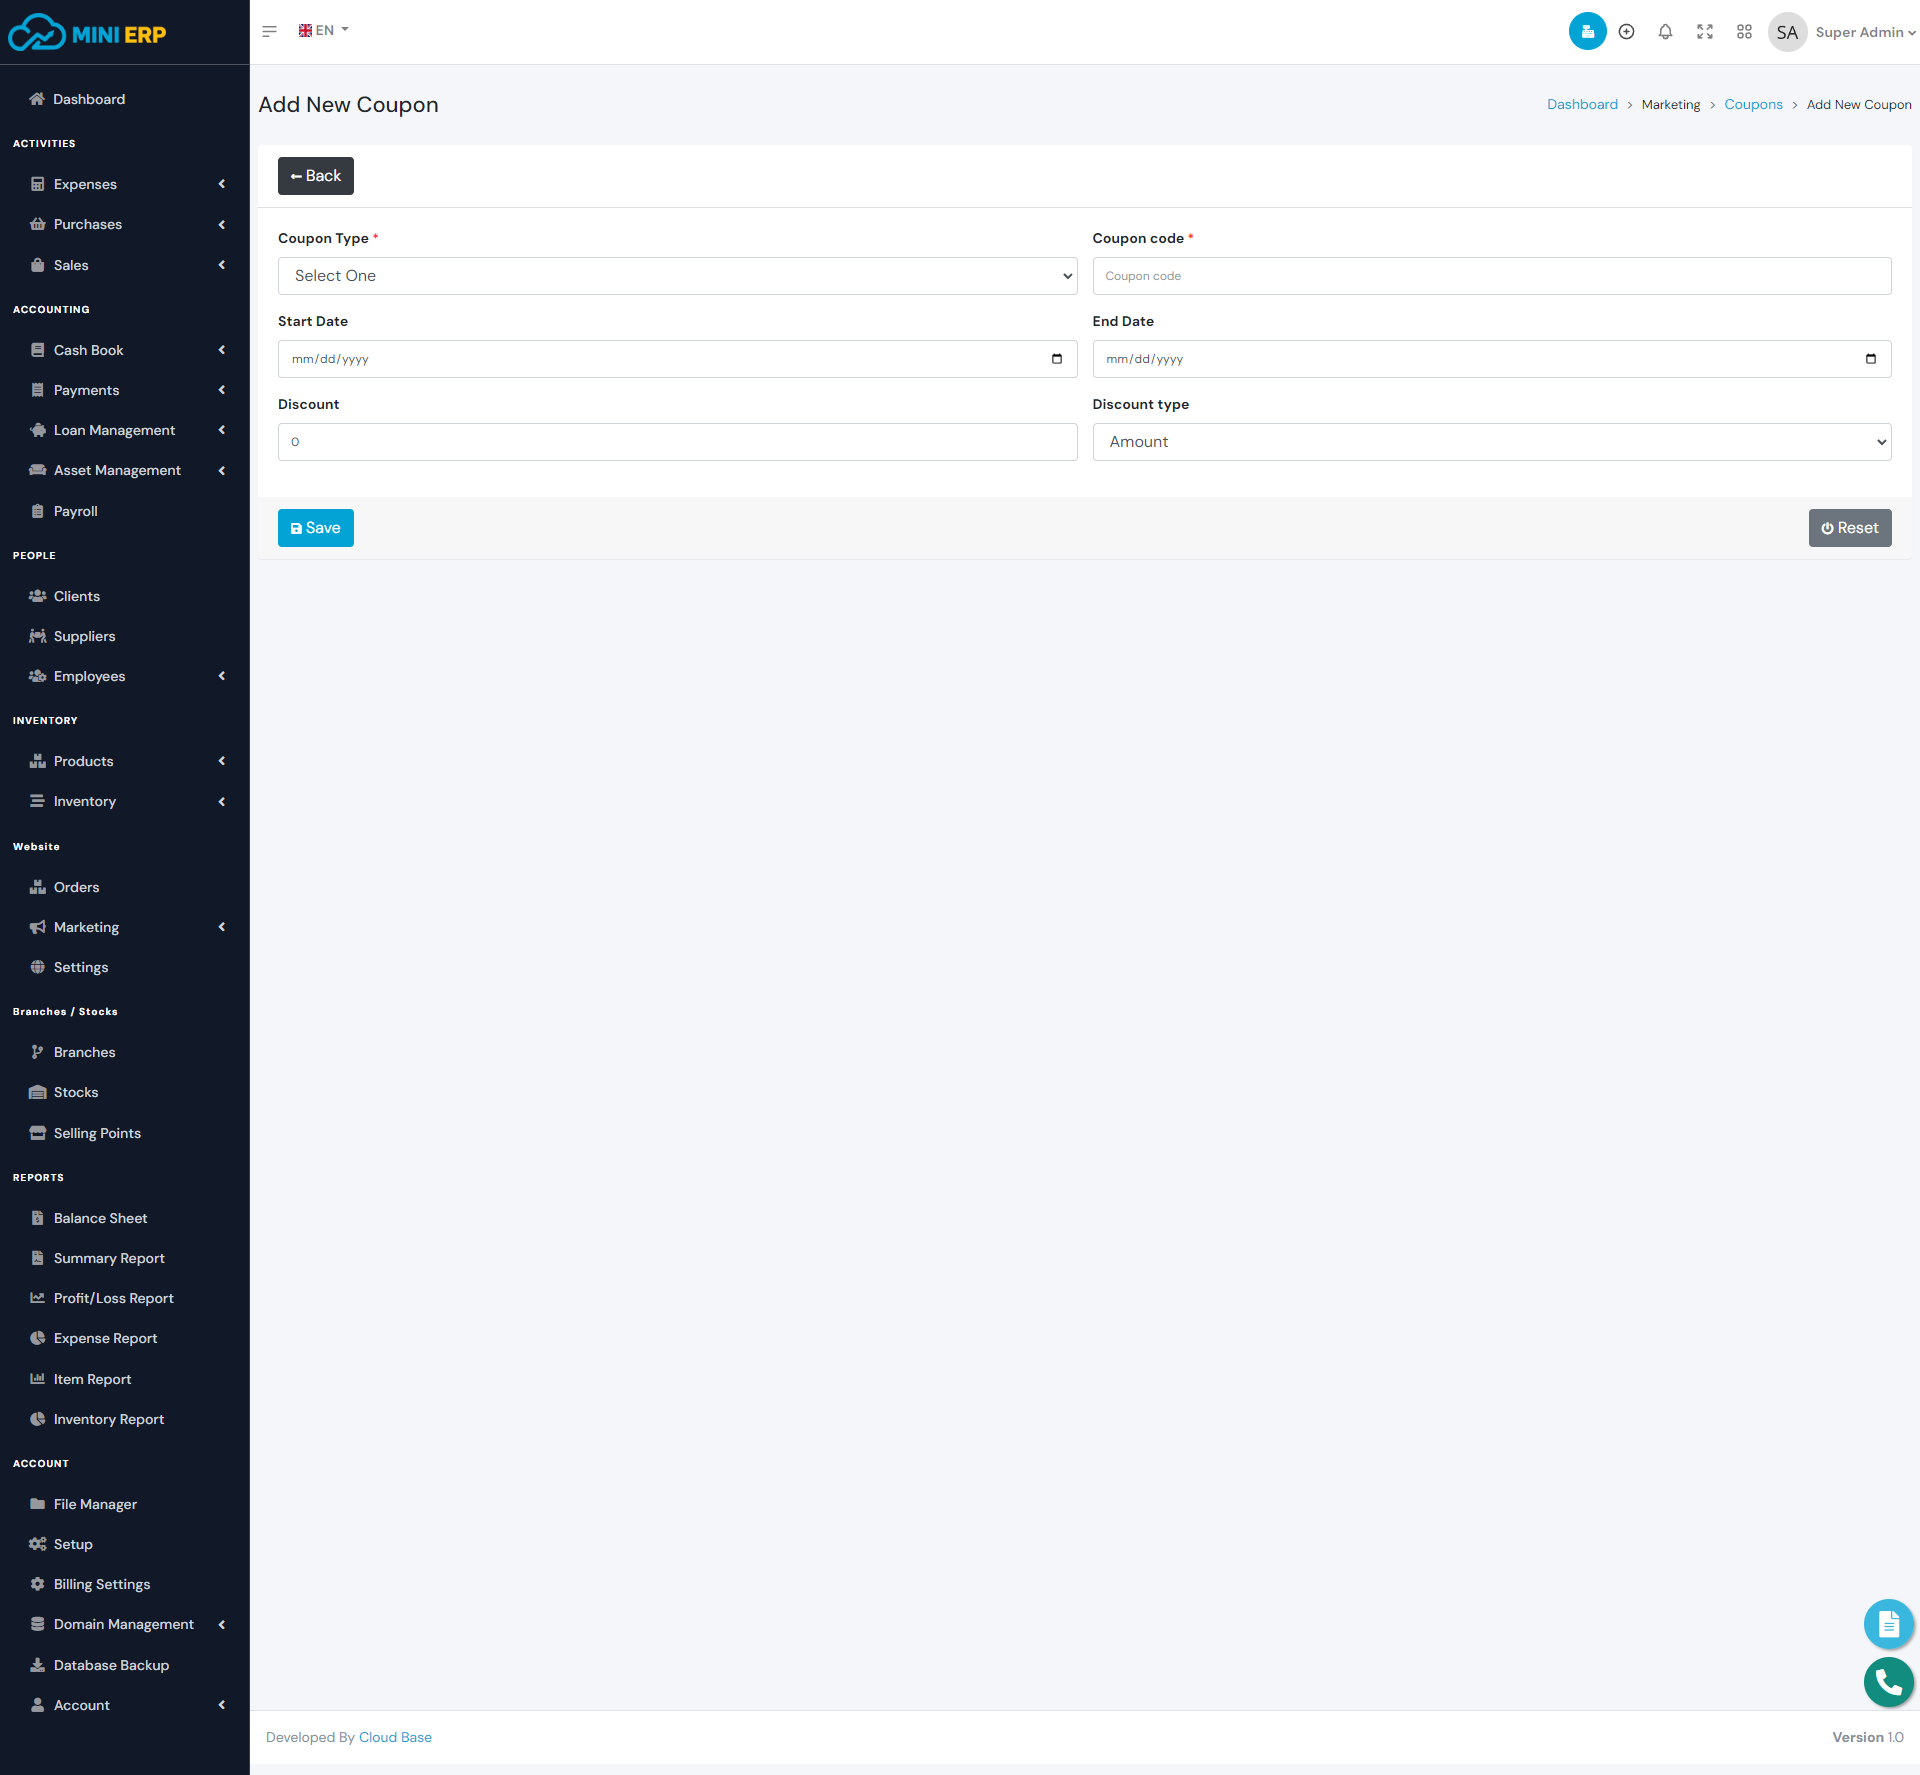
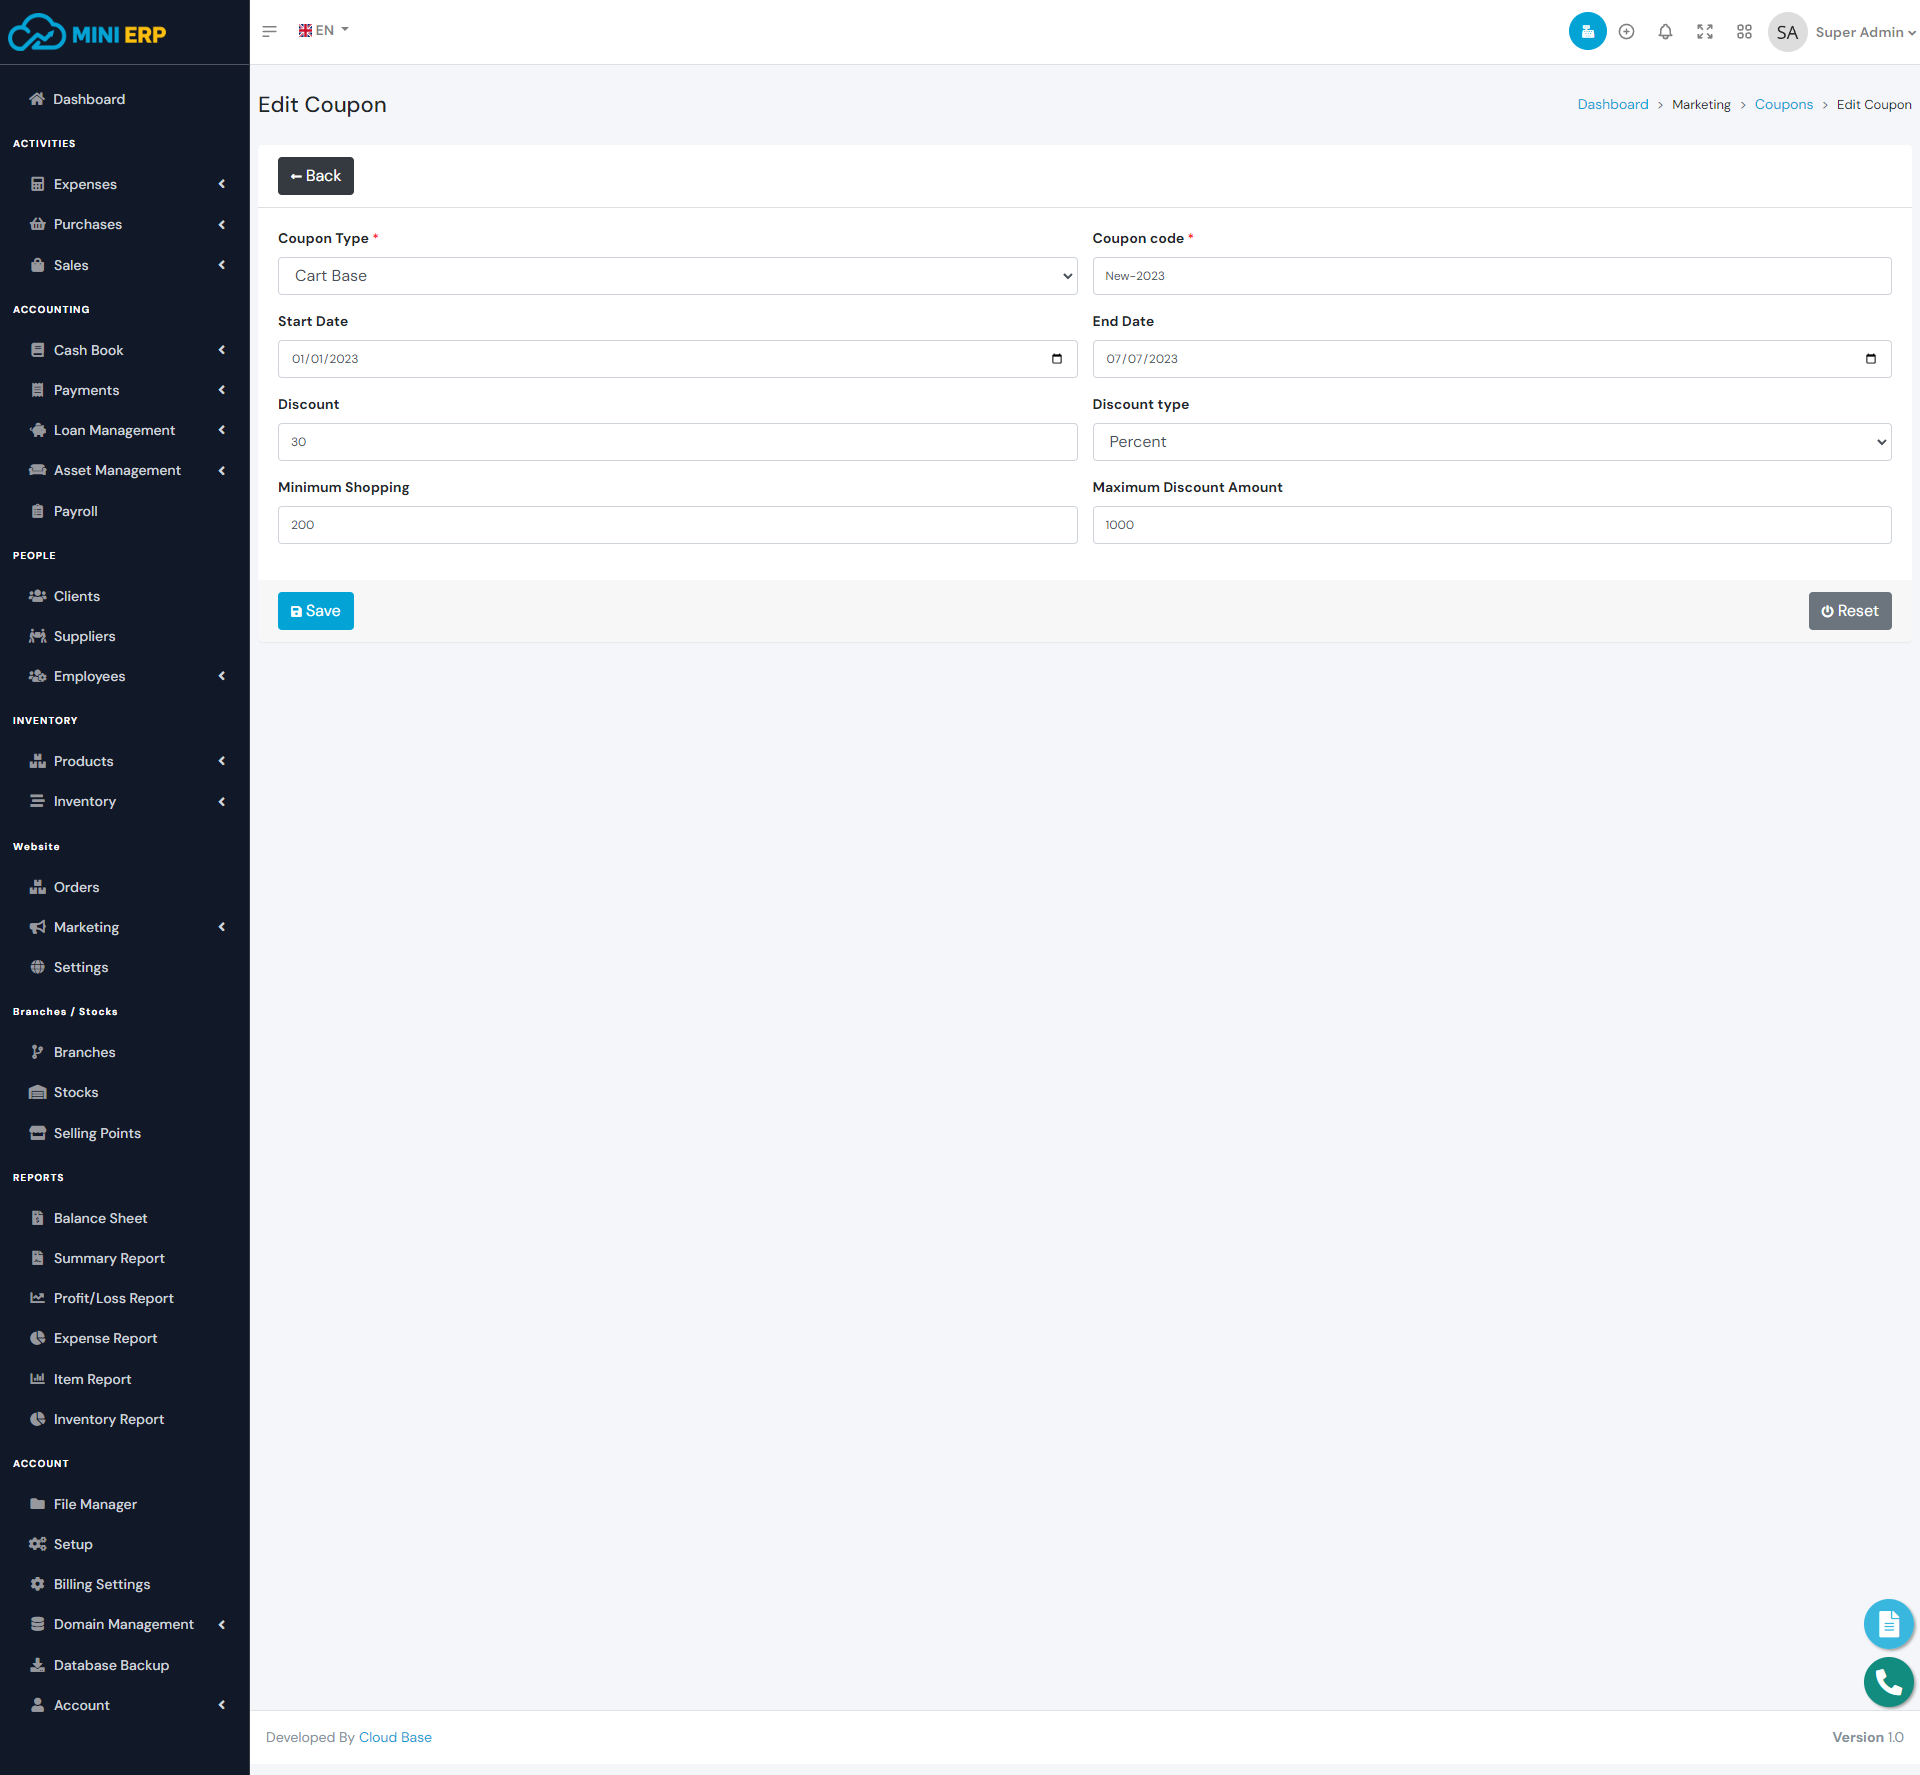
| Required fields to create a coupon |
|---|
| Coupon Type => Determine the type of coupon either at the level of the shopping cart or at the product level. |
| Coupon code => Write the code that is used for the discount. |
| Date => Determine the start and end date of the coupon. |
| Discount => Determine the discount rate, either a fixed amount or a percentage. |
Website Settings
It is a cohesive unit responsible for the comprehensive management of the website, encompassing the creation of a cohesive homepage, general layout, and additional pages. Additionally, it handles the design and implementation of the site's header and footer, ensuring a seamless and integrated user experience throughout the entire website.

Website General Settings:
The overall site settings encompass essential details such as the site name, contact information,
site description, site icon, and social media integration. These settings provide crucial
information about the website and enable seamless communication with visitors while maintaining a
consistent brand presence across various online platforms.

Website Home page:
Setting up the home page and controlling the items that appear in it, such as products, collections,
and others.

Website Header:
Preparing the top part of the site, including the logo, menu, etc.

Website Footer:
Setting up the bottom of the sites, including the logo, site description, links, etc.

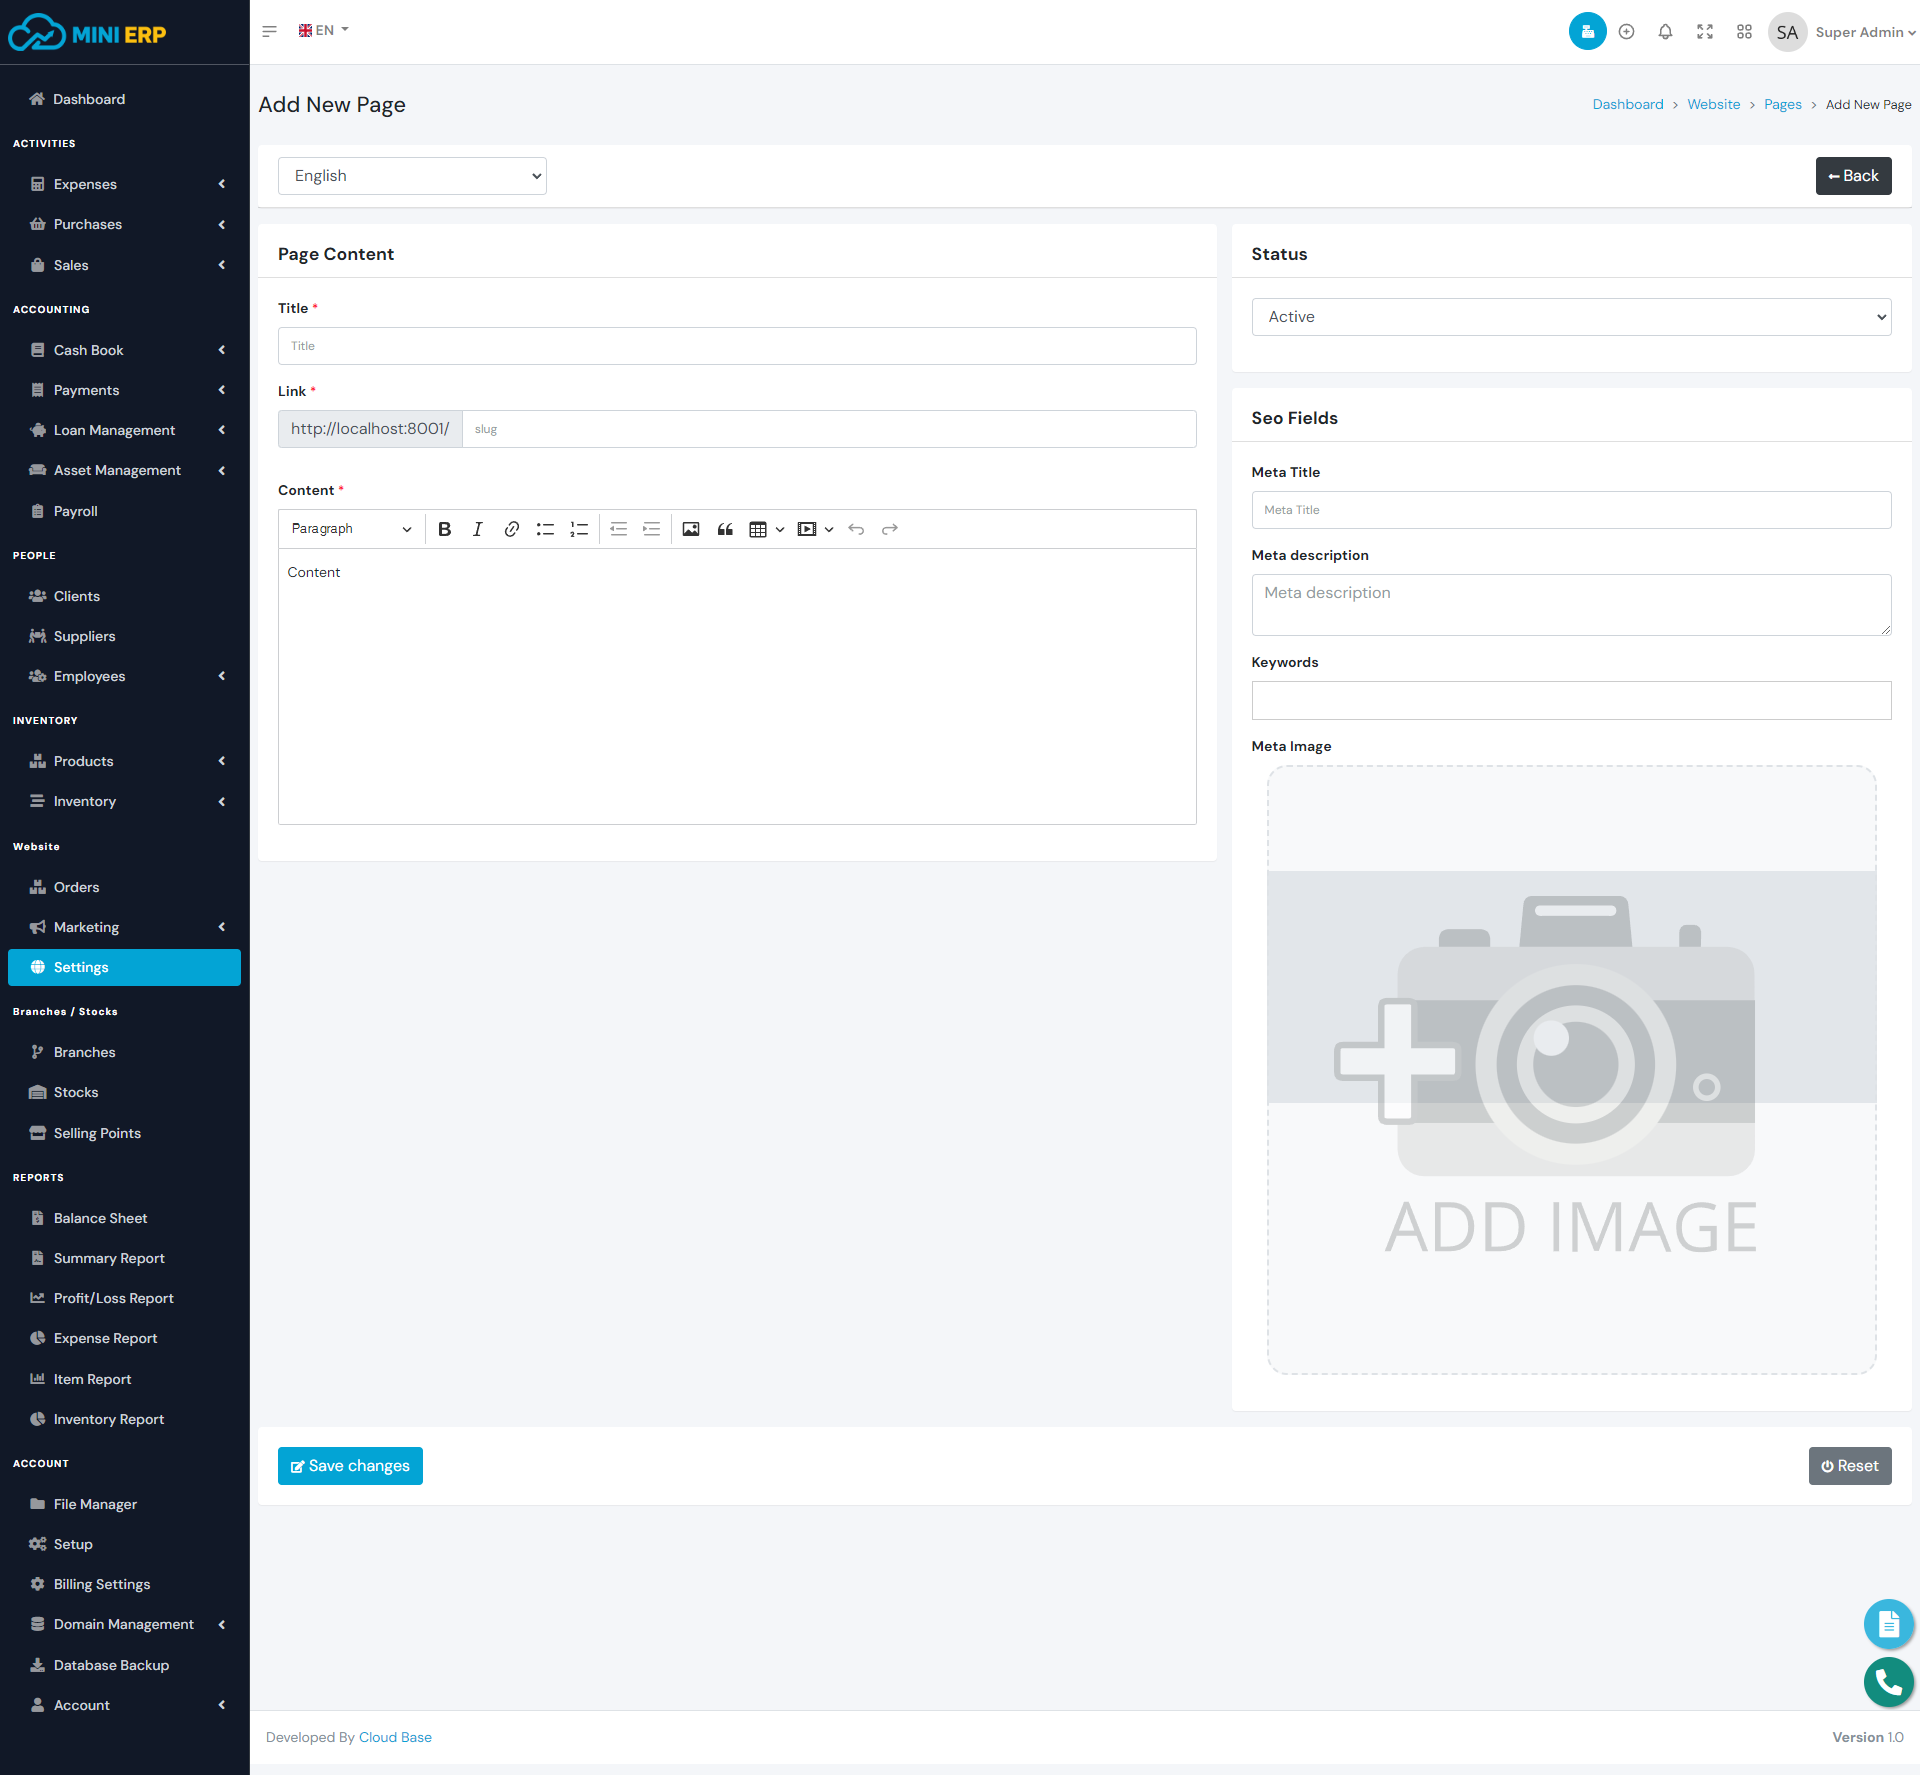
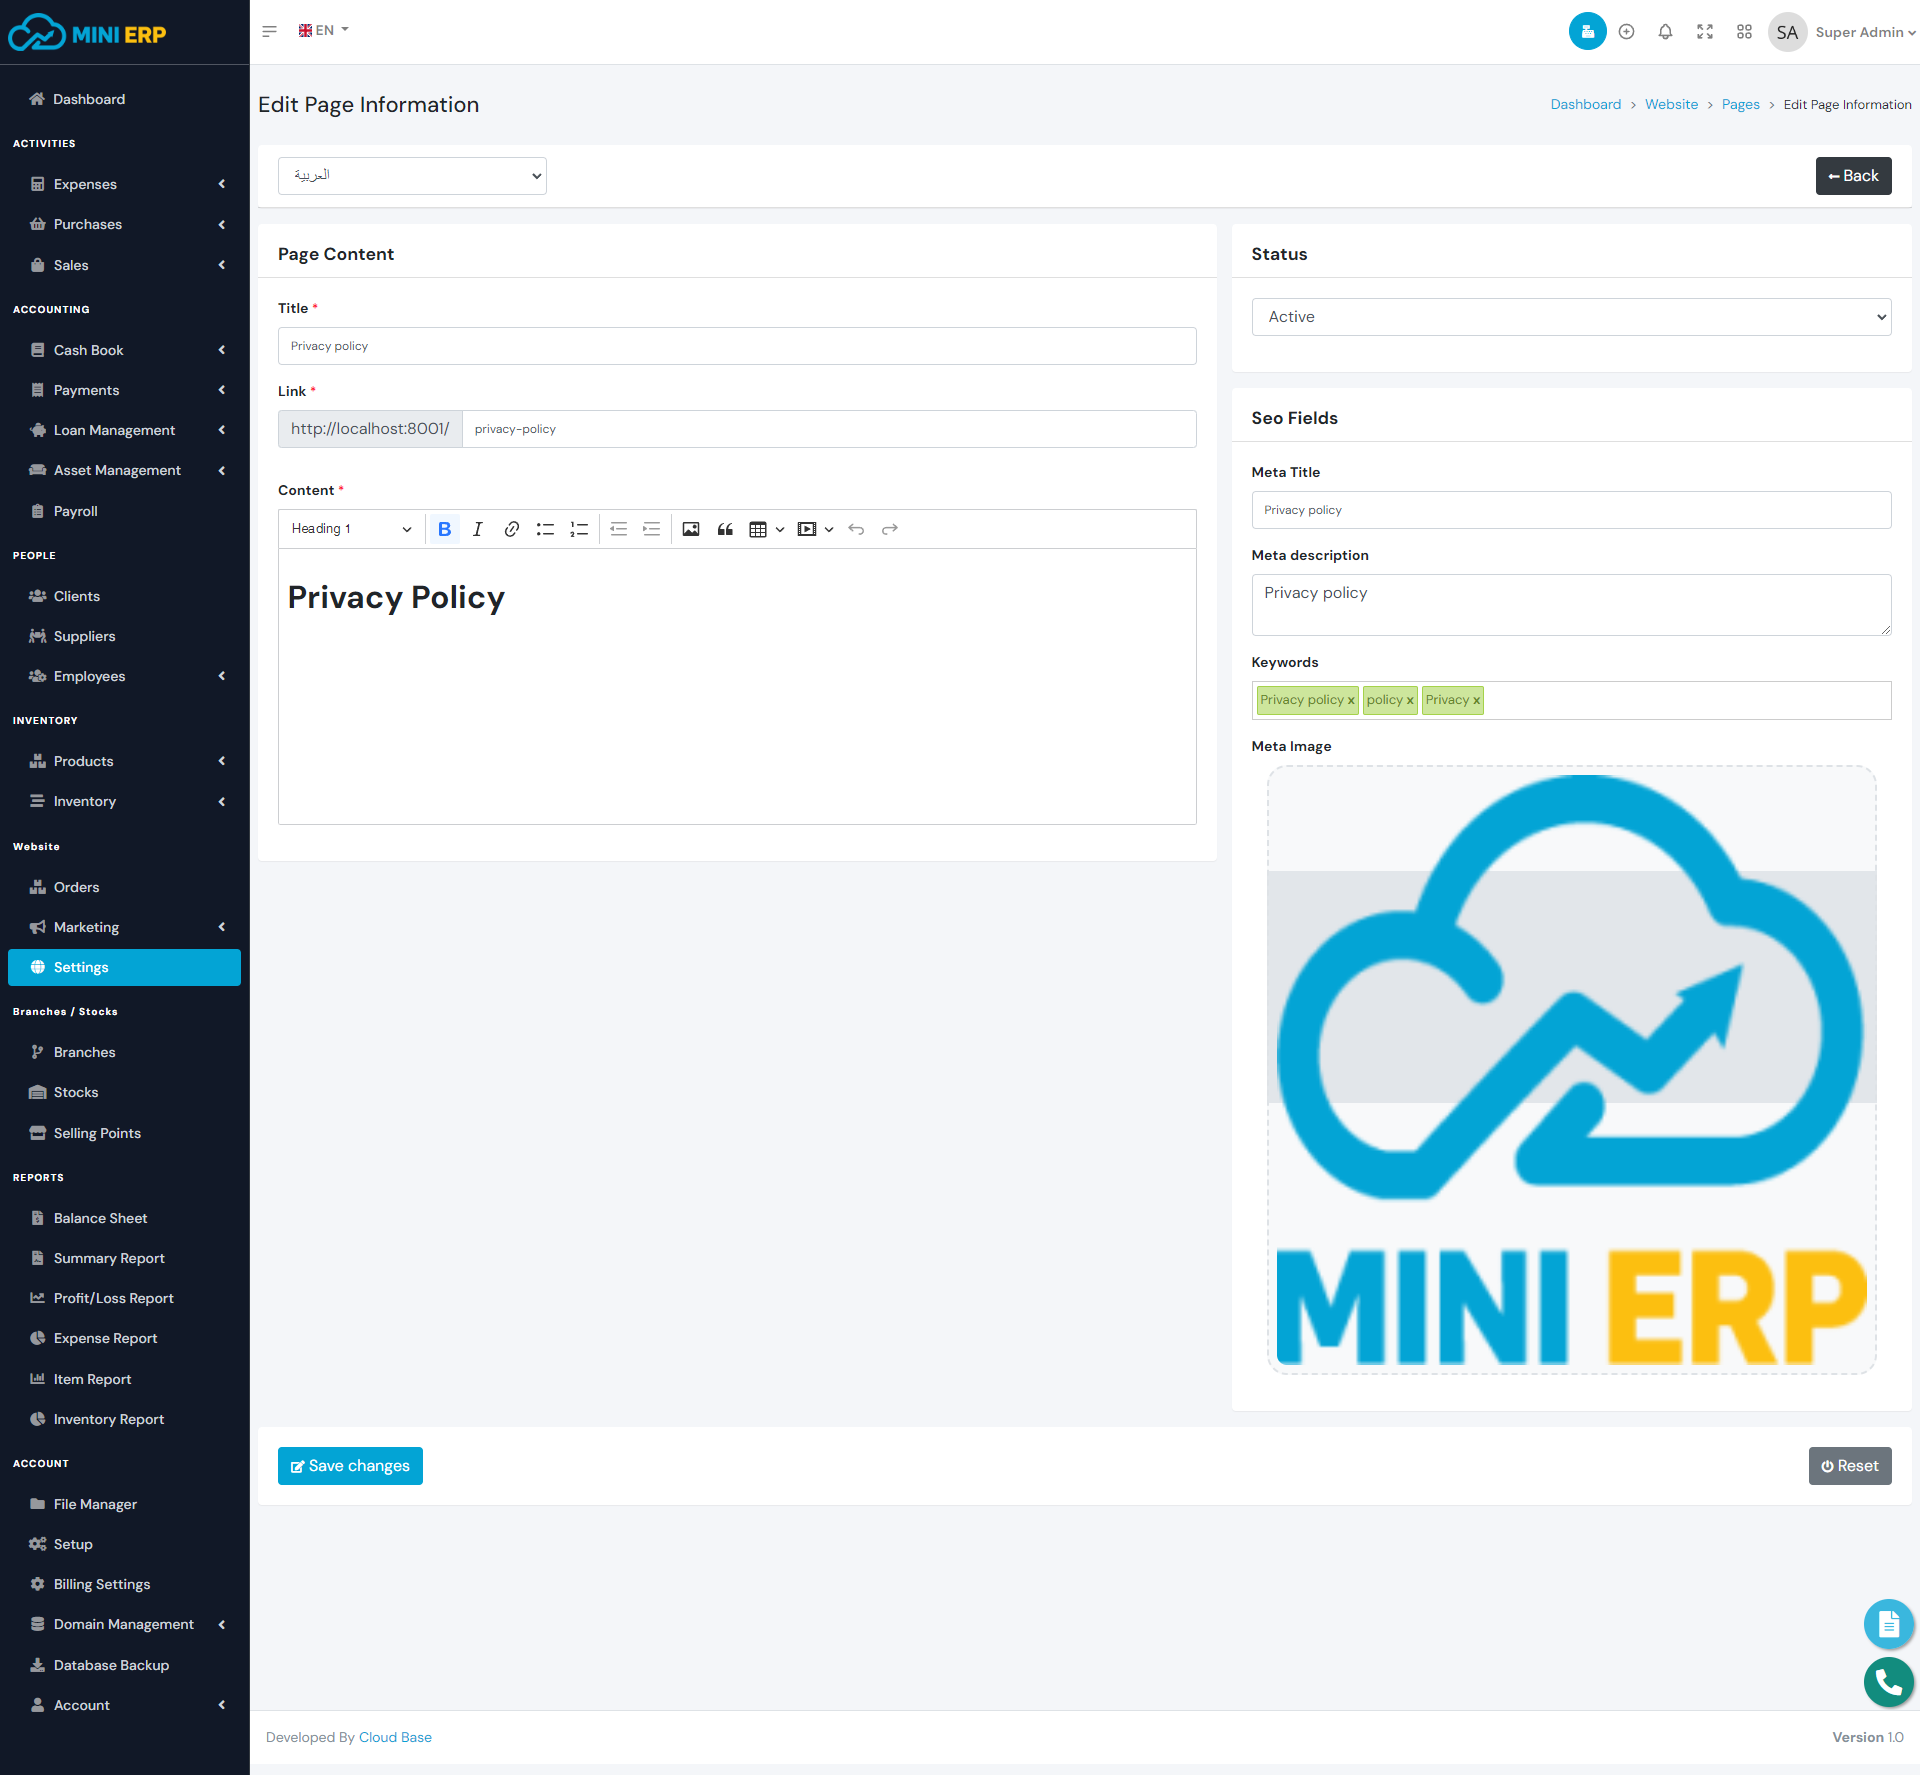
Website Pages:
Preparing other website pages such as the privacy policy, etc.
Note: Red star marked fields are required and you can't leave them empty.
Balance Sheet
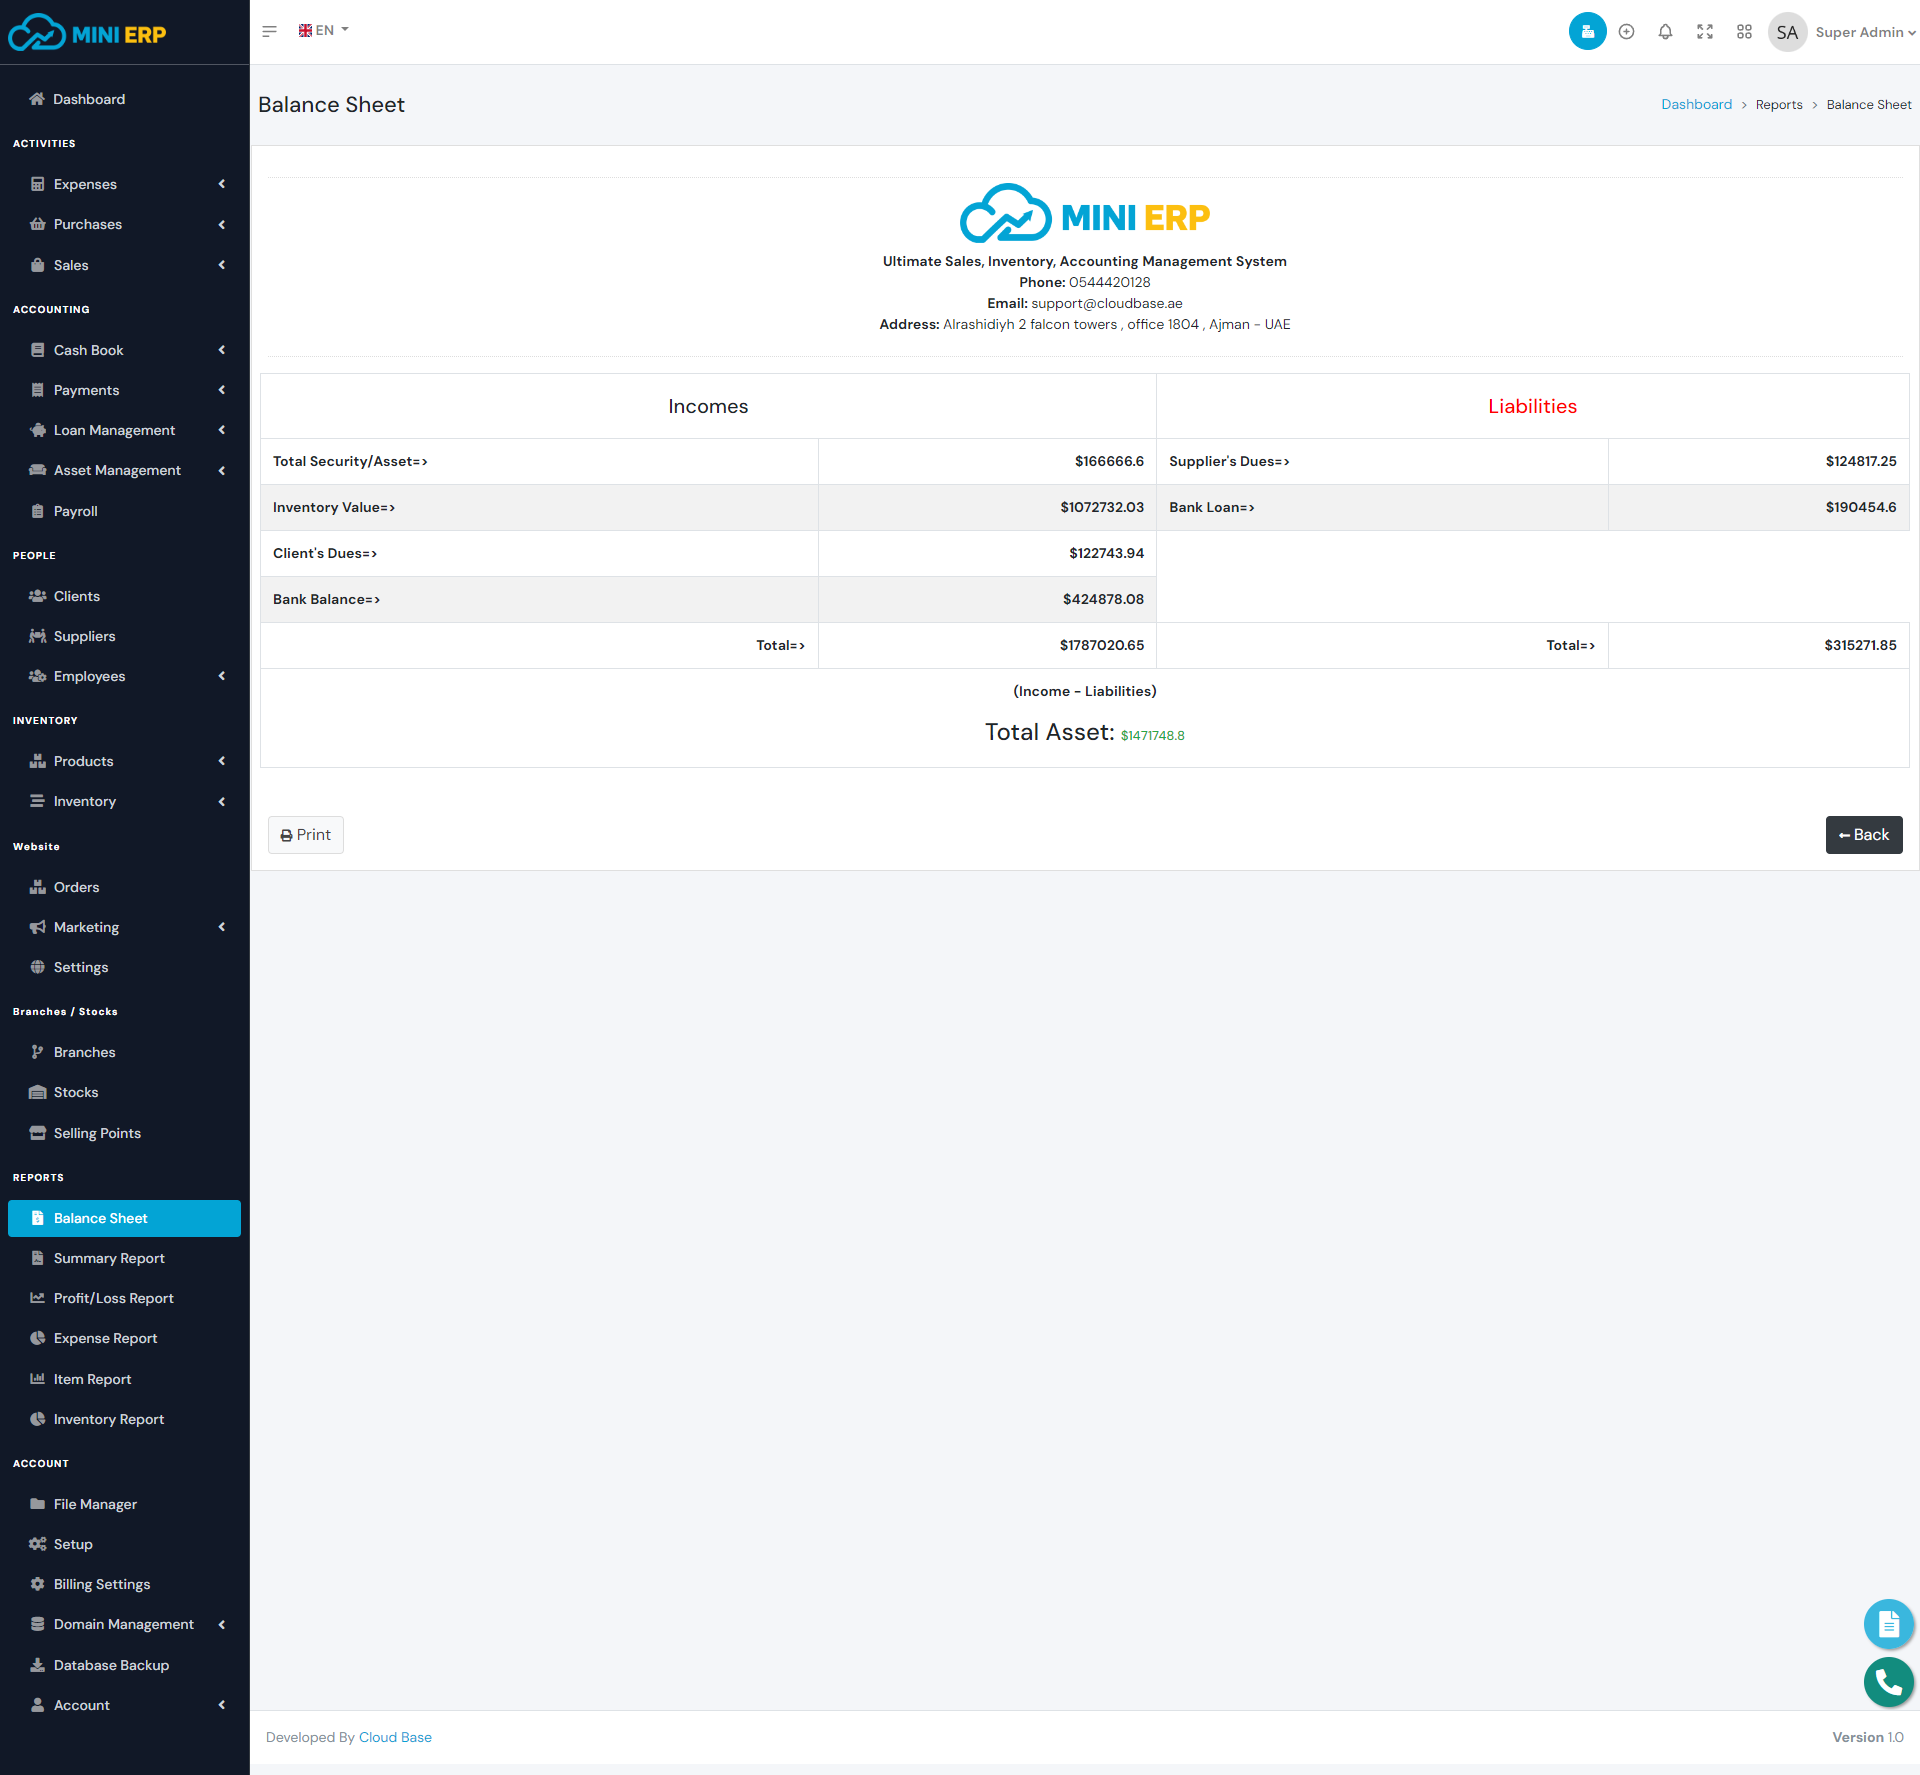
Balance Sheet report shows you the current summary of your business. In the Incomes section(on the left side) you will see the value of your total docs, inventory, client dues, and available account balances whereas in the Liabilities column you will see supplier dues, and bank loan amount. The Balance Sheet will update automatically based on your activities and transactions.
Summary Report
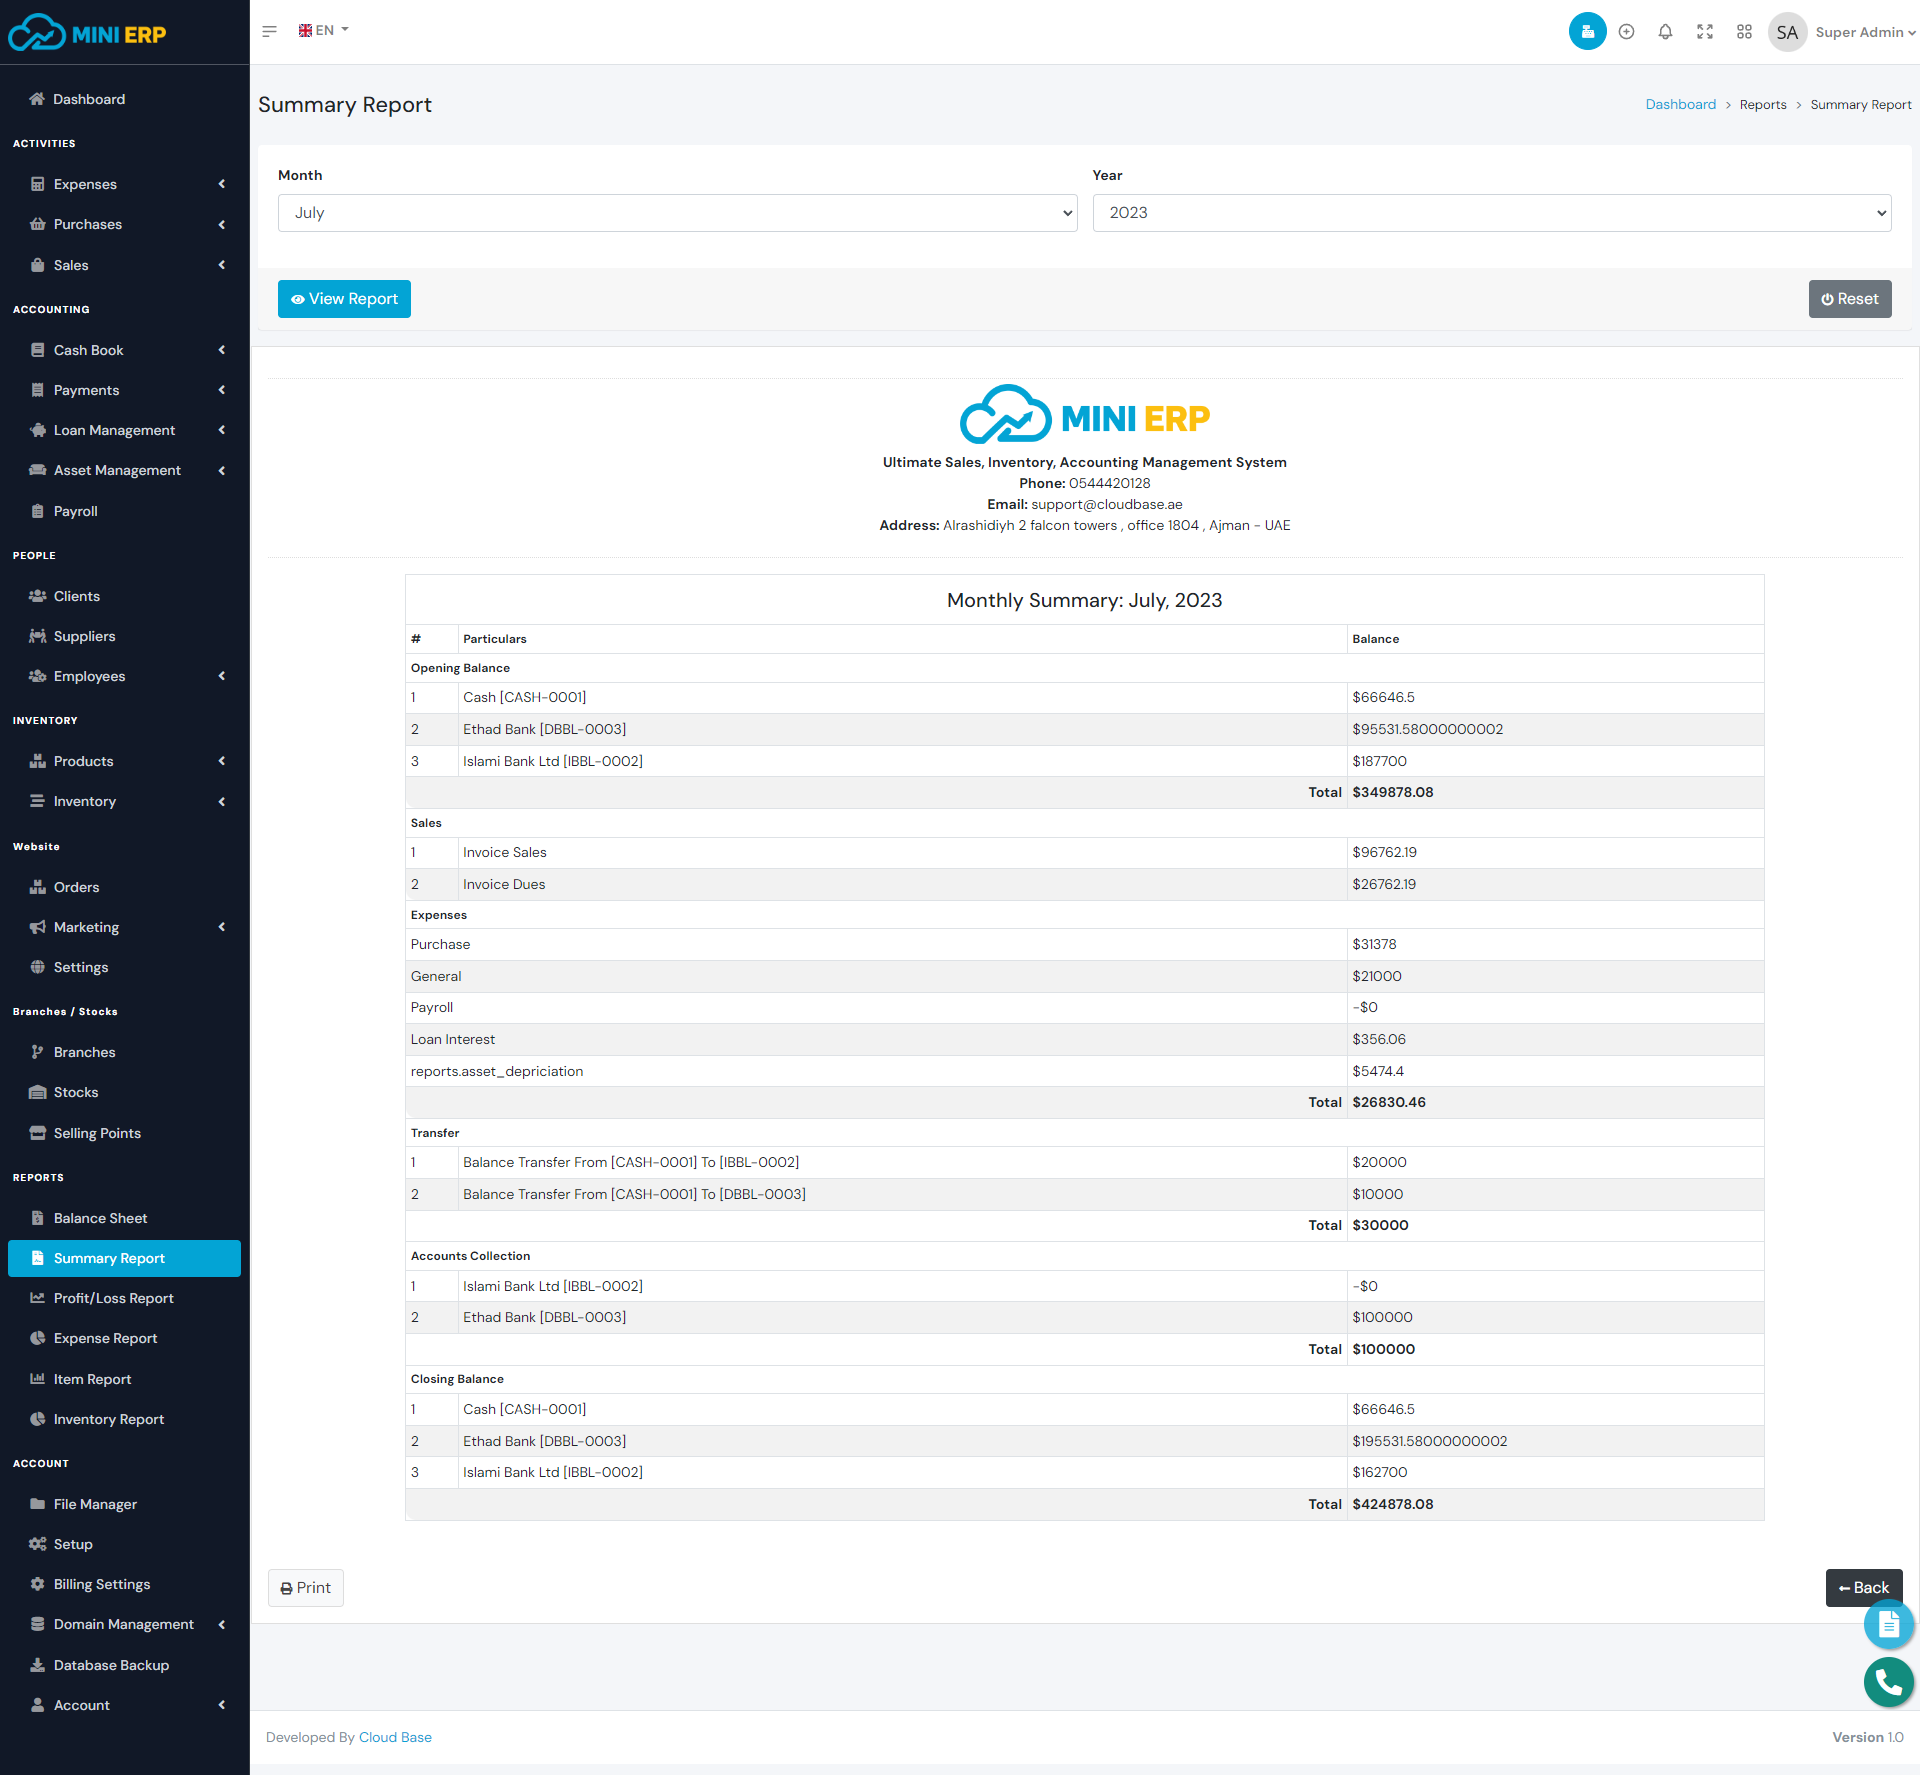
Summary Report report shows you the current activities of your business for a selected month and year. You can select the month and year to see a specific monthly summary report. The summary report will give you information about Opening Balance, Sales, Accounts Collection, Expenses, Transfer, and Closing Balance.
Profit/Loss Report
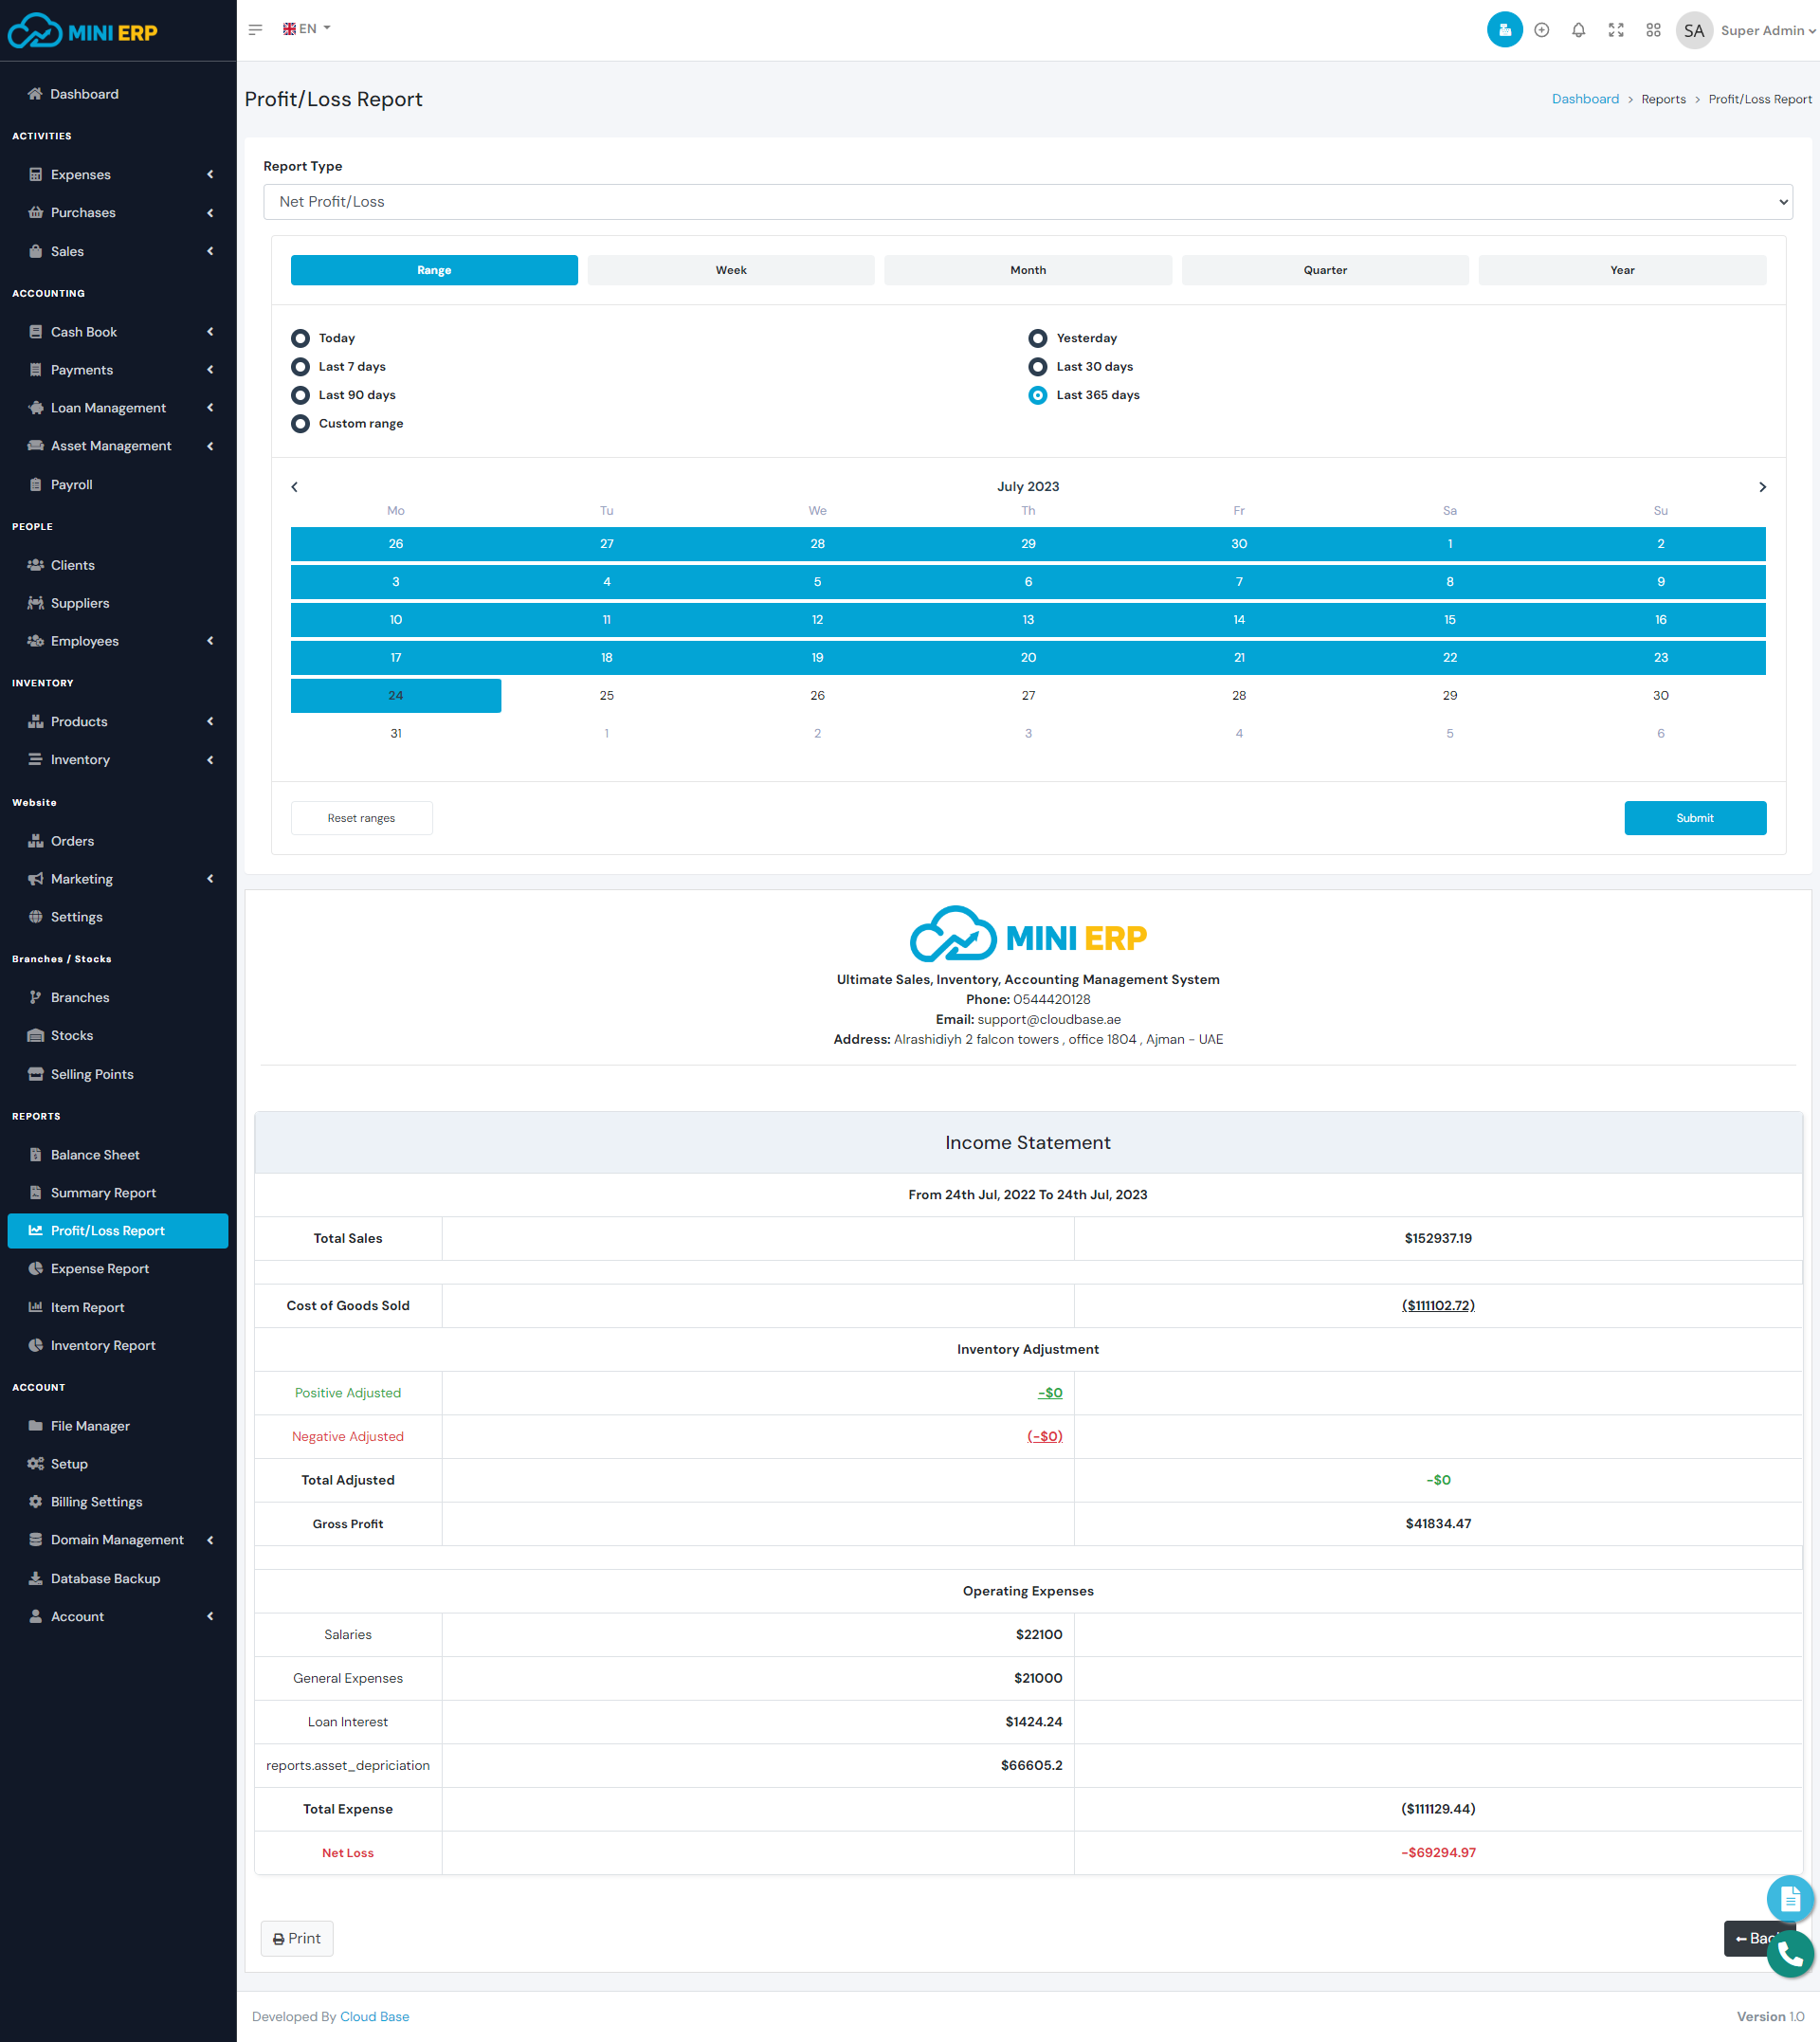
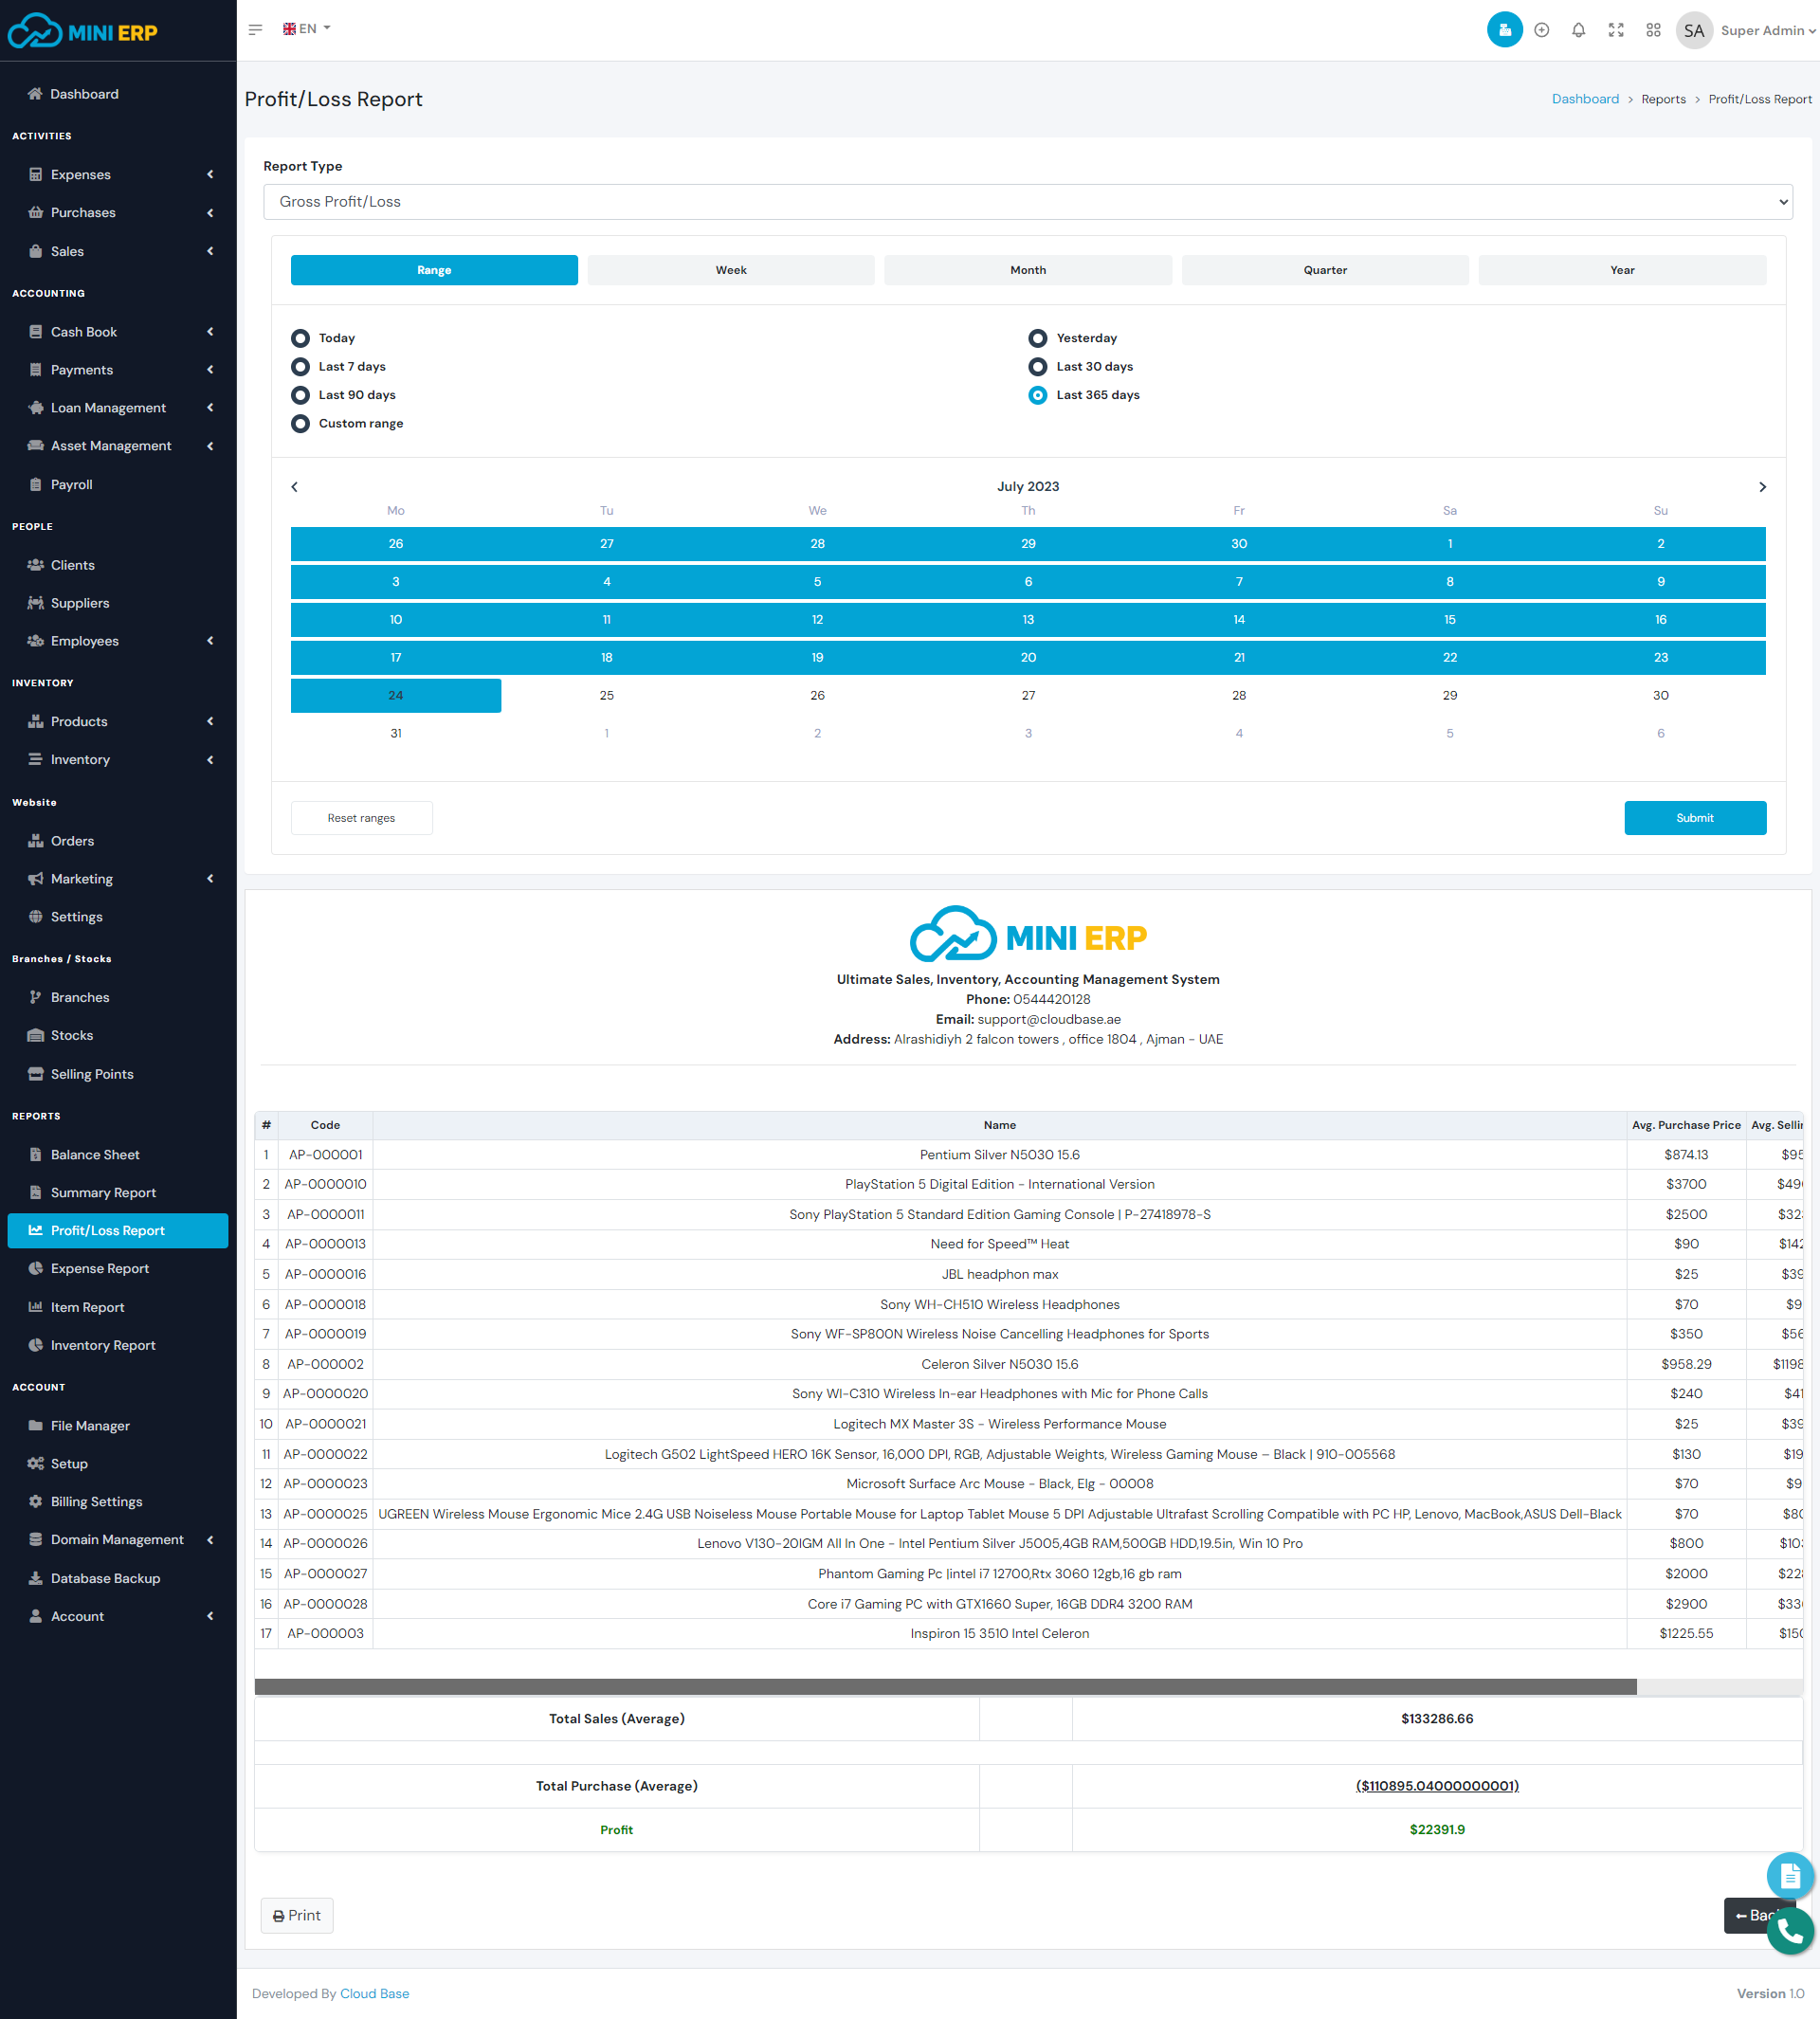
Profit/Loss Report shows you the gross and net Profit or Loss information for a selected date range. Gross profit/loss shows the profit/loss for each product whereas Net profit/loss shows you the total profit or loss for the selected date range. If you want to see the Net profit/loss then you need to select the Net Profit/Loss from the select option.
Expense Report
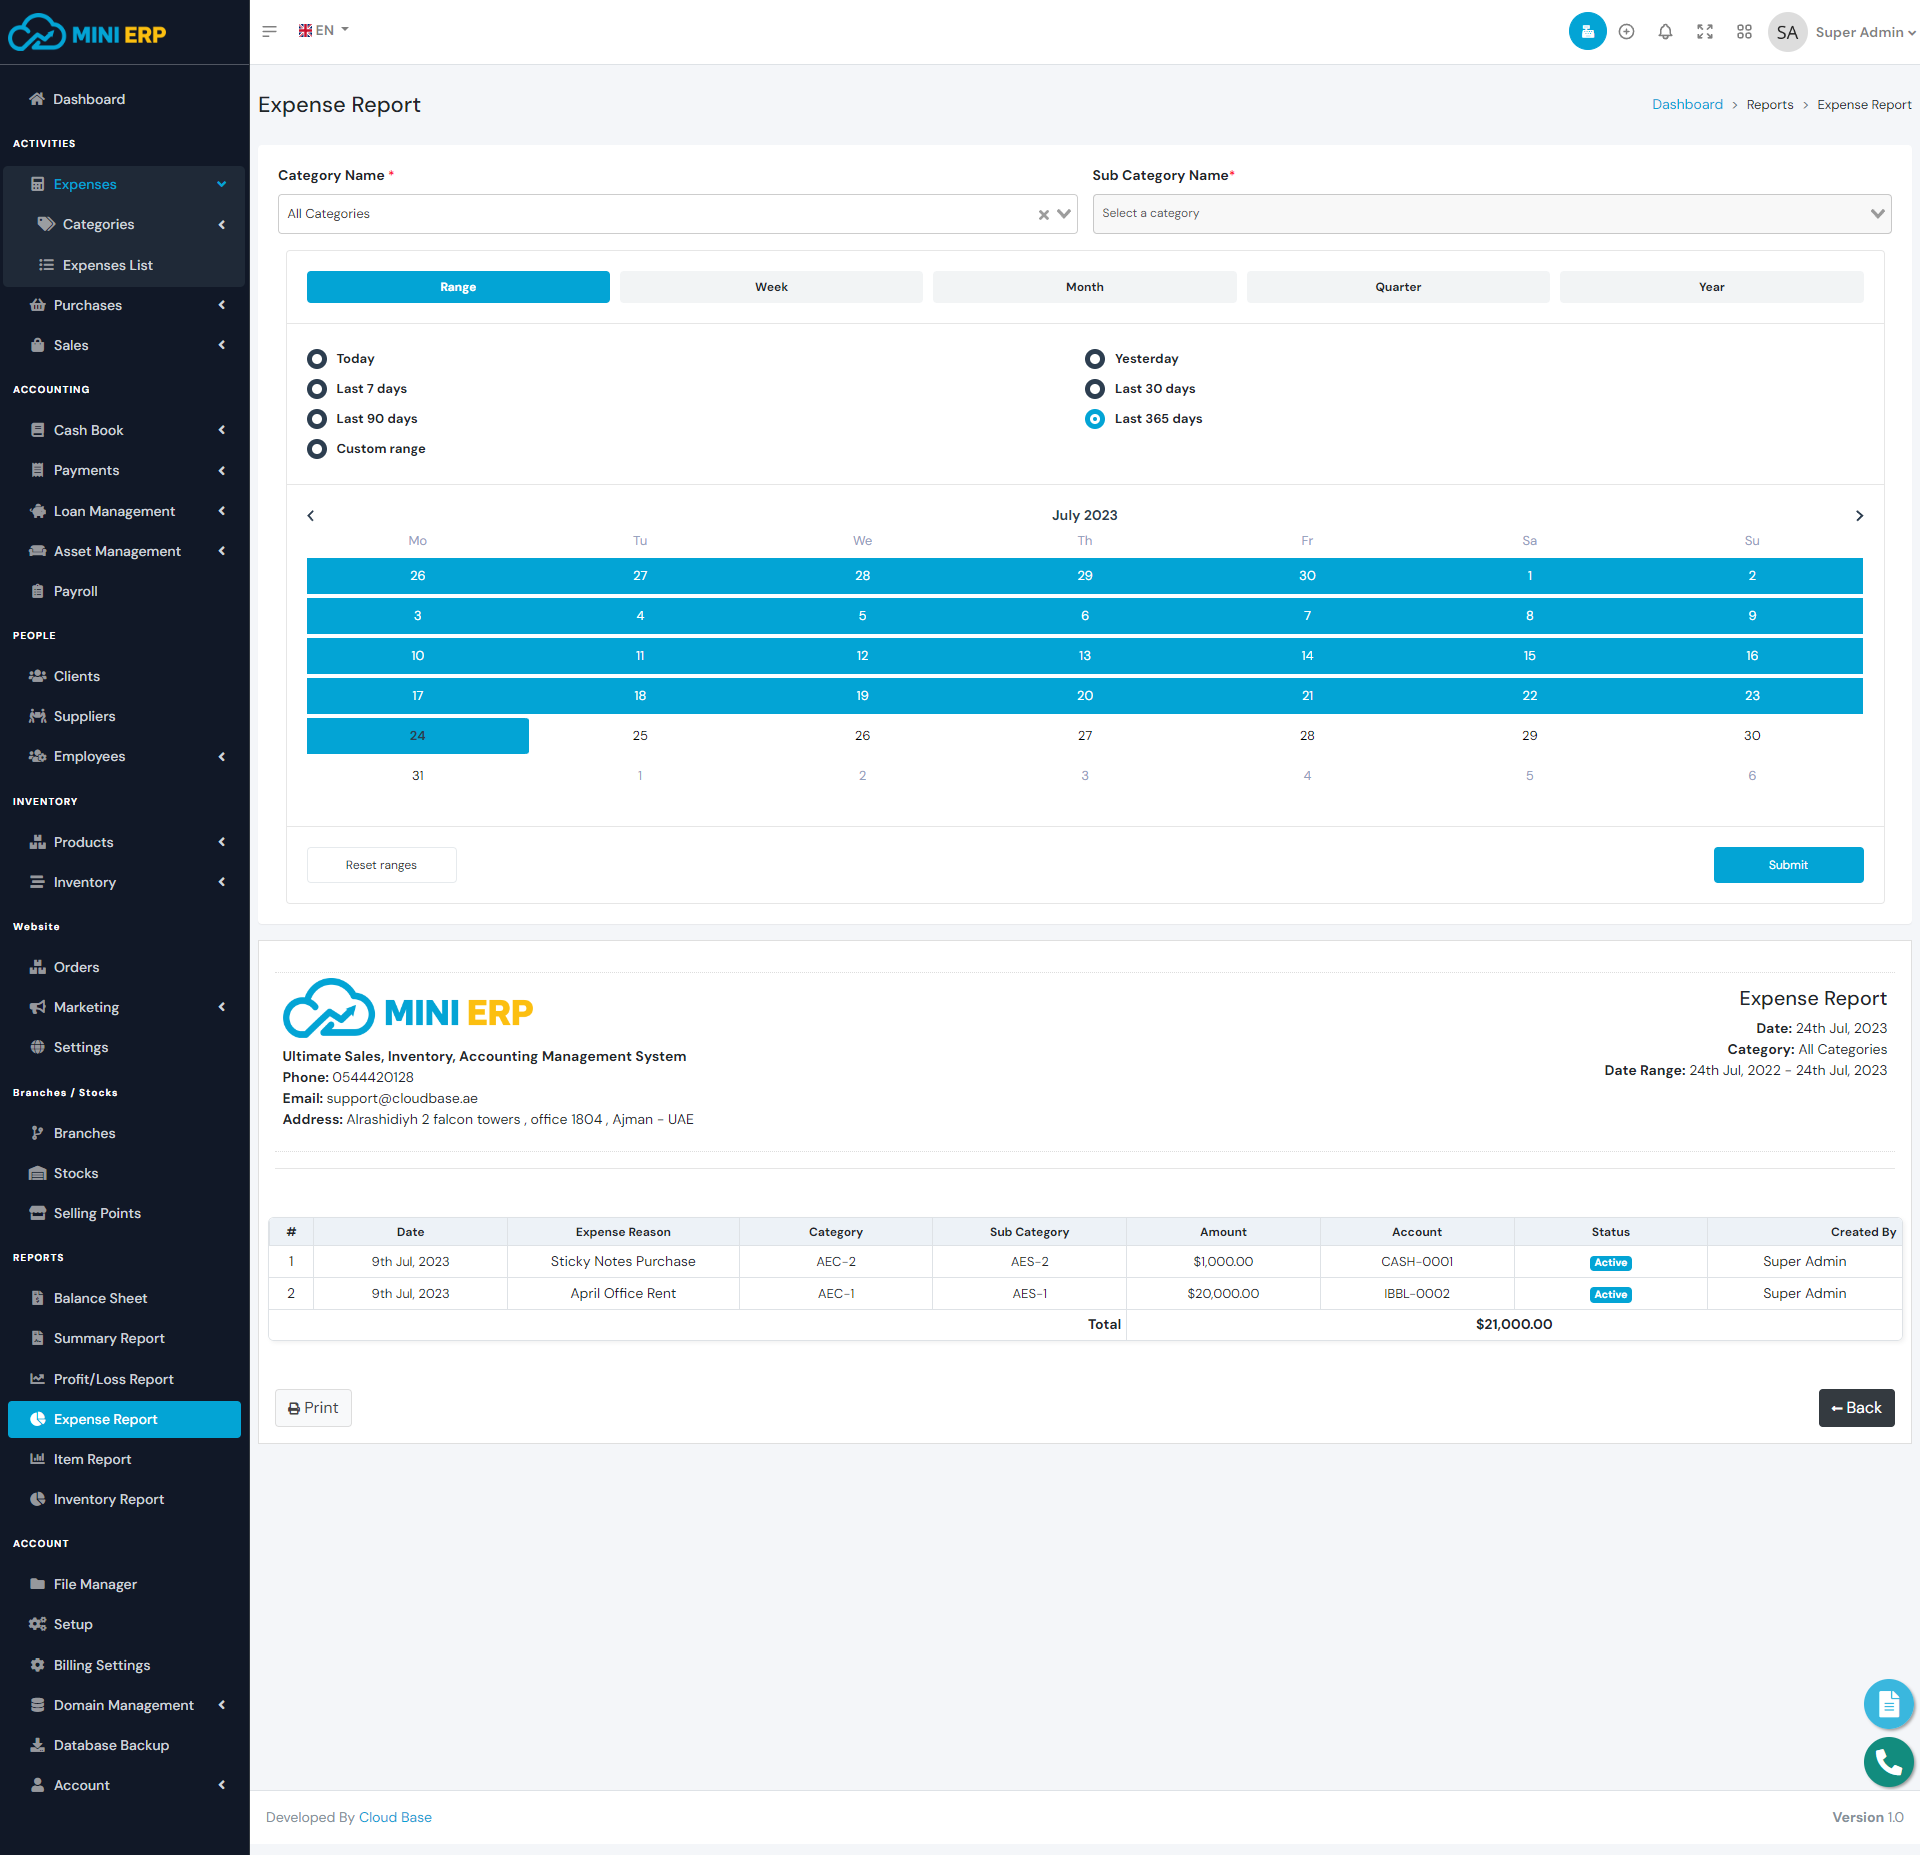
Expense Report shows you the expenses for a selected date range. You can see the specific category and sub-category expenses by selecting the category and sub-category.
Item Report
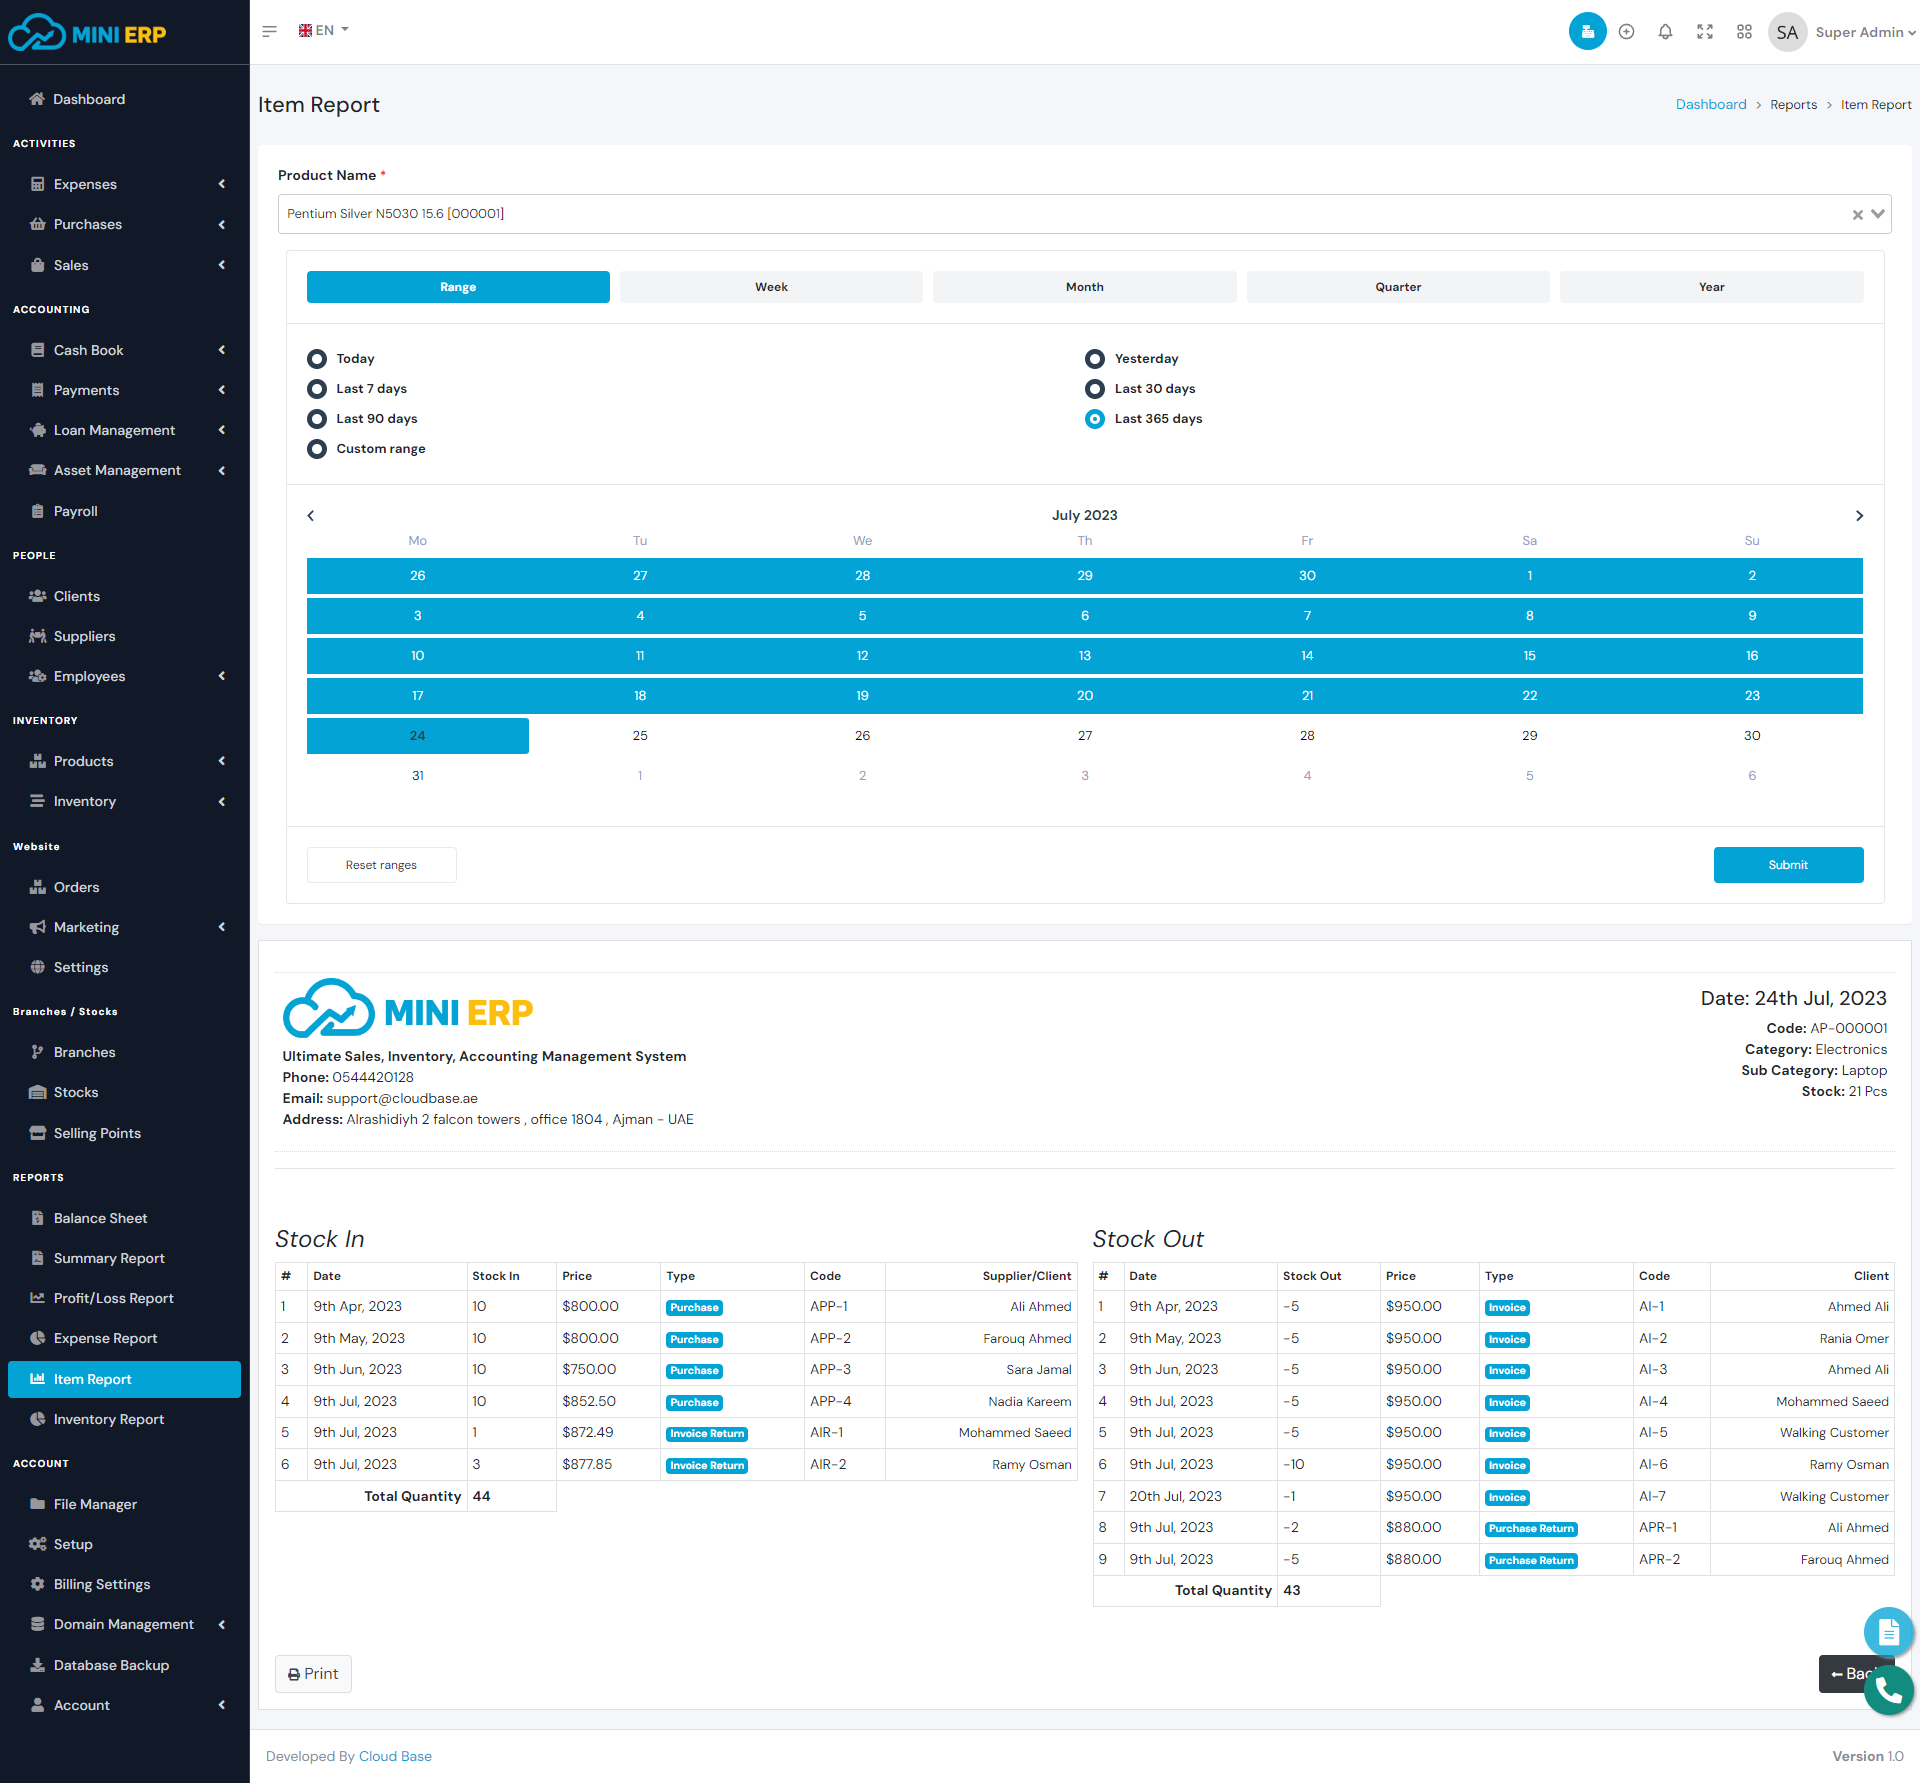
Item Report report shows you the stock in and stock out information for a selected product and date range. You can select any product and date range to see the report.
Inventory Report
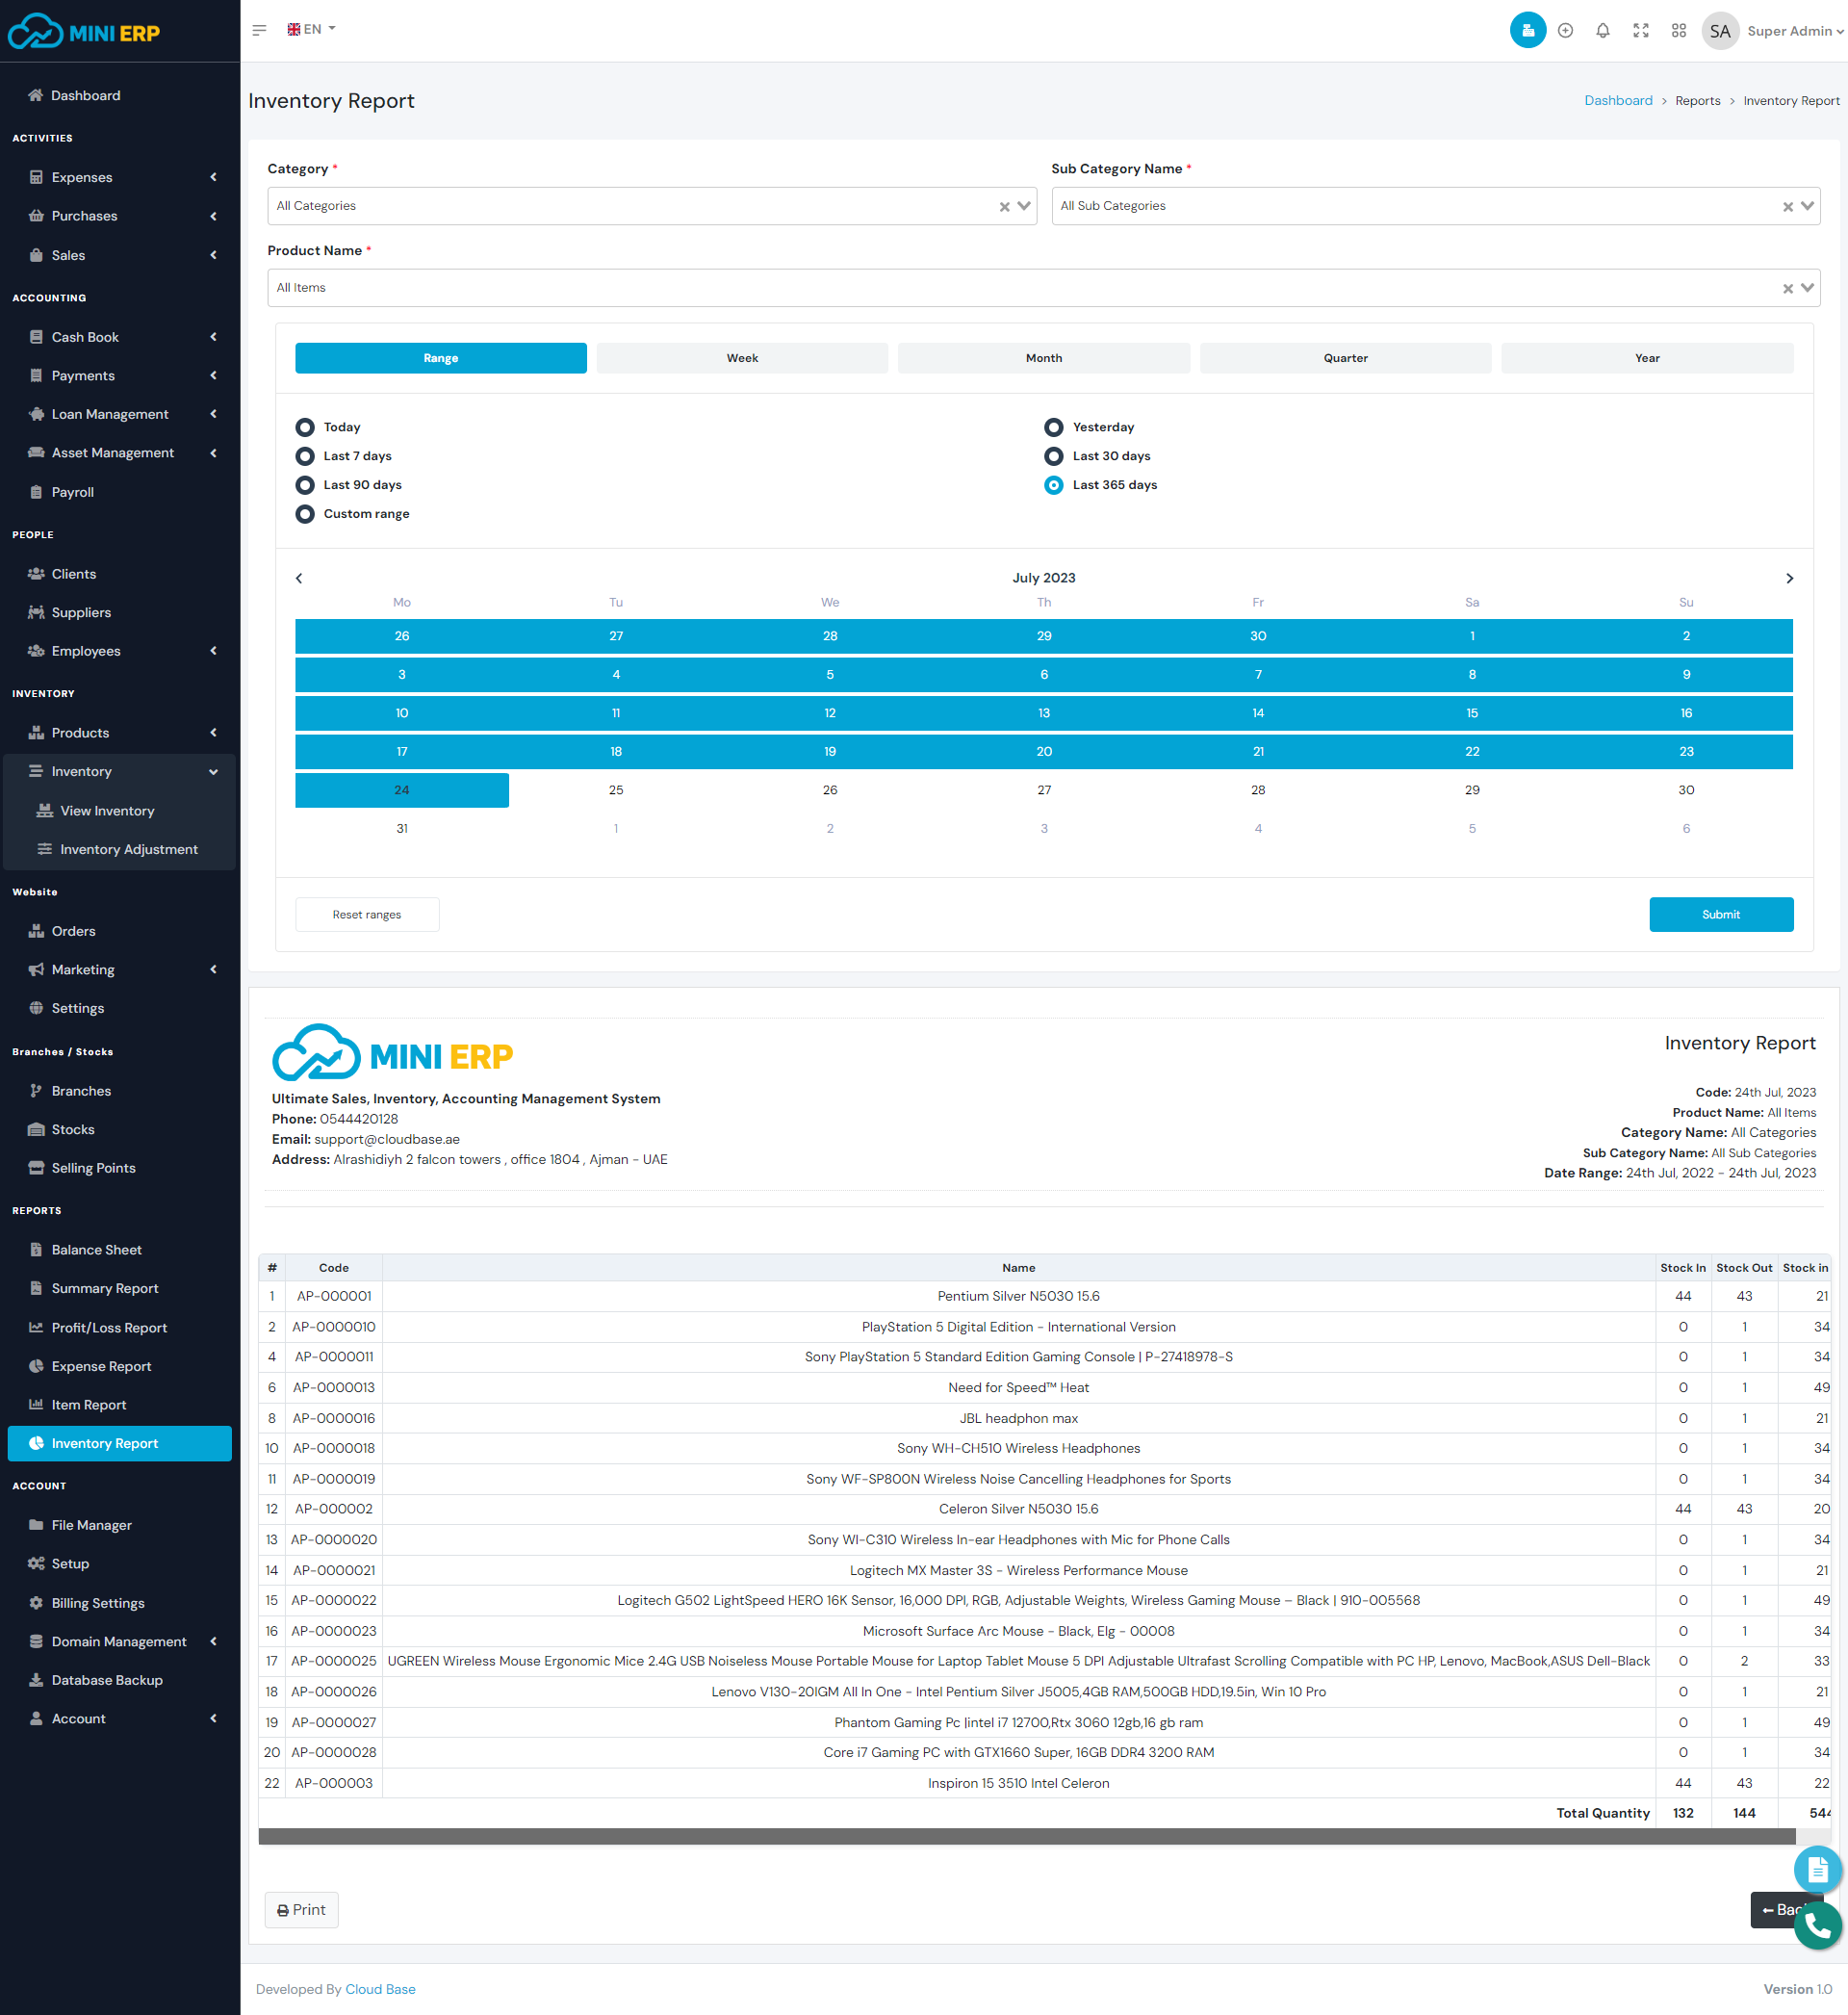
Inventory Report Report shows you the Stock In, Stock Out information for a selected date range. You can see the specific category and sub-category product inventory report by selecting the category and sub-category. In order to see the inventory report please select category, sub category, product, and date range properly.
File Manager
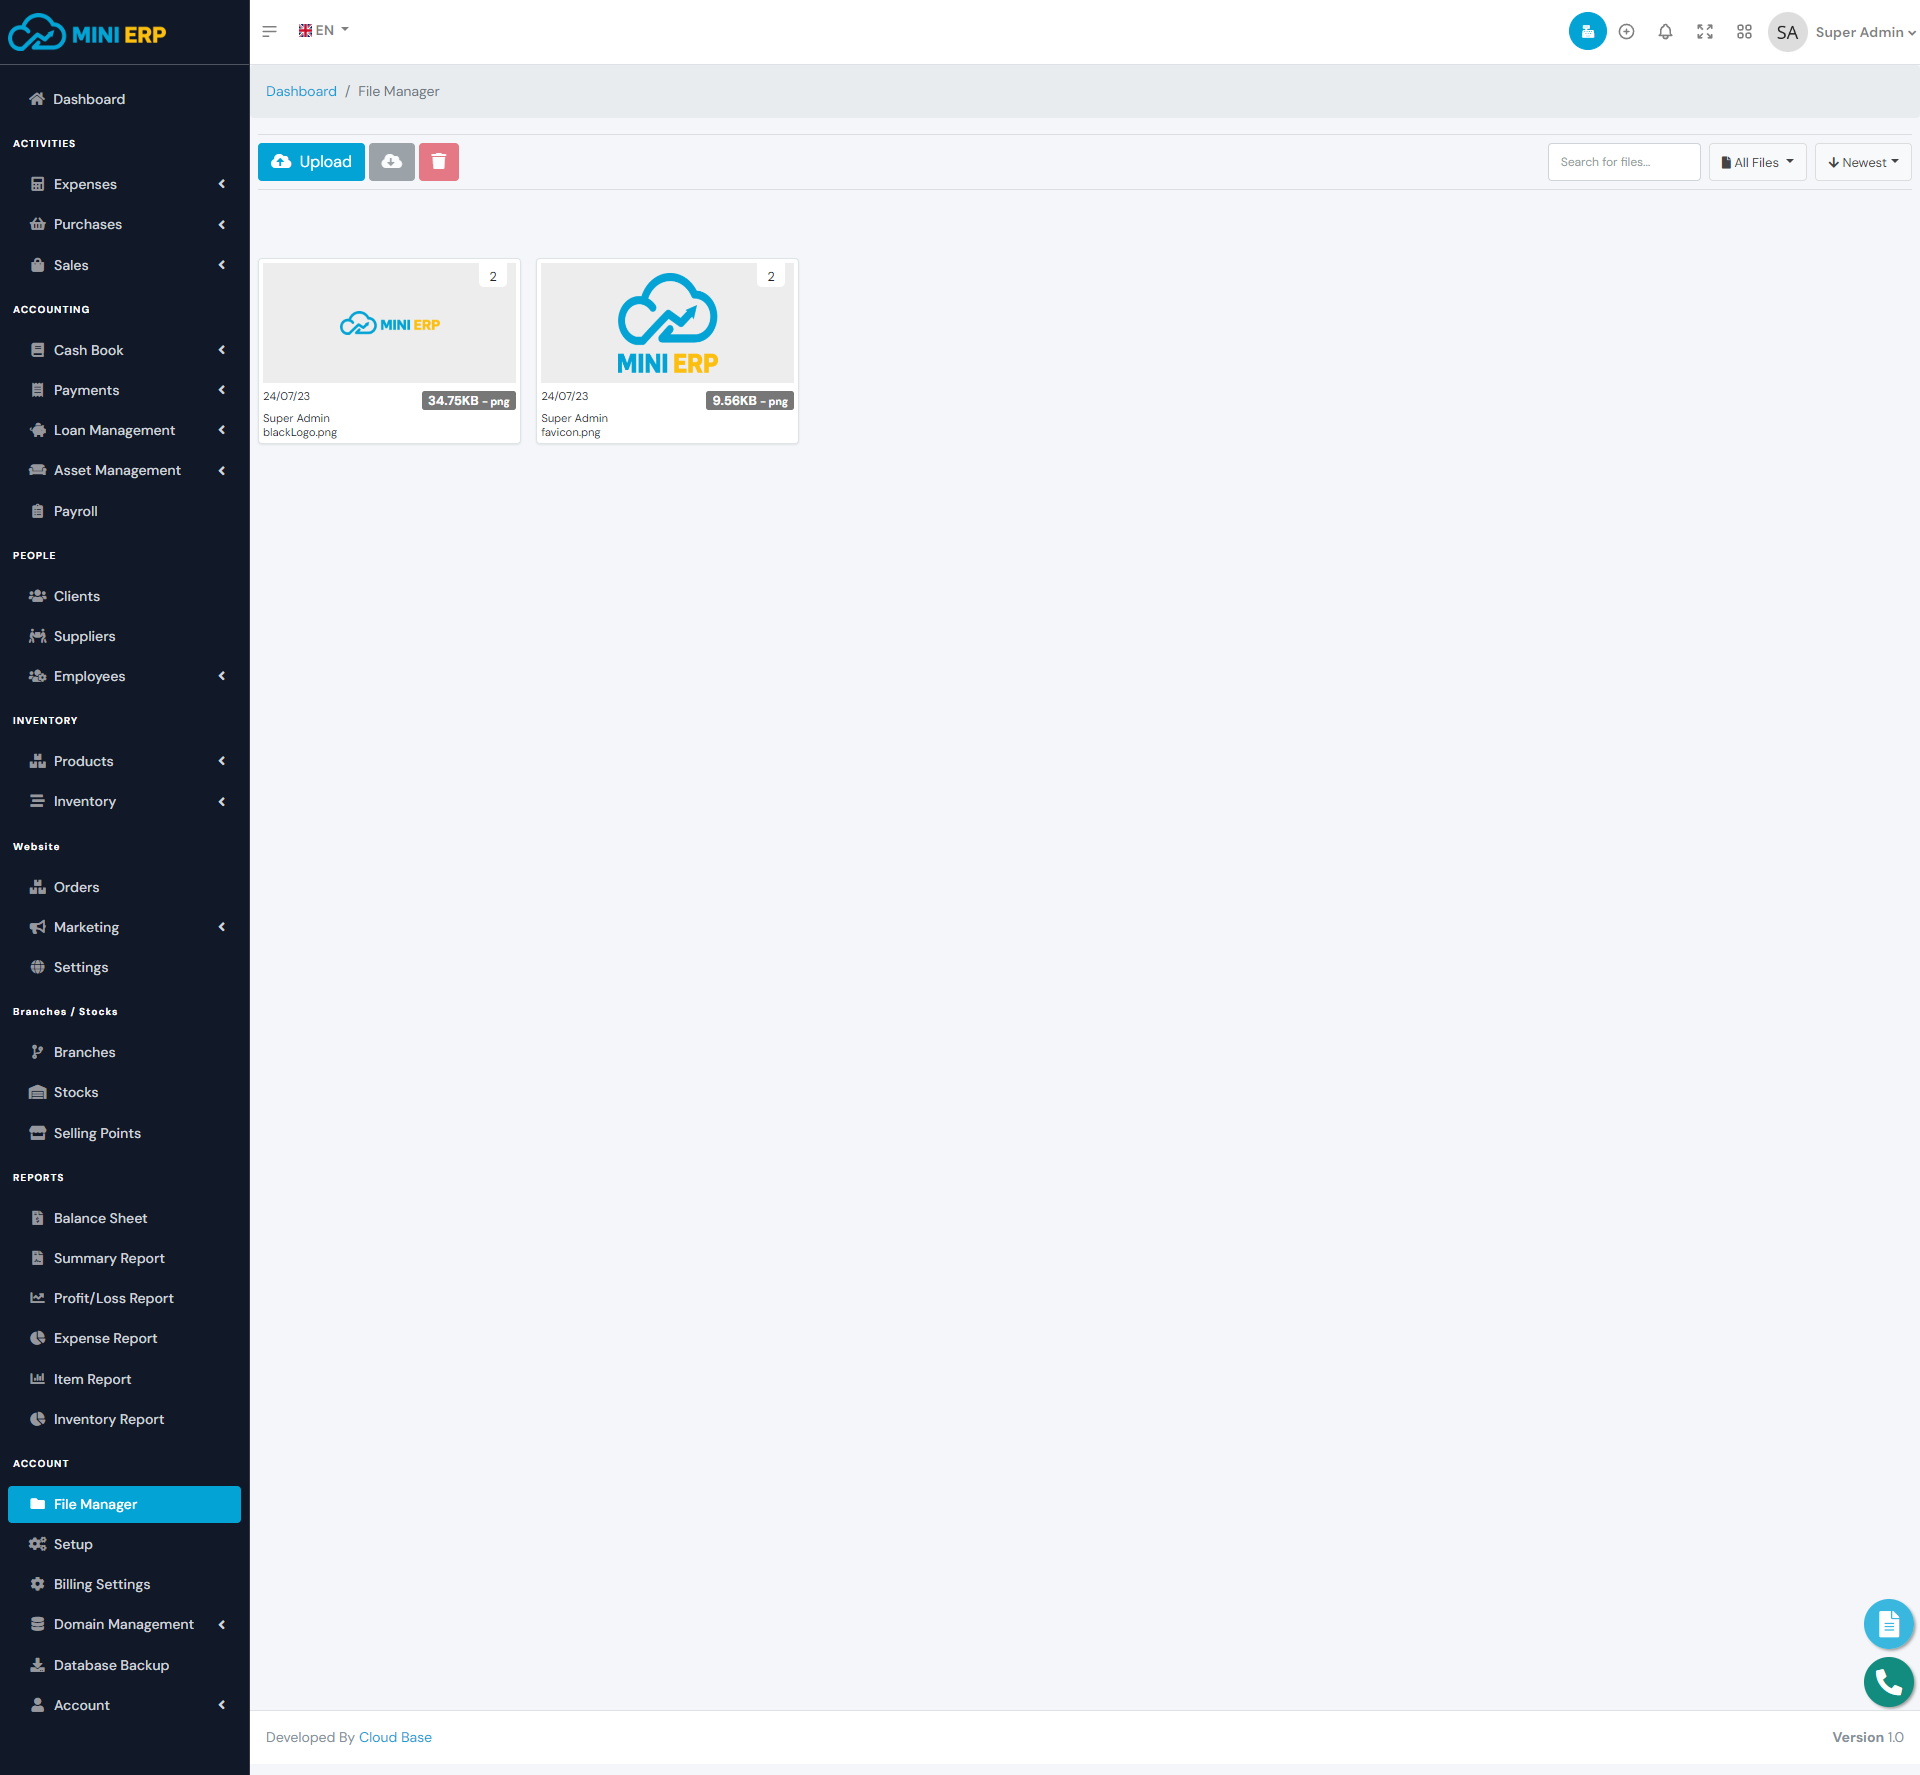
It is a module that allows you to efficiently organize and manage files, including images and text files, in a centralized location. This enables you to have complete control over all your files from a single, user-friendly interface.
| Required fields to upload file |
|---|
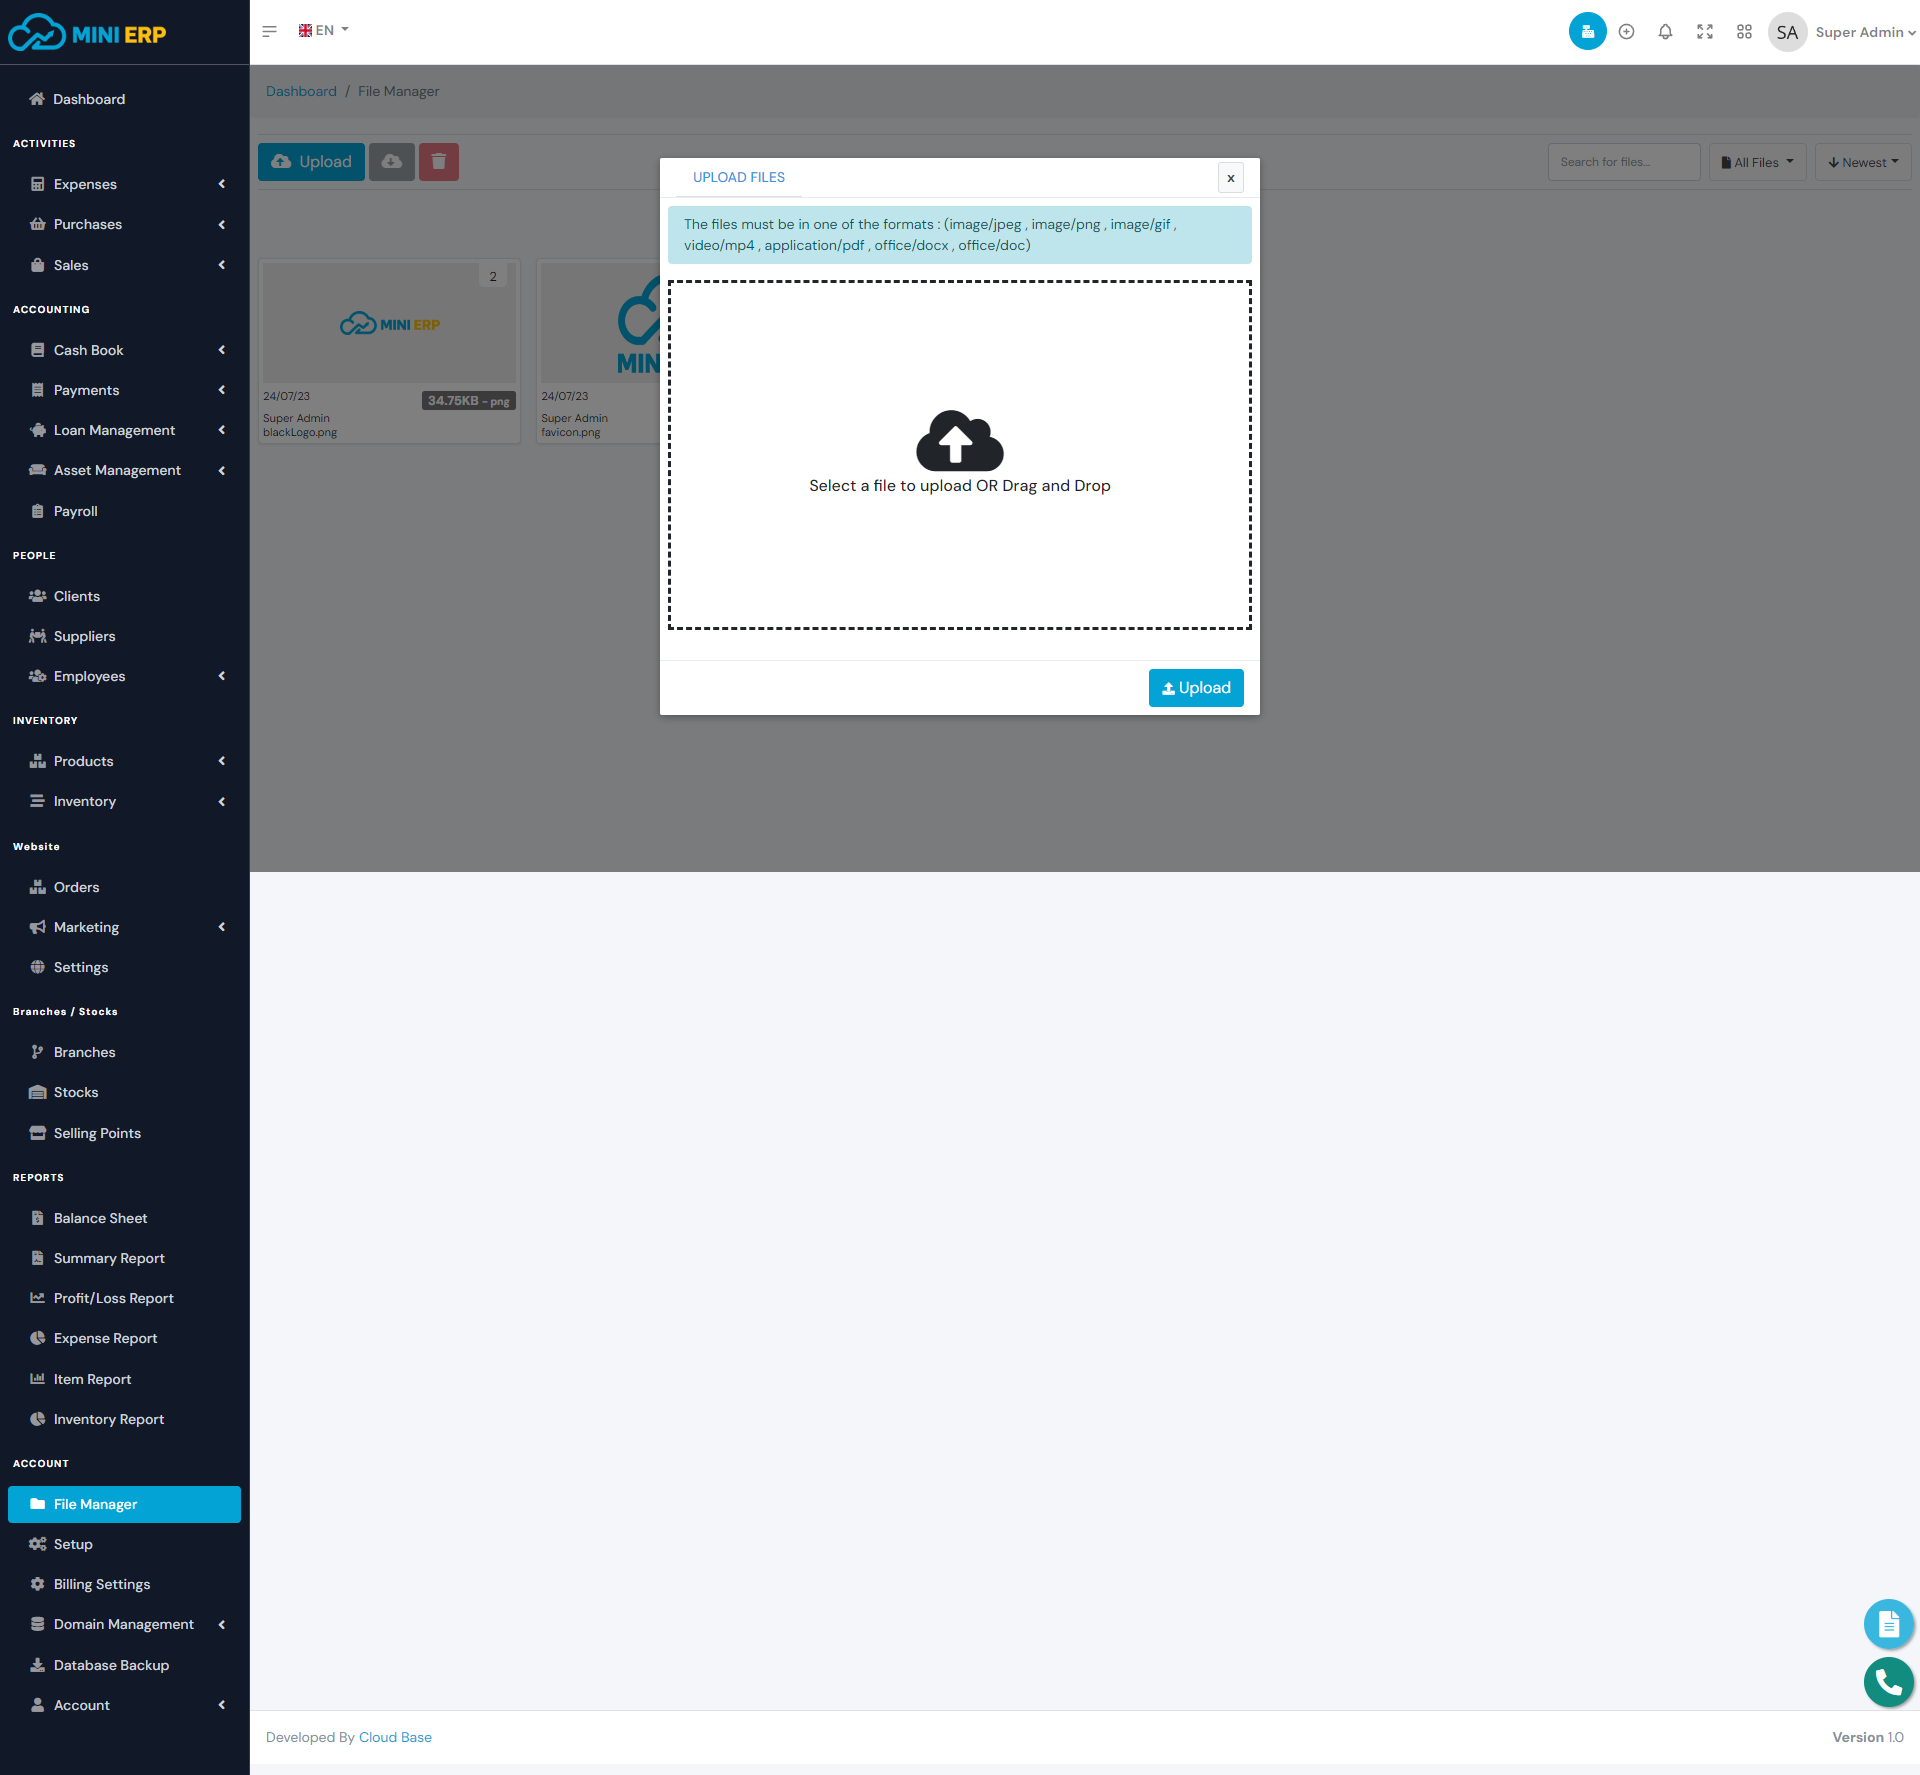
| File => The files to be uploaded must adhere to specific formats, which include (image/jpeg, image/png, image/gif, video/mp4, application/pdf, office/docx, office/doc). It is important to ensure that any file uploaded is in one of these supported formats to ensure smooth processing and compatibility with the system. |
Setup
After the successful installation, you need to set up basic things in order to run the system properly. The setup page contains the page links to General settings, Roles & Permissions, Currencies, Units, VAT Rates, Brands, and Payment Methods. You need to add Roles & Permissions, Units, VAT Rates, and Brands for running the real-time system.

General Settings:
From this page, the site system owner can change the settings of the system. For more details check
the below screenshot and descriptions.

Note: Red star marked fields are required and you can't leave them empty.
You need to enter the following information for system setup.
| Company Name => Enter the name of your company. Please keep it max 30 characters. It will be dispalyed in the front page. |
| Compnay Tagline => Tagline of the system. Please keep it max 80 characters. |
| Email Address => Company email address. The email address will be use in the invoice page. |
| Phone Number => Company phone number. The phone number will be use in the invoice page. |
| Address => Company address. The address will be use in the invoice page. |
| Client Prefix => The prefix of your client number. The prefix will show before the number and the number will increase by 1 automatically. You can use can word. Max 10 characters. |
| Supplier Prefix => The prefix of your supplier number. The prefix will show before the number and the number will increase by 1 automatically. You can use can word. Max 10 characters. |
| Employee Prefix => The prefix of your employee number. The prefix will show before the number and the number will increase by 1 automatically. You can use can word. Max 10 characters. |
| Product Category Prefix => The prefix of your product category number. The prefix will show before the number and the number will increase by 1 automatically. You can use can word. Max 10 characters. |
| Product Sub Category Prefix => The prefix of your product sub category number. The prefix will show before the number and the number will increase by 1 automatically. You can use can word. Max 10 characters. |
| Product Prefix => The prefix of your product number. The prefix will show before the number and the number will increase by 1 automatically. You can use can word. Max 10 characters. |
| Expense Category Prefix => The prefix of your expense category number. The prefix will show before the number and the number will increase by 1 automatically. You can use can word. Max 10 characters. |
| Expense Sub Category Prefix => The prefix of your expense sub category number. The prefix will show before the number and the number will increase by 1 automatically. You can use can word. Max 10 characters. |
| Purchase Prefix => The prefix of your purchase number. The prefix will show before the number and the number will increase by 1 automatically. You can use can word. Max 10 characters. |
| Purchase Return Prefix => The prefix of your purchase return number. The prefix will show before the number and the number will increase by 1 automatically. You can use can word. Max 10 characters. |
| Quotation Prefix => The prefix of your quotation number. The prefix will show before the number and the number will increase by 1 automatically. You can use can word. Max 10 characters. |
| Invoice Prefix => The prefix of your invoice number. The prefix will show before the number and the number will increase by 1 automatically. You can use can word. Max 10 characters. |
| Invoice Return Prefix => The prefix of your invoice return number. The prefix will show before the number and the number will increase by 1 automatically. You can use can word. Max 10 characters. |
| Invoice Adjustment Prefix => The prefix of your invoice adjustment number. The prefix will show before the number and the number will increase by 1 automatically. You can use can word. Max 10 characters. |
| Default Currency => Default Currency of the system. Select a currency from the list. |
| Default Language => Default Language of the system. Select a language from the list. |
| Copyright Text => Copyright Text. You can enter any text. Max 255 characters. |
| White Logo => The logo will be displayed in the left sidebar on dark mode. We recommend you to use image size 160px X 40px |
| Black Logo => The logo will be displayed in the left sidebar on light mode. We recommend you to use image size 160px X 40px |
| Small Logo => The small Logo of the sytem. The logo will be displayed when you click on the toggle bar and toogle the navbar. We recommend you to use image size 40px X 40px |
| Favicon Icon => The icon that will be dispalyed on the browser tab. We recommend you to use image size 512px X 512px |
Other Settings:
The things that you need to know about Roles & Permissions, Currencies, Units, VAT Rates, Brands.
| Roles & Permissions |
|---|
| Roles & Permissions are related to employee authentication. You can create a role and assign necessary permissions for the role. Later you can assign the role to an employee. |
| Currencies |
|---|
| You can create single or multiple currencies and later you can select your default currency from the general settings option. The default currency is USD but you can change it to your currency. |
| Units |
|---|
| Units settings are related to the products. You must create at least one unit to create products. While creating a product you will be able to select a unit for the product. |
| VAT Rates |
|---|
| VAT Rates settings are related to the products, purchases, and sales. You must create at least one VAT Rate to run the system. If you don't want to use any VAT Rates then you may create a vat rate with a 0% rate and then use this rate for products, purchases, and sales. |
| Brands |
|---|
| Brands settings are related to the products. You must create at least one brand to create products. While creating a product you will be able to select a brand for the product. |
Billing Settings
The module comprises various subscription-related features, such as managing your current subscription, seamlessly switching between different subscriptions, making subscription payments, and accessing past invoices for reference. These functionalities offer users a convenient and comprehensive system to handle their subscription requirements efficiently.
Domain Management
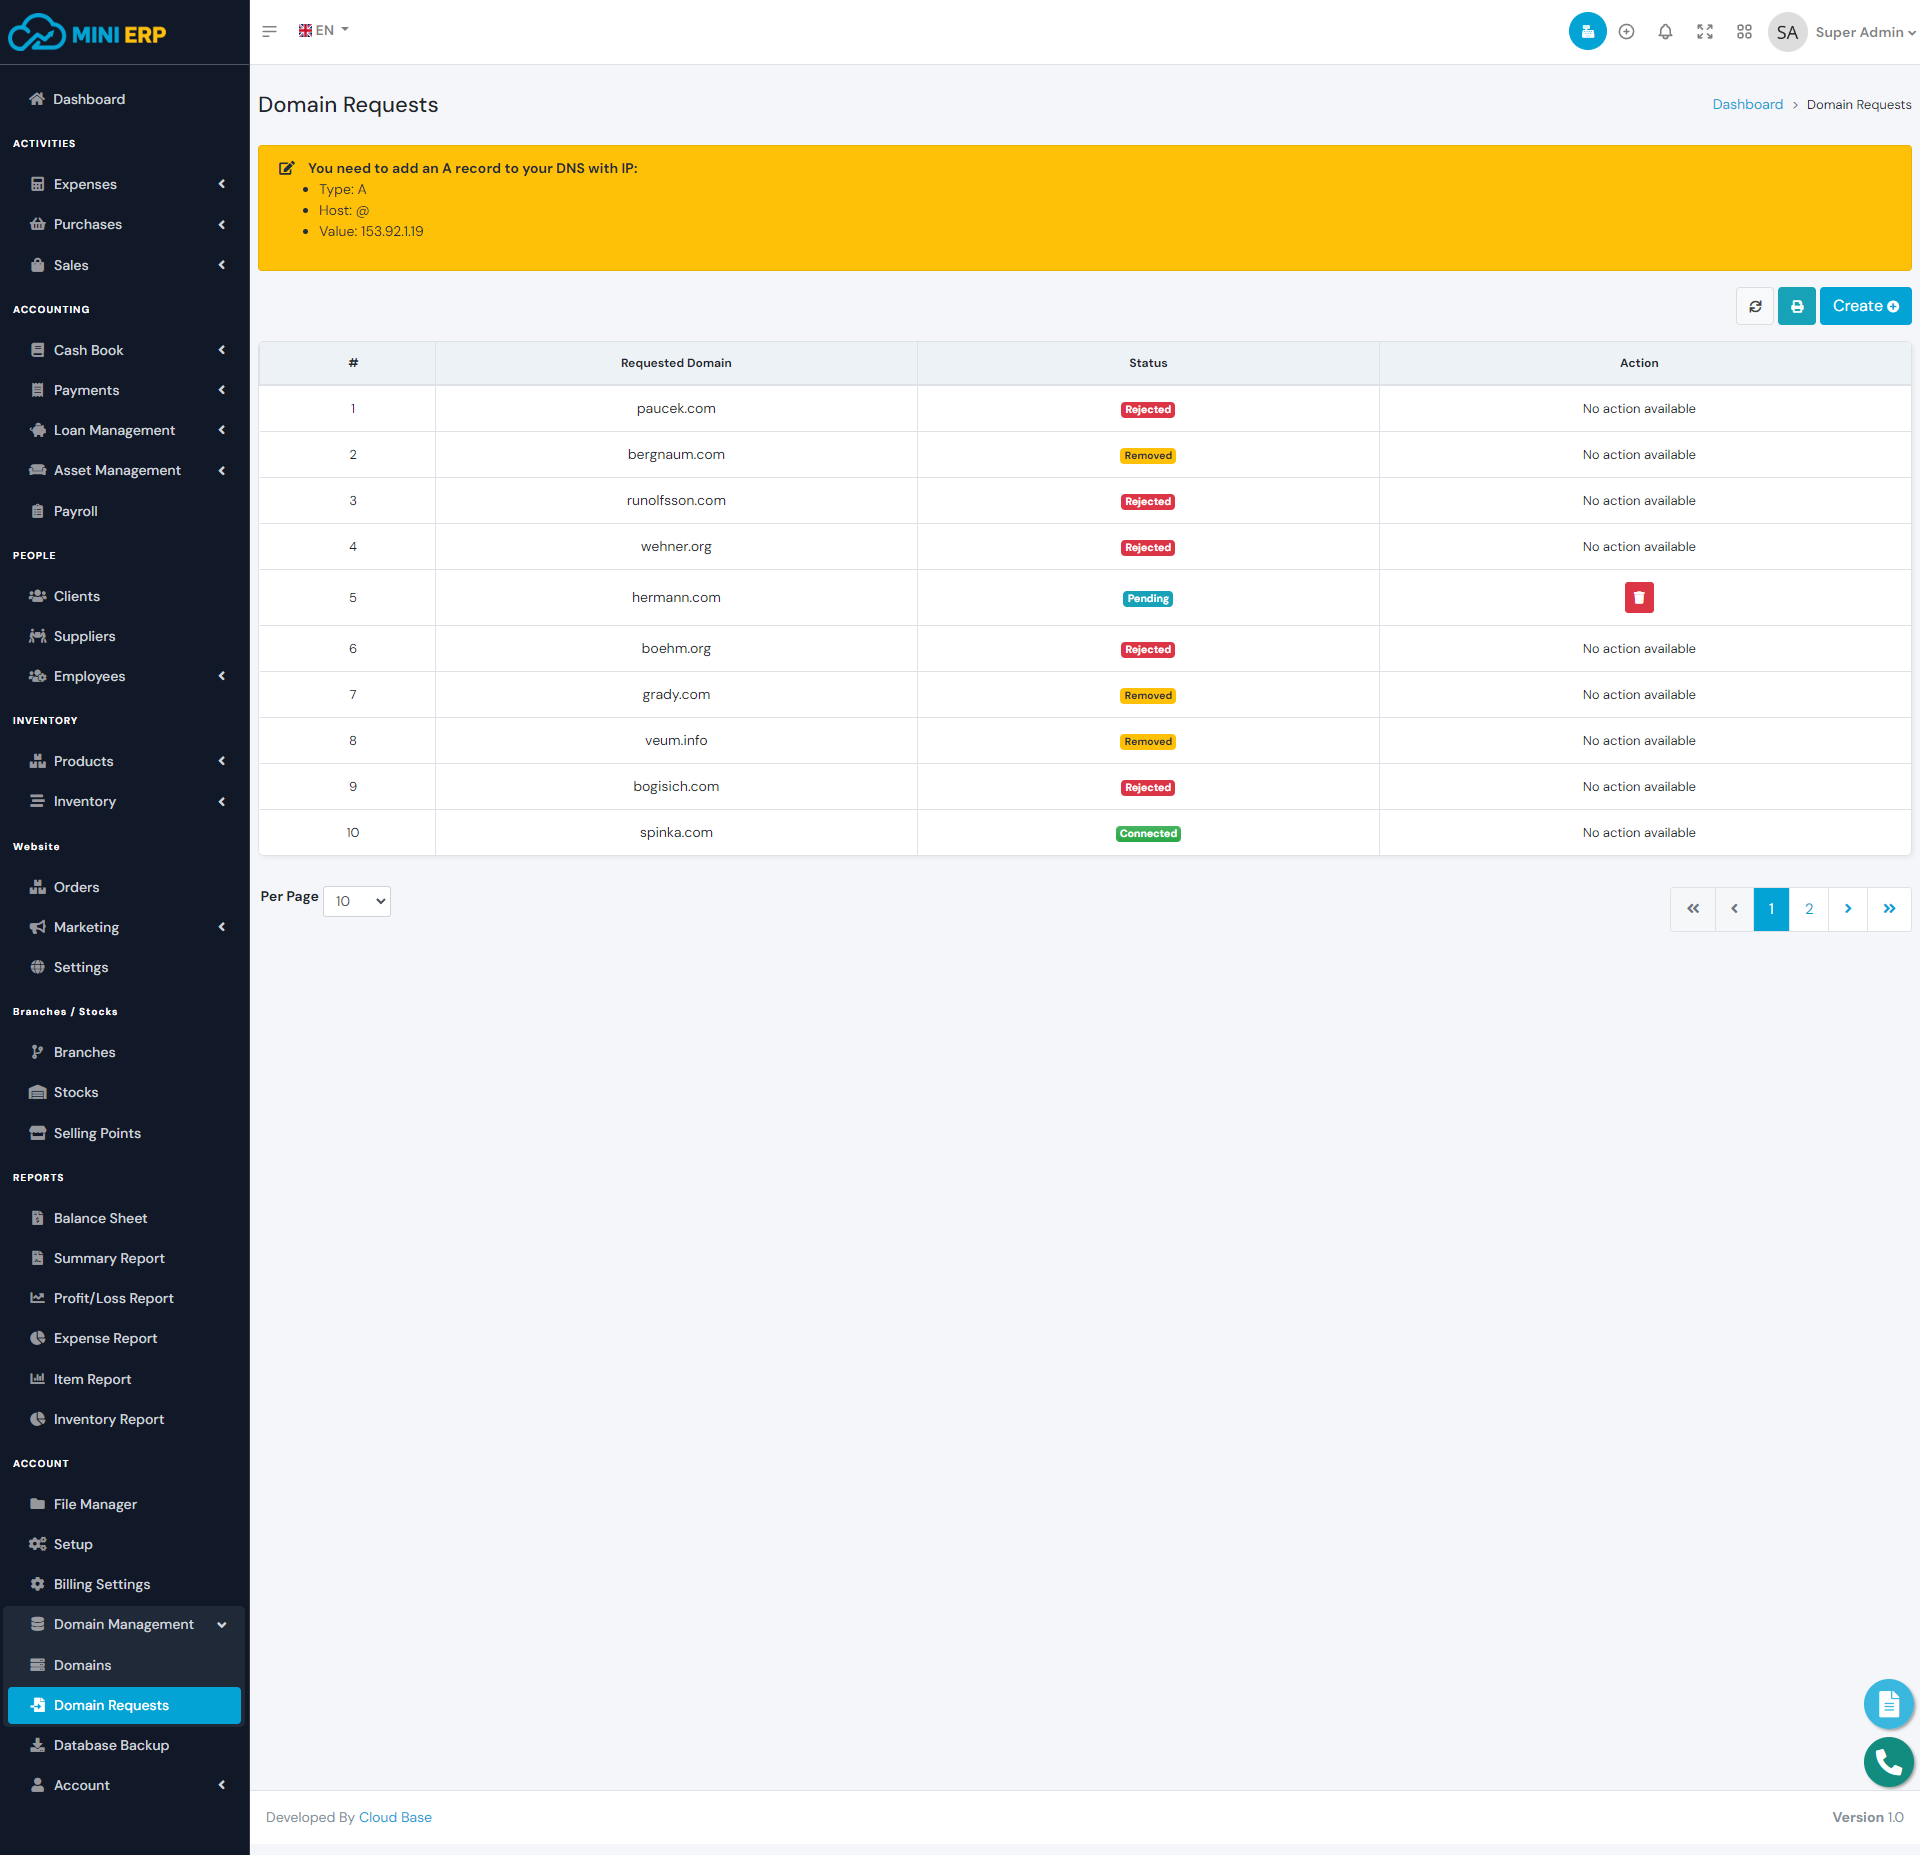
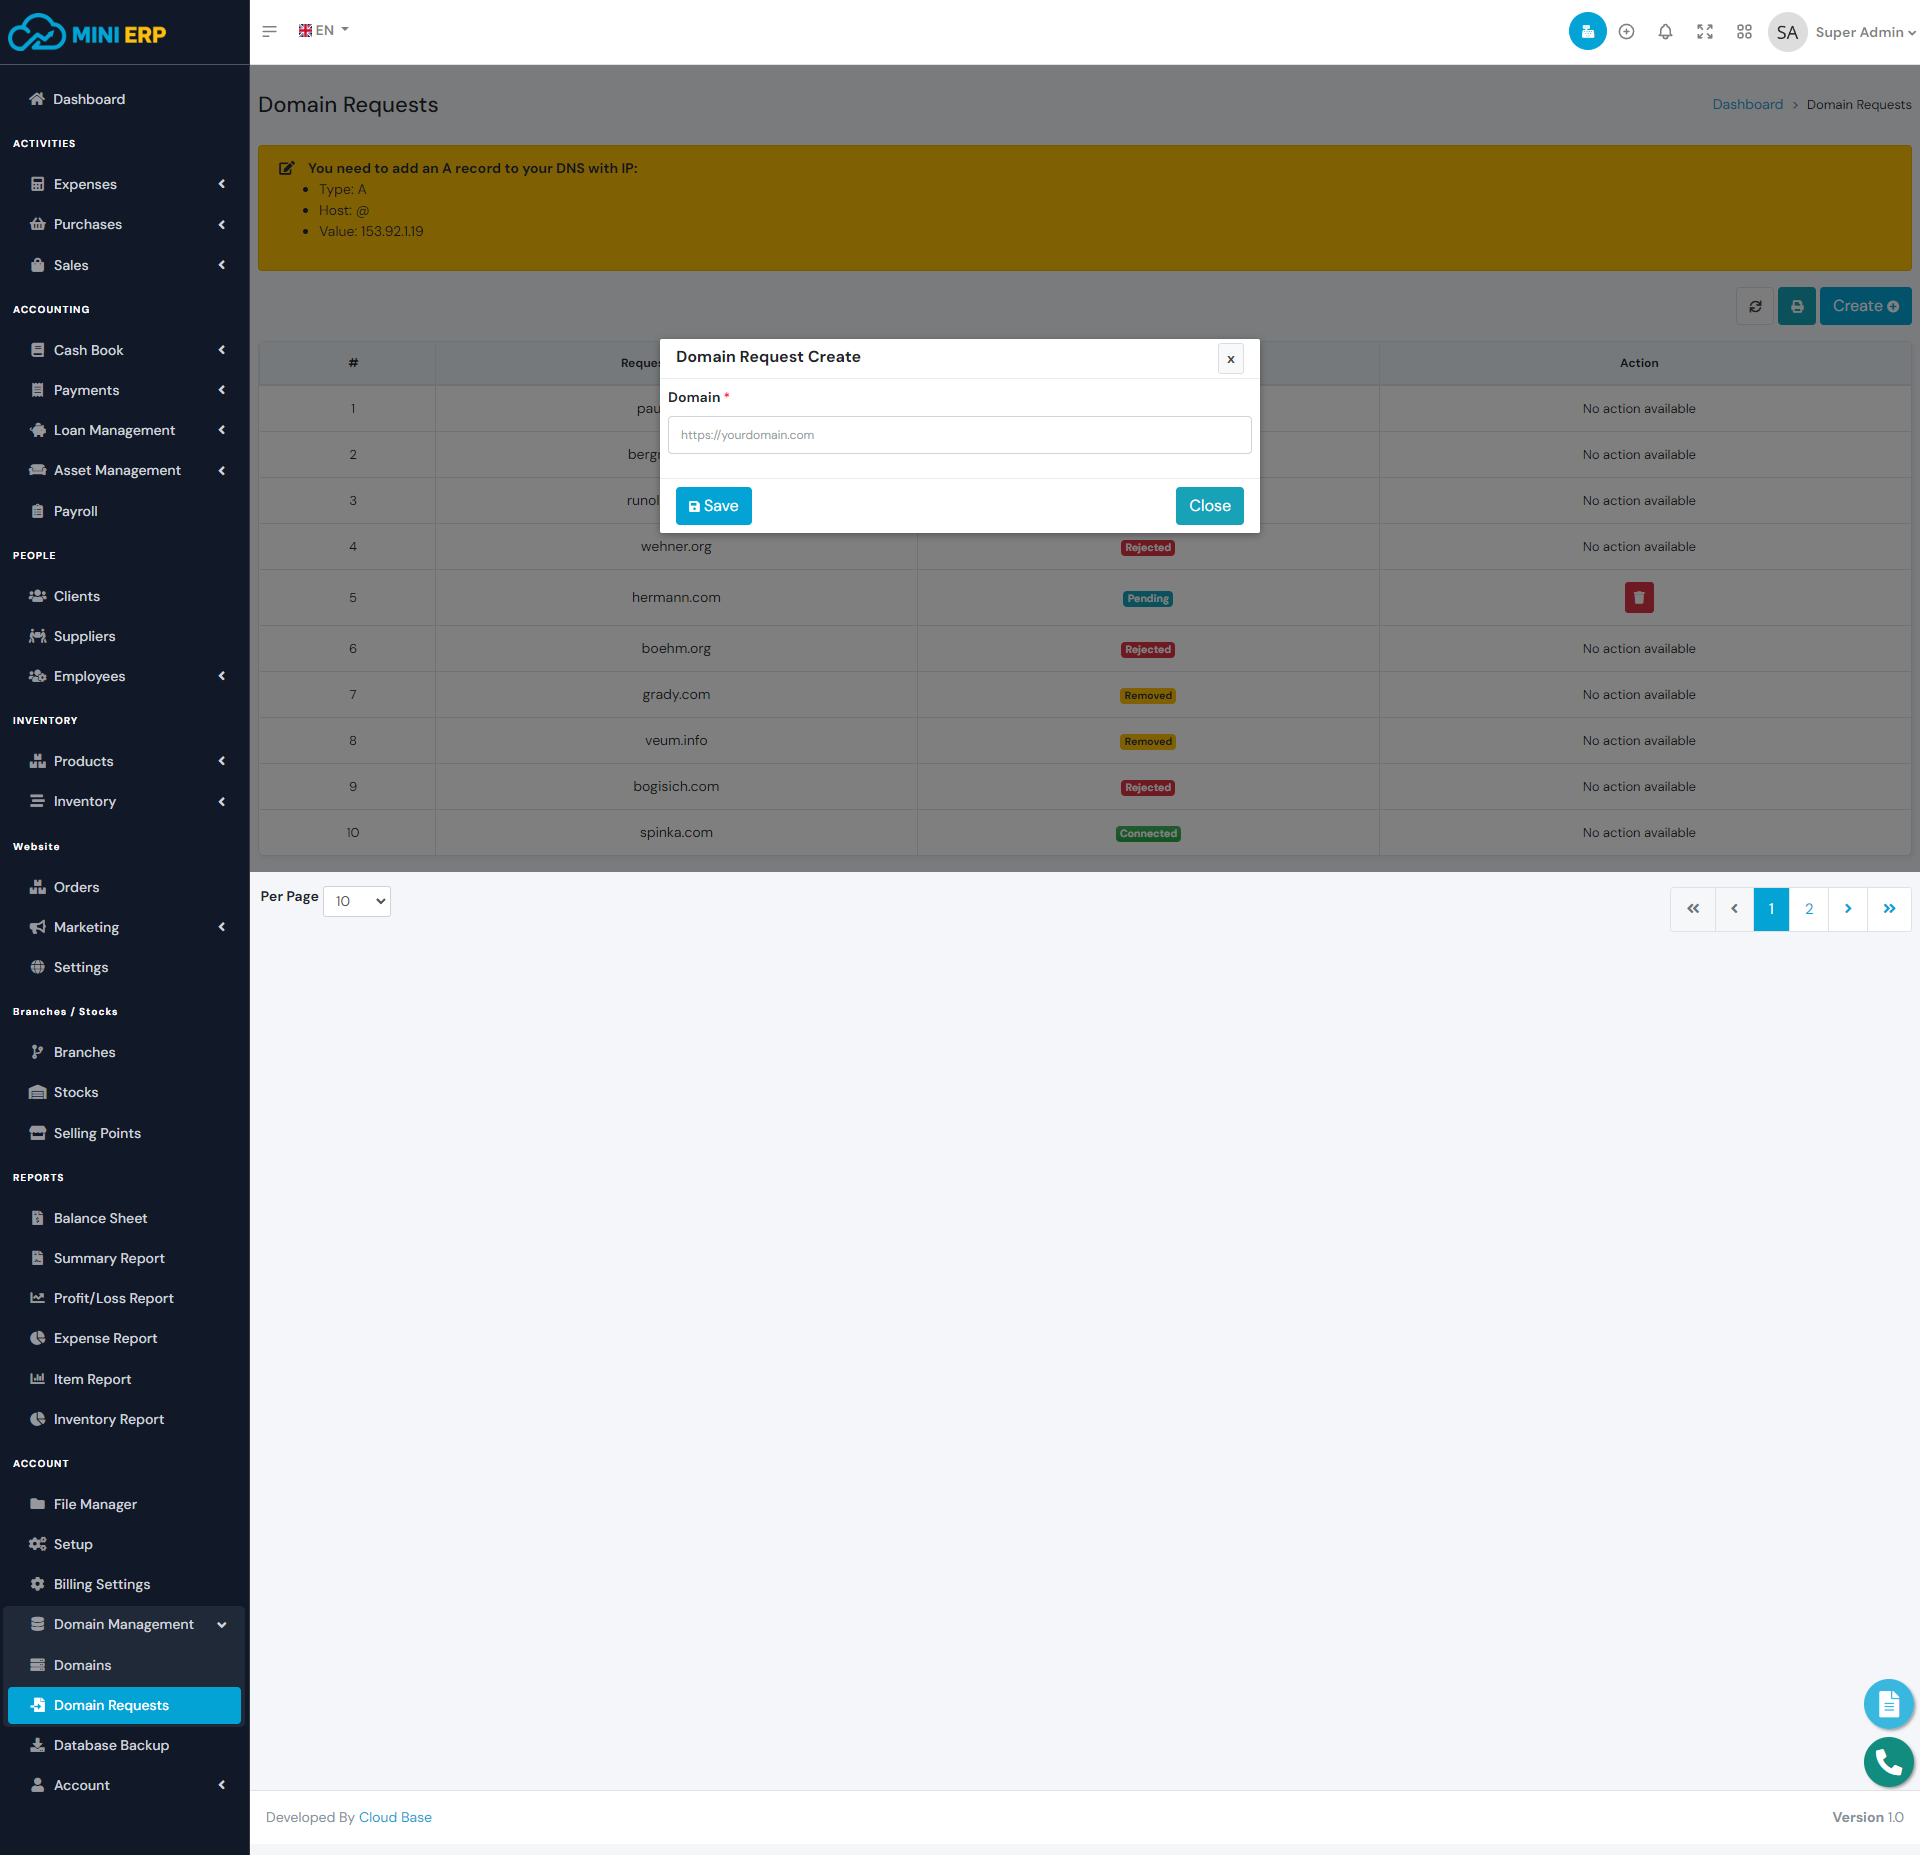
This module provides the capability to manage and oversee existing domains, offering users the option to request a new domain when needed. It enables smooth control and organization of domain-related tasks, facilitating a streamlined process for users to handle their domains effectively.
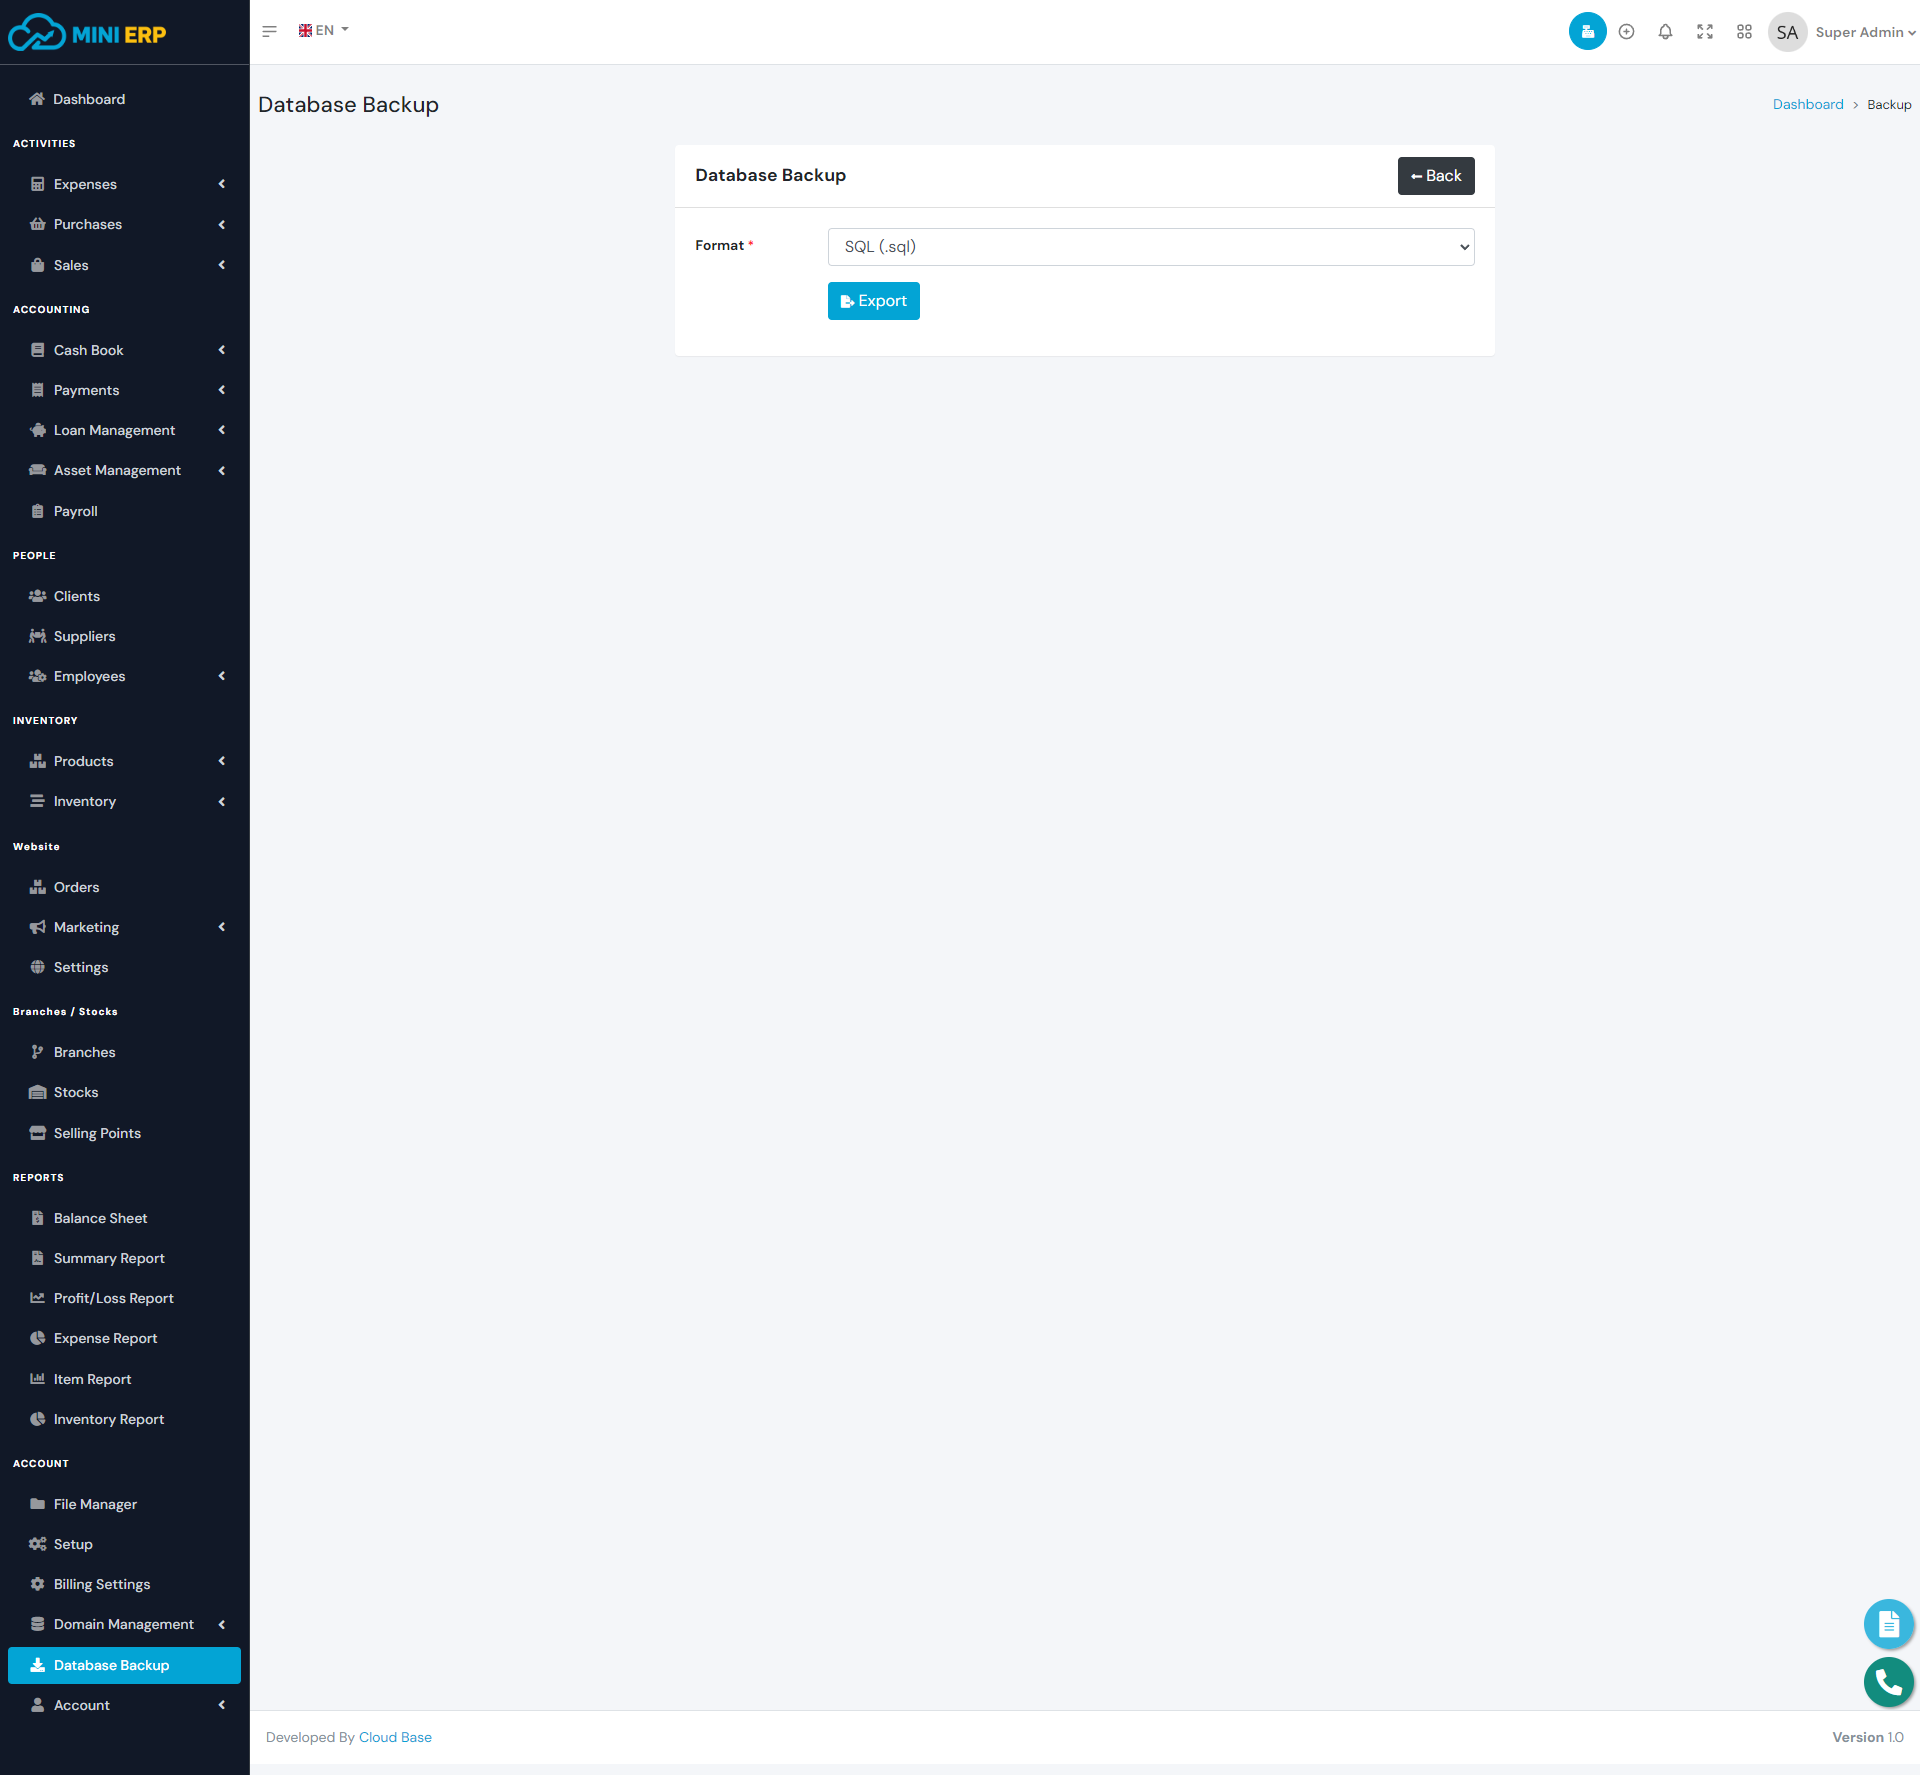
Database Backup
Database backup module helps you to keep your database backup. Currently, you will be able to take the backup in SQL format. We will add support for the other format in the coming future. If anything goes wrong you will be able to restore the system using the backup database. So we recommend you keep at least one backup per week. In order to make the database backup please add the MySQL DUMP_PATH on the .env file. Find your MySQL dump path and then add it to the .env file. It will be something like to below path: DUMP_PATH=C:\\laragon\bin\mysql\mysql-5.7.33-winx64\bin\mysqldump
Profile
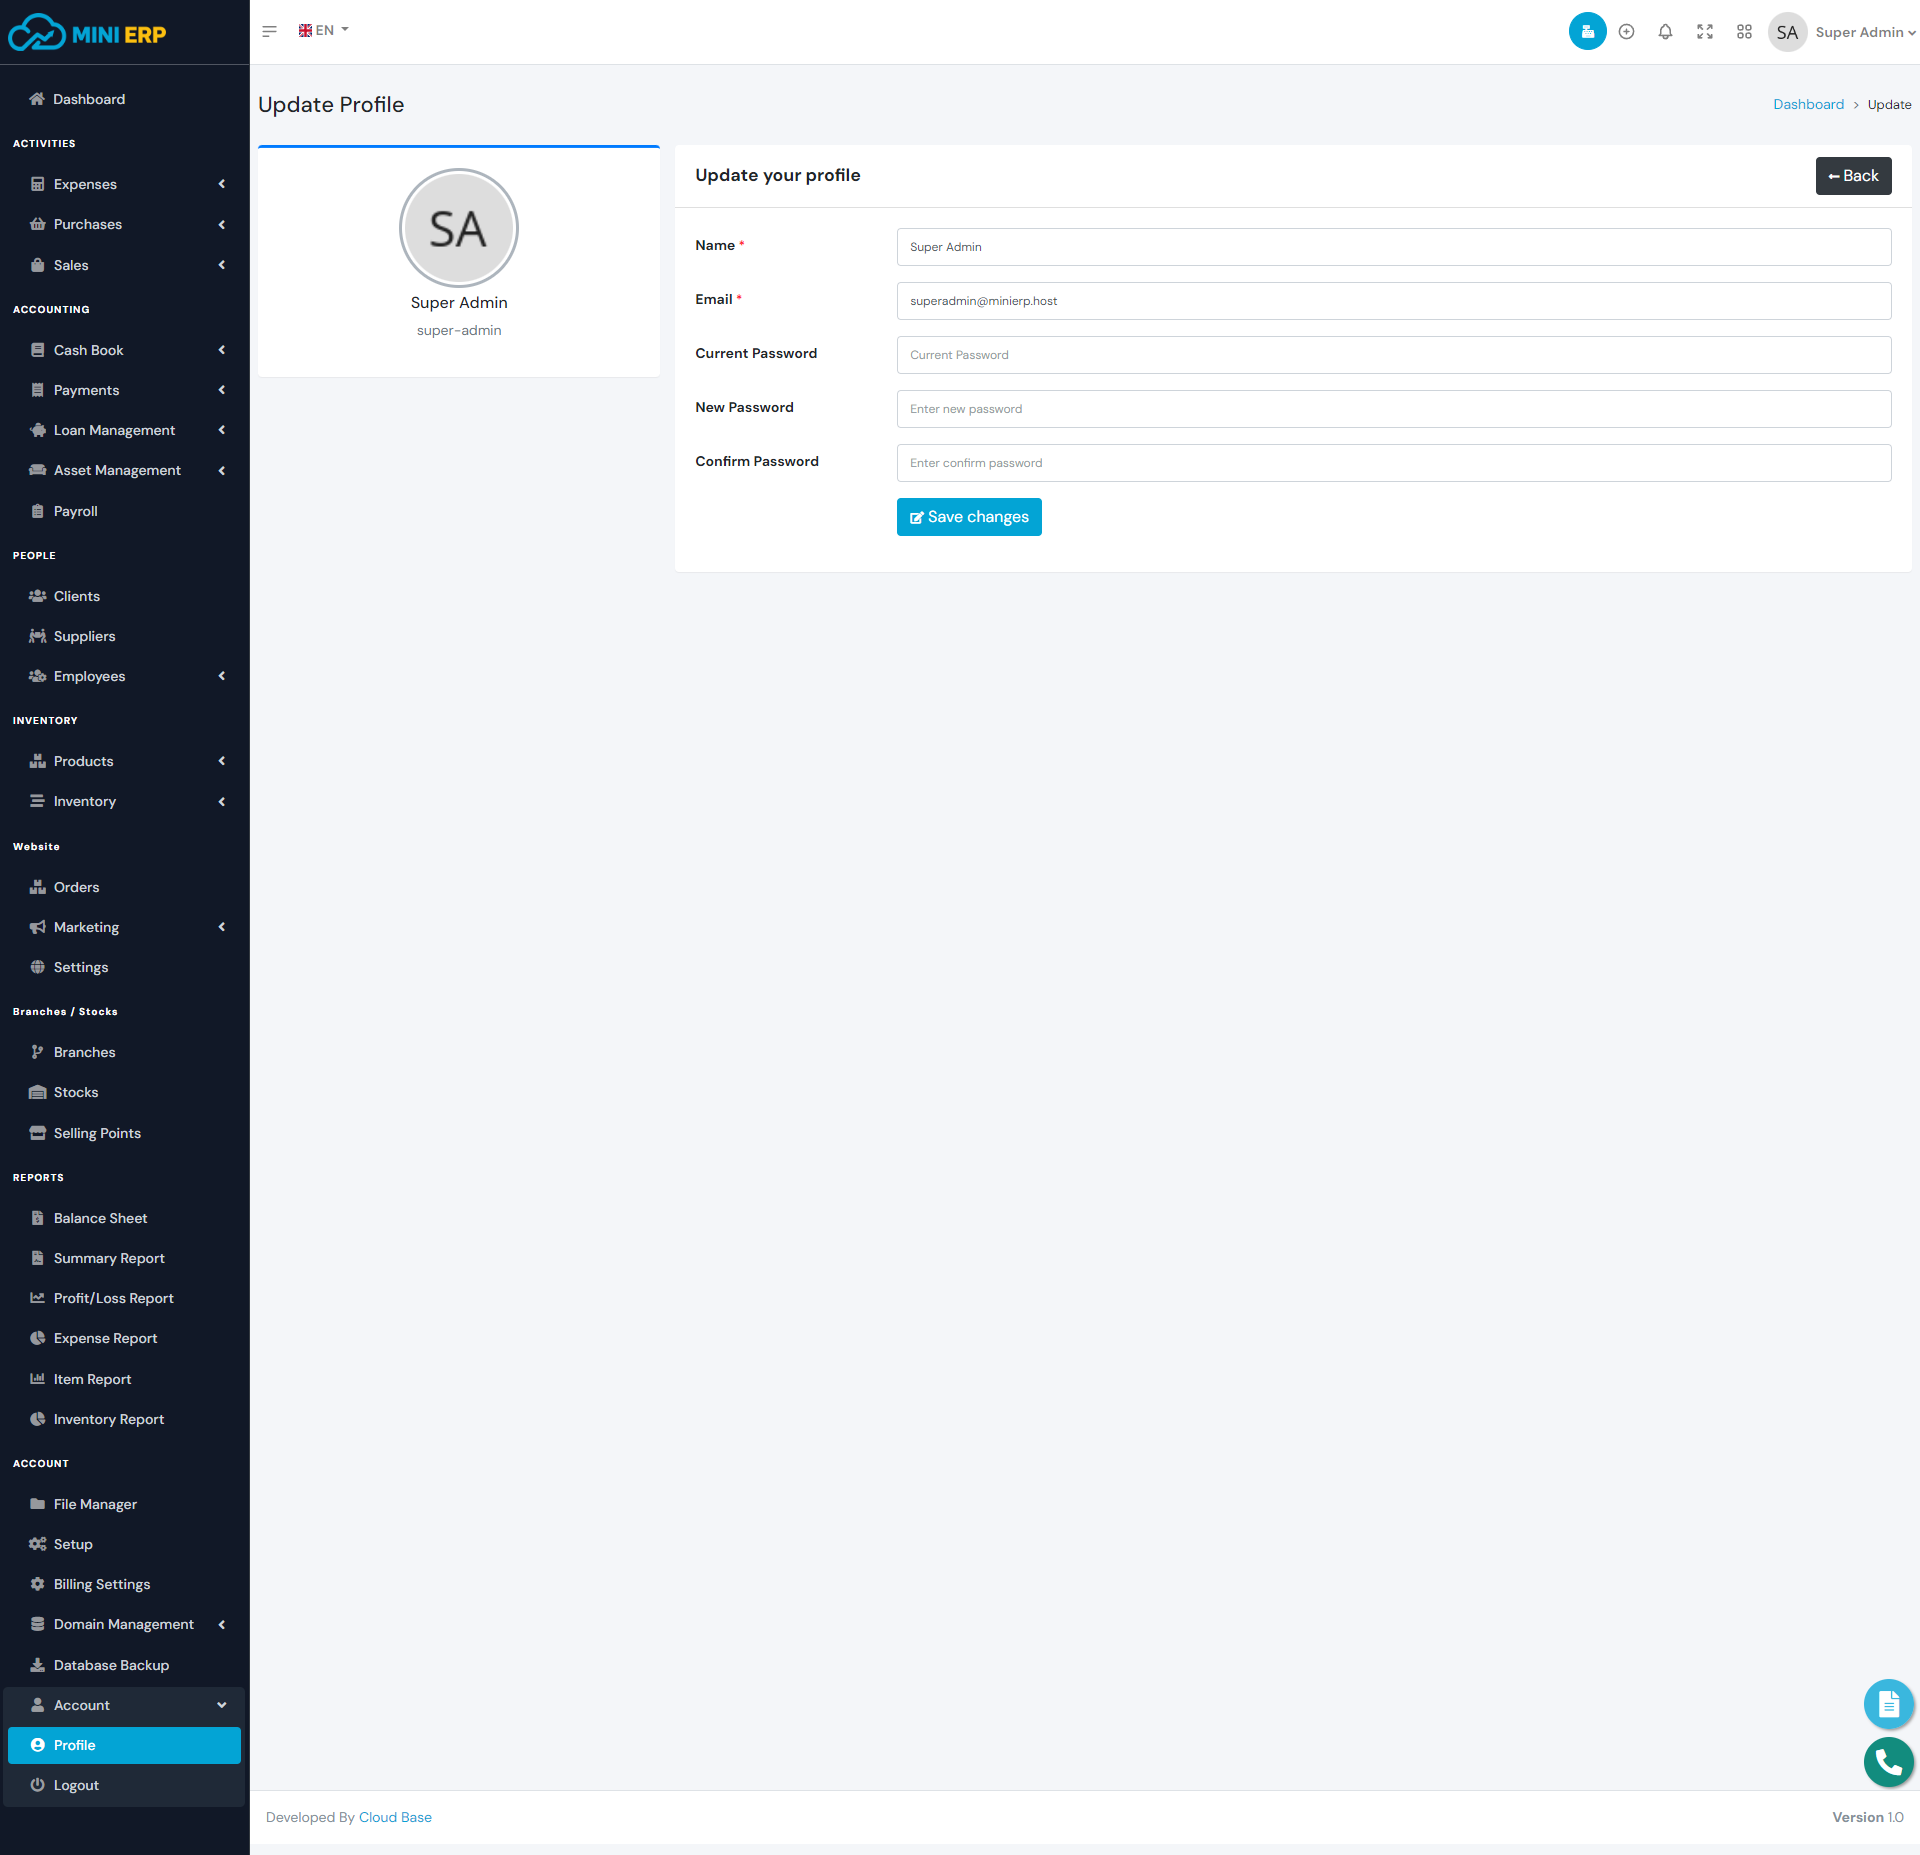
From the profile page, you can update your information such as your name. email, password. While updating your profile leave the password fields empty if you don't want to update your password.
| Required fields to update profile |
|---|
| Name => Your name. Enter your name. |
| Email => Your email. The email will be used for login so please use a valid and unique email. |
Support
If you need any kind of support or fixes in this system feel free to contact us via this mail [email protected].
Note: We are available for freelance work. So if you need any kind of modification in the system then let us know will try our best to assist you.
Thank You!
Thank you so much for supporting our work by purchasing our product! We wish you all the best with your upcoming projects and endeavours in life! If you would like to check out more of our products, be sure to visit our website.

